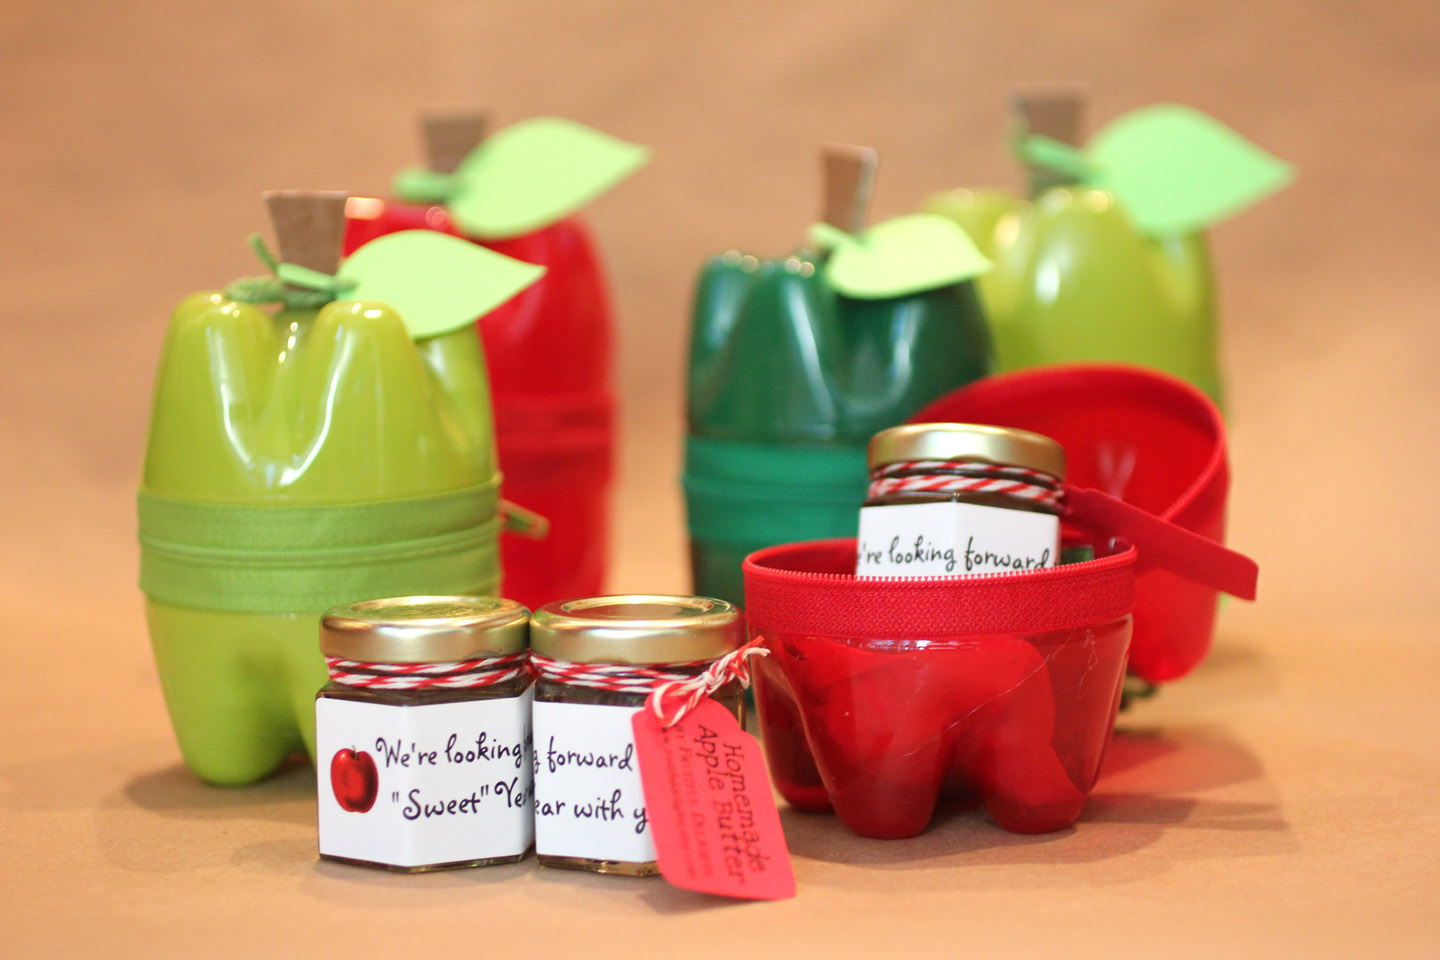
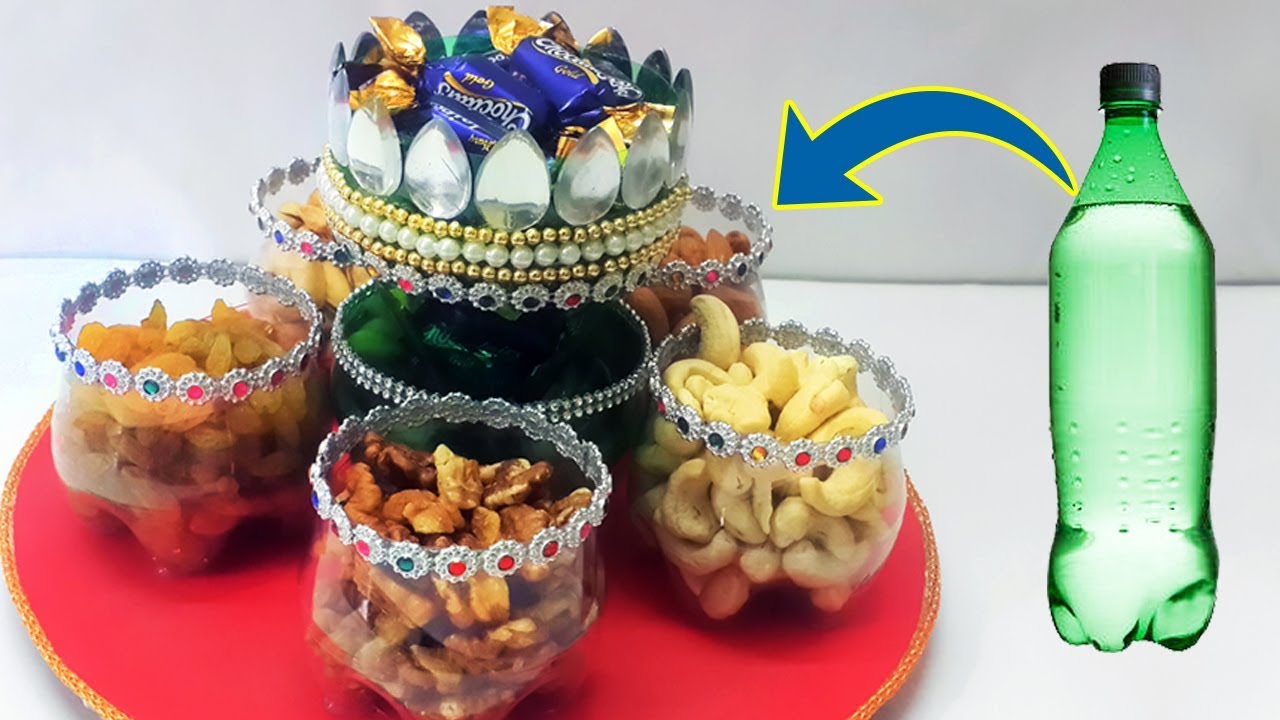
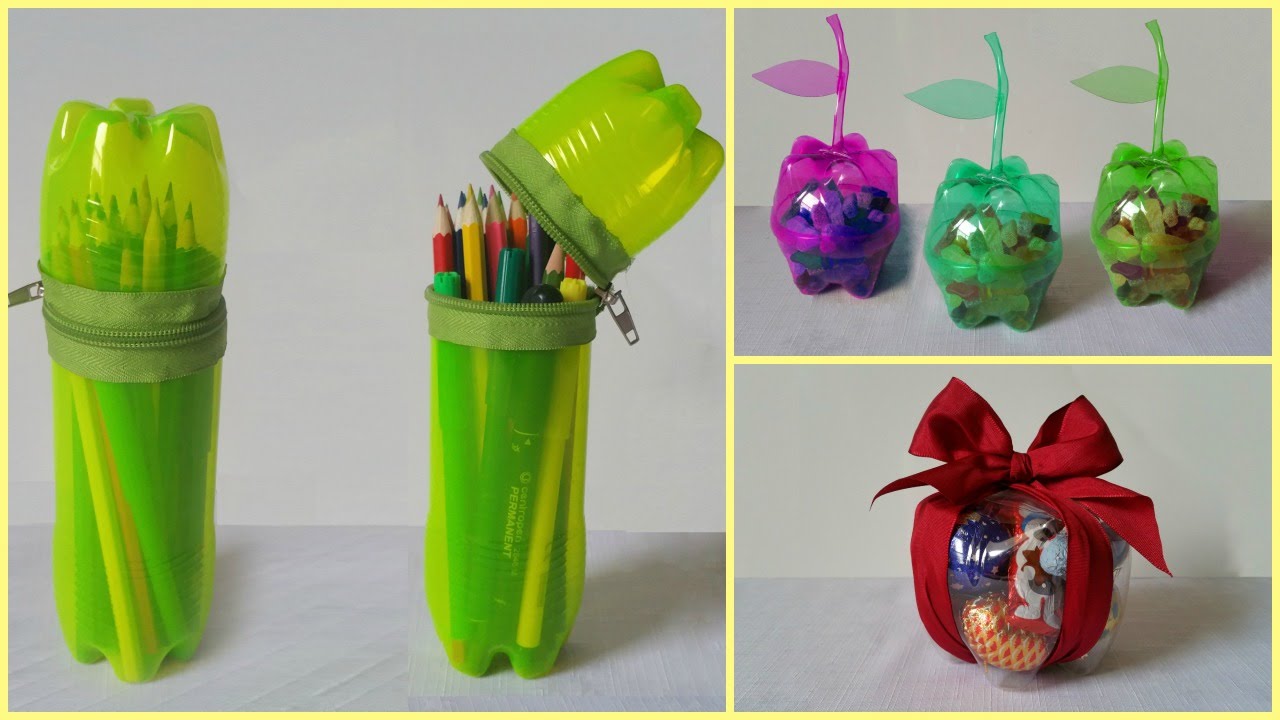
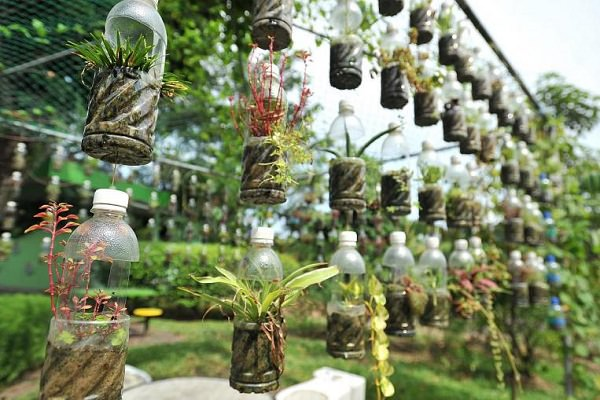
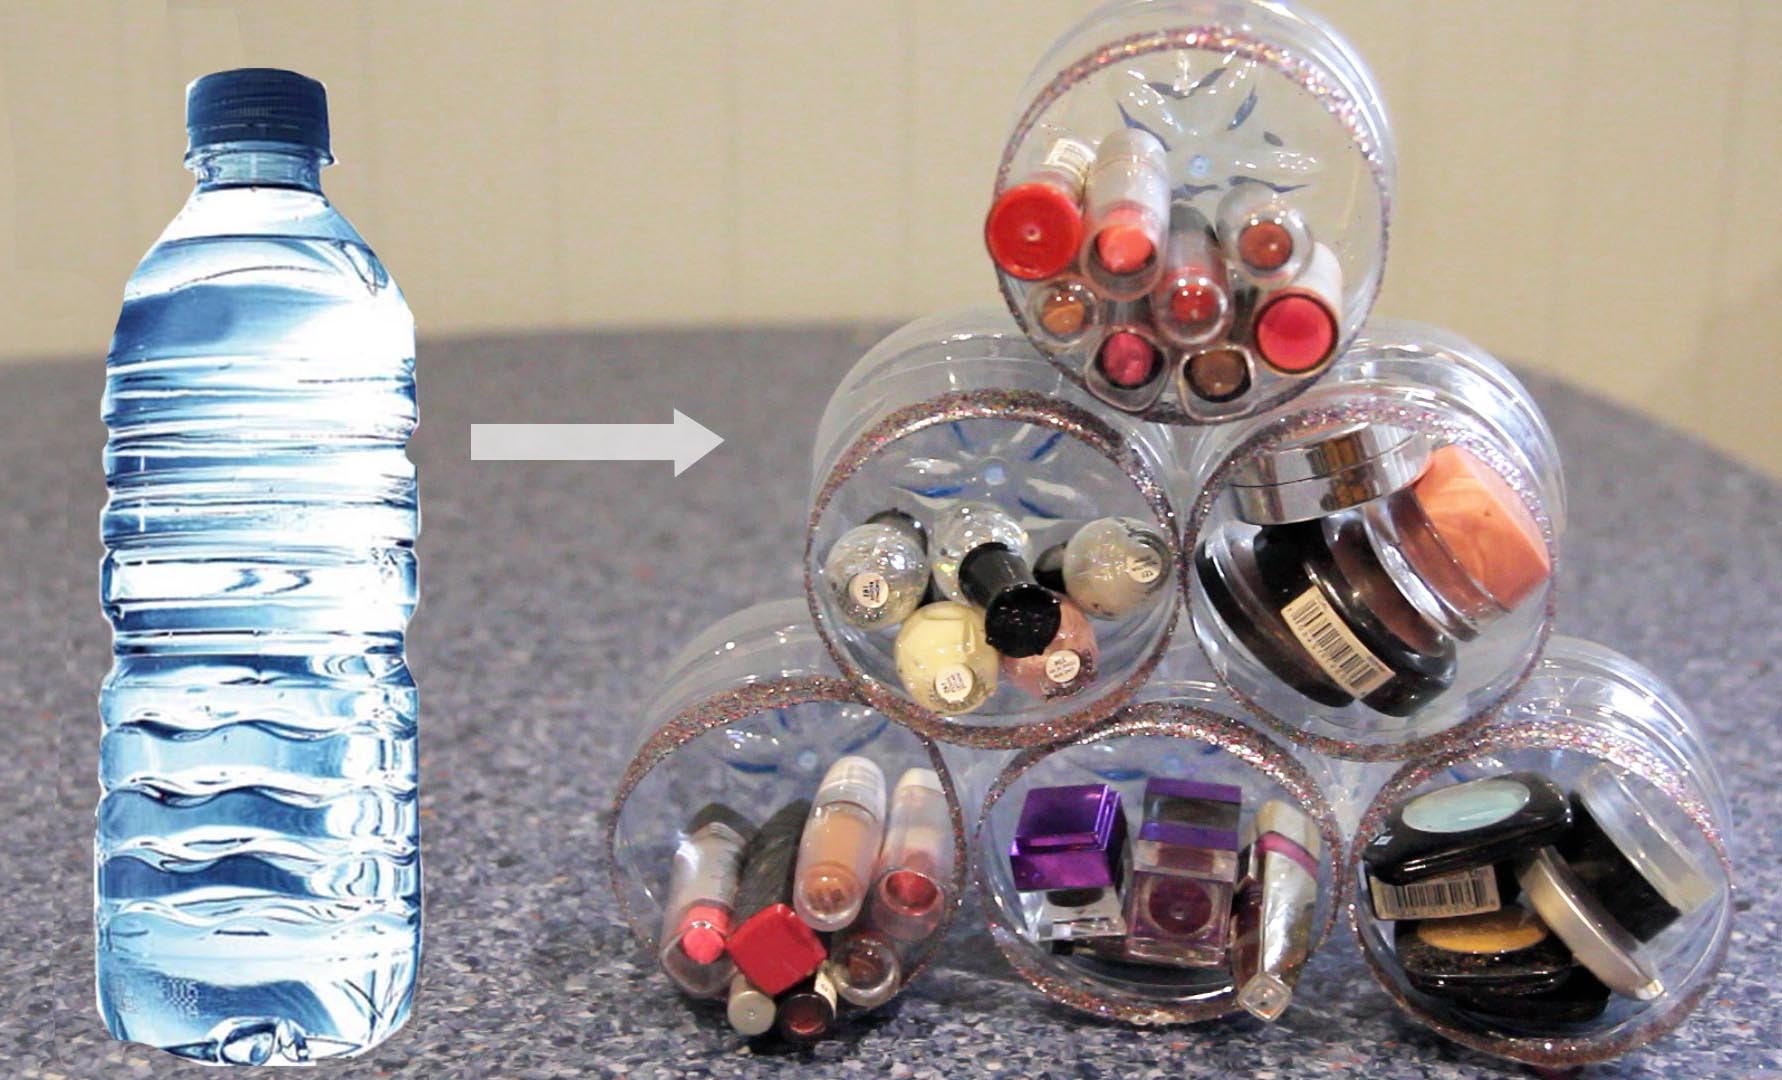
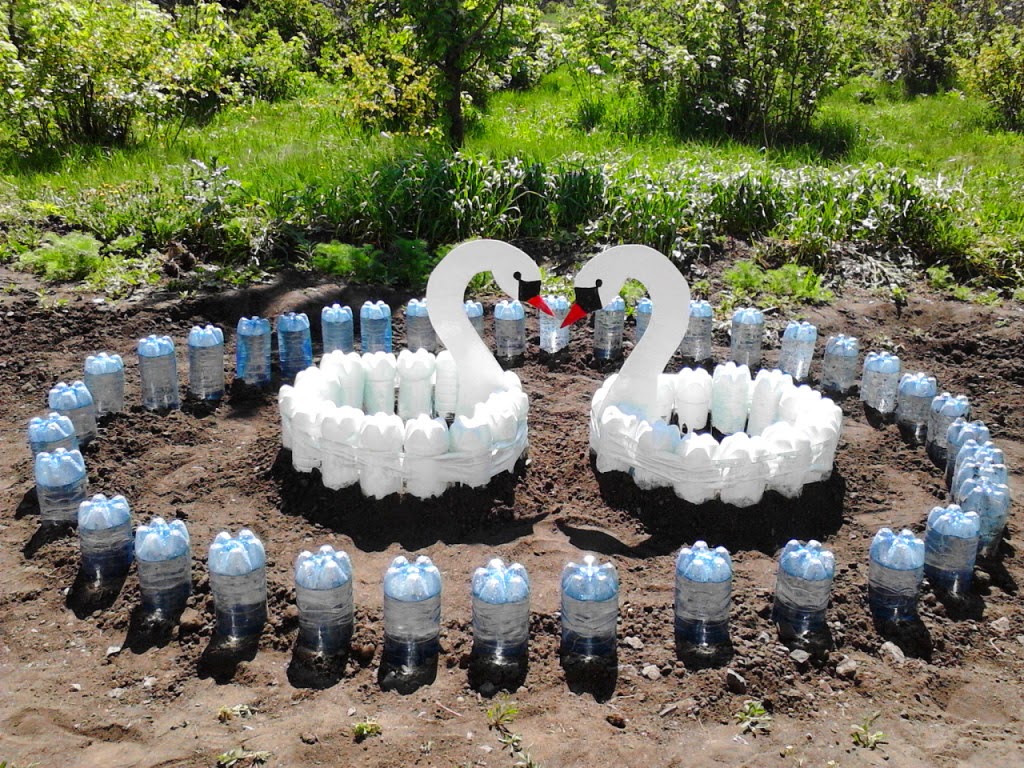
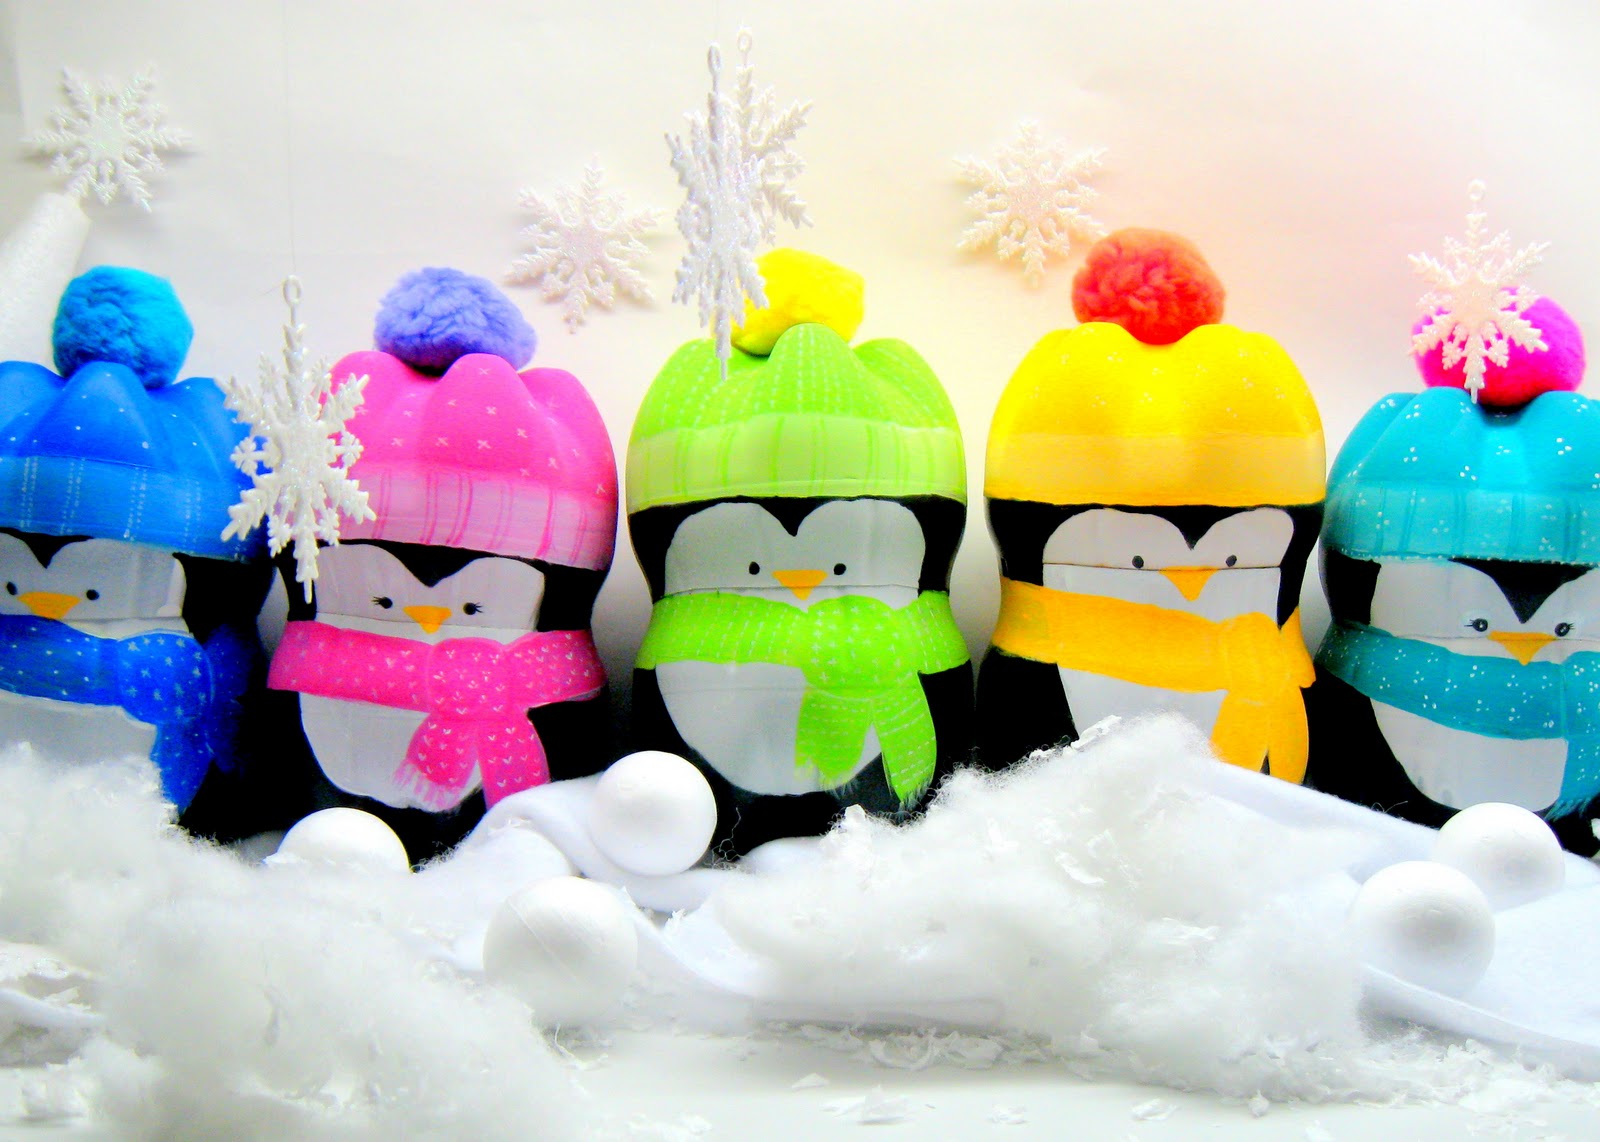
What can be made from plastic bottles with their own hands: 12 step by step instructions

There are at least 12 interesting ideas that will tell you what to make from plastic bottles.
Practically every person uses plastic containers during the day, but not everyone understands that they cannot be thrown away just like that with the rest of the garbage. Therefore, people began to implement various creative ideas in order to use the accumulated garbage with advantage.
Use with the accumulated garbage
Content:
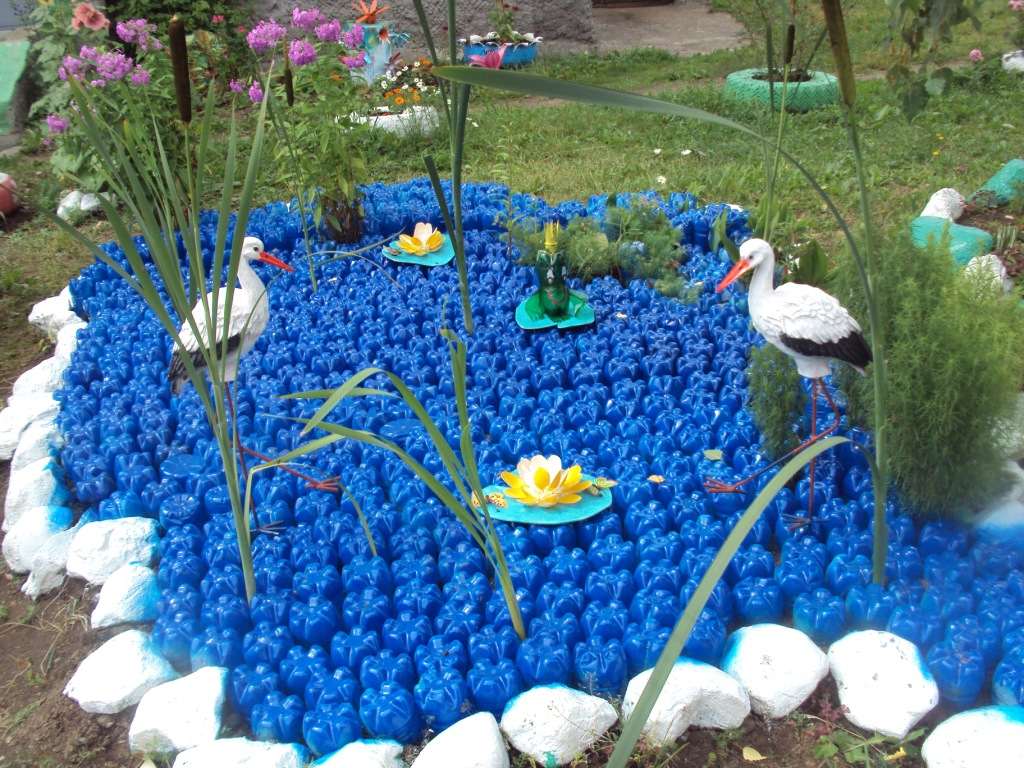
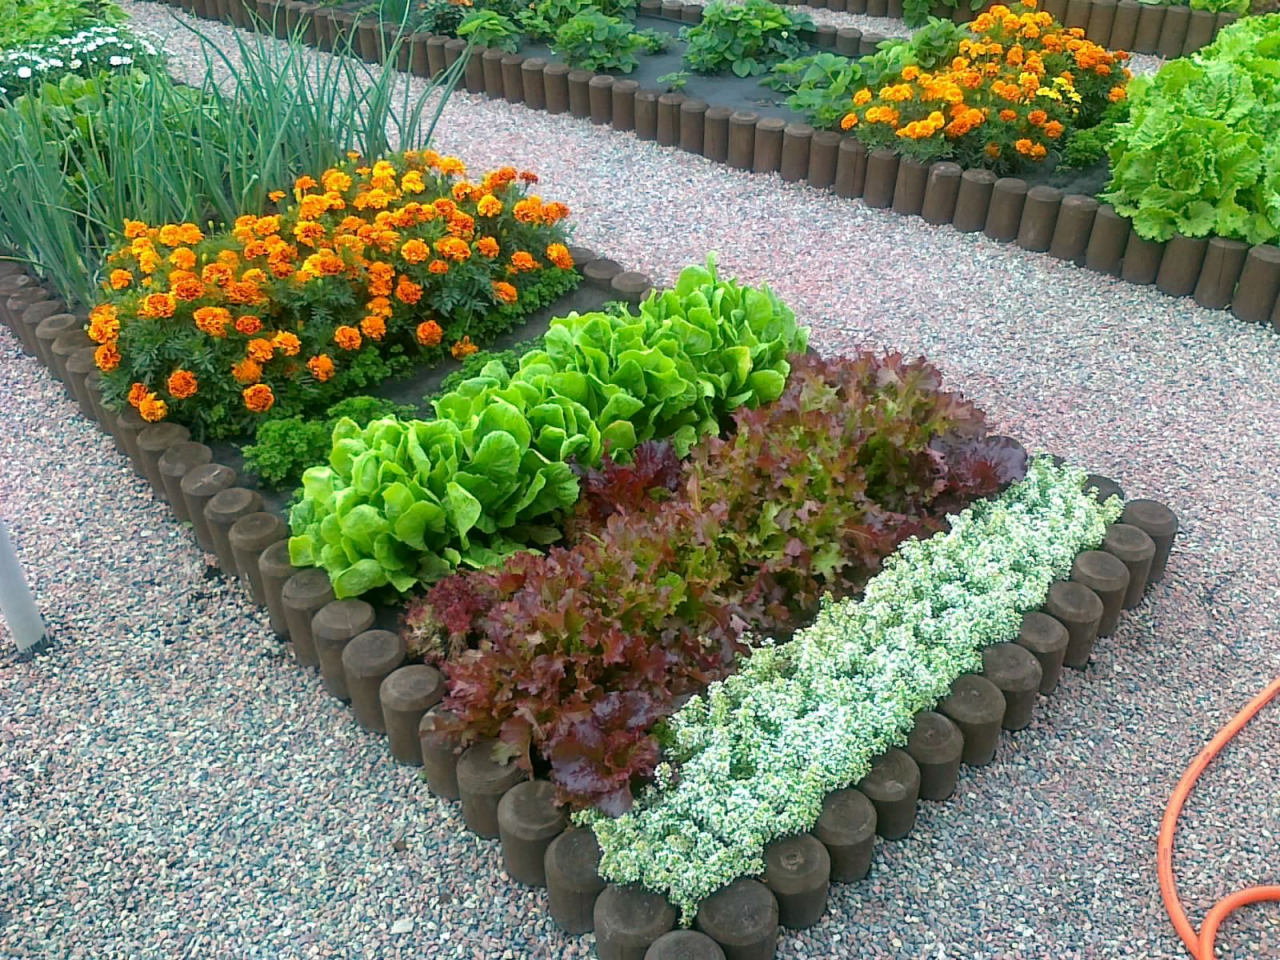
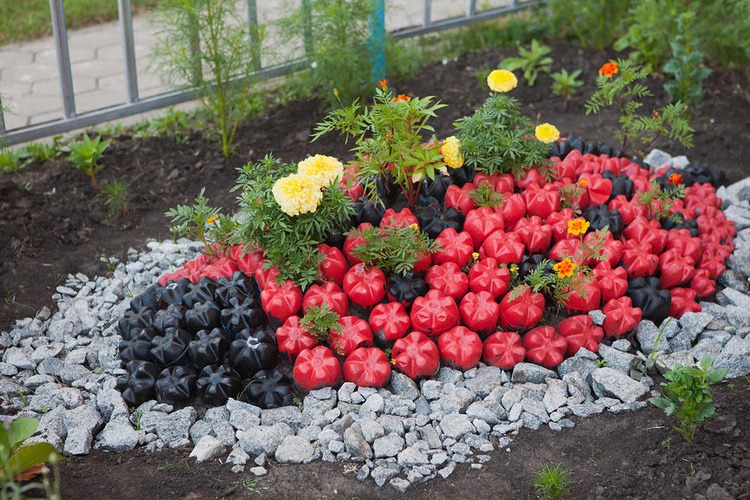
Registration of a bed on the seasonal dacha
You will need a lot of plastic bottles.
To implement this idea, you need a lot of plastic bottles, but the result is worth it. The flower bed will be useful not only from aesthetics, but also will help protect plants from flooding. To make such a fence, you must perform the following steps:
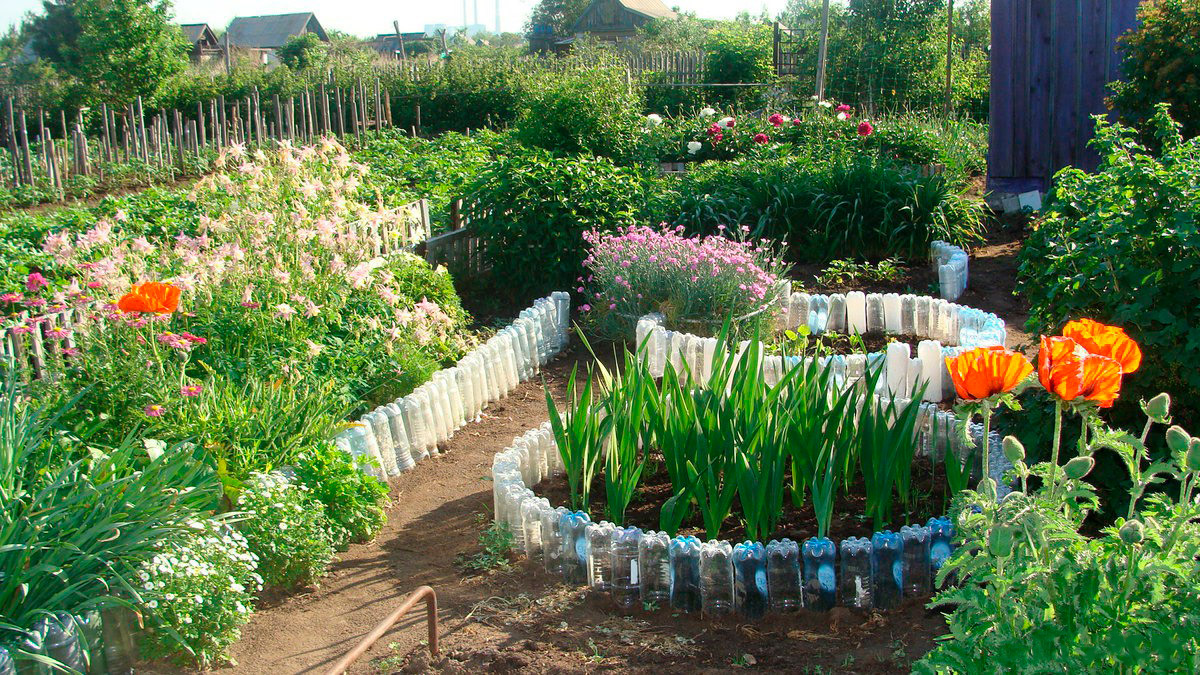
Such a flower bed protects plants from flooding.
- Before you begin, it is advisable to think through the idea to the end, that is, to outline the boundaries of the future flower bed.
- In all bottles, you need to fill the sand, it will make them more resistant and resistant to possible damage.
- Then they can begin to bury in the ground, about half and preferably bottom up.
- After the work is done, you can paint the plastic in any color at the discretion of the owner.
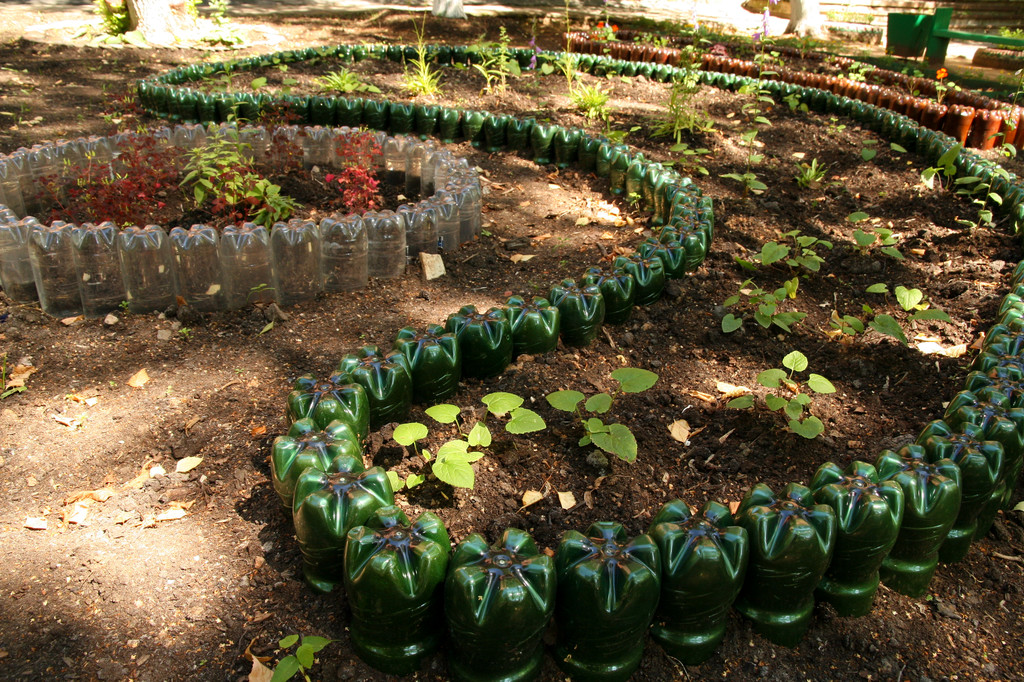
Bury up about half the bottom up
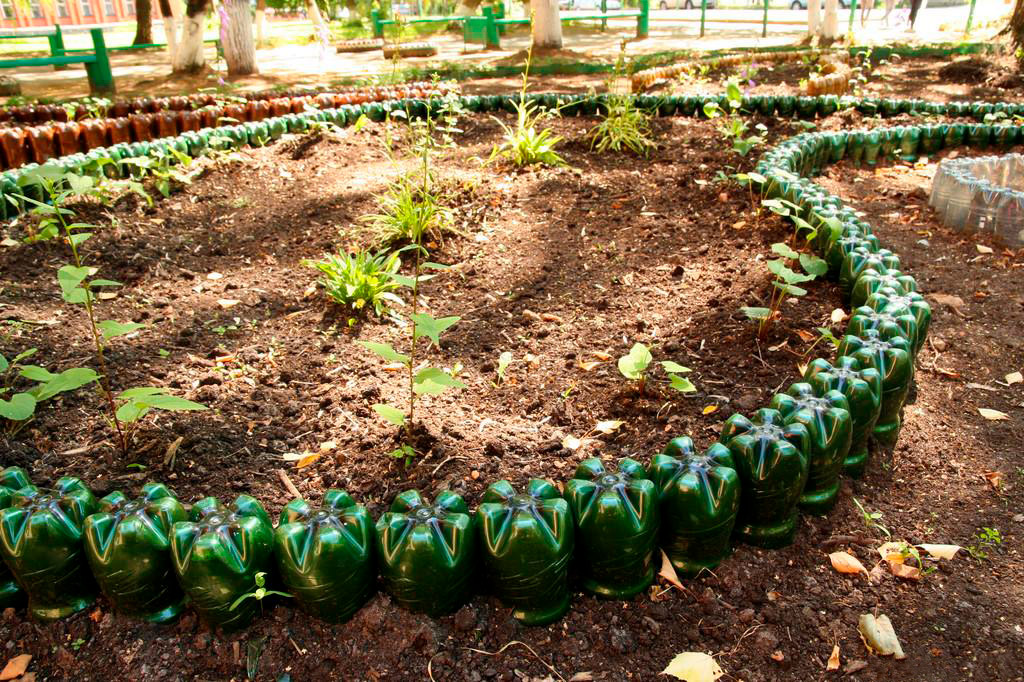
If you pour sand into the bottle, it will become more stable.
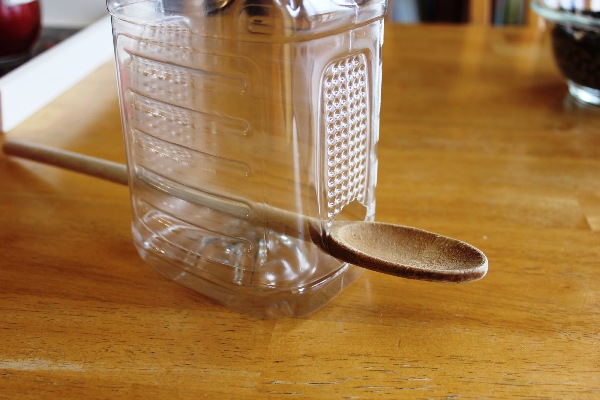
Bird feeders
On trees, you can often find standard feeders with cutouts in a plastic bottle, but they are not very convenient for birds and do not contain enough food. To solve this problem, resourceful people began to use the same plastic, but with wooden spoons. To make such a feeder, you need the following items:
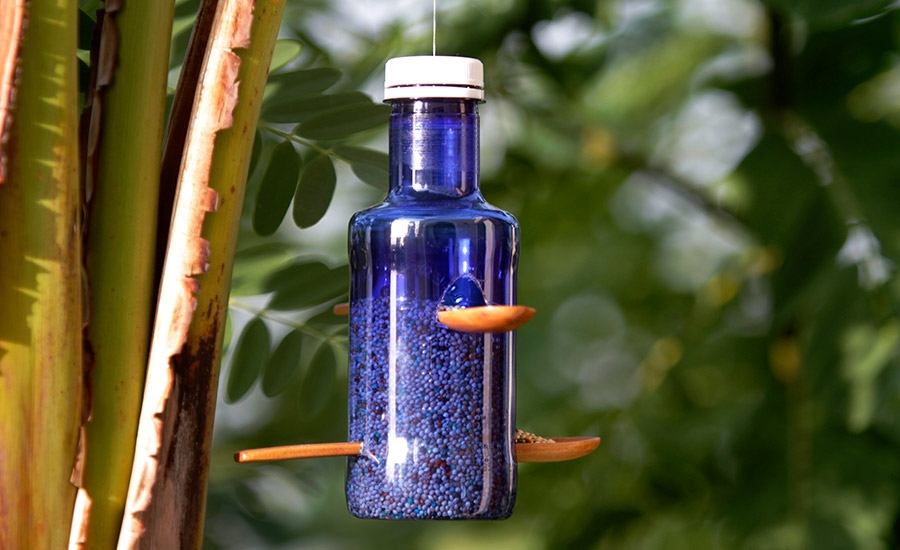
Troughs with wooden spoons are more convenient.
- wire;
- wooden spoons (preferably 2 pieces);
- plastic container (volume 2 or 1.5 liters);
- a knife or scissors;
- birdseed;
- ruler.
Measure 8-9 centimeters from the bottom and make a hole
If you use a 2-liter, you need to take a ruler and measure 8-9 centimeters from the bottom. At this height it is necessary to make a through hole for the spoon, given its diameter.
Next, you need to make a hole for another similar device, about 7-8 cm above, but on the other hand, so that when viewed from above the spoons form a cross. After they are inserted, it is worth making a hole over a slightly larger one so that the grain gently pours into the groove.
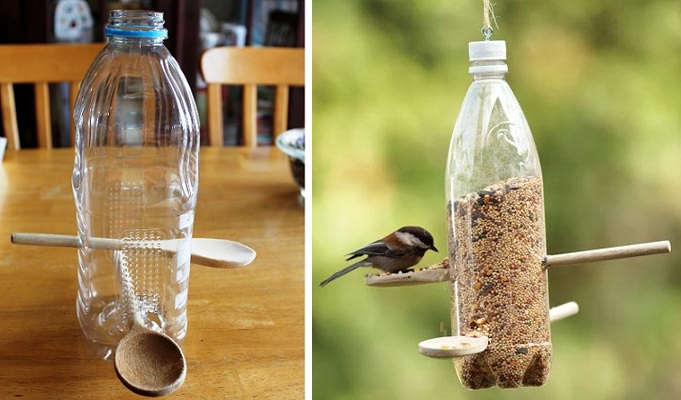
Above make another hole, so that the spoons are located in a cross
This feeder is attached to the neck using wire or rope. In the second case, the material must be reliable, since the feed can be filled up quite a lot.
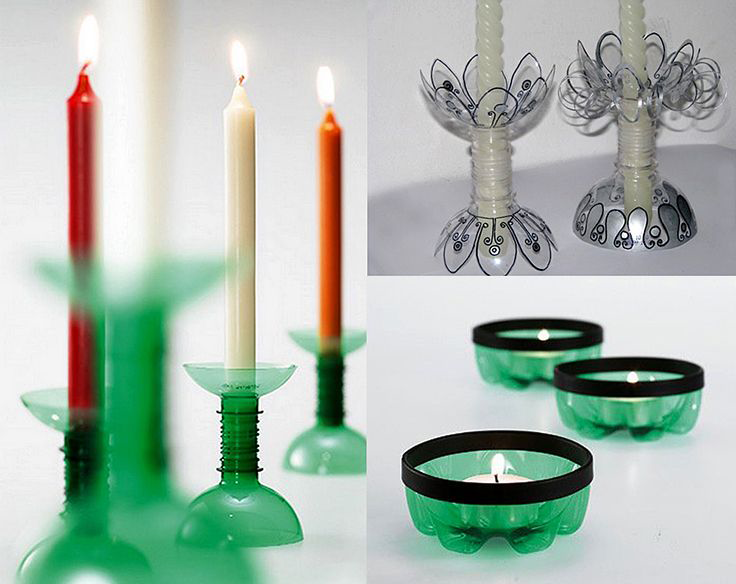
return to menu ↑Plastic Candle Holder
There are several difficult ways to make candlesticks made of plastic, but this time, the simplest of them will be considered. Before you start, you need to prepare the following items:
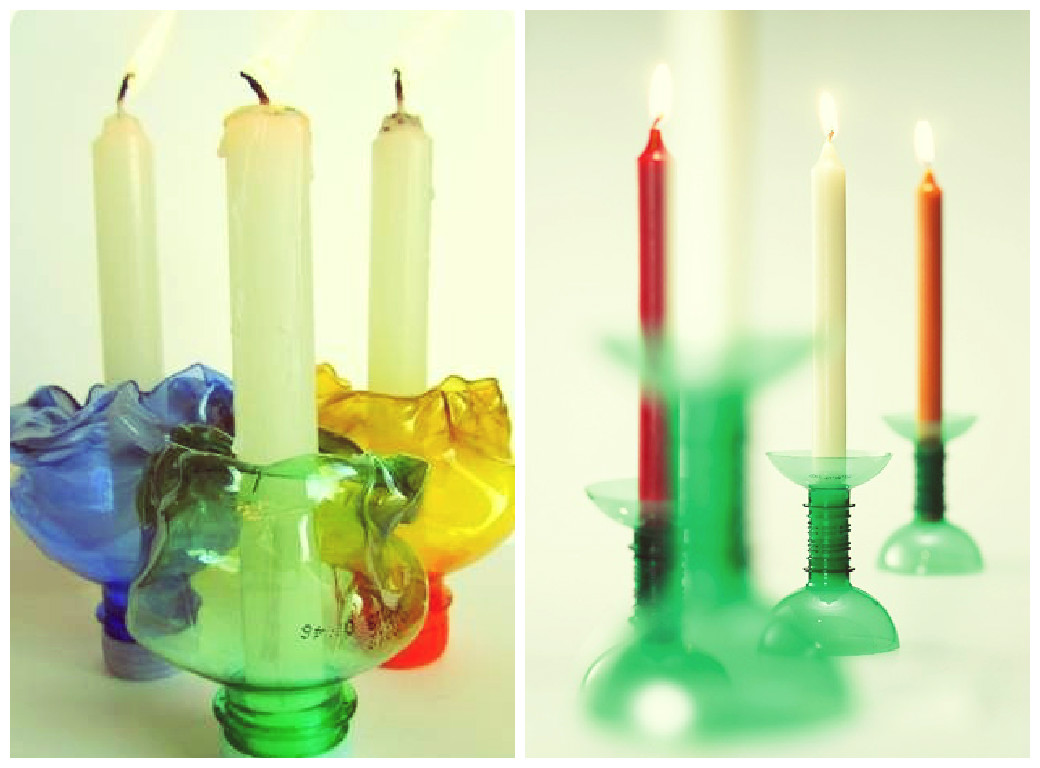
Easy way to make a candlestick
- Hotmelt glue.
- 2 plastic bottles.
- Satin ribbon.
- Sharp scissors.
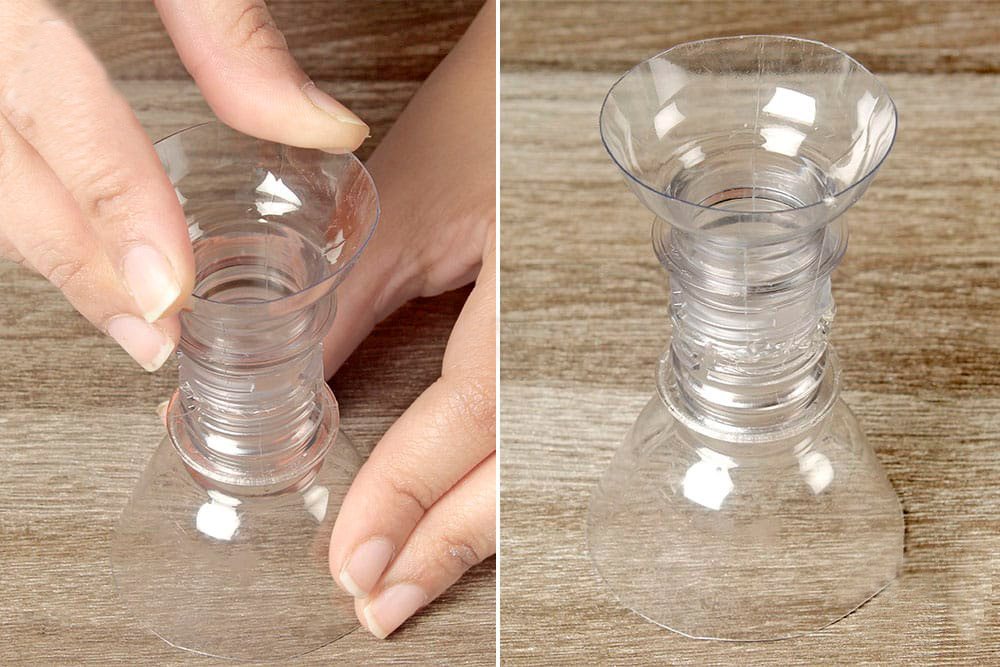
Cut one bottle 7 centimeters from the neck and another 2-3 cm
To make a “leg” and a “cup” for a candle, you need to cut one at 7 centimeters from the neck, and the other at 2-3 cm. Both throats need to be glued together, most will serve as a base, and a smaller one will support the candle. All work takes only 5-10 minutes of free time.
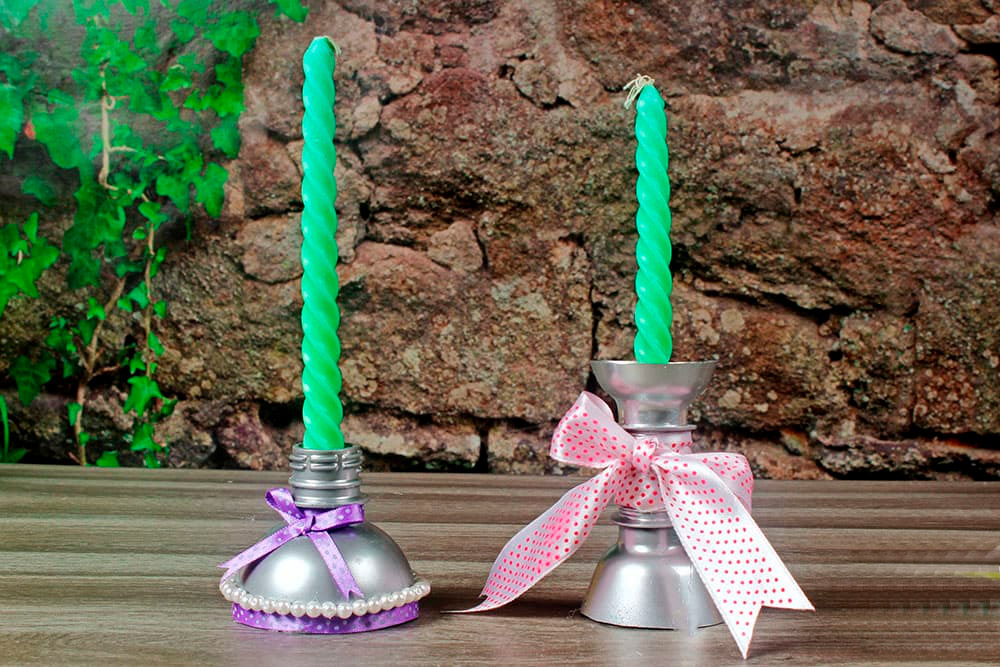
Decorate the candlestick
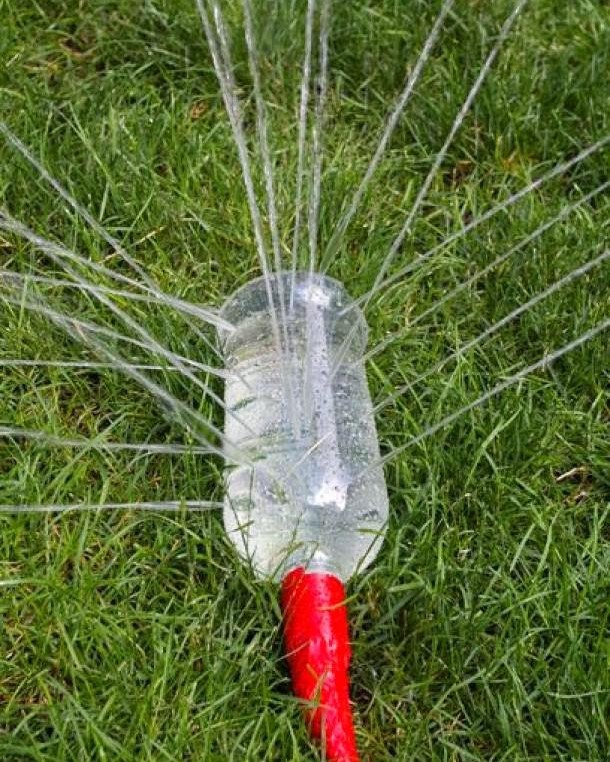
Insect trap
One of the most creative things that can be made from plastic is a trap for mosquitoes and other insects. To do this, it is better to use a dark container, as in this case the pests come across it much more often.

Cut the bottle and insert the top into the container so that the neck is about 5 cm from the bottom
The first thing to do is to cut and insert the upper part into the container so that the neck is about 5 cm from the bottom. As bait it is worth using sugar yeast syrup. To make it, you need to take shakes, sugar and mix them in hot water.
After the syrup has cooled, it can be poured. The neck must be at least 1 centimeter above the liquid. This will get rid not only of mosquitoes, but also of wasps, flies or bees.
As a bait it is worth using sugar and yeast syrup.
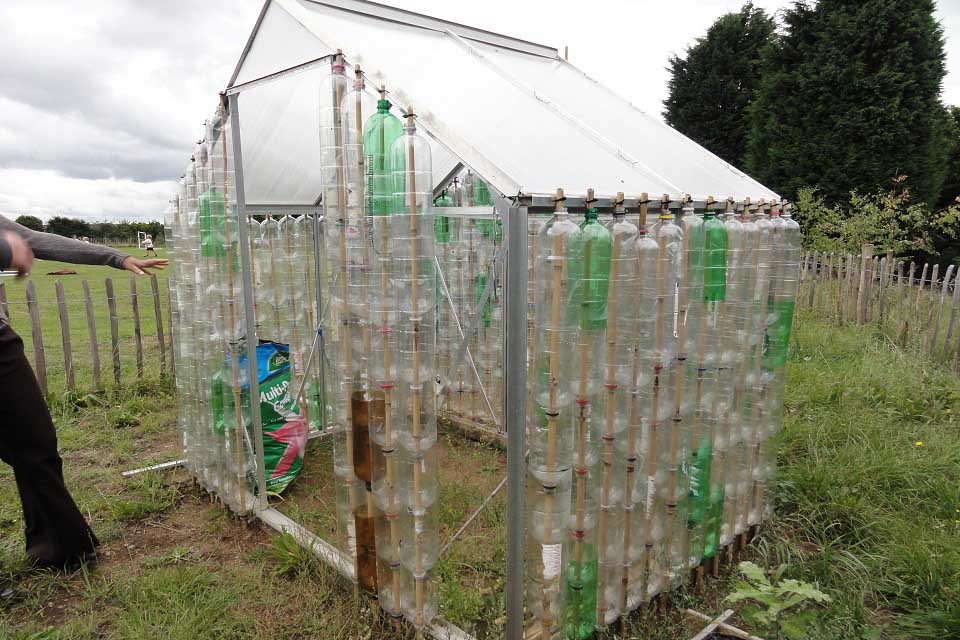
Plastic greenhouse
To make a greenhouse from plastic, you will need certain skills. Usually only men do this. Such a structure will have several advantages, namely:

Free greenhouse
- Price. A greenhouse of average size costs about 20 thousand rubles, the use of plastic will save this money;
- durability;
- simplicity when carrying out repair work;
- if necessary, the greenhouse can be rearranged, as it will be easy;
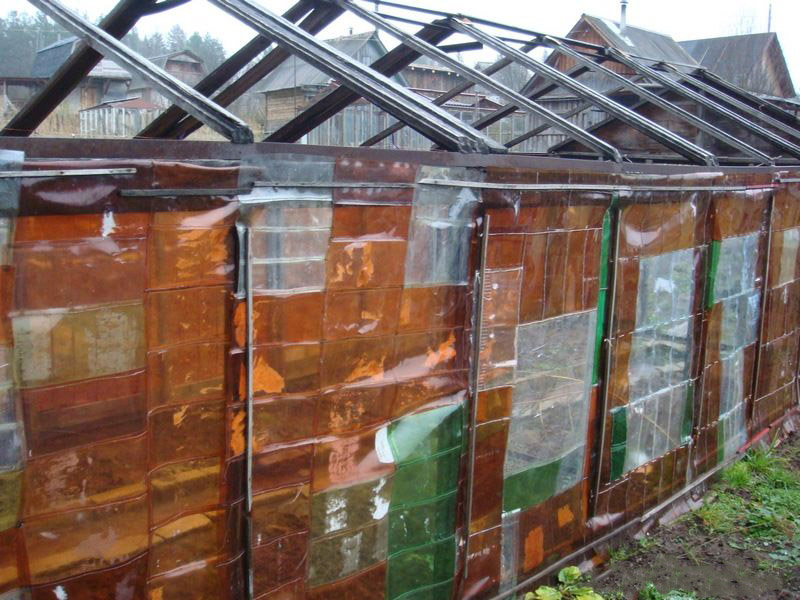
Cut the neck and bottom to get a rectangular plastic plate
First you need to prepare the material. Immediately it is worth considering that you need a lot of bottles. Each of them needs to cut off the neck and bottom, so that there are no bends on the container. Further the bottle is cut on all length. To get a plastic rectangular plate, the material can be ironed, but only through thick paper.

Plastic need to connect using cedar thread or wire
To make the frame for the greenhouse, you can use the usual wooden slats. Its form can also be absolutely anyone, depending on the idea.
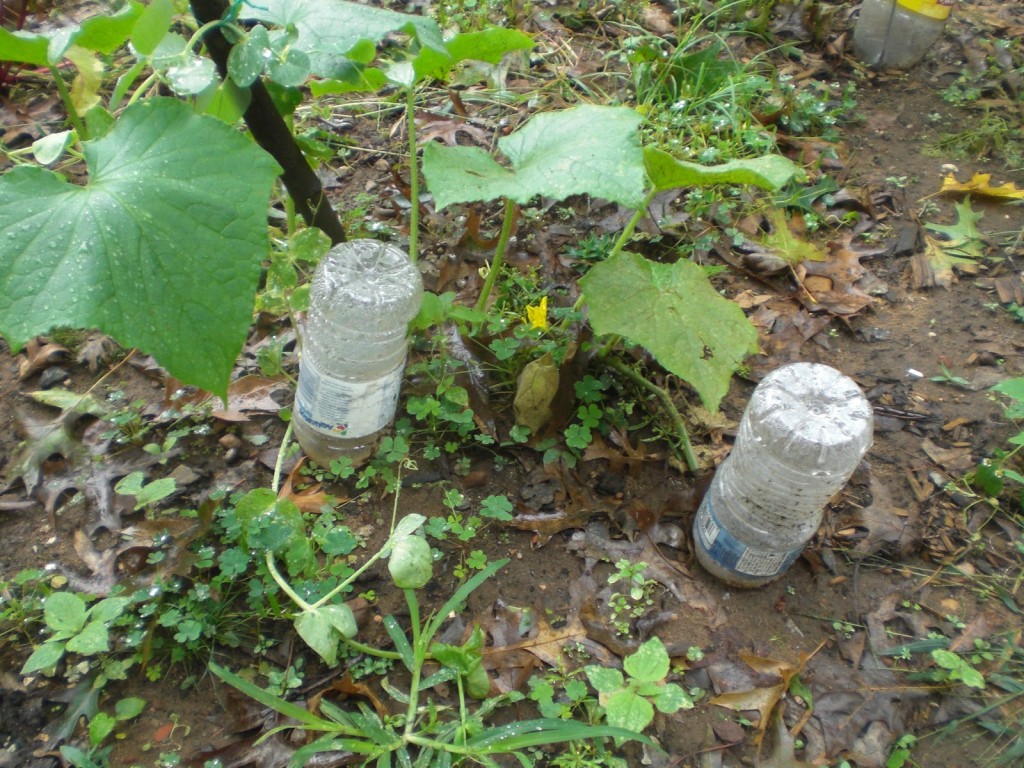
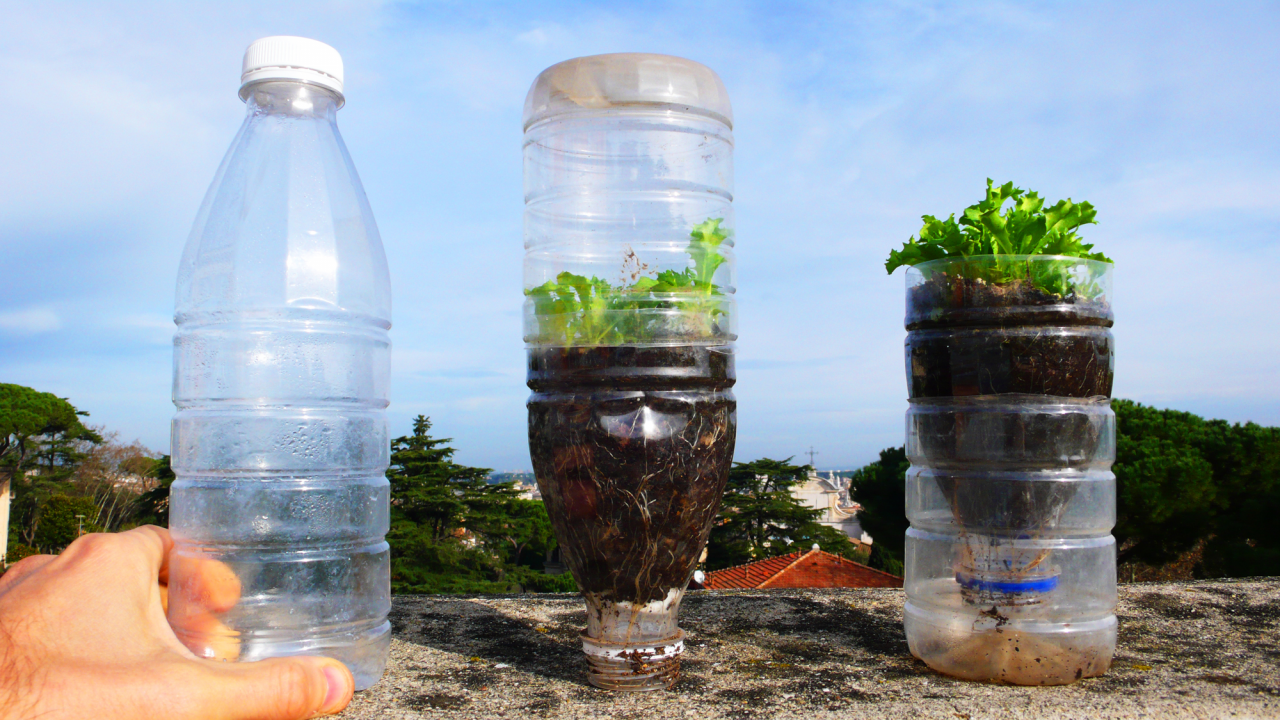
return to menu ↑Product for deep watering plants
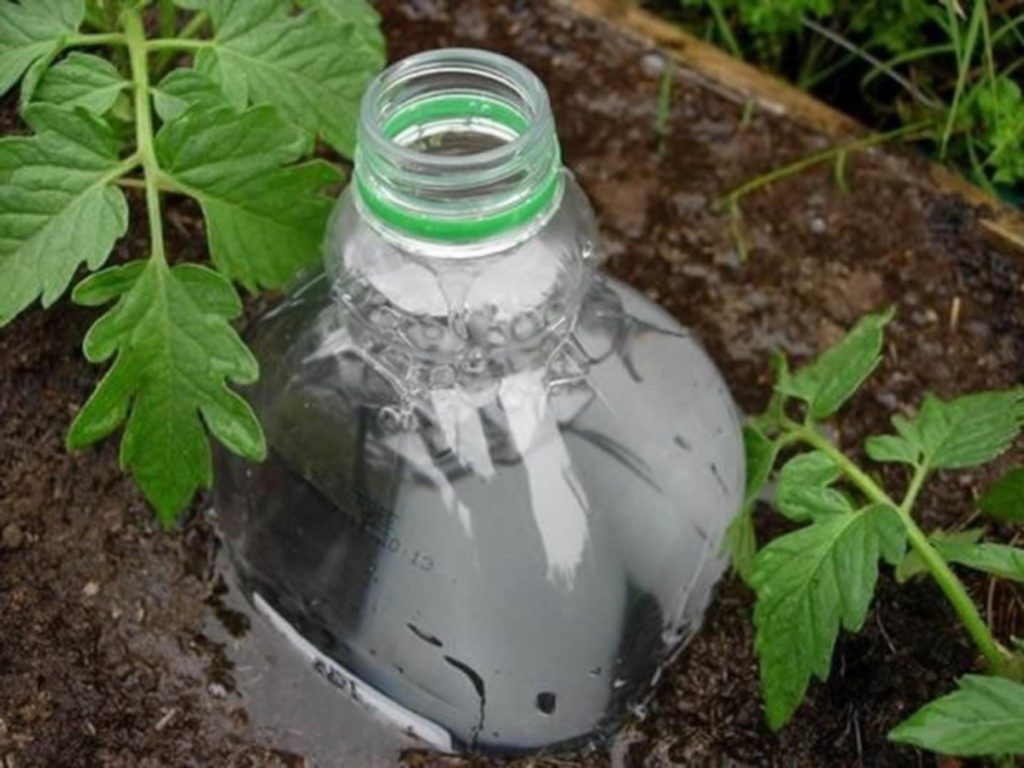
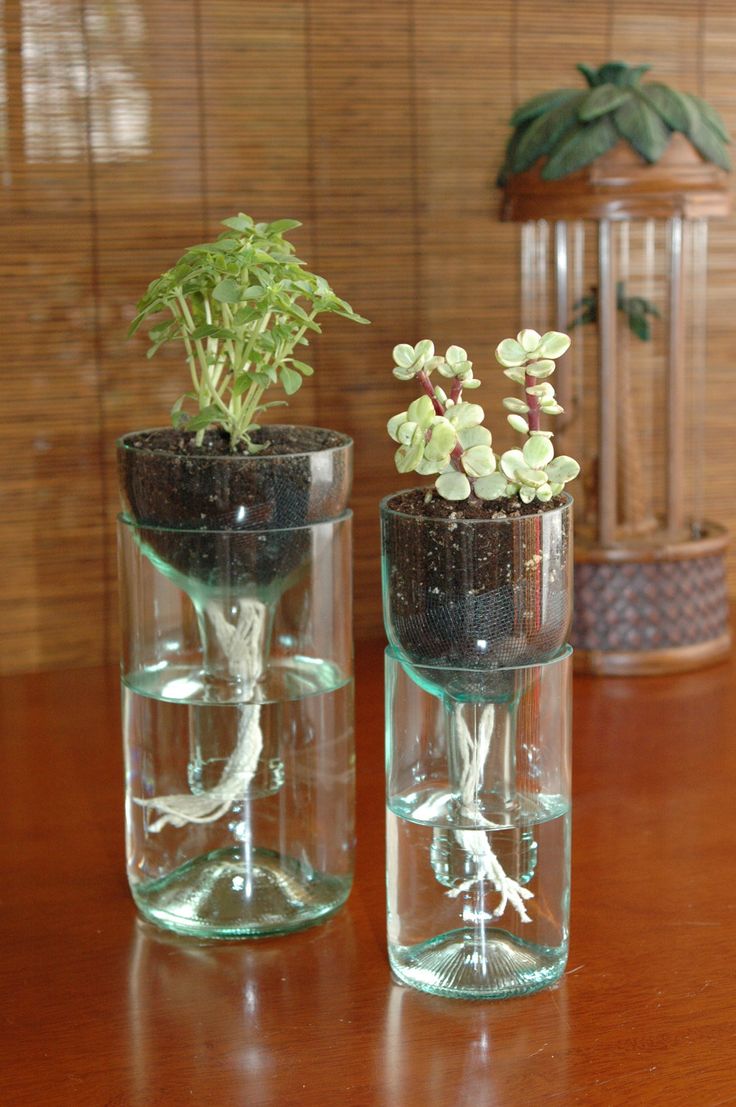
Useful device for deep watering
Not every plant is well adapted to surface irrigation, so a special device will be needed here. In order not to spend money, you can make it yourself from plastic.
First, you need to take the scissors and cut off the neck with a small margin so that it looks like a lid.From the convenient side of the plant, it is necessary to make a trench and place stones there, such drainage will not allow water to wash away the soil.
Cut the neck with a small margin
The cut off part of the bottle is installed so that the neck was at the bottom, then it is sprinkled with earth. To water the plant, you need to open the installed cover and pour water. If you install the opposite, it is desirable to make holes for drainage.
To pour the plant, you need to pour water into the bottle.
Plastic Washbasin
This adaptation is already used by almost all people who go to rest in the forest.
To make a plastic sink, it is advisable to use a 2-liter container. First you need to cut off the bottom so that it can later be used as a cover that protects against insects or leaves. The resulting product can be hung with the lid down in any convenient place, for example, on a tree.

Option for outdoor recreation
To use it, it is enough to fill in the water and before washing your hands, slightly open the lid. Some people make the sink more comfortable by using hoses on the neck and tap.
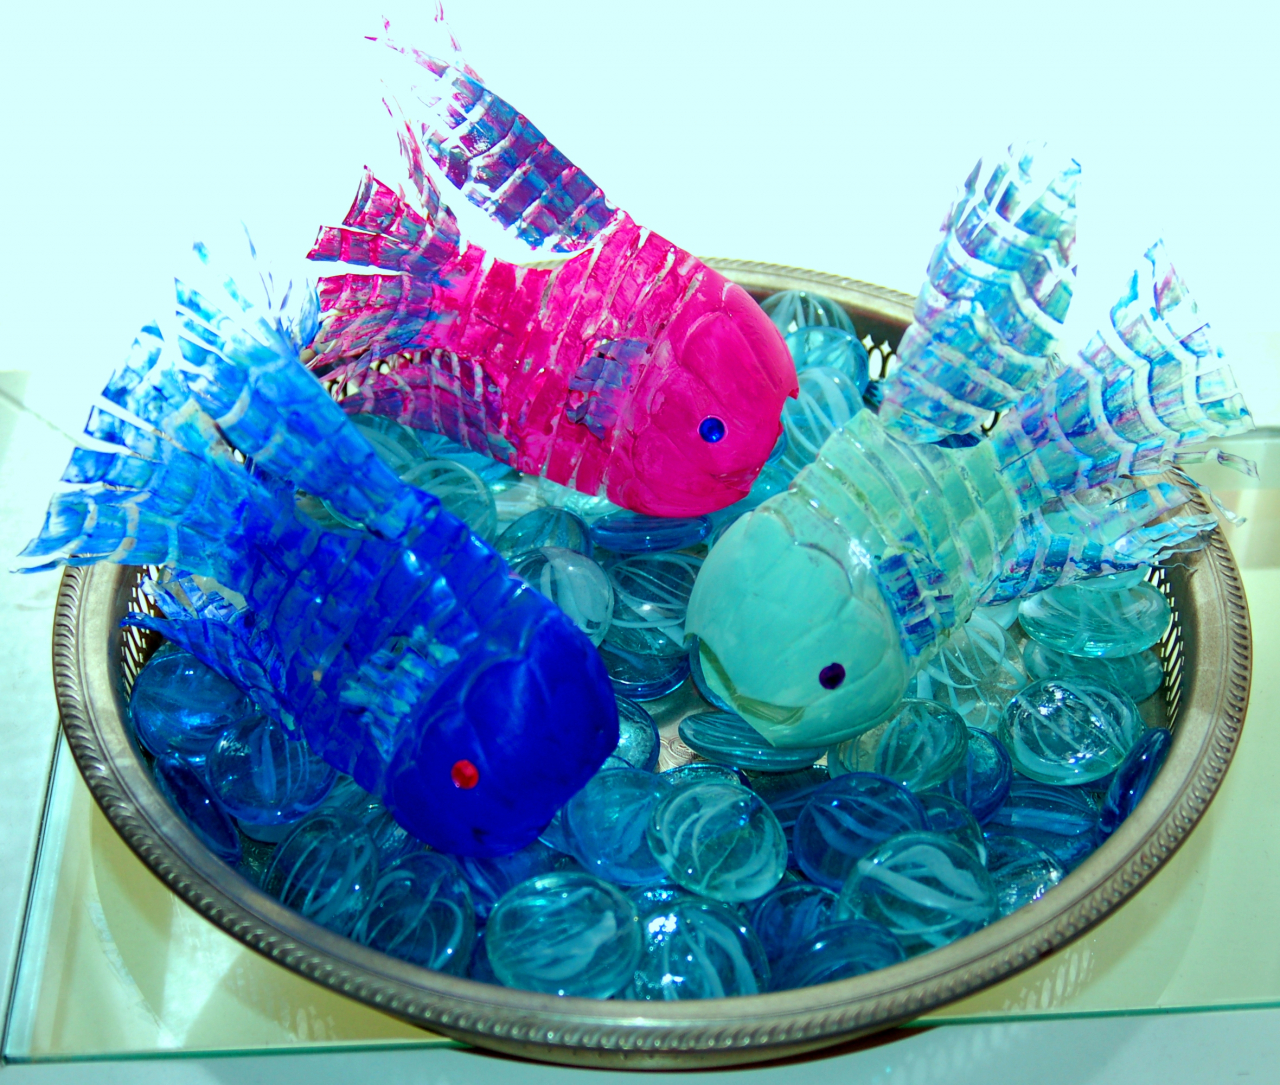
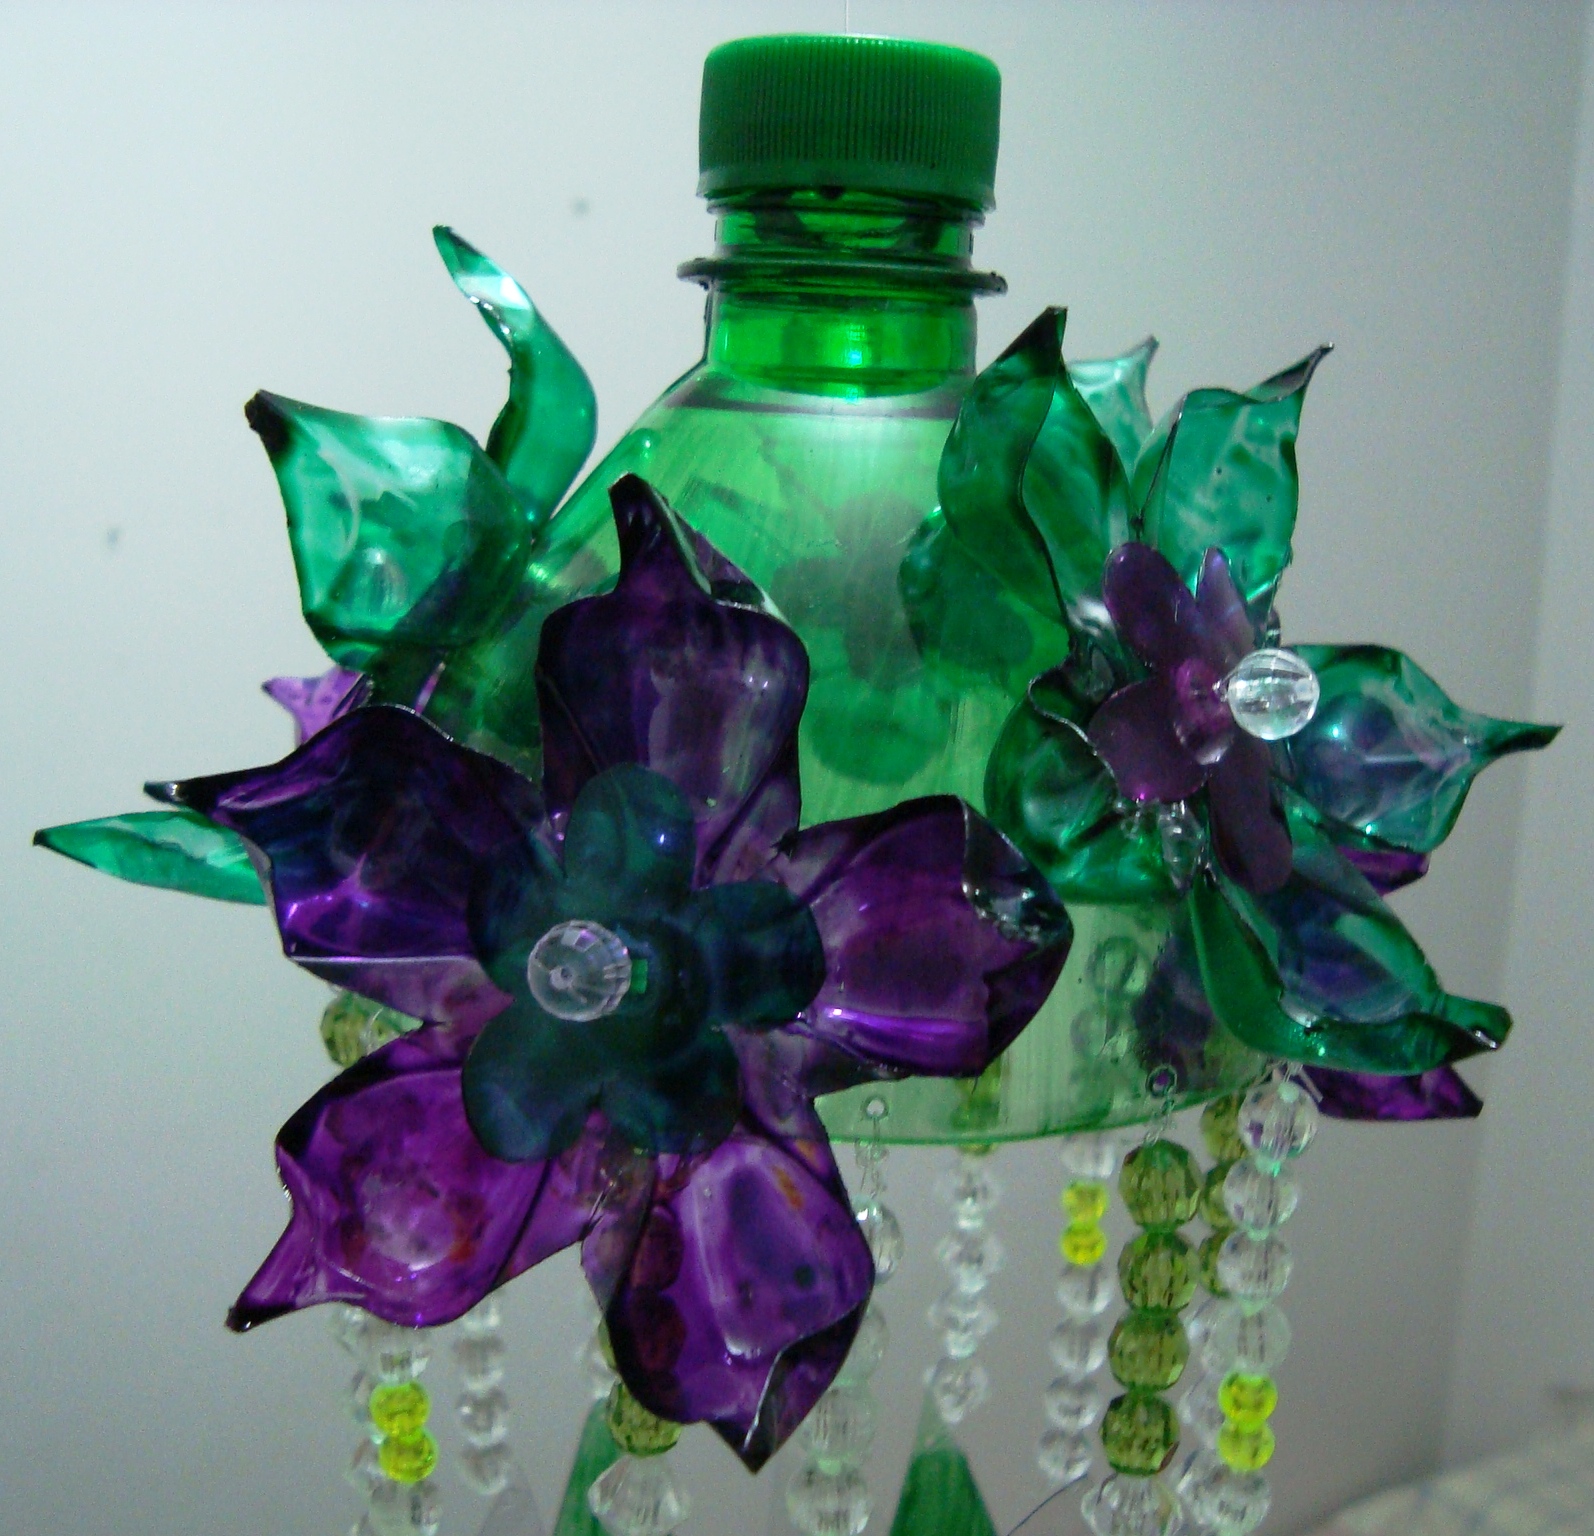
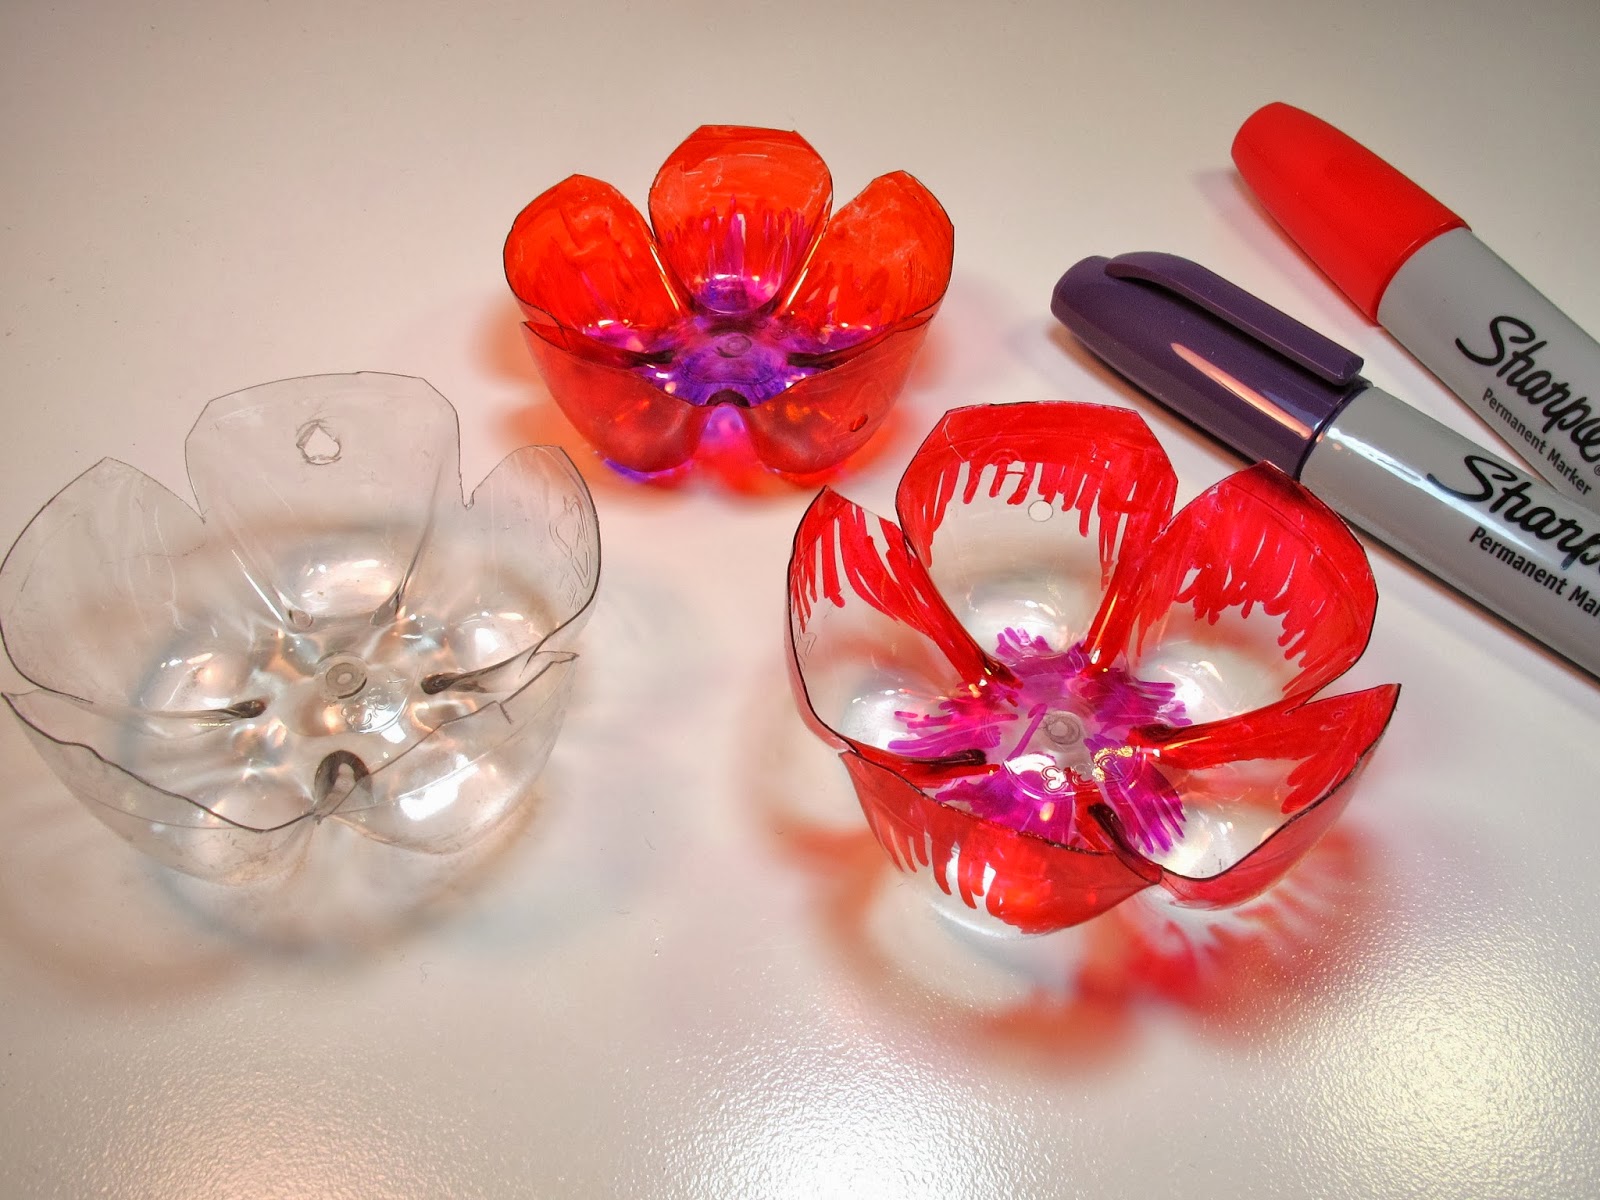
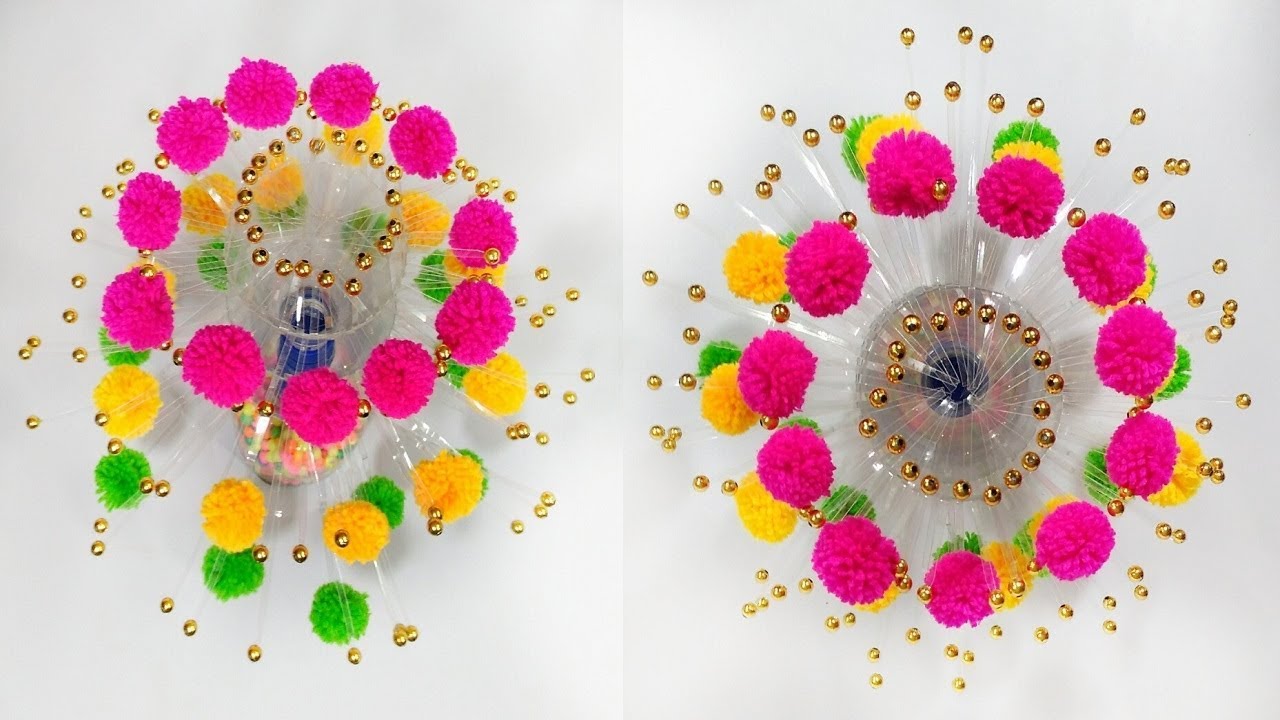
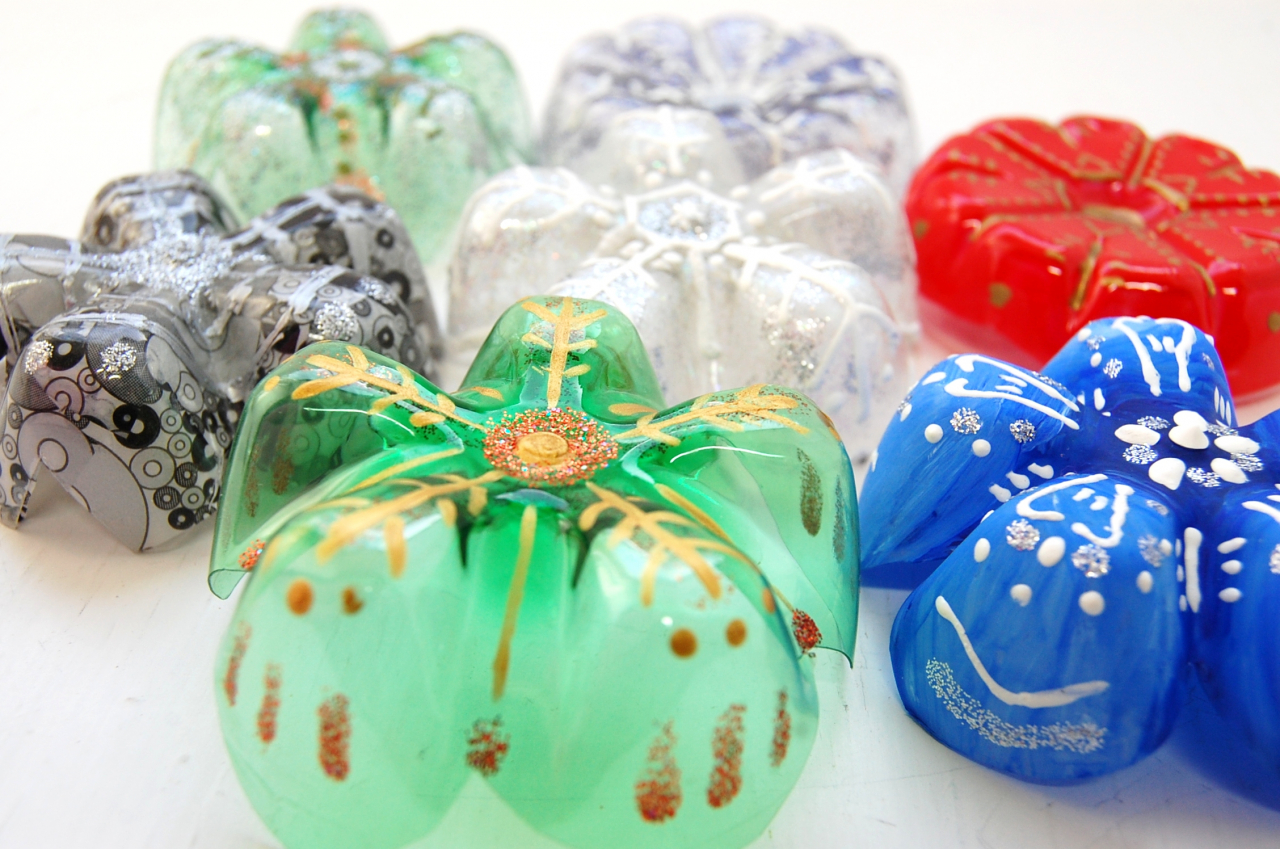
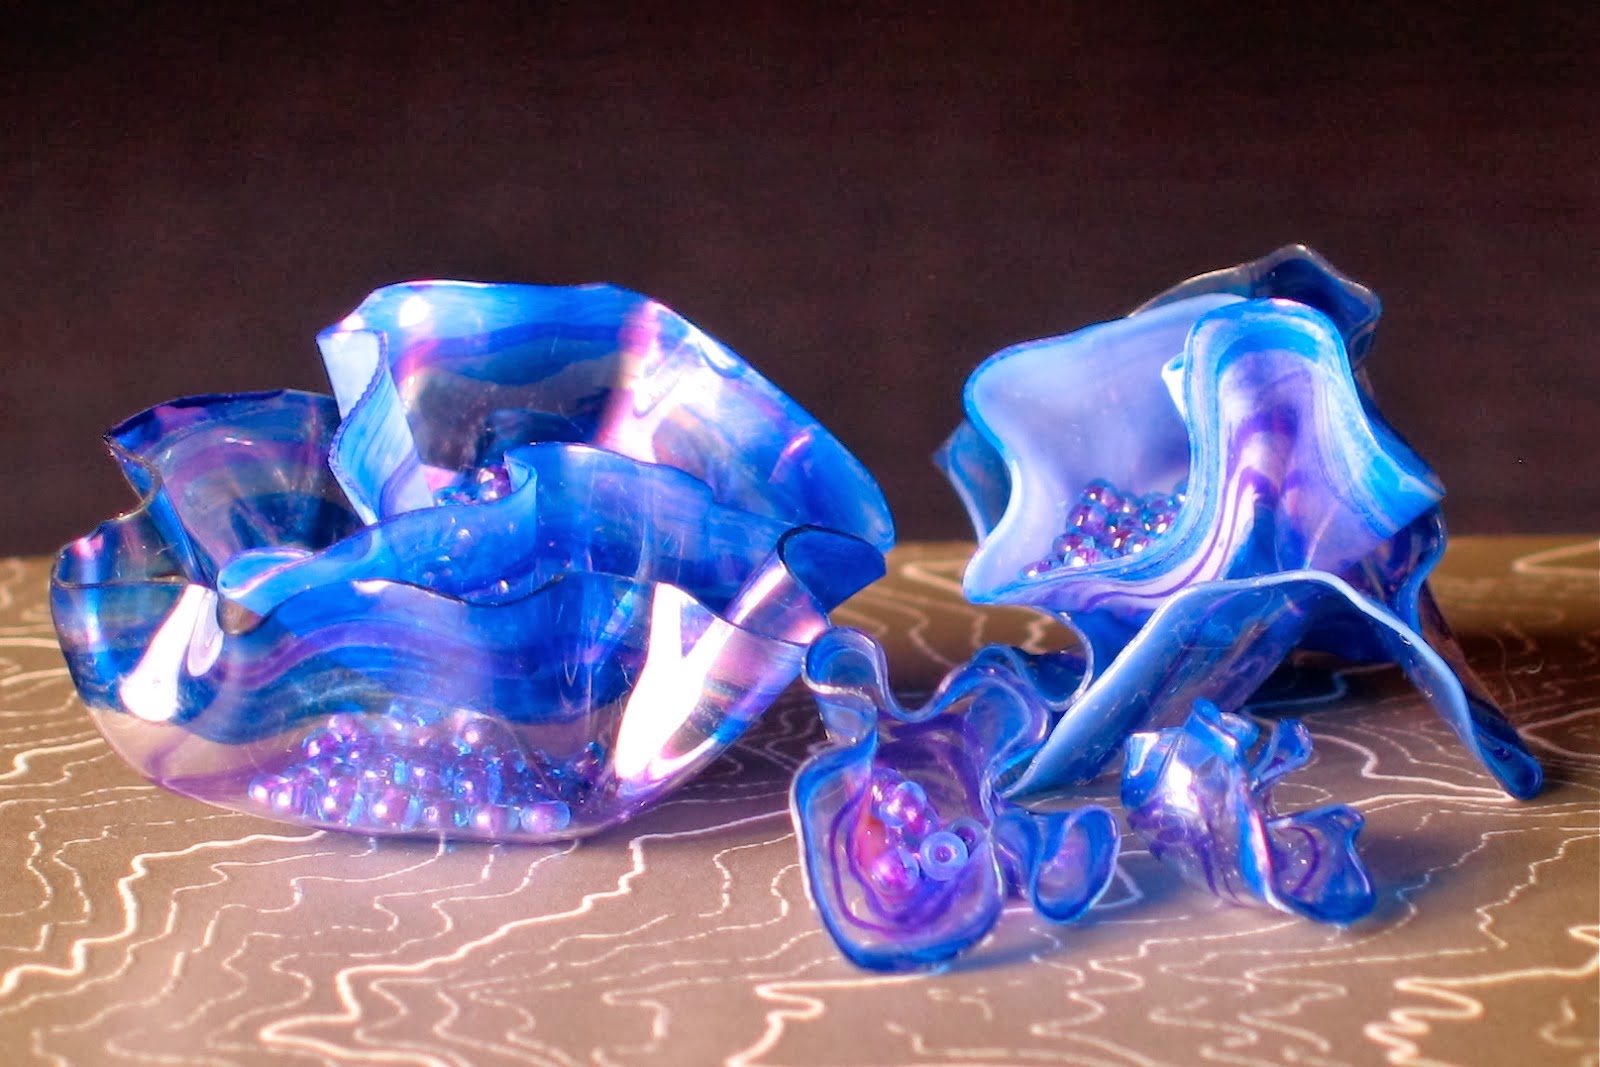
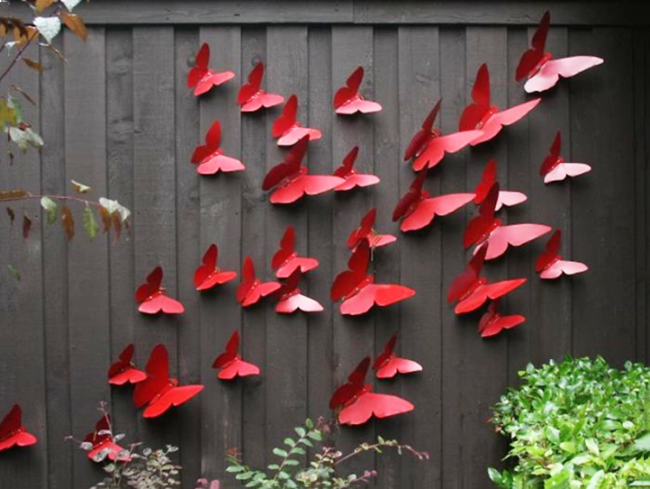
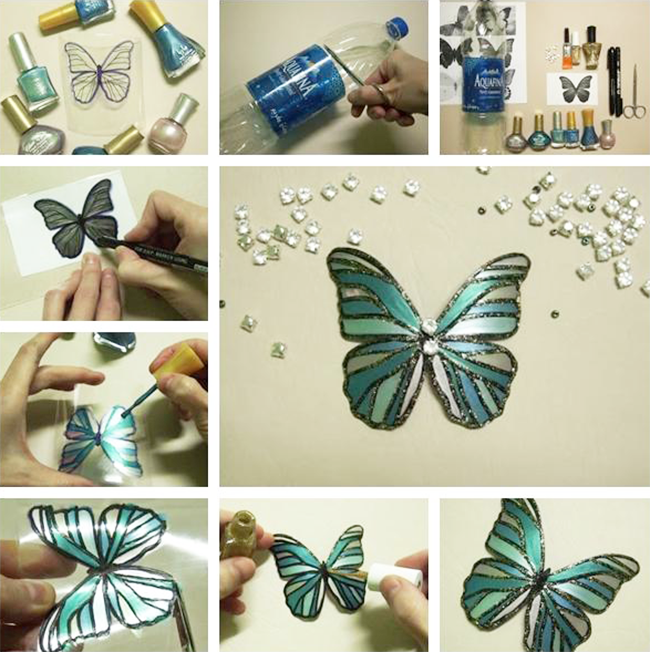
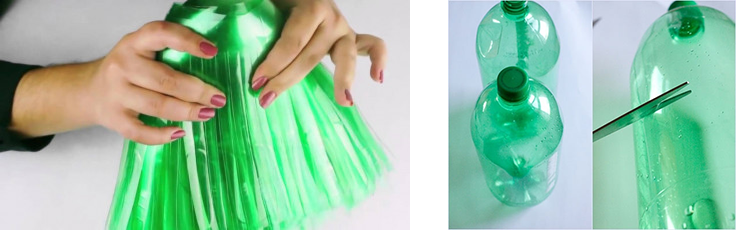
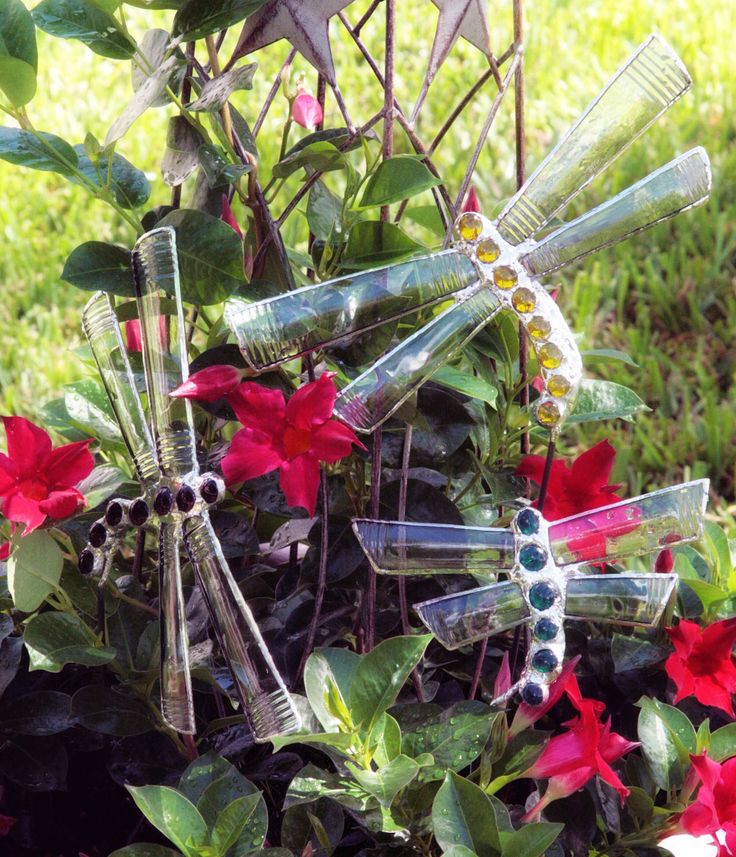
return to menu ↑Plastic butterflies for decoration
Products are used to decorate areas with flowers. To make a plastic butterfly, you need the following:
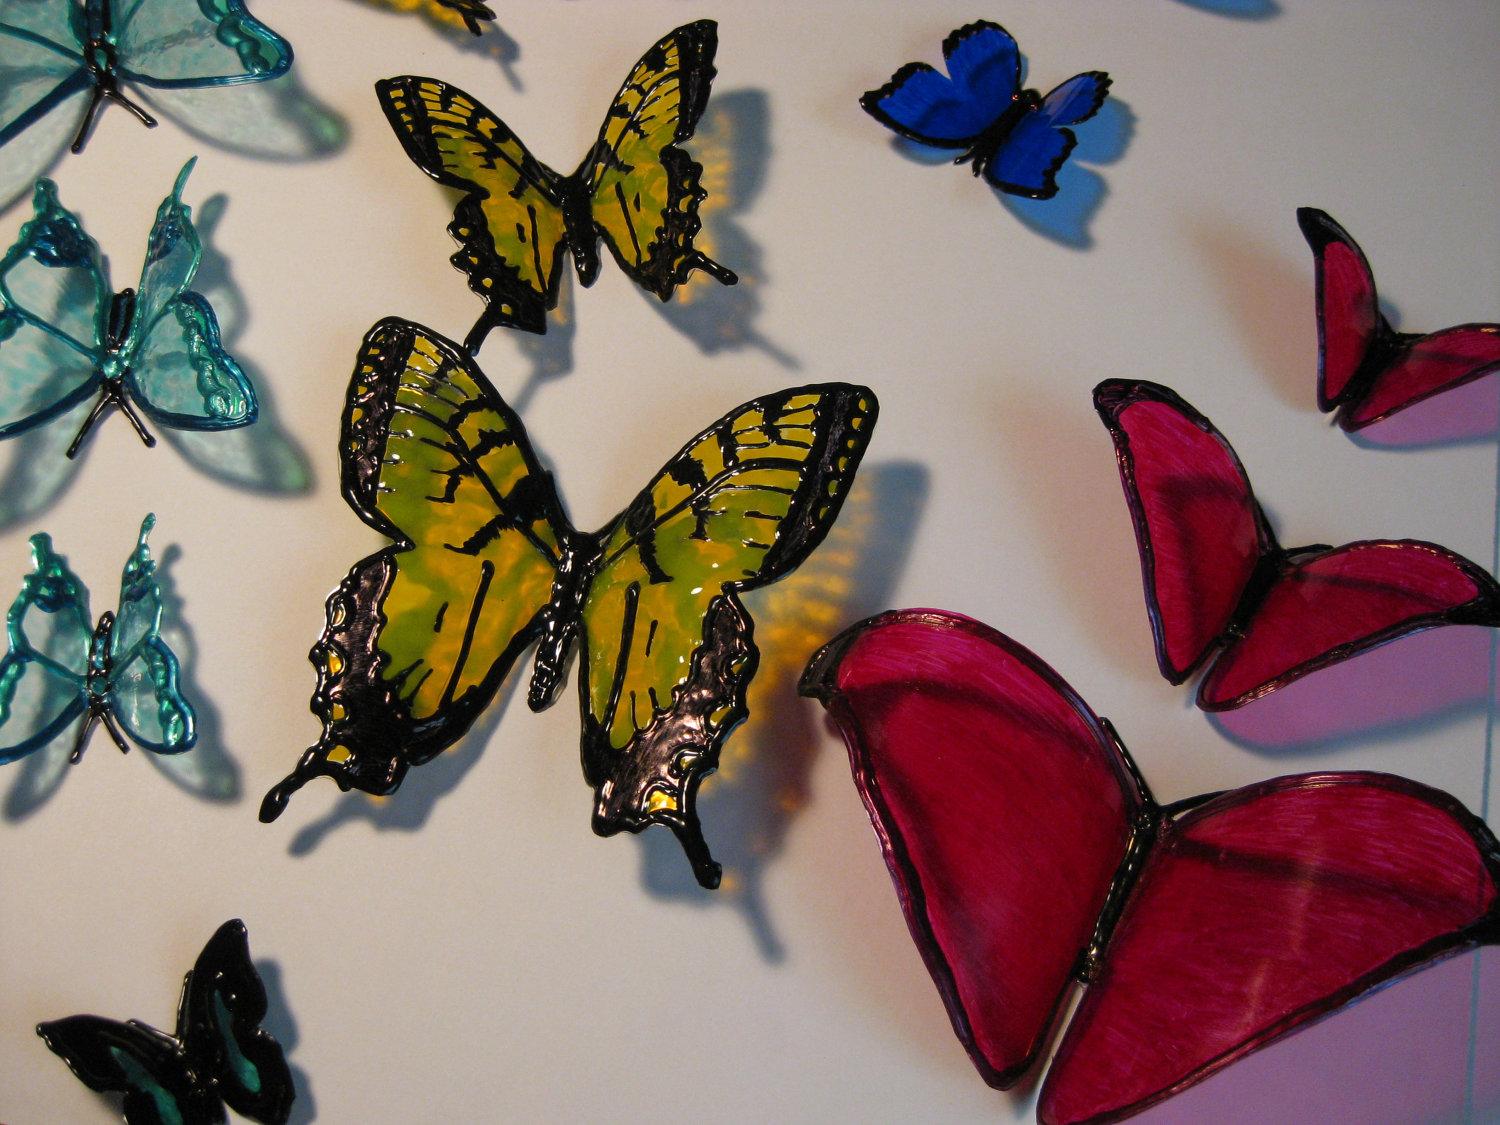
Butterflies to decorate the site
- Multicolored bottles.
- Candle.
- Kapron thread.
- Wire.
- Beads and beads for jewelry.
- Reliable glue.
- Awl and scissors.
- Paints (acrylic).
Smooth the edges and give the desired shape of products using fire
On each it is necessary to remove the bottom and the neck so that the cylinder is obtained. Next, you need to cut it along the entire length. From the resulting plastic sheet, you can begin to cut the wings for butterflies. Then the candle is set on fire in order to smooth the edges and give the desired shape to the products using the smelting.
Decorate flower beds with plastic bottle butterflies
A rigid wire with multi-colored beads on it can serve as a butterfly for a butterfly. Acrylic paints and beads are used to decorate the wings. When all the parts are ready, you just need to glue them together.
Decorate butterflies using acrylic paints and beads.
Stand for glass
To independently make holders of plastic, you need to prepare the following items:
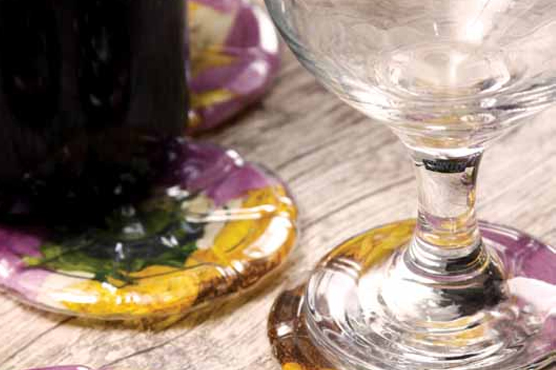
Cup holder with decoupage
- plastic container with a capacity of 1.5 liters with a flat bottom;
- simple pencil;
- glue;
- iron stand (preferably a tray);
- brush;
- napkins.
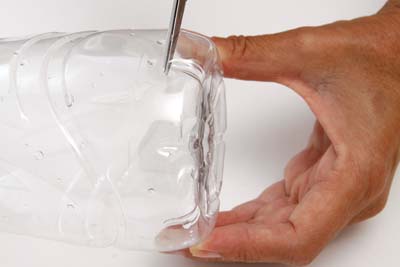
Cut the bottom of the bottle 1cm wide.
First you need to cut off the bottom, its width should not exceed 1 cm. The iron tray is needed in order to heat it and attach the cut side of the bottom to the hot surface. This will smooth out the bumps and round the edges.
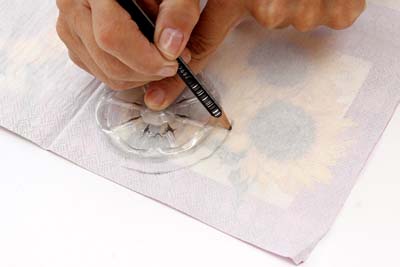
Cut a napkin with your favorite pattern
Next, the bottom is fitted to the napkin (preferably with a pattern or picture) and encircled with a pencil at a distance of 5 mm from the edges. Next, the inside of the plastic is smeared with glue to secure the napkin that was cut out earlier, face down. Stand ready!
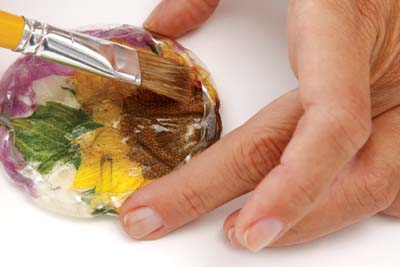
Grease the edges with glue
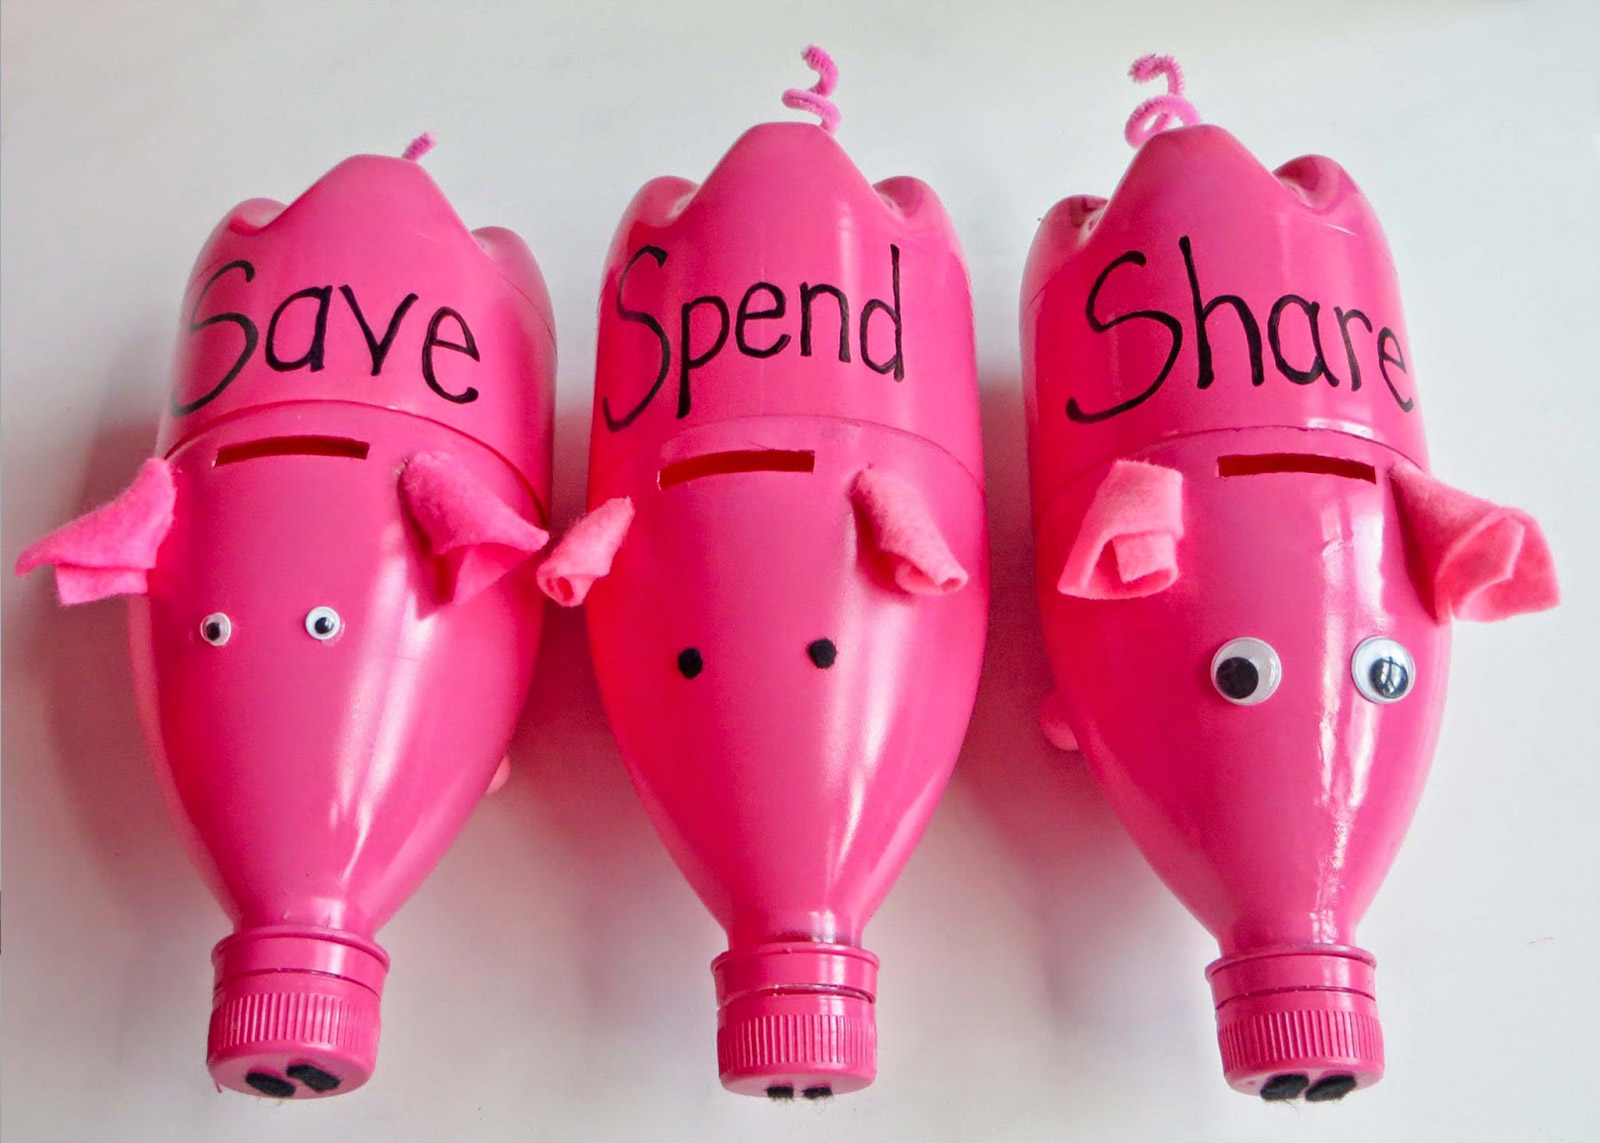
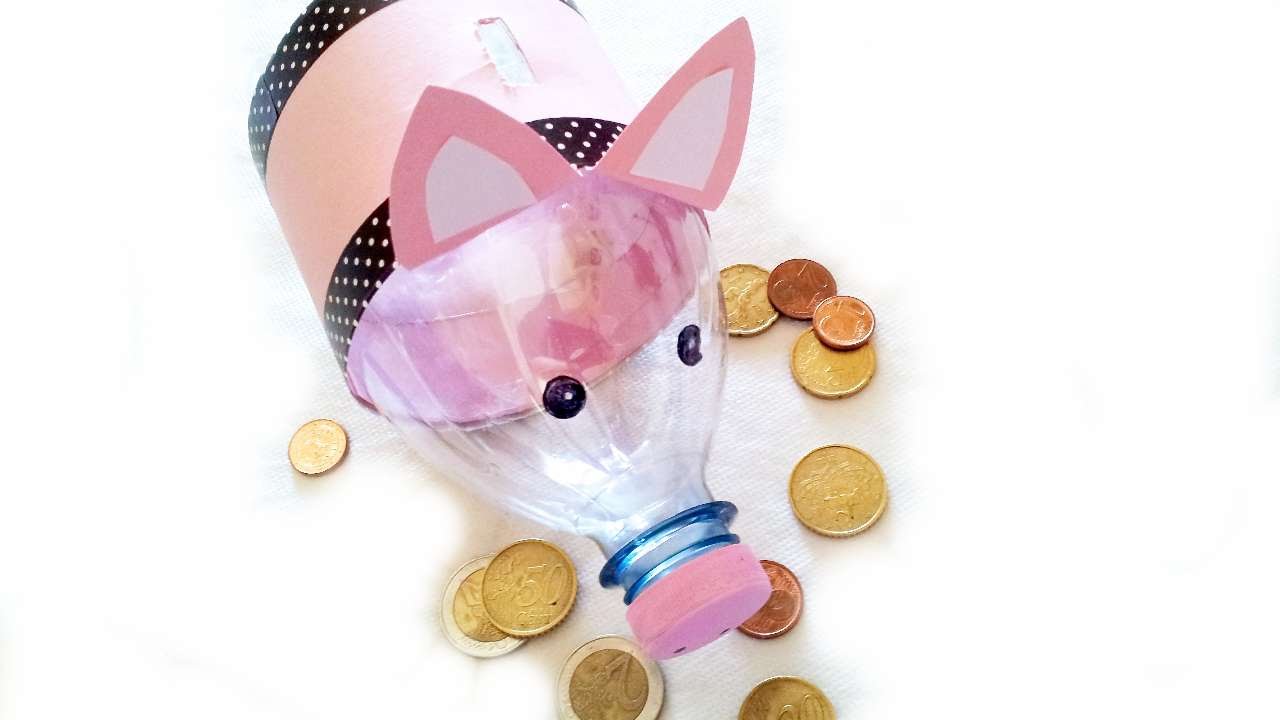
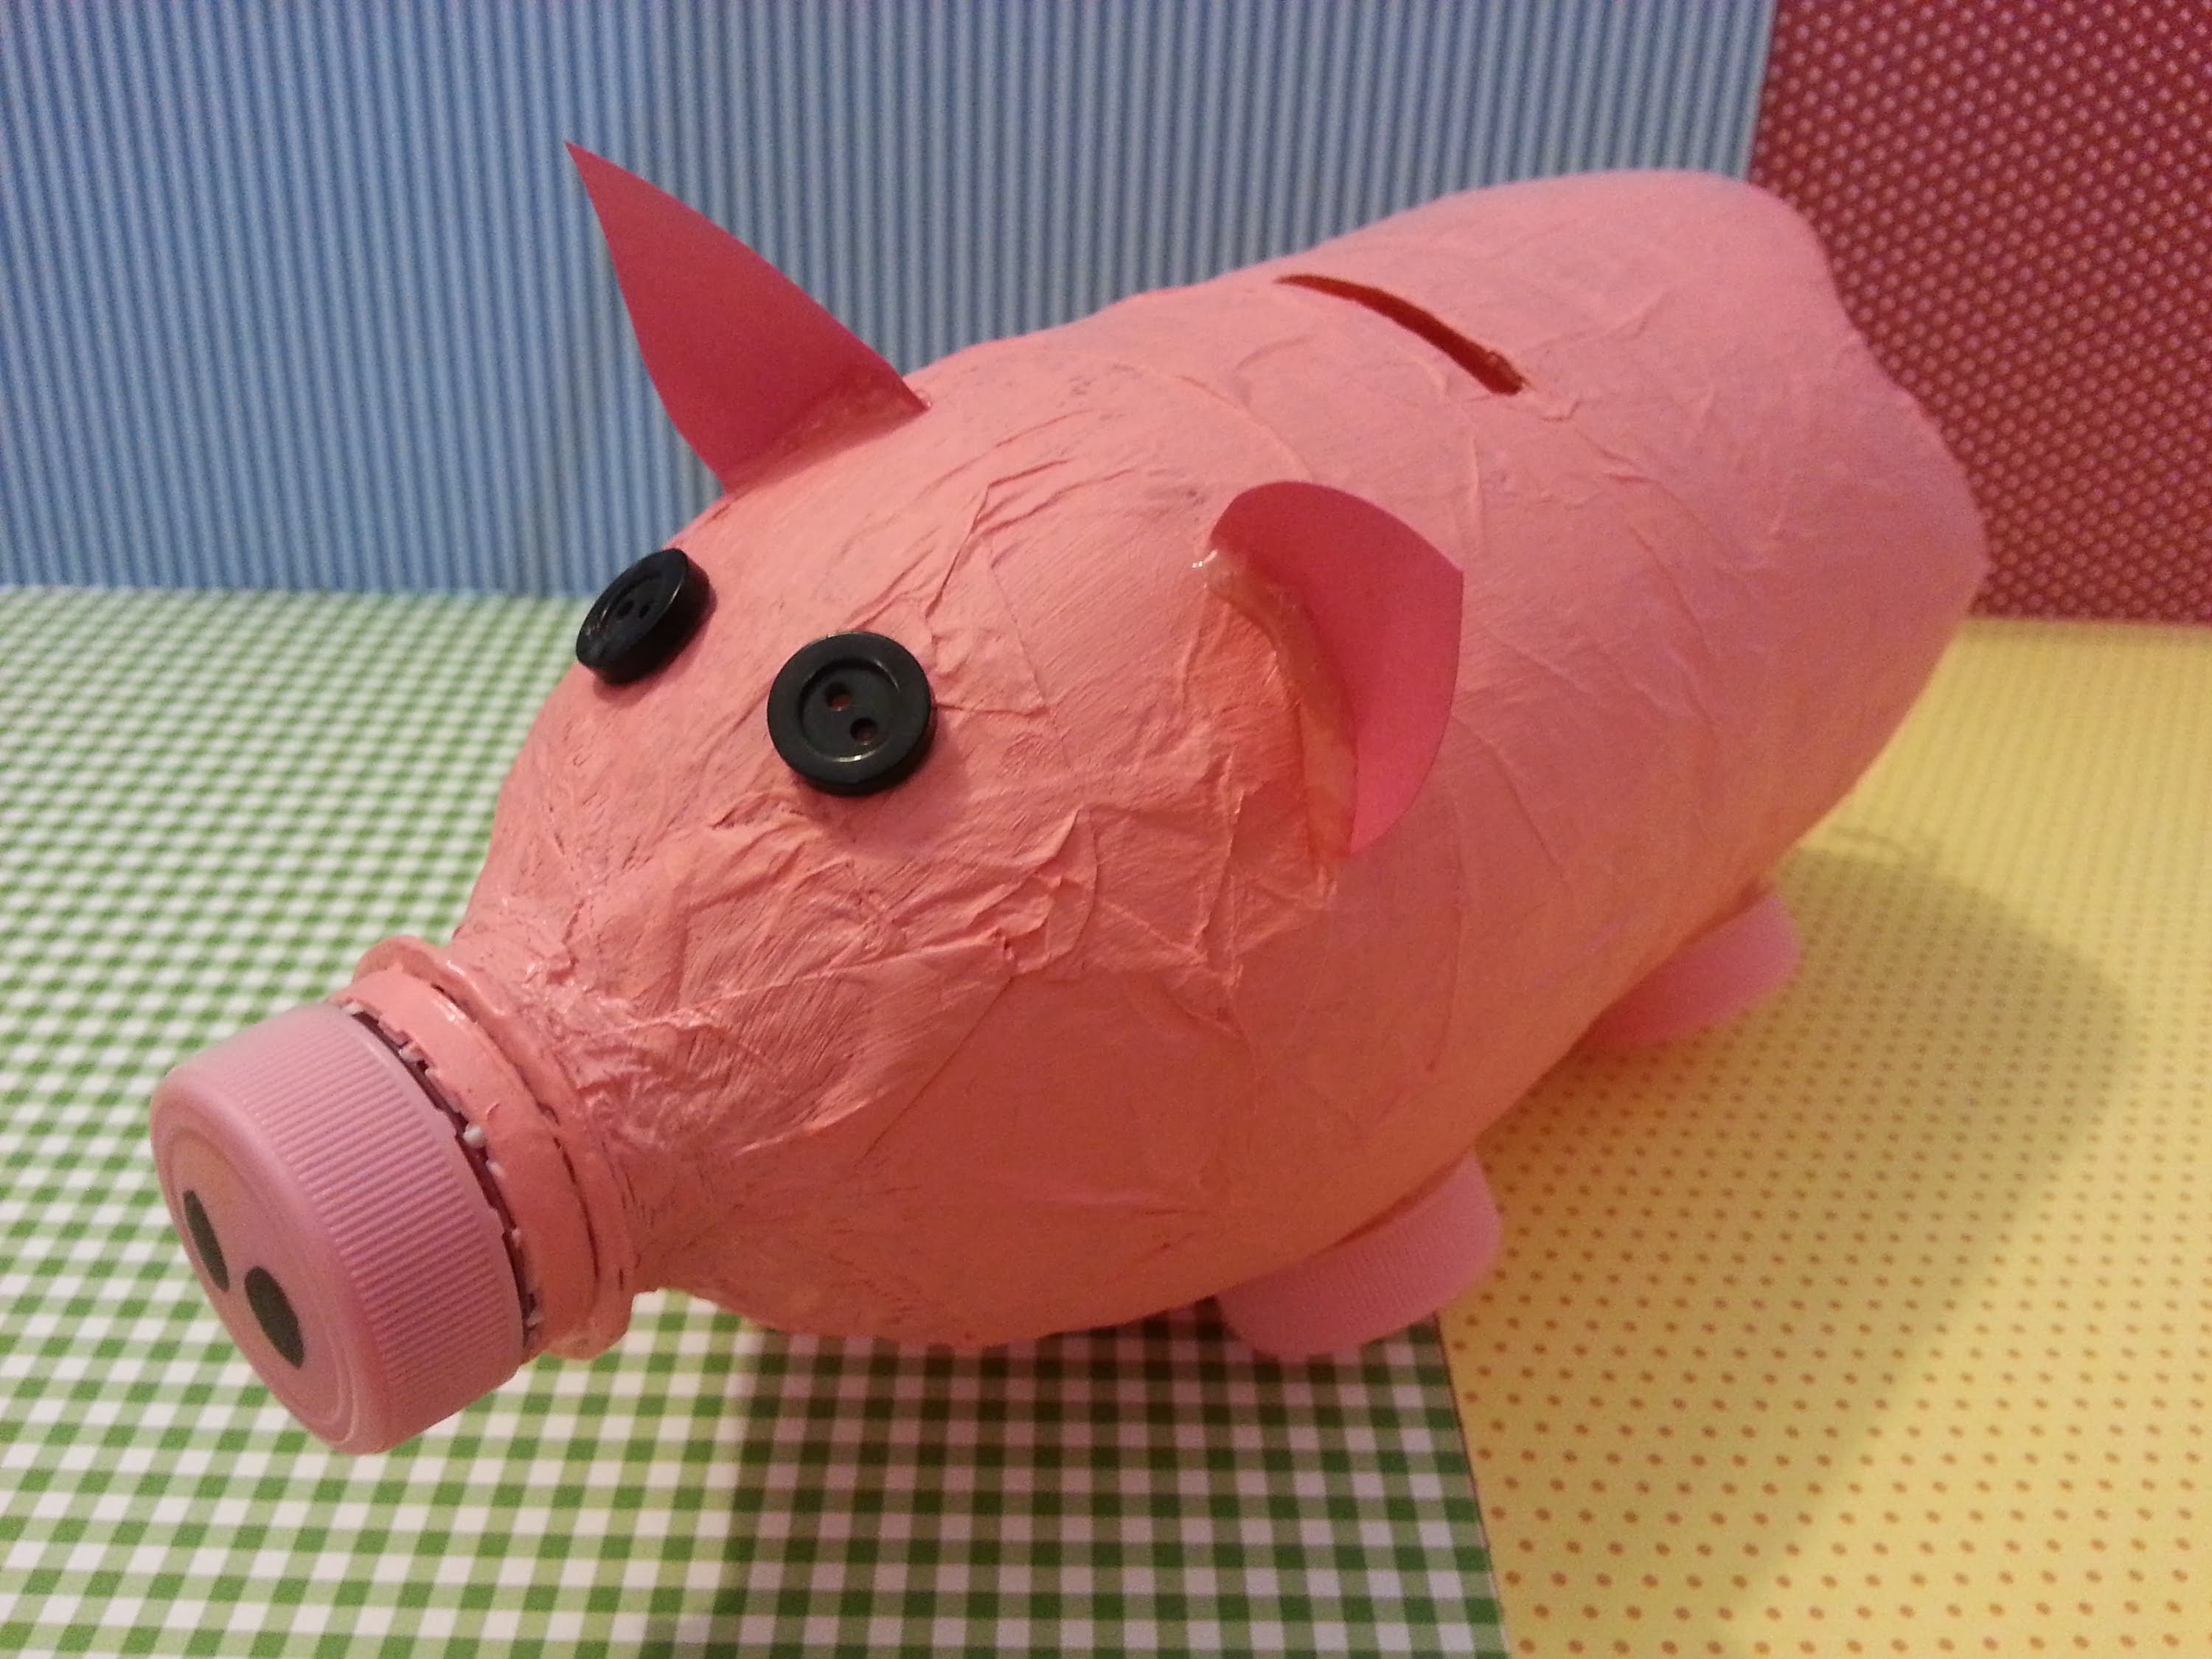
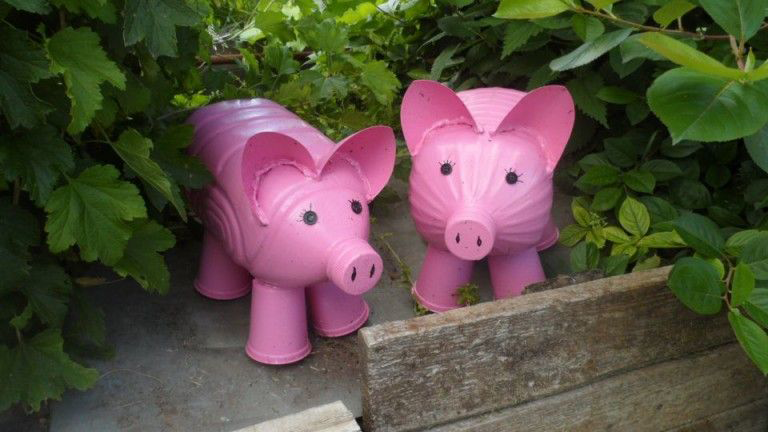
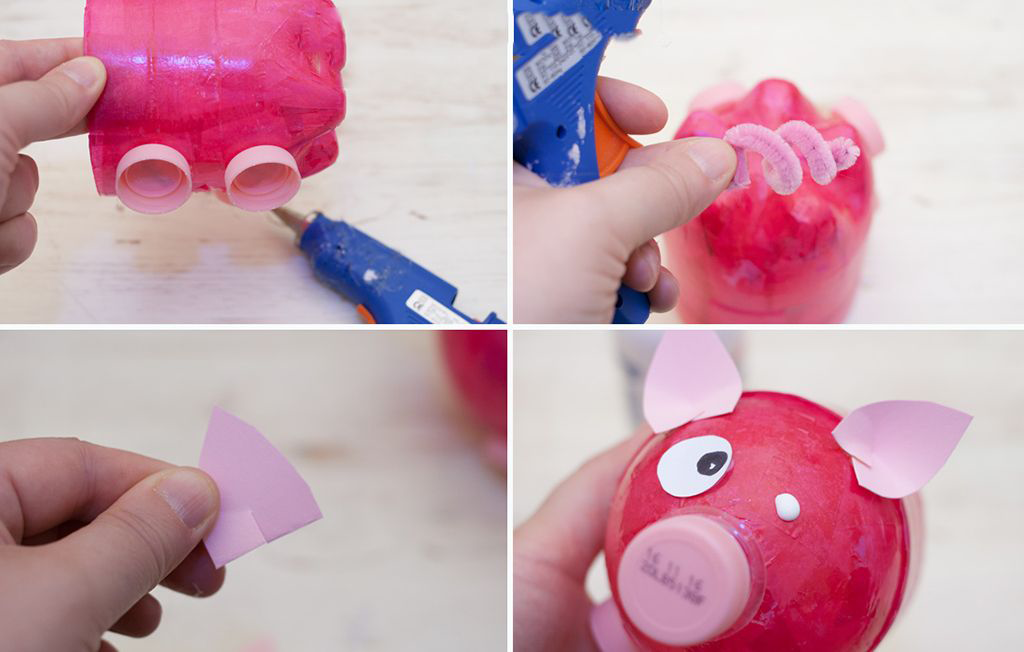
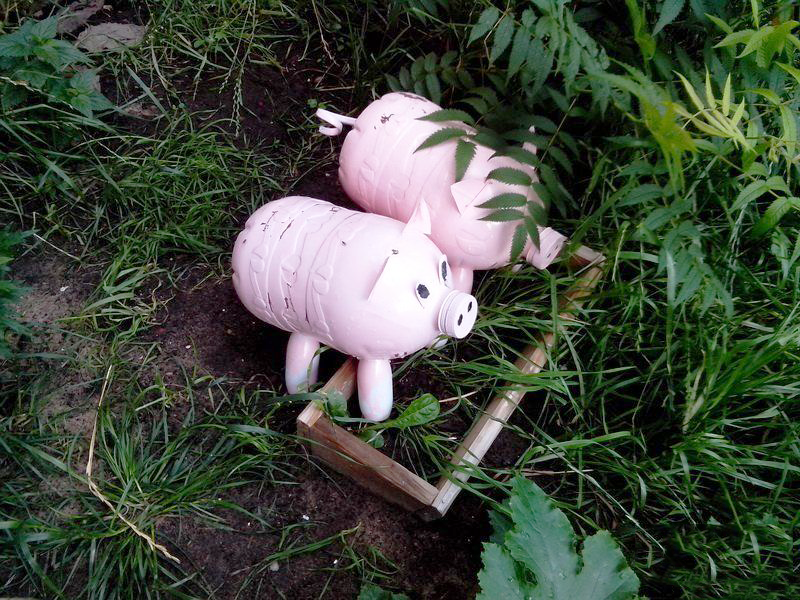
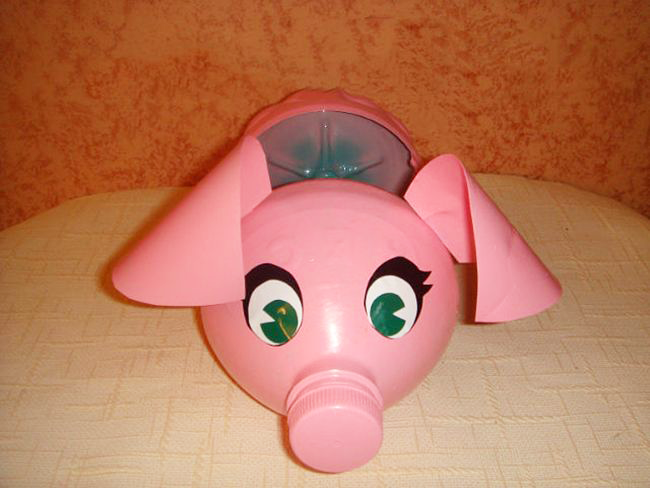
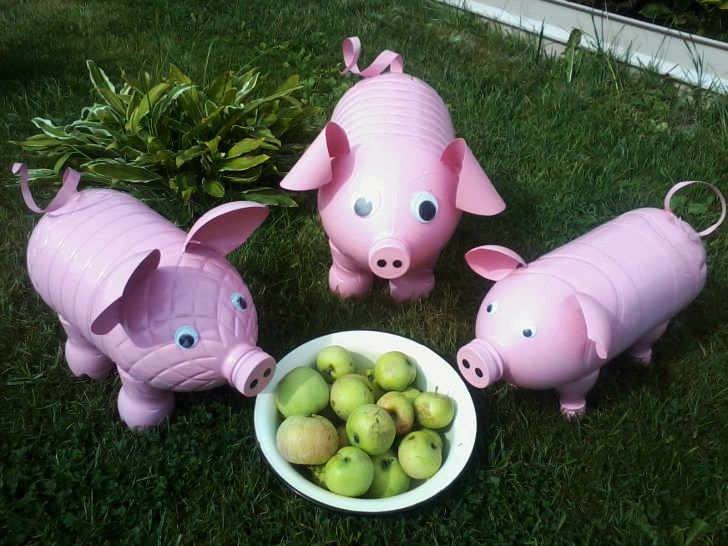
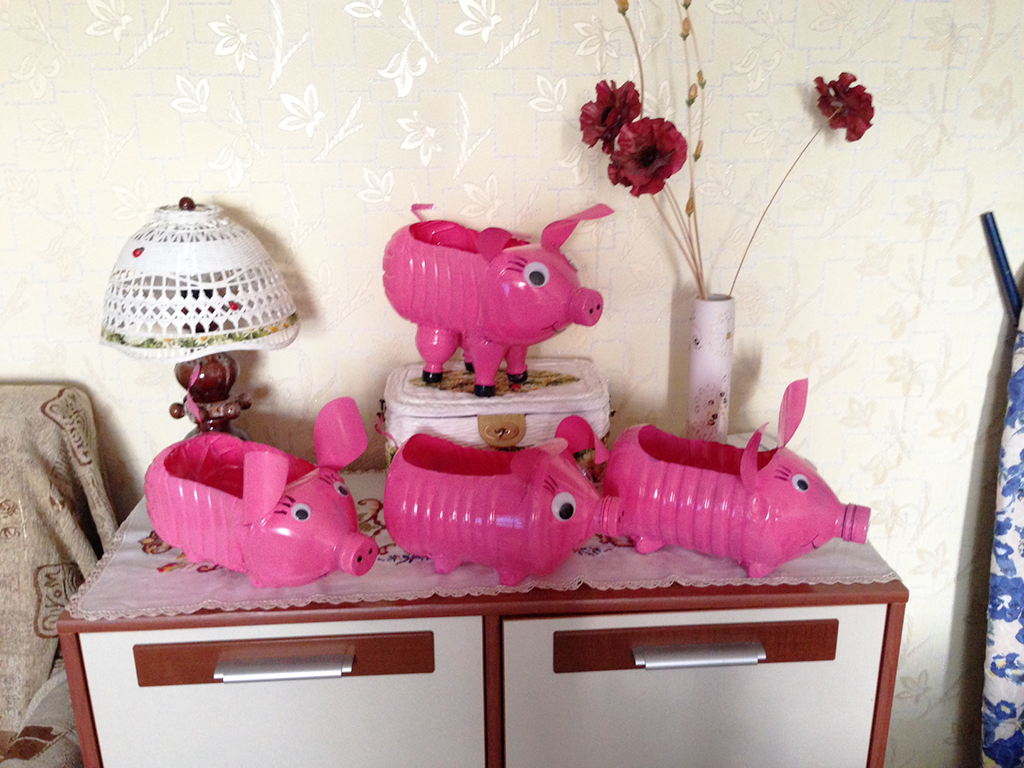
Plastic money box
The shape of a plastic bottle is more suitable for making piggy piggy banks. To make it, you will need the following materials:
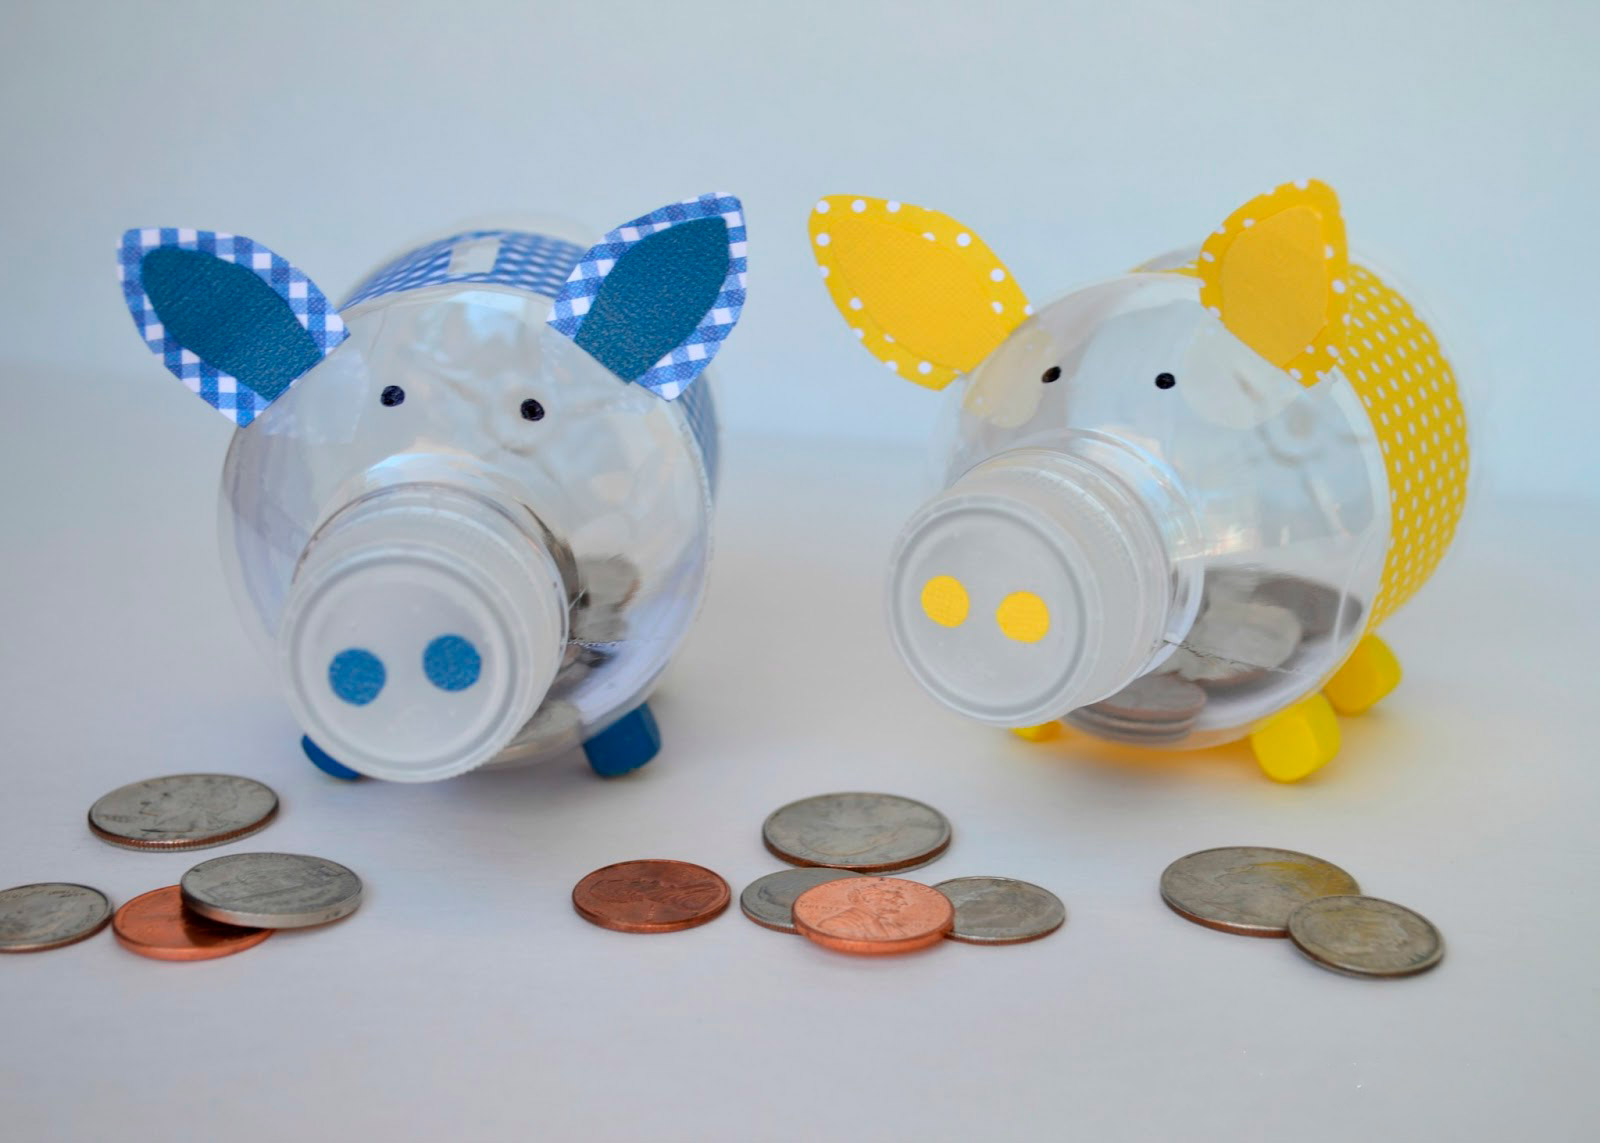
Funny piggy bank
- Acrylic paints (color can be selected to taste).
- Vinyl glue or PVA.
- Water.
- Brush.
- Bottle capacity of 2 liters.
- Knife.
- 5 covers.
- Marker.
- Scotch.
- Colored cardboard.
- Acrylic paints.
- White napkins.
Mix paint with PVA glue and water.
First, the upper part is cut off, it will serve to create the head of the pig. To make the body, you need to use the central and lower parts of the container.The piggy bank should not be too long, as it will not bear the weight of the coins and will eventually be bent over in the middle.
To make the paint of the desired color, it must be mixed with water and white glue. If the edges of the body are uneven, they should be leveled with scissors, then insert the body into the front part or vice versa and securely fasten with tape. A sharp knife is used to cut money holes.
Choose your favorite color for decor
Now you can begin to apply a solution of paint and glue pre-applying napkins, they will help make the piggy bank more rigid. The paper should be adjusted in several layers, but only after the previous layer froze. Next, you will need to re-cut the hole for the coins.
Paper in several layers will make the piggy bank more rigid
To make an attractive face, people use eye buttons and a marker to draw a nose and a mouth. To create legs used previously harvested covers.
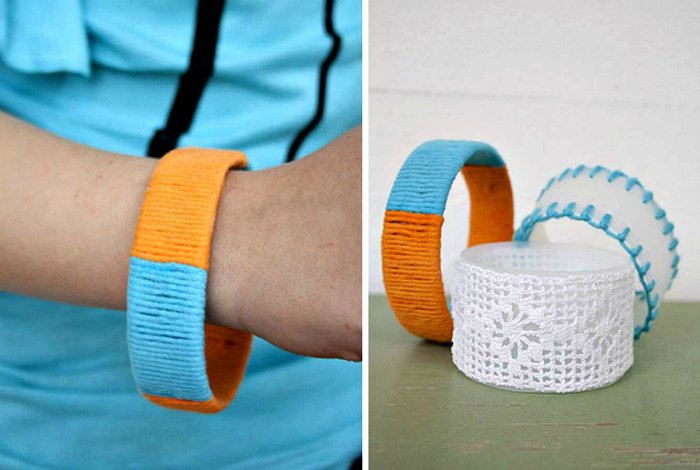
return to menu ↑Bracelets for children
From the floor of a liter plastic bottles can turn out beautiful multi-colored bracelets for children. To make, you will need the following items:
Bright multi-colored bracelets for children
- plastic container 0.5 l;
- scissors;
- felt or similar material;
- any decorations depending on the idea;
- stationery knife;
- Double-sided tape;
- duct tape. The wider it is, the wider the bracelet will be;
- glue.
Create your own design
The first thing you need to do is take a bottle and glue it with adhesive tape with rings as smoothly as possible. Most often it turns out about 4 rings. The width of this tape in the future will determine the size of the bracelet.
Further, these circles are cut with a stationery knife, after which, you can get rid of the tape. A double-sided tape is attached to the resulting product (it is desirable that its width coincides with the width of the adhesive tape). Now you can begin to cut out the felt and attach it to the bracelet, the excess is cut off with scissors.

Decorate with various materials using adhesive tape.
To decorate the product, you can use beads, small artificial flowers or other items if the bracelet is made for a boy.
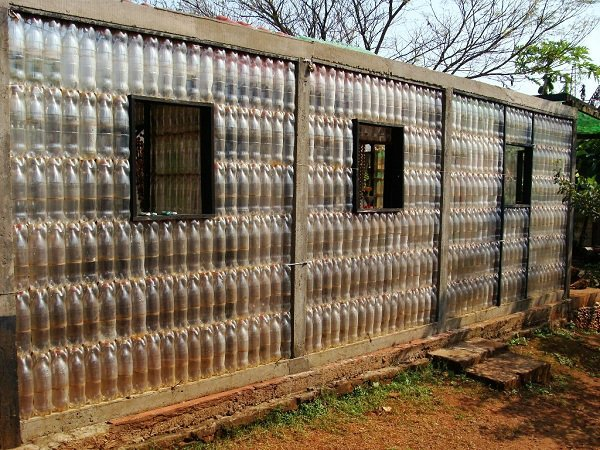
return to menu ↑Arbor from plastic bottles

Bottles for this facility requires a lot
It is not strange, not only elementary things can be made of plastic containers, but also entire structures, such as gazebos in the country. Before this, it is desirable to allocate a room in which the bottles will be folded for future construction, since they will need a lot.
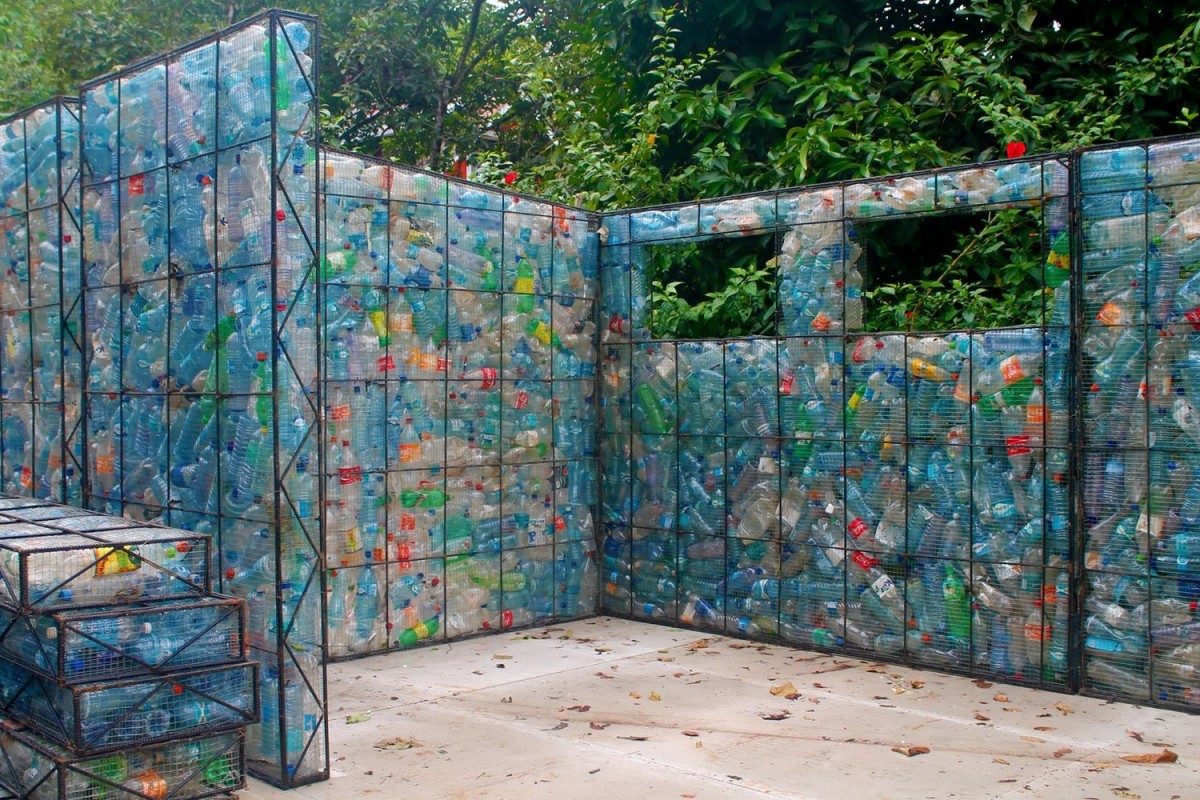
Reinforcement mesh will help make the structure more durable
The most difficult thing in this matter is the preparation of the project, everything must be clearly planned, only after that you can begin to fill the sand in the bottles and prepare the solution. To increase the strength of the structure, it is recommended to make a reinforcing mesh between the rows of masonry.
Plan your project well.
In order not to spread the arbor, it is advisable to build it in stages, letting the first layers dry well. Basically, in this construction the same rules apply as for brickwork.
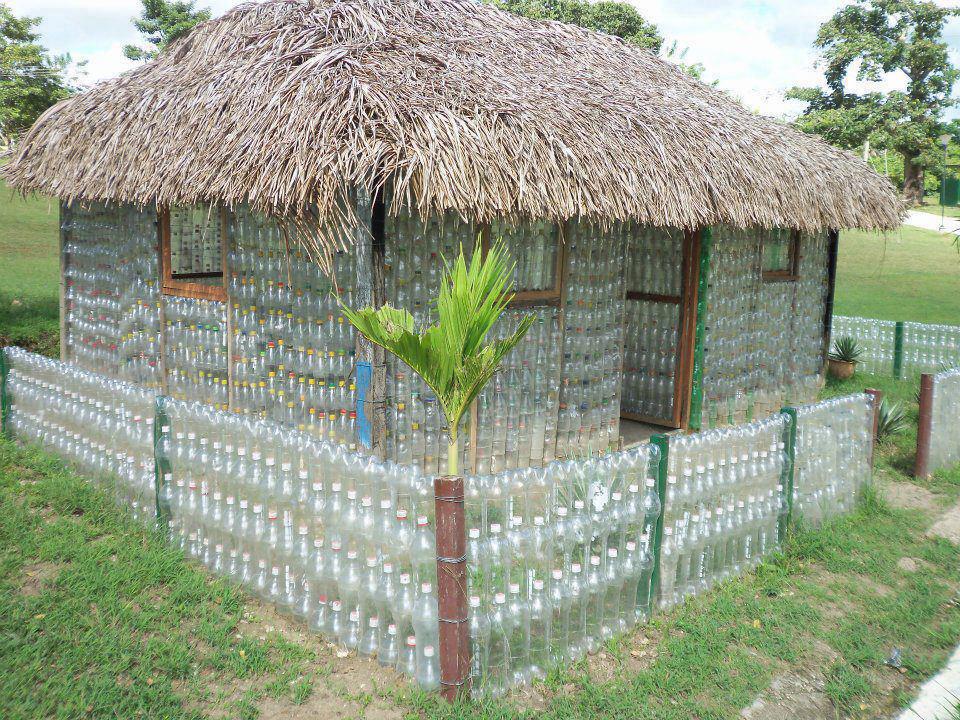
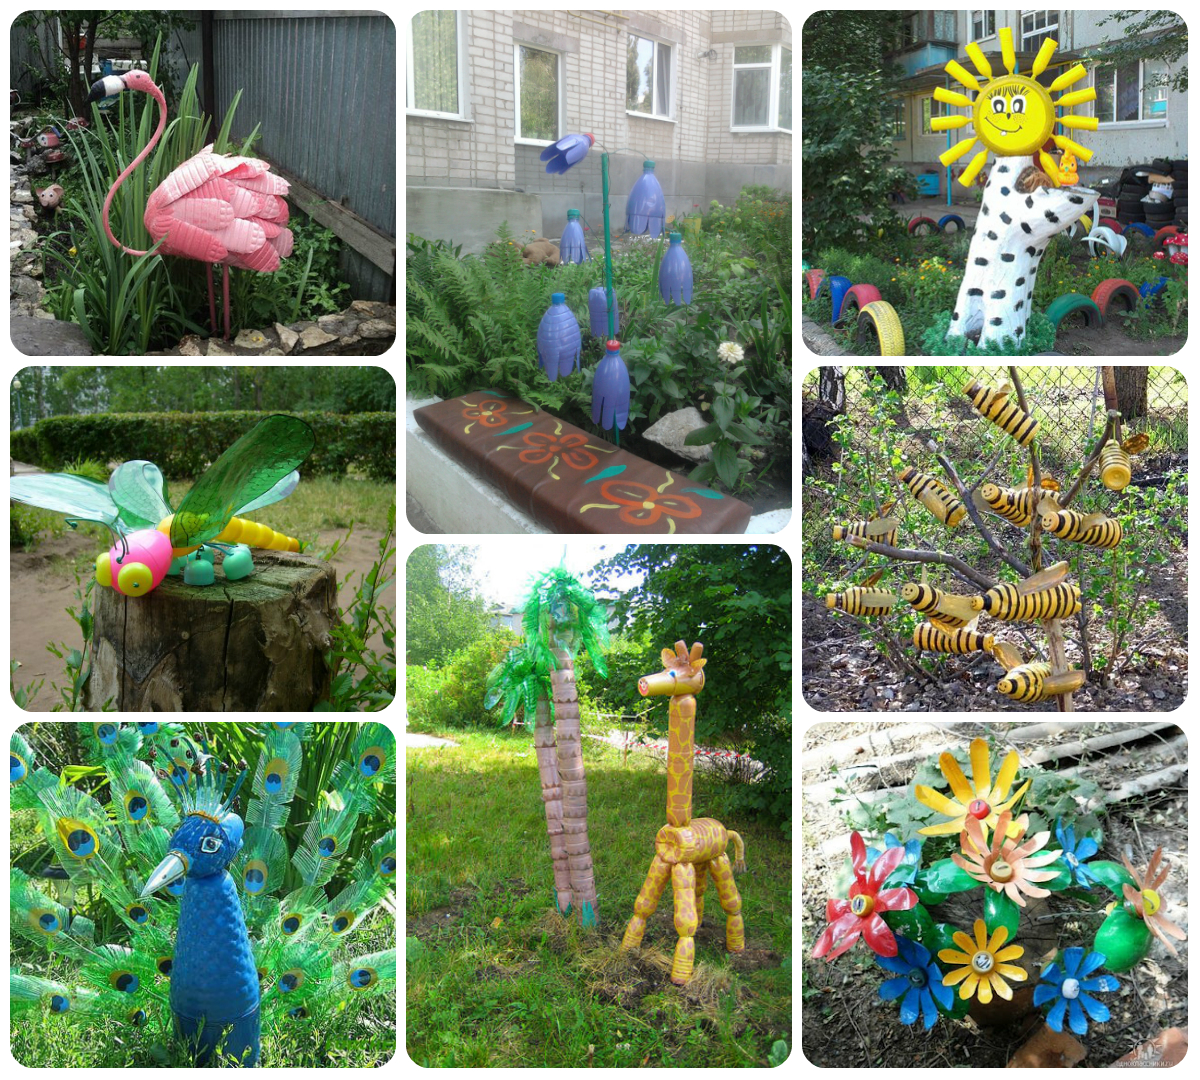
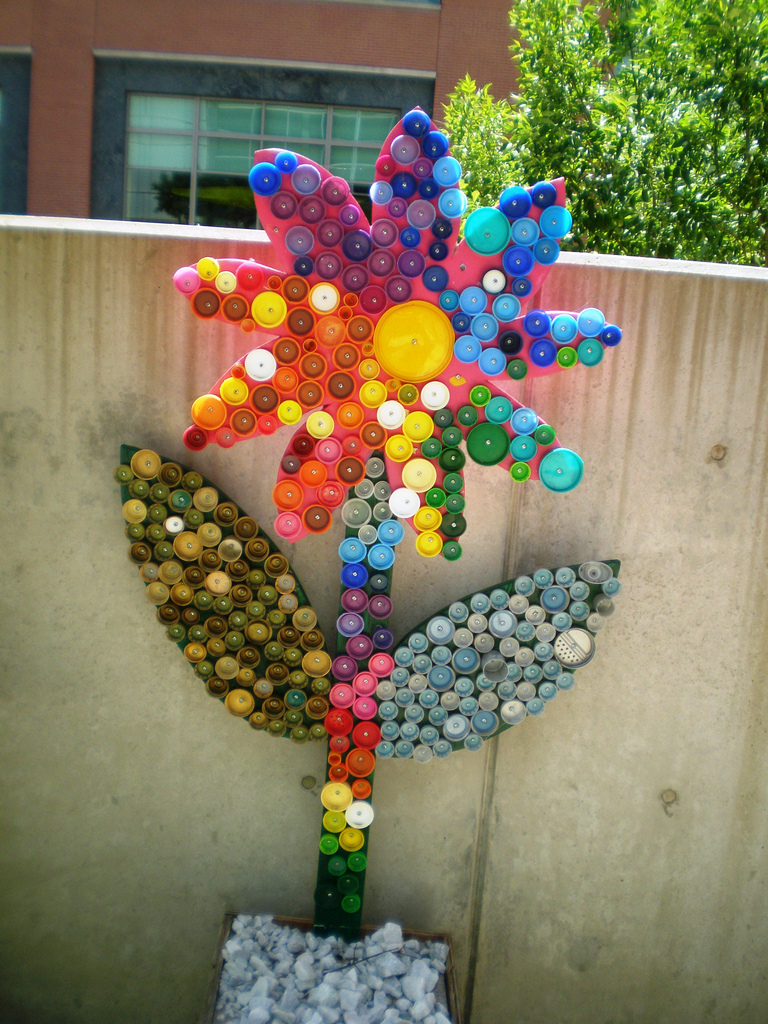
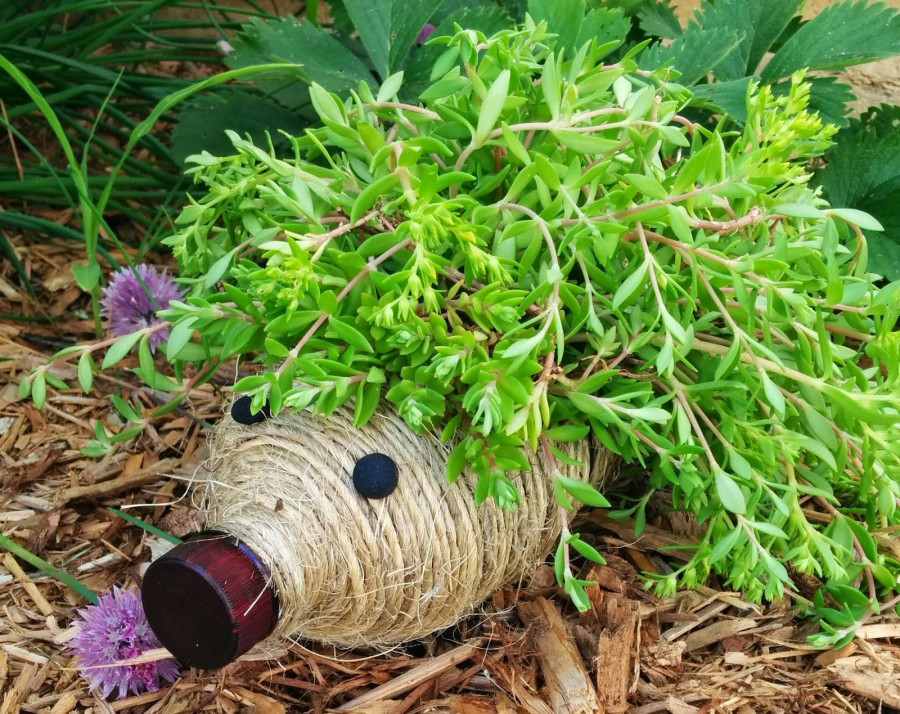
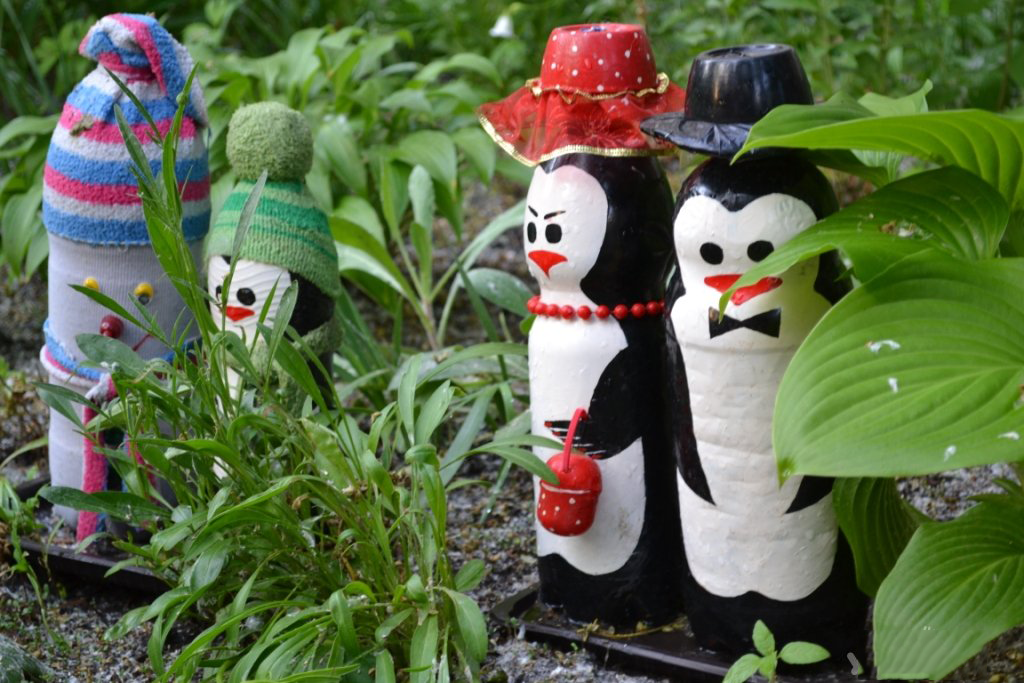
Each plastic product can not only bring invaluable benefits to the household, but also protect nature from pollution, since plastic is one of the most dangerous materials for the environment.
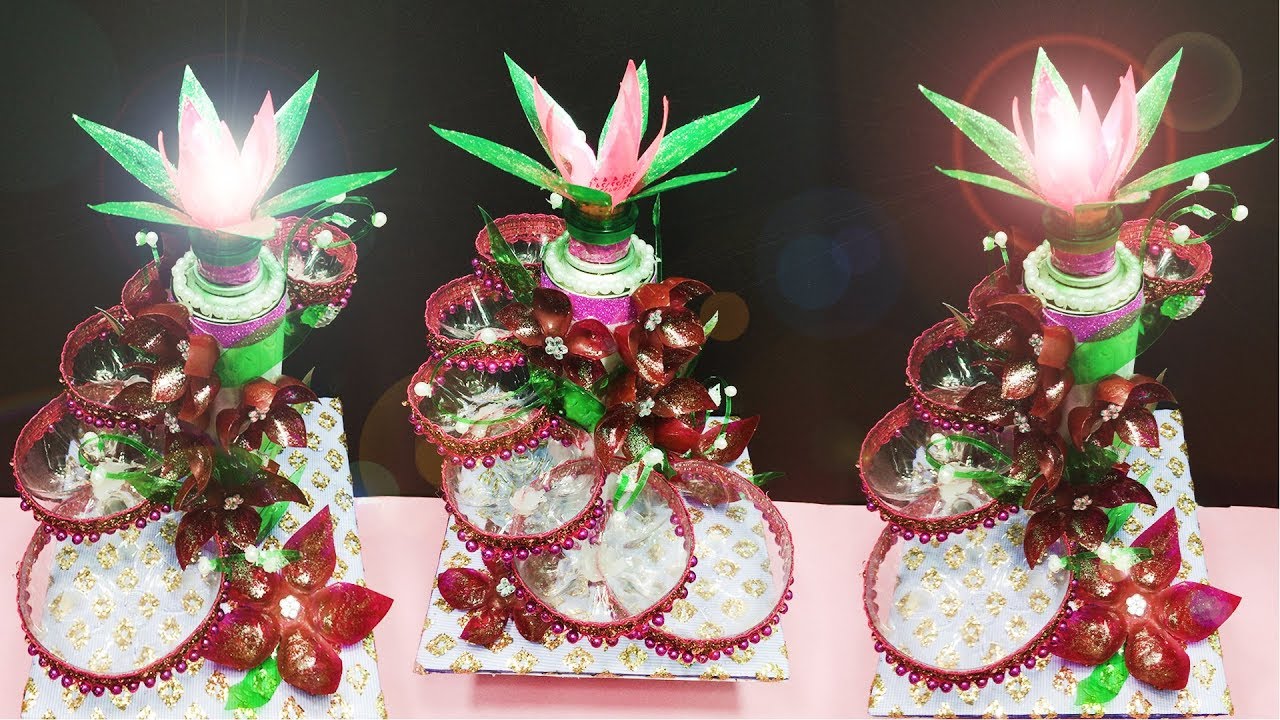
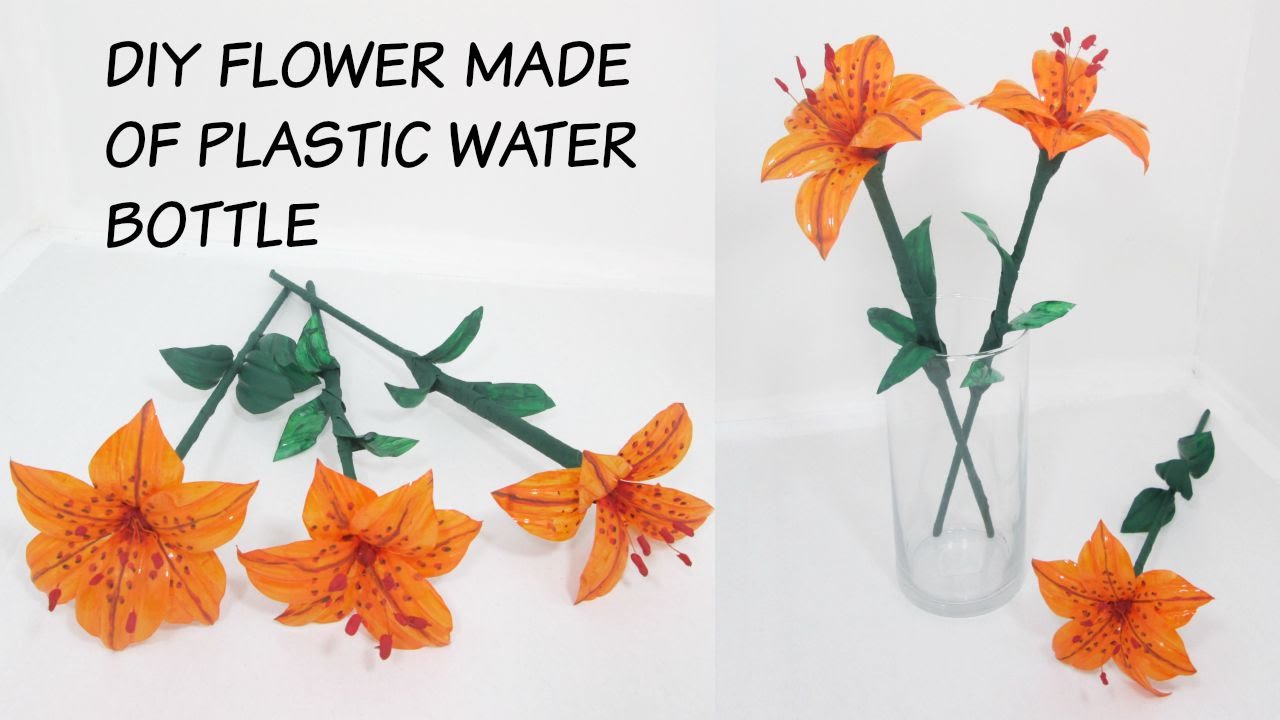
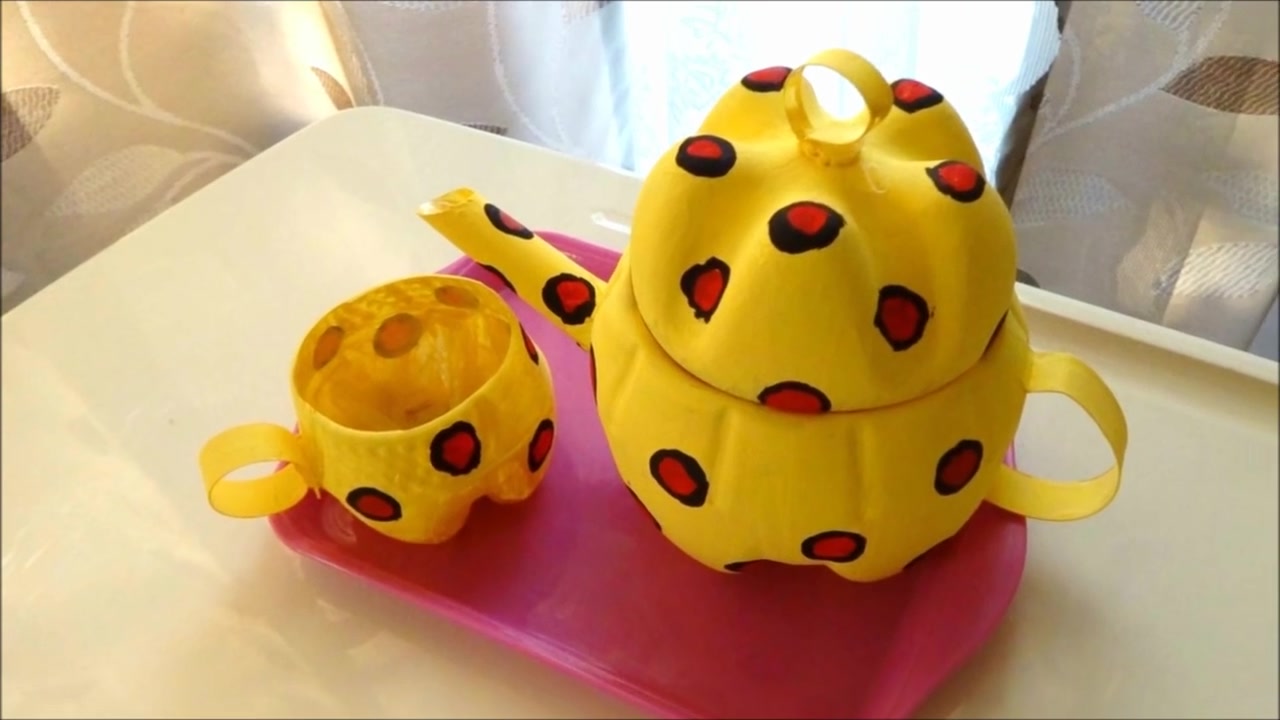
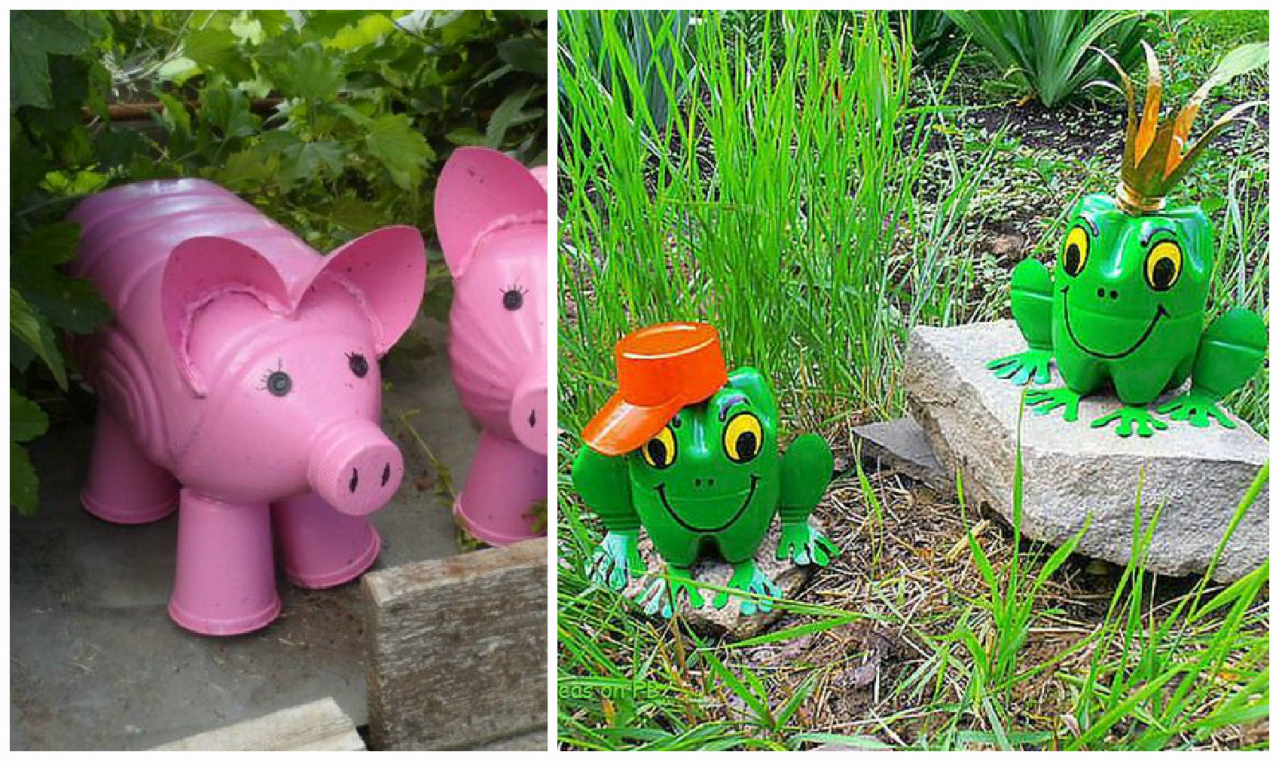
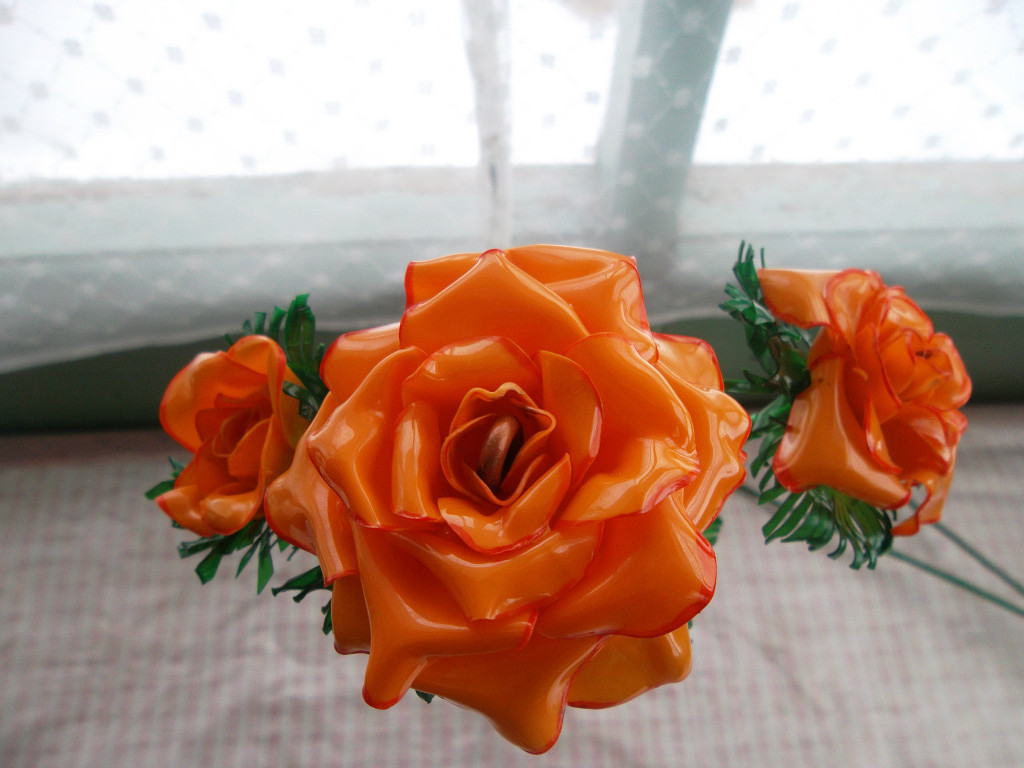
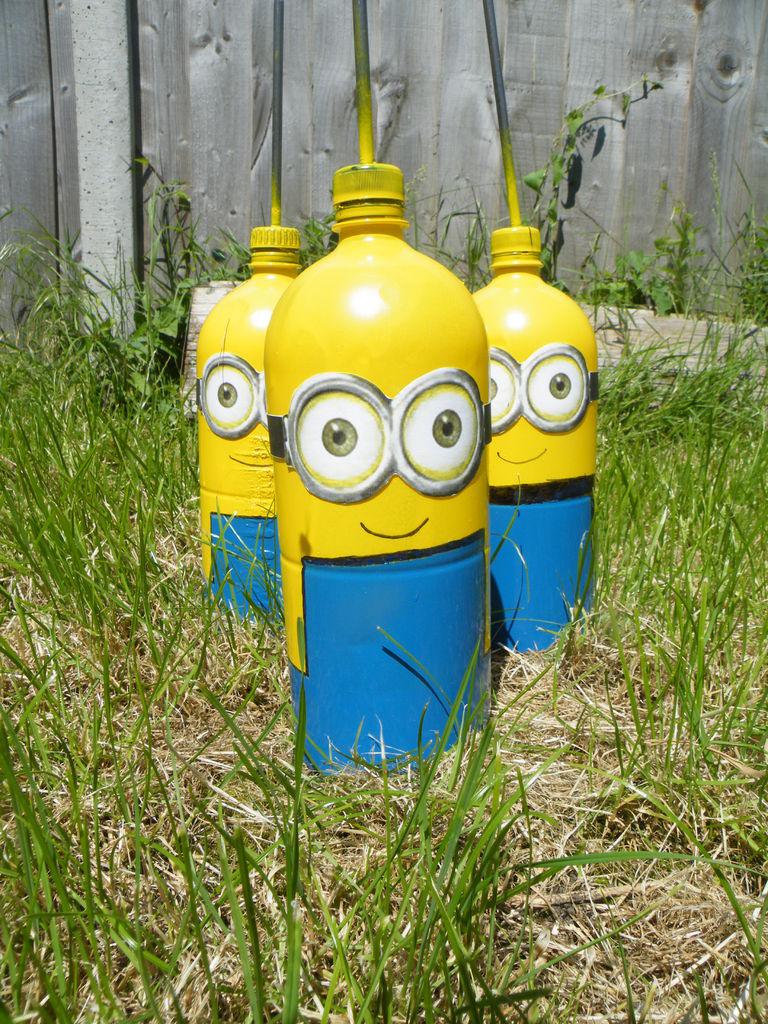
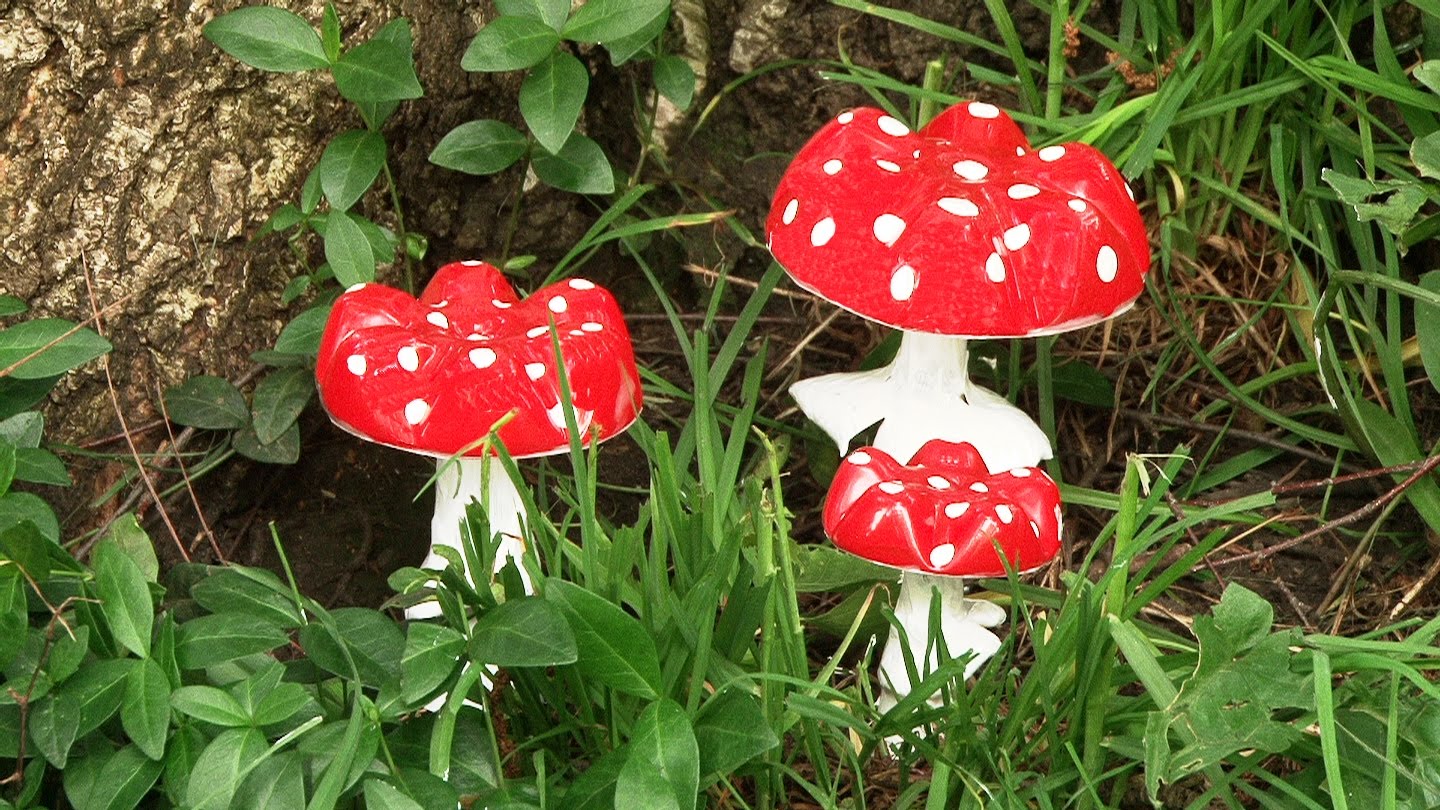
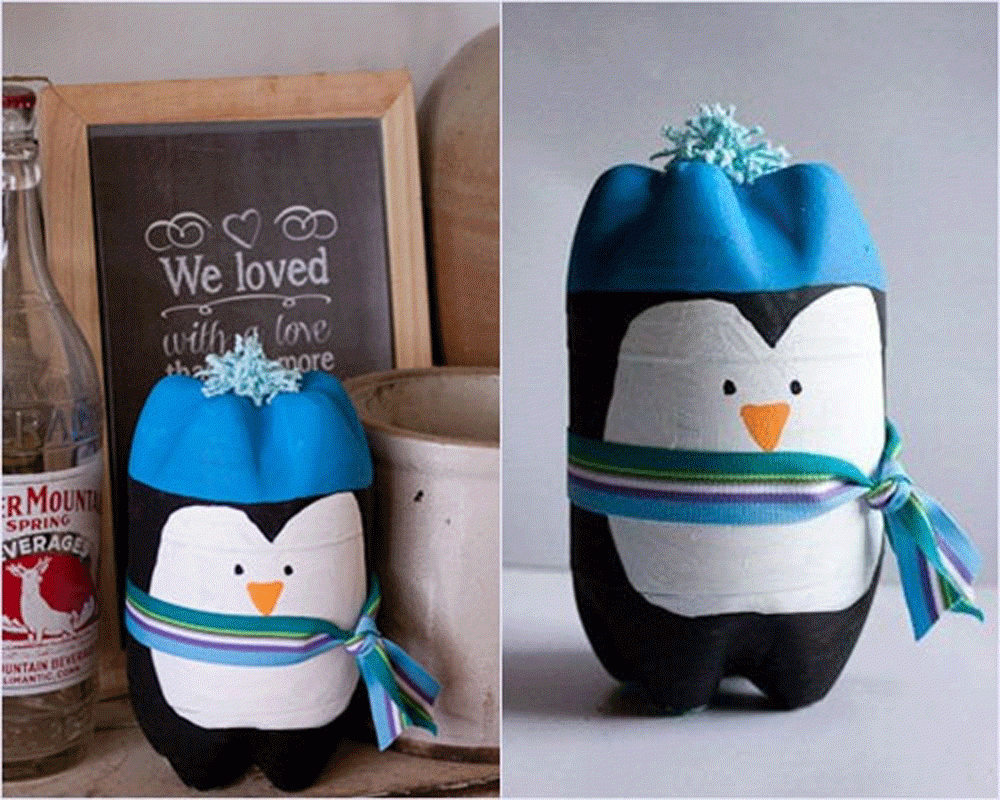
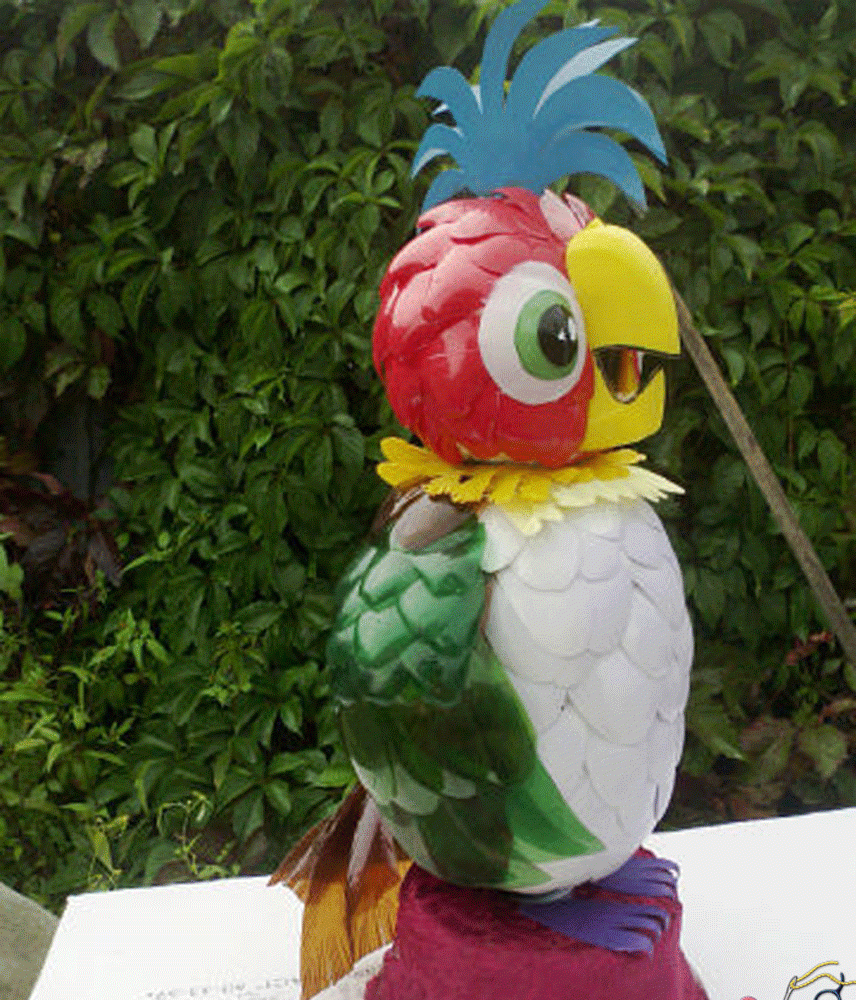
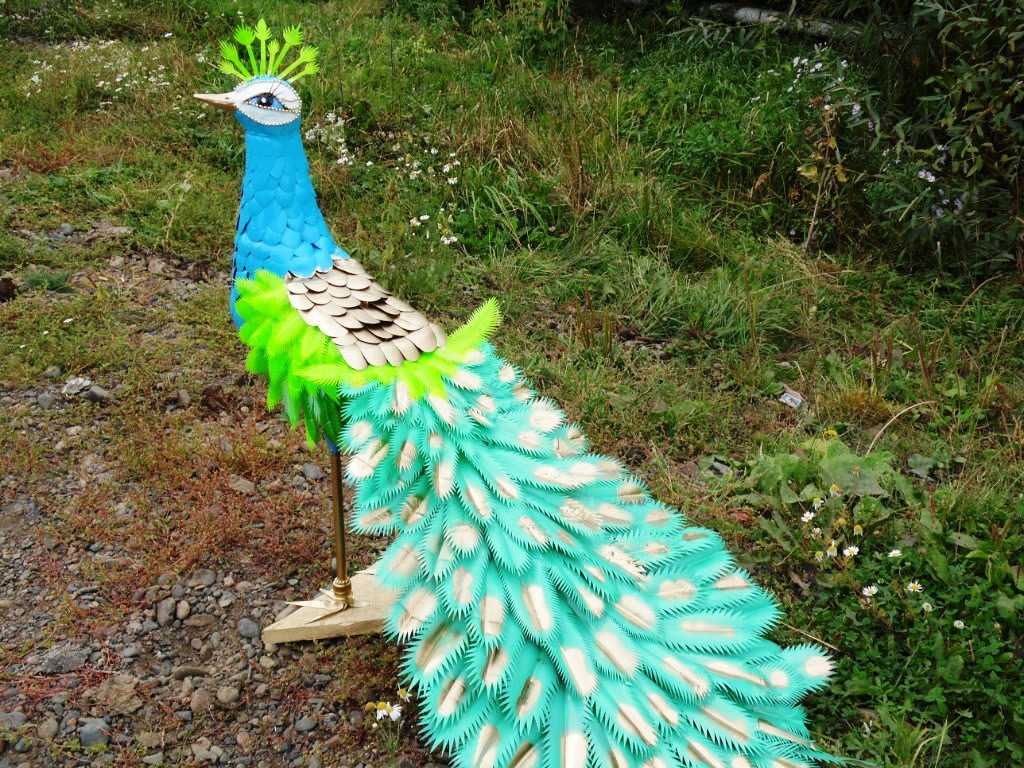
Crafts made of plastic
Best ideas for crafts


. Your child can do this!")
 Practically organize the space")