Which is Easy and Fast you can make a Gift with your own hands? 12 beautiful options for all occasions that you probably want to keep

What kind of gift, made with their own hands, to surprise loved ones? Find out here.
Content:
Most of you, for sure, are now thinking of gifts: are there any of you who would not like to receive them? We all know how many people love handmade gifts, as they have something special. When my children come home from preschool with a handmade gift, my heart melts! This is the best of all that I could ask for. Most of these gifts can be made in less than 200-300 rubles! Check how cute they are!
Today I have selected some incredible handmade gifts for you. They can be made just for the New Year and Christmas, but also make an excellent gift for a birthday or other holidays. Have fun viewing them.
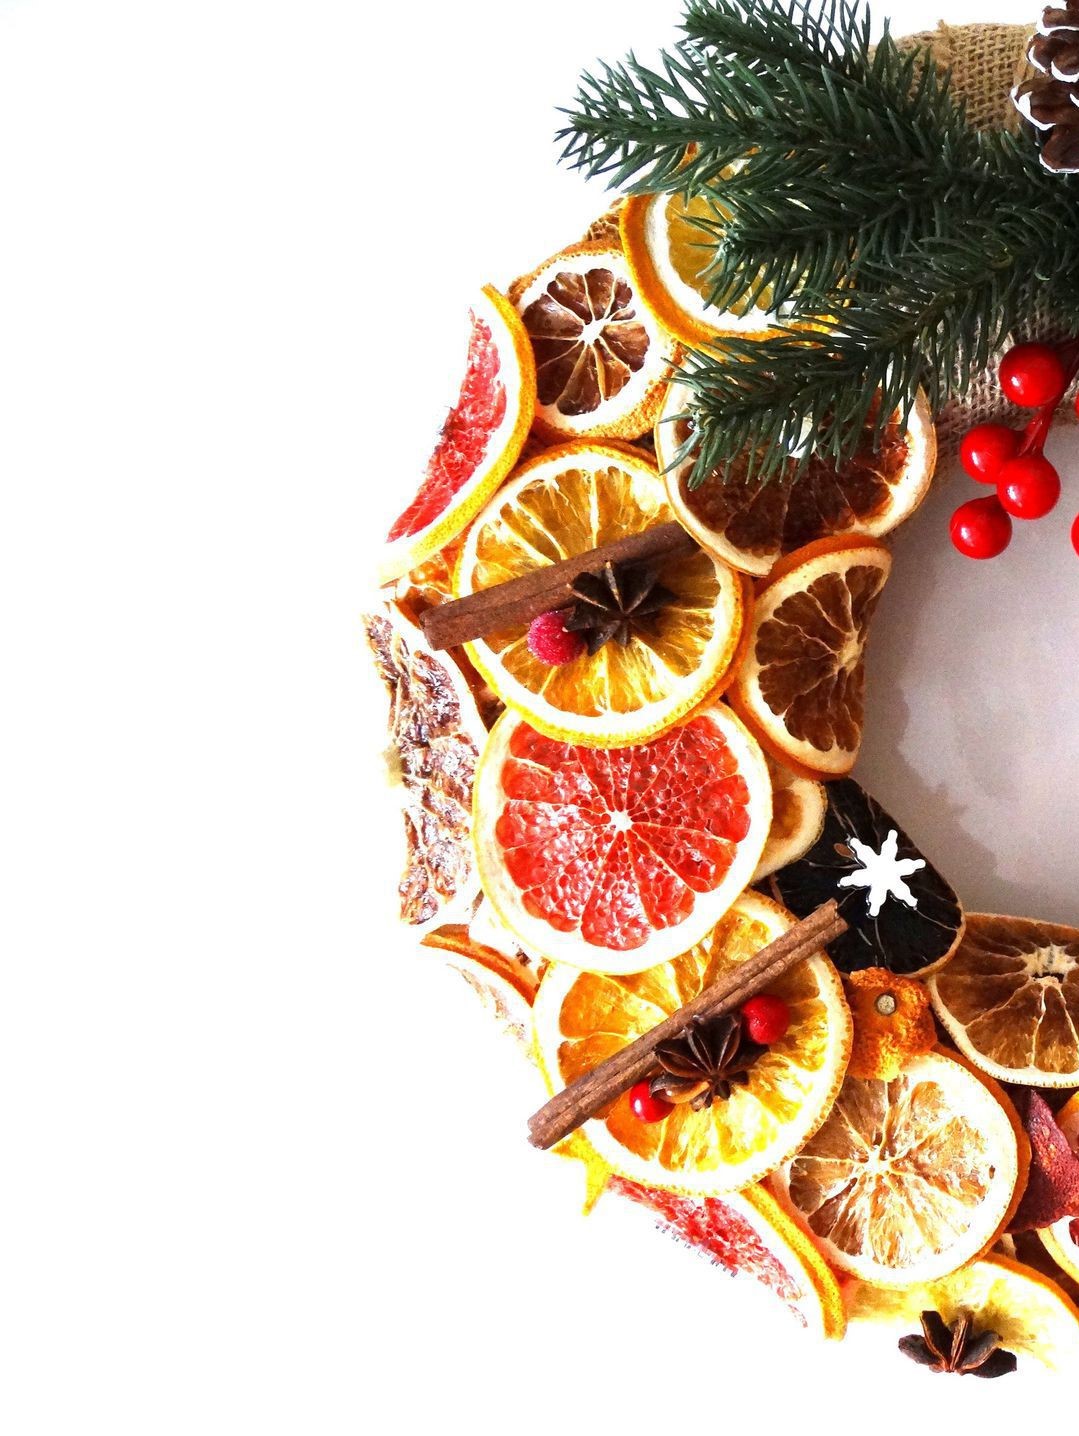
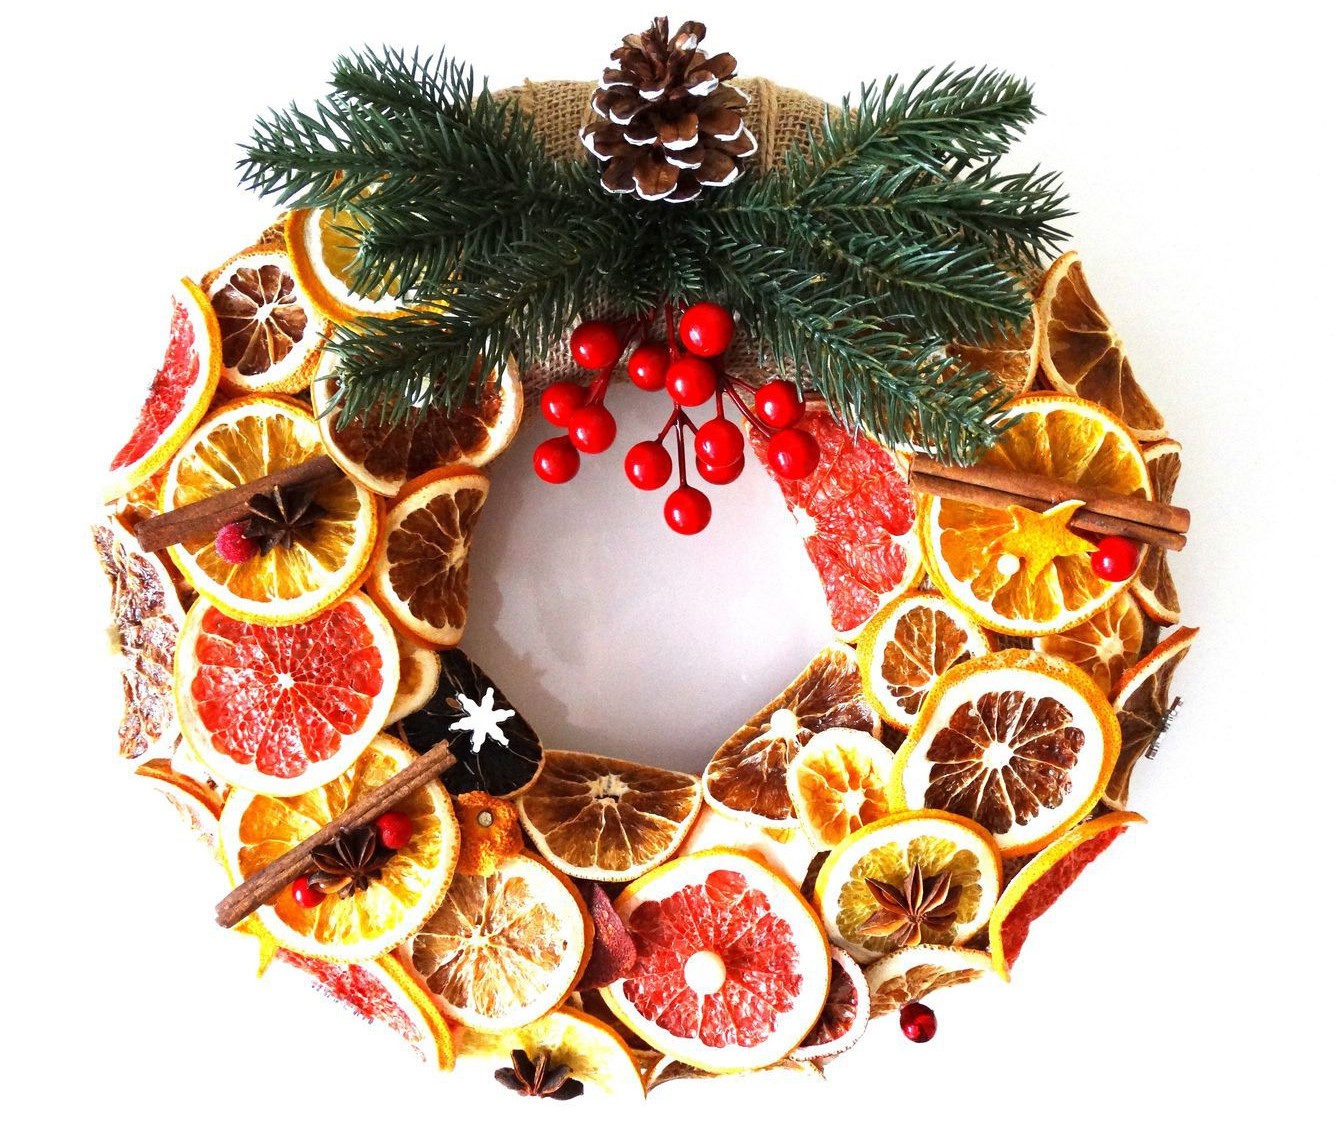
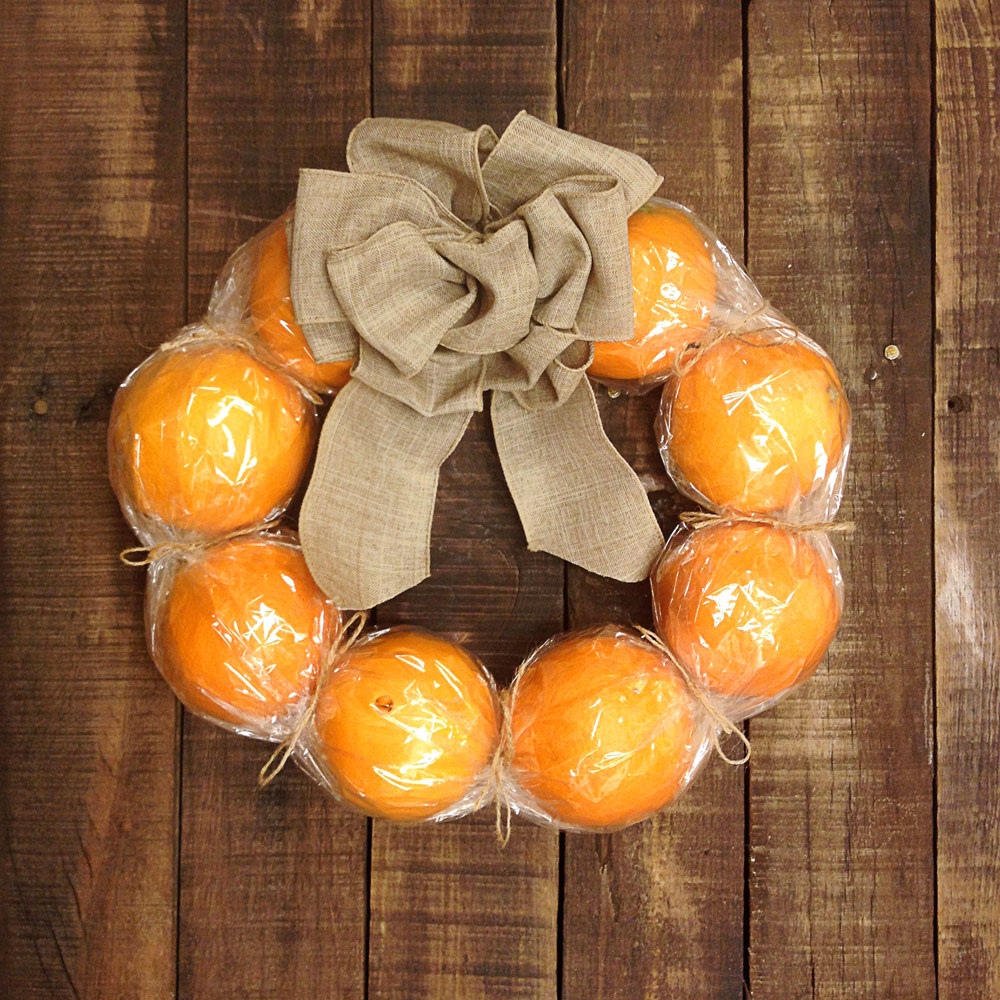
Christmas wreath of tangerines
The new year smells of tangerines and this wonderful time is not complete without a citrus satellite, whose fragrance is able to cheer up its associative line!
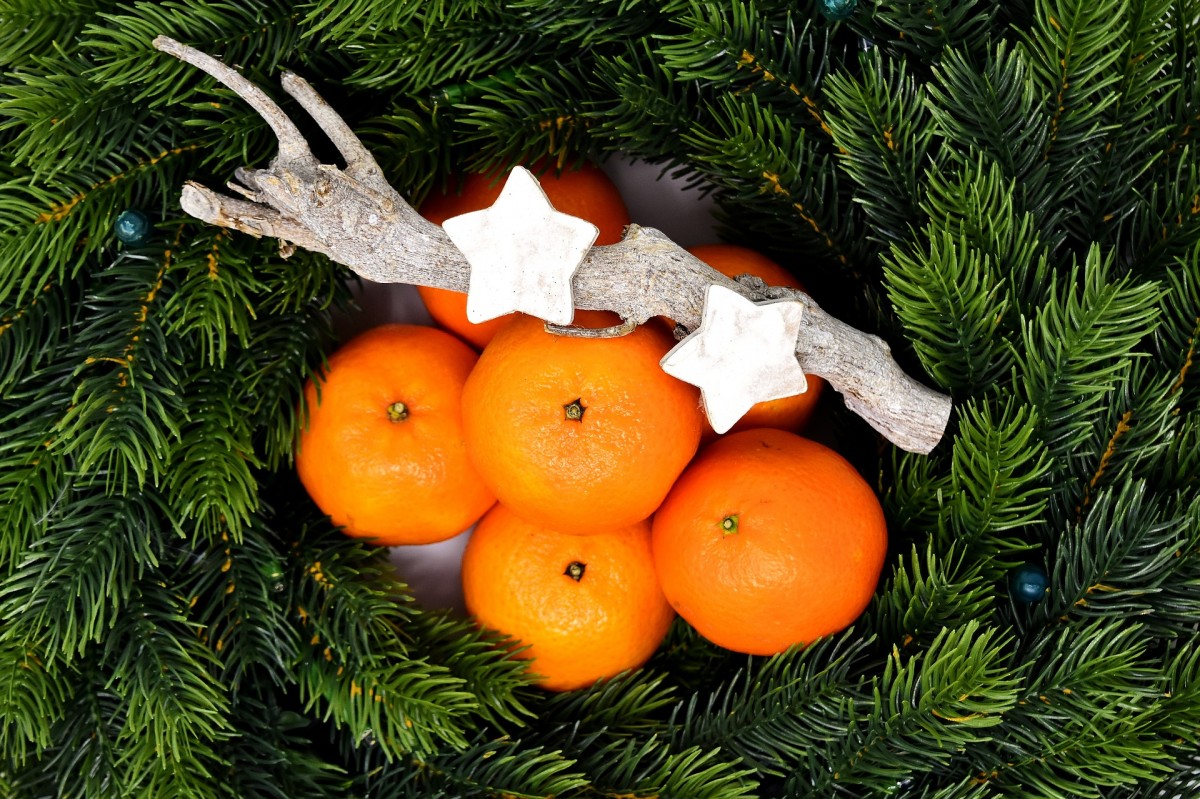
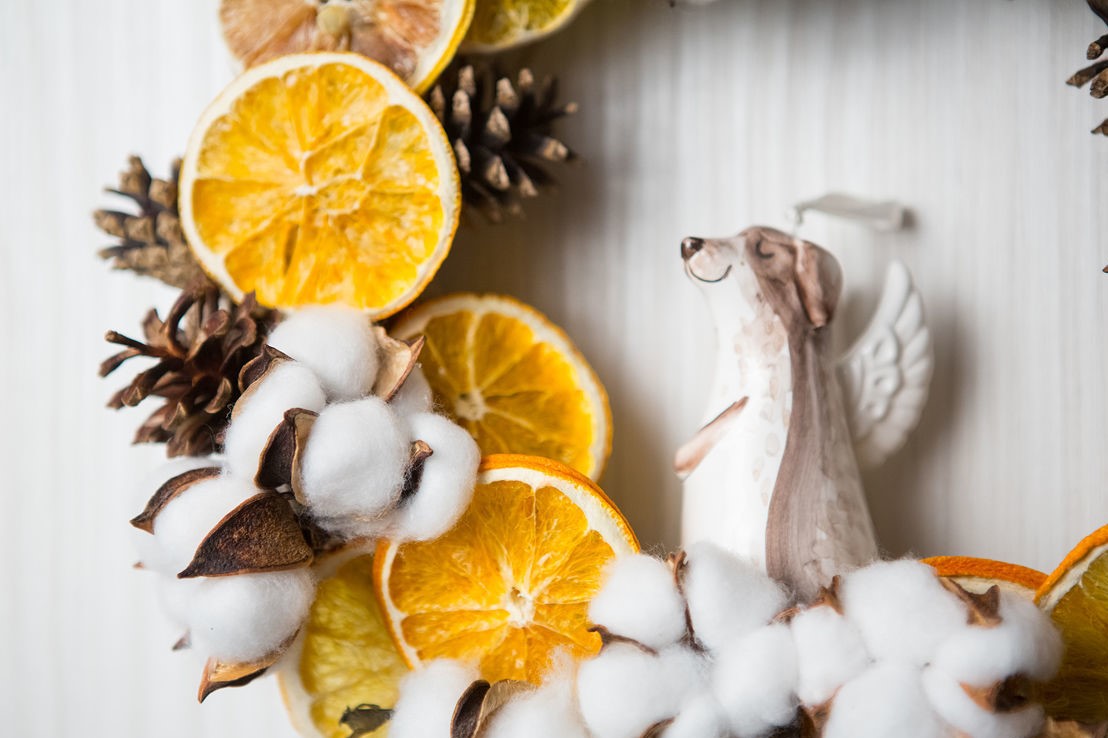
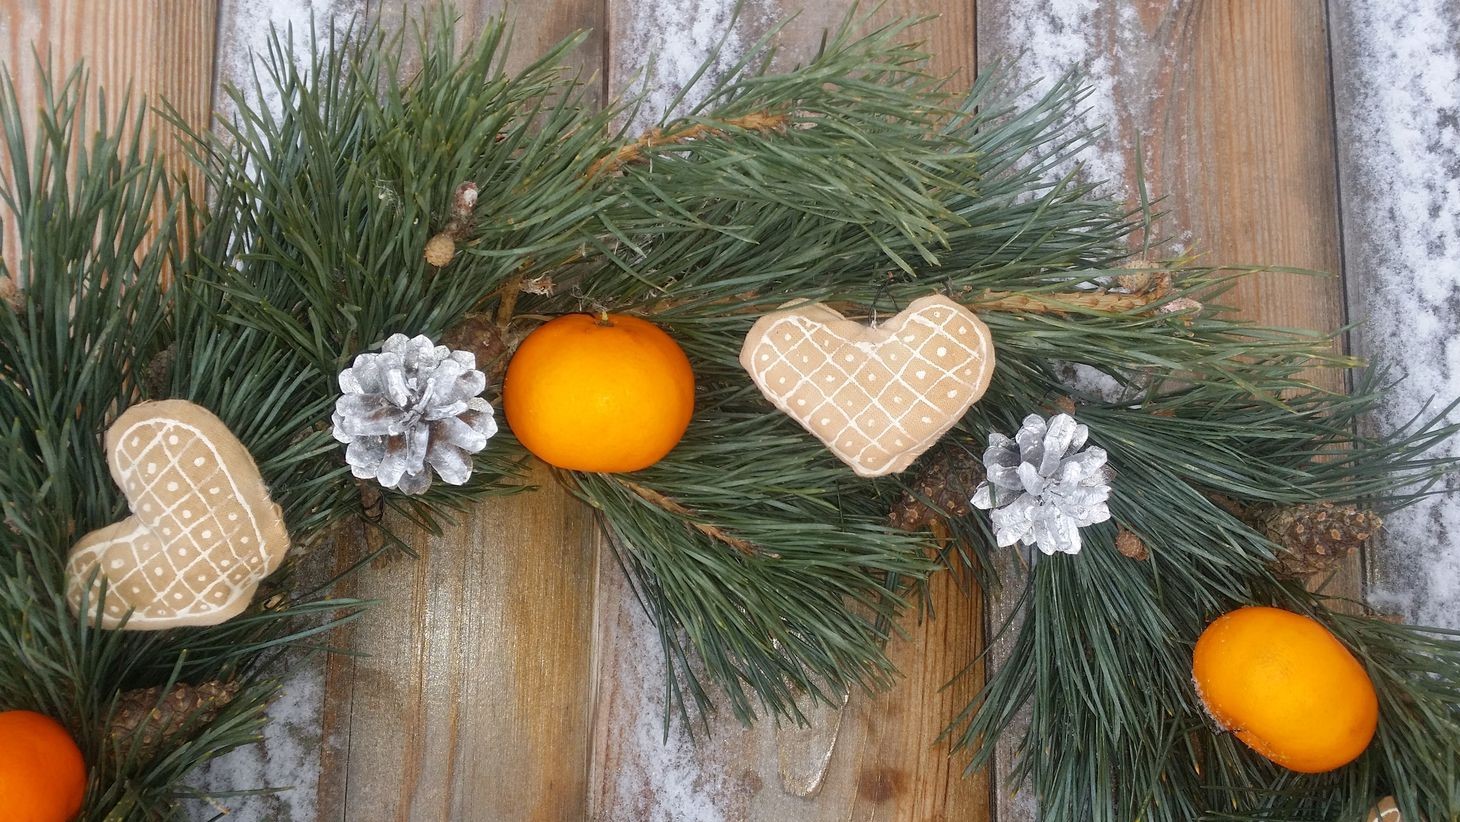
ABOUT! Fragrant tangerines
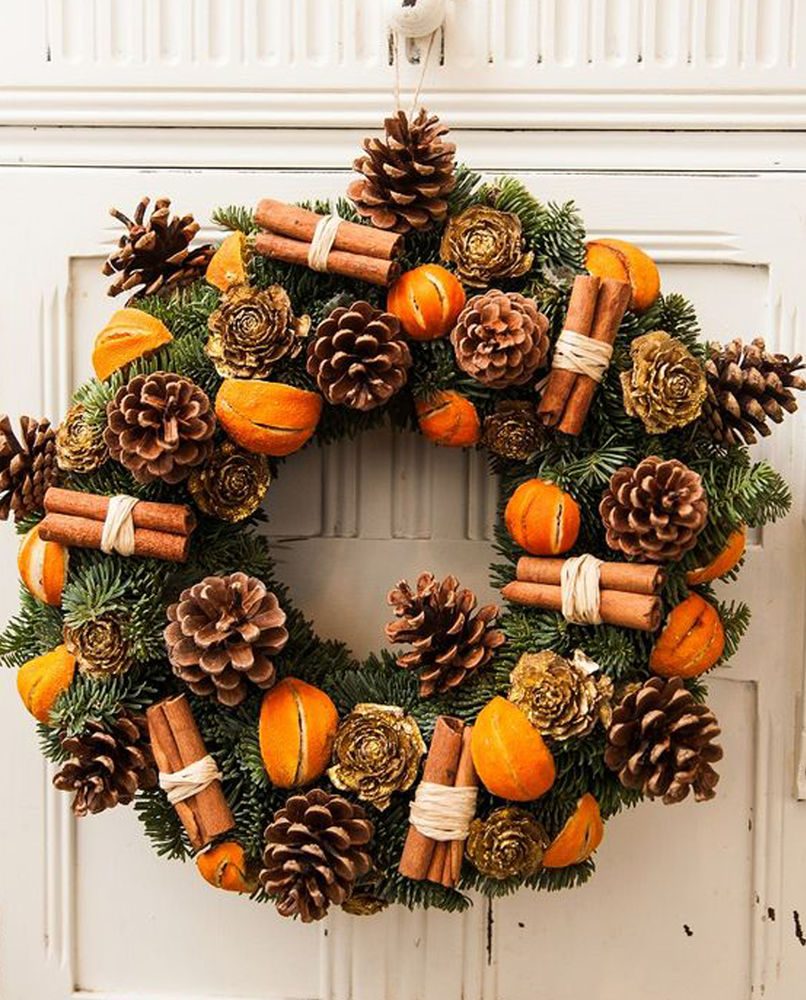
European culture has told us such a cozy way to decorate your house with funny and cute attributes, which include traditional Christmas wreaths, which are made to hang on the door.
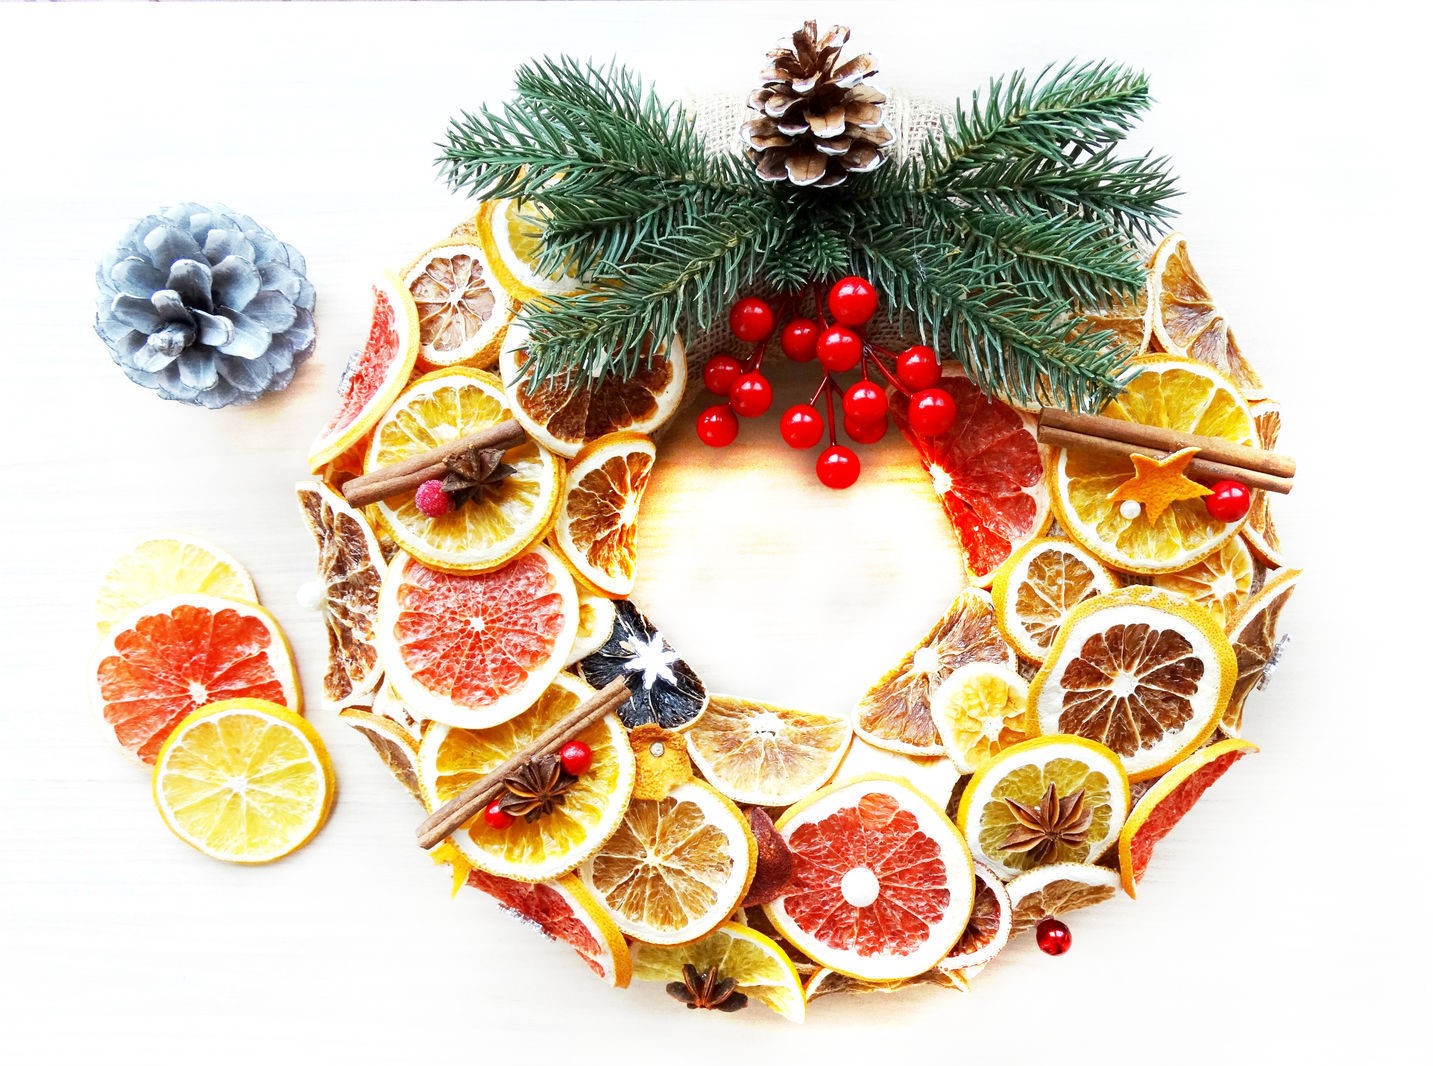
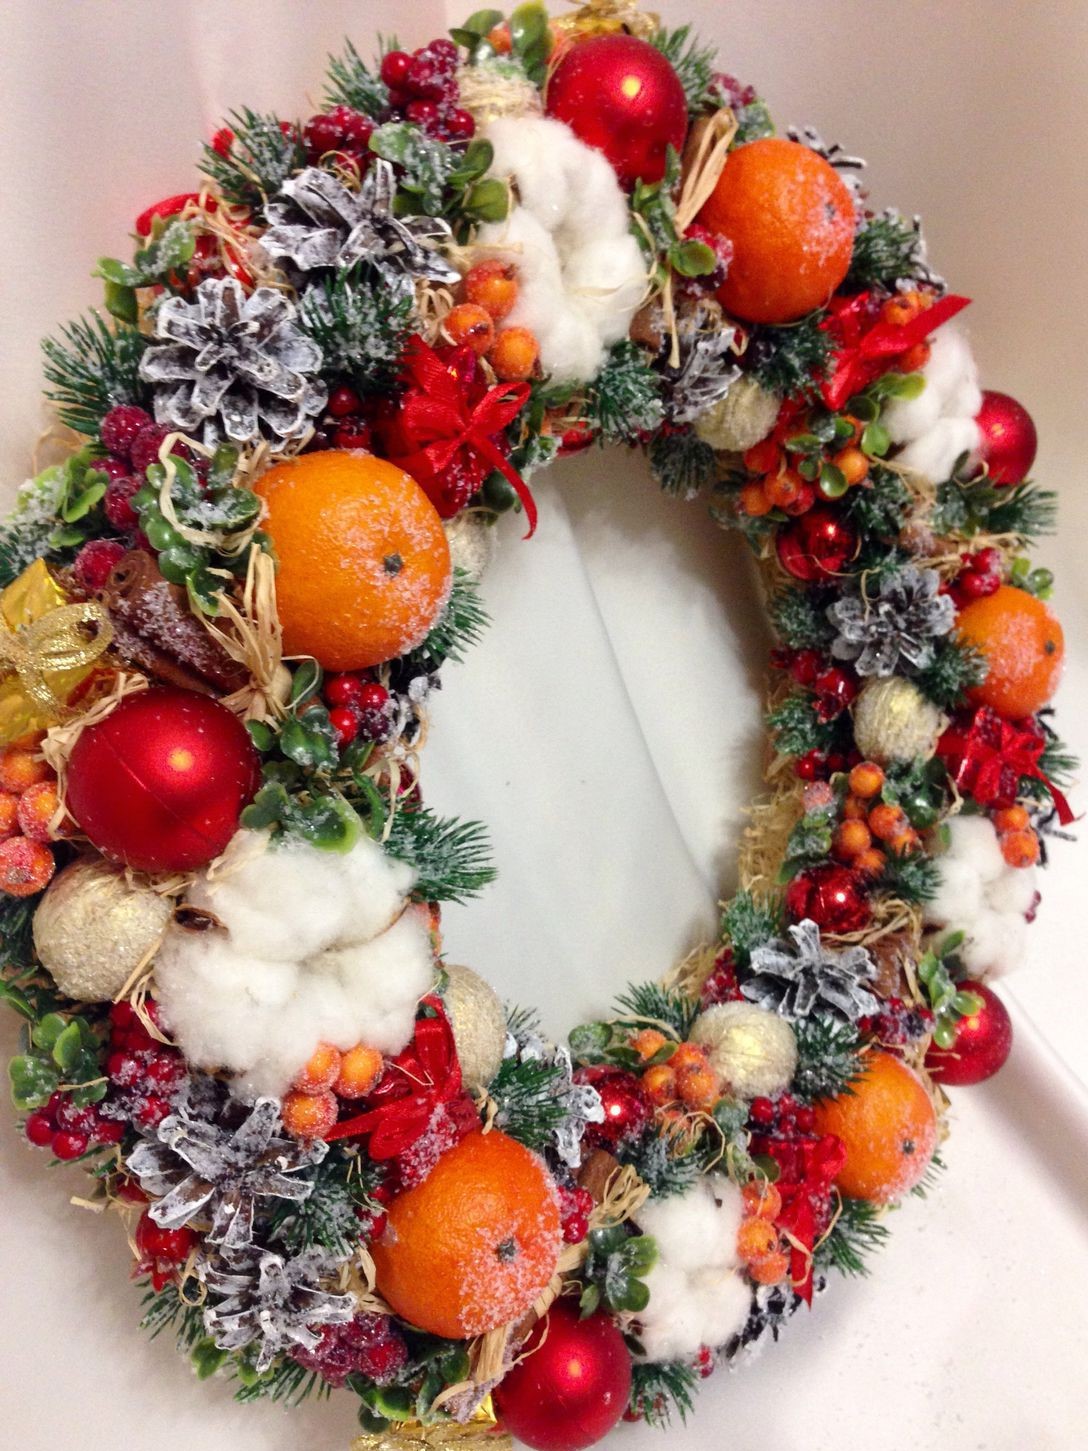
A wonderful decoration for your home
How do you like this simple and funny idea of a wreath of tangerines (or other fruits) that the recipient will surely like?
Why not share citrus joy with friends and neighbors? This wreath is a wonderful way to wish those you love to be happy and healthy in the new year!
A wonderful product with their own hands
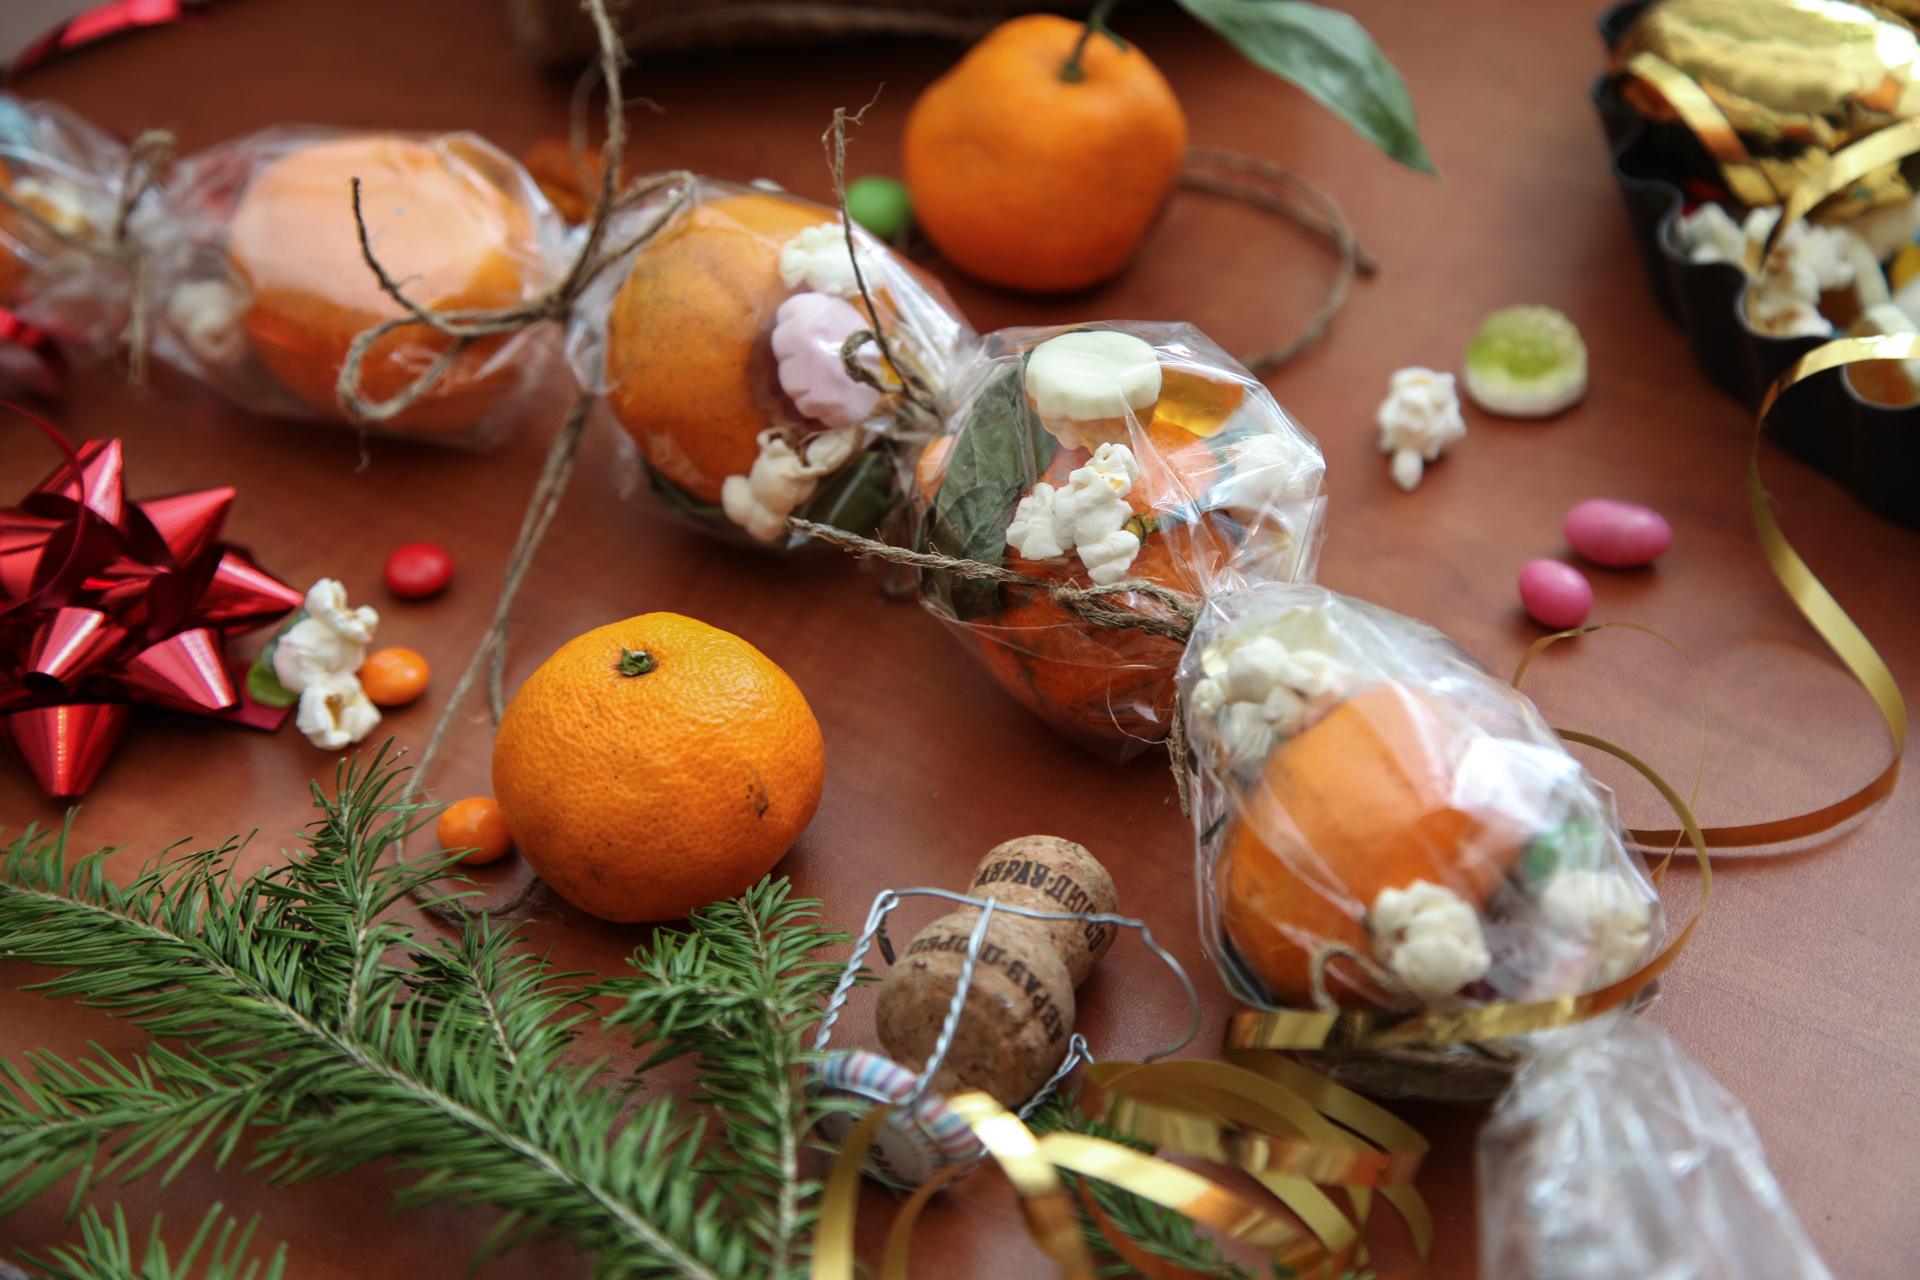
To create your own, you will need tangerines, cellophane, transparent tape, rope and paper tape.
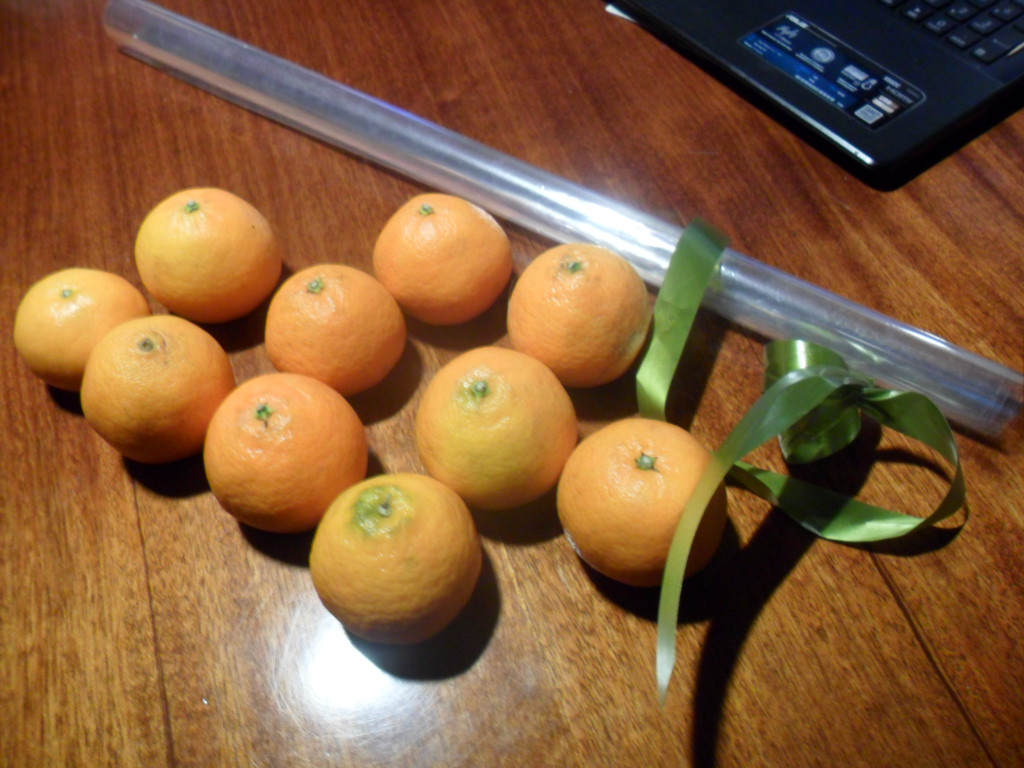
Prepare the necessary materials
Add a strip of colorful ribbon to an empty tag. Here the tape is set along the edge, so that both sides of the tag look on the front.
Cut a piece of cellophane. Align 8 mandarins along the length of cellophane. Leave a small space between each fruit.
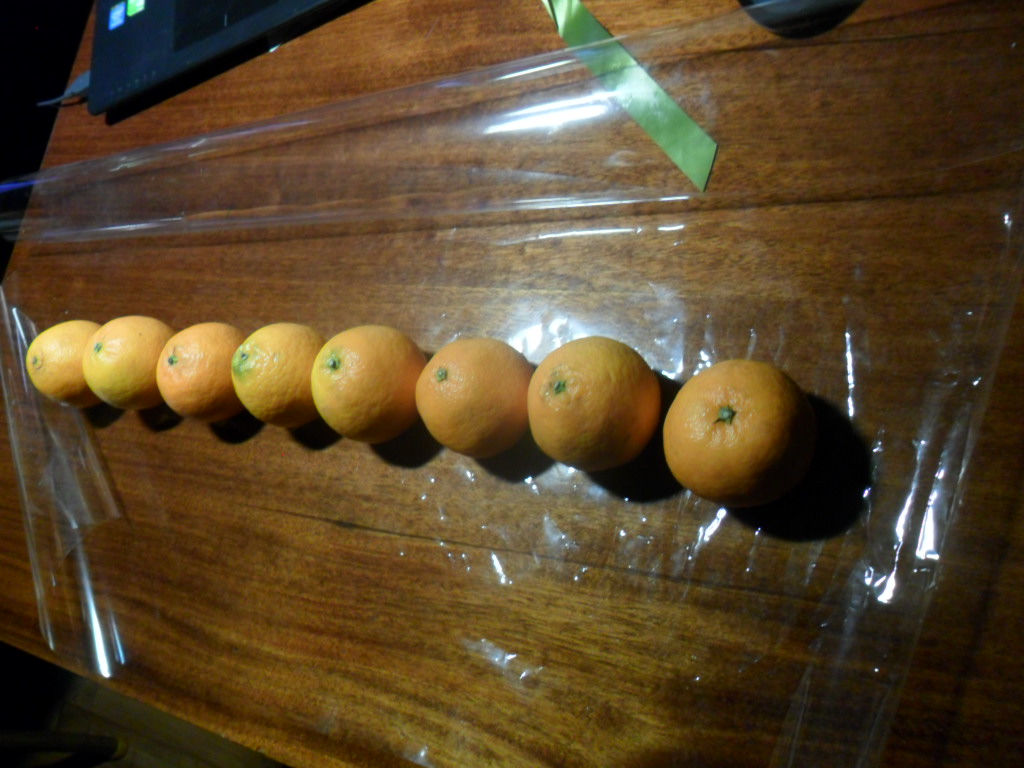
Lay out 8 mandarin length
Wrap the cellophane in a tube with tangerines inside. Secure with several small pieces of transparent adhesive tape.
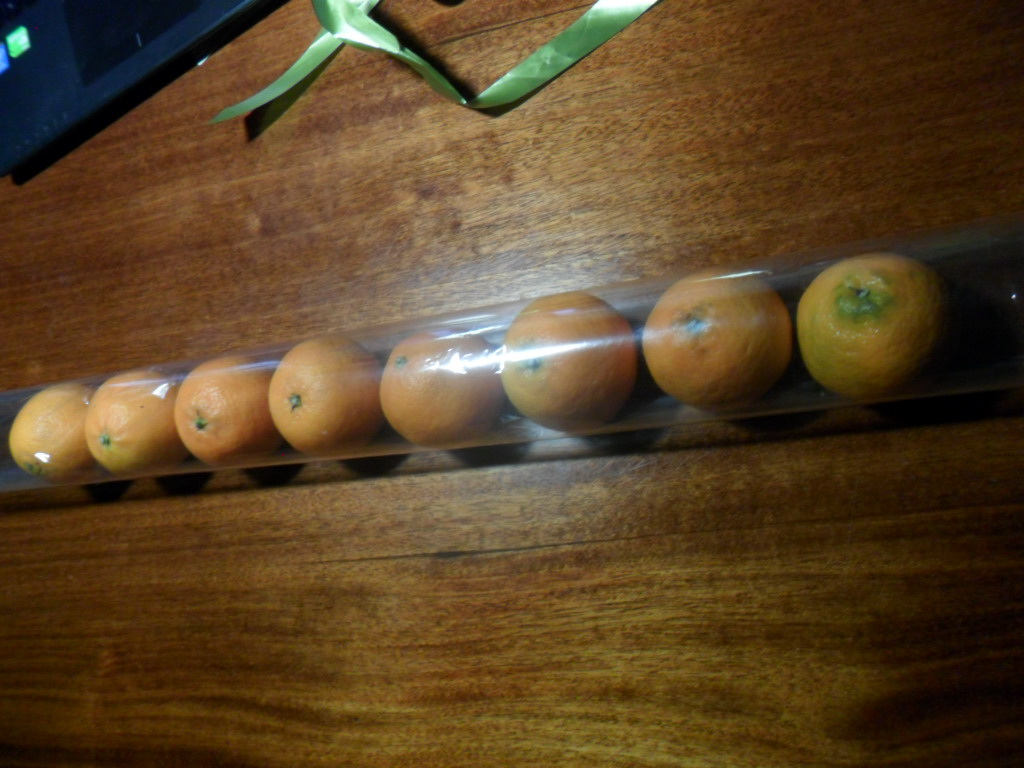
We wrap all the fruit in cellophane
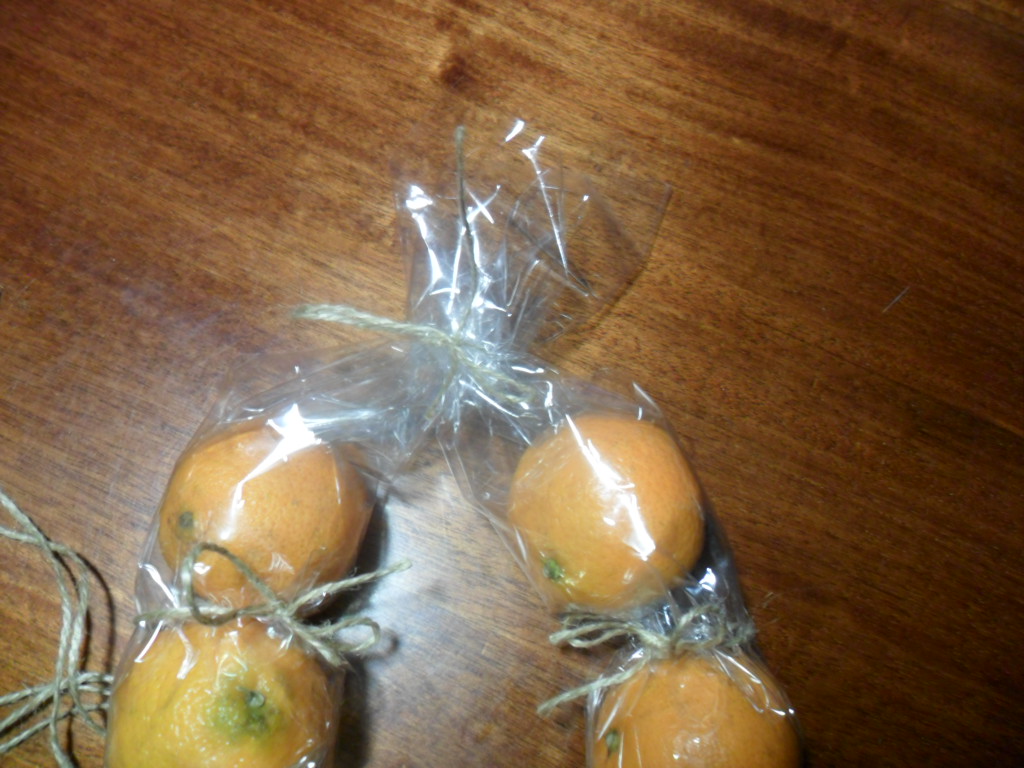
Tie a piece of rope between each mandarin.

We fix every step with a rope
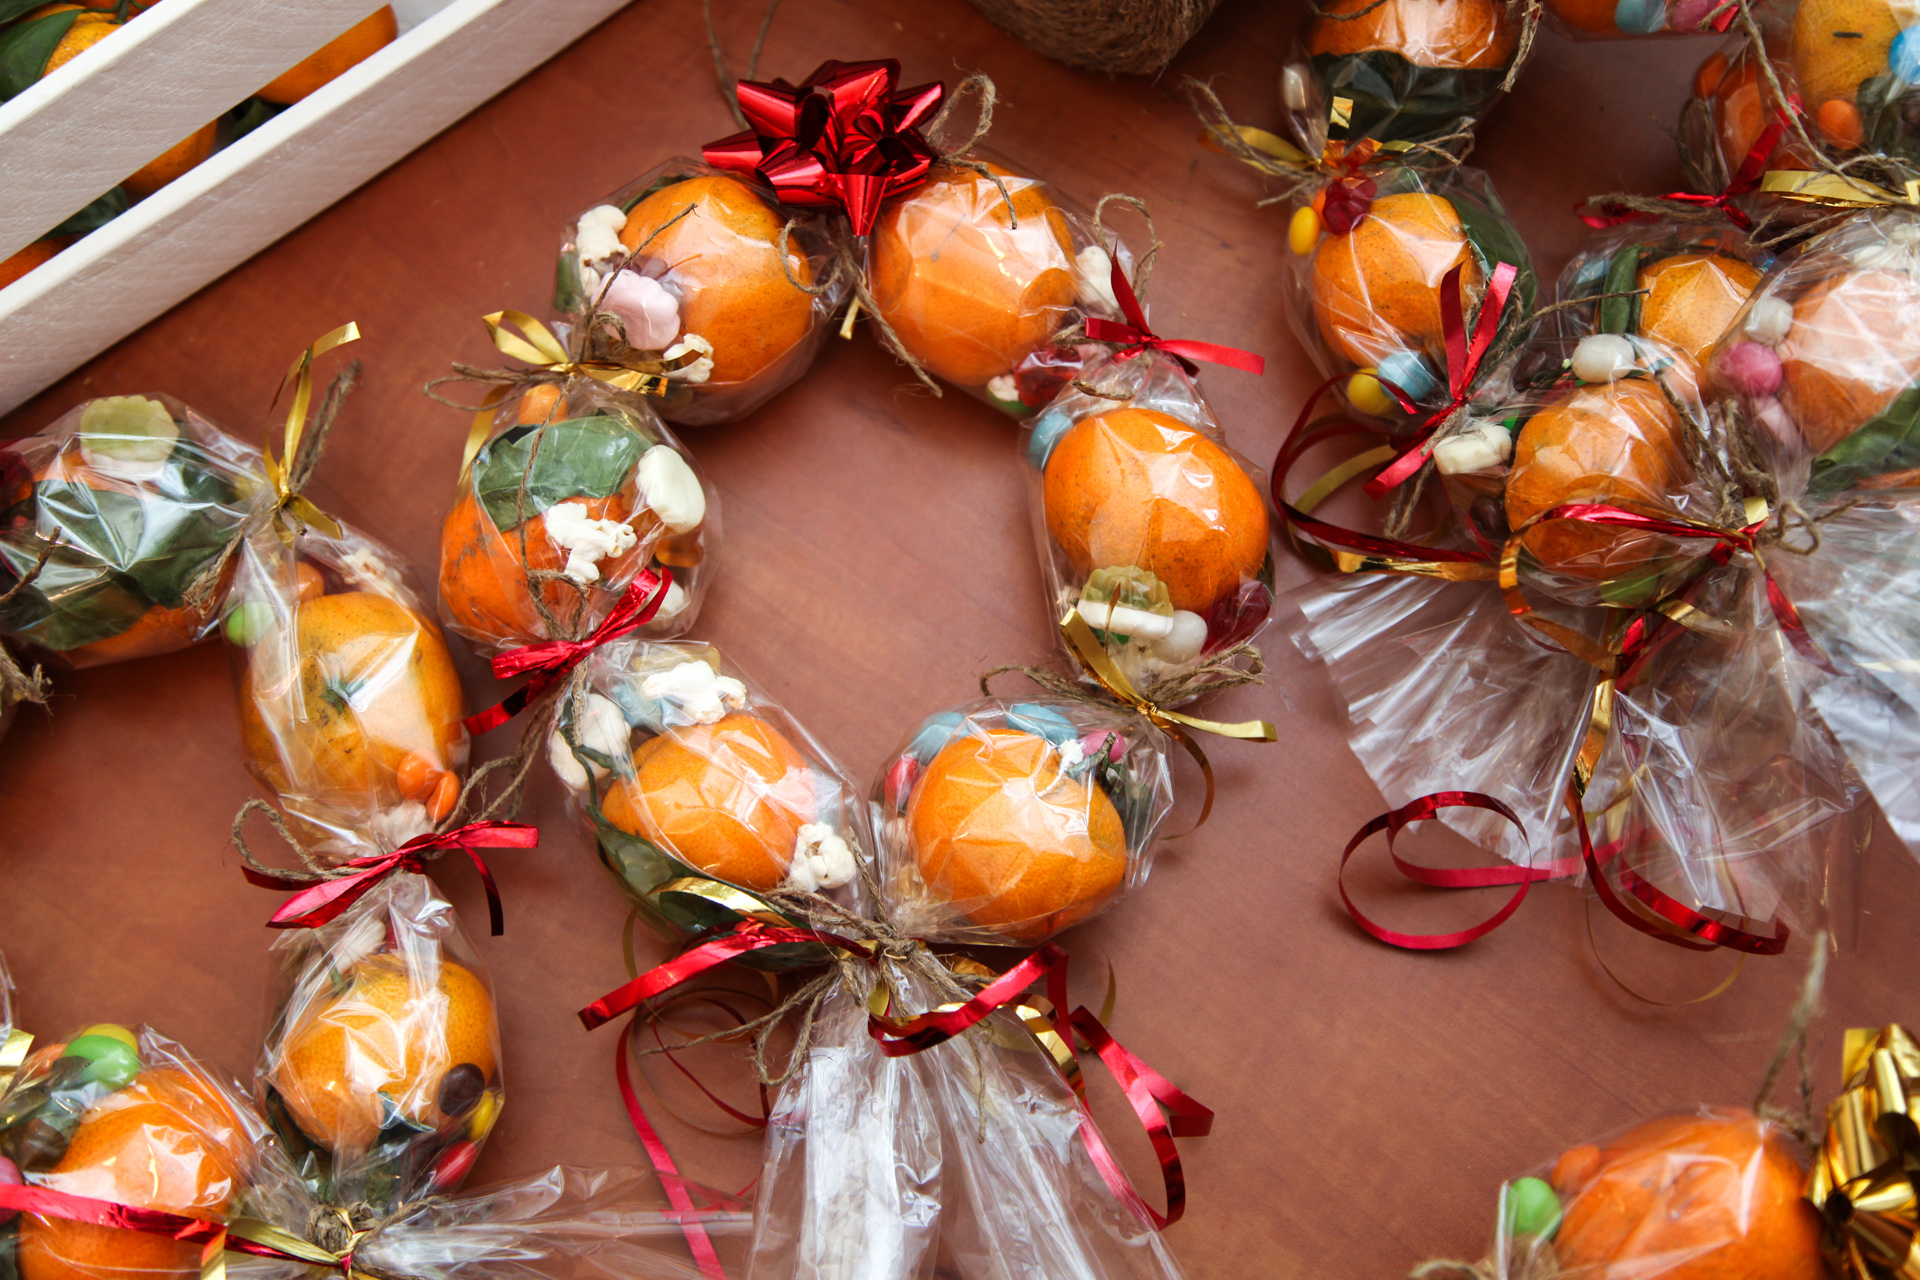
Connect the two ends of the cellophane together so that your mandarin tube becomes a ring (or wreath). Fix the design with a piece of rope, add your congratulations (write your message before attaching, not after).
Tie the two ends of the wreath together
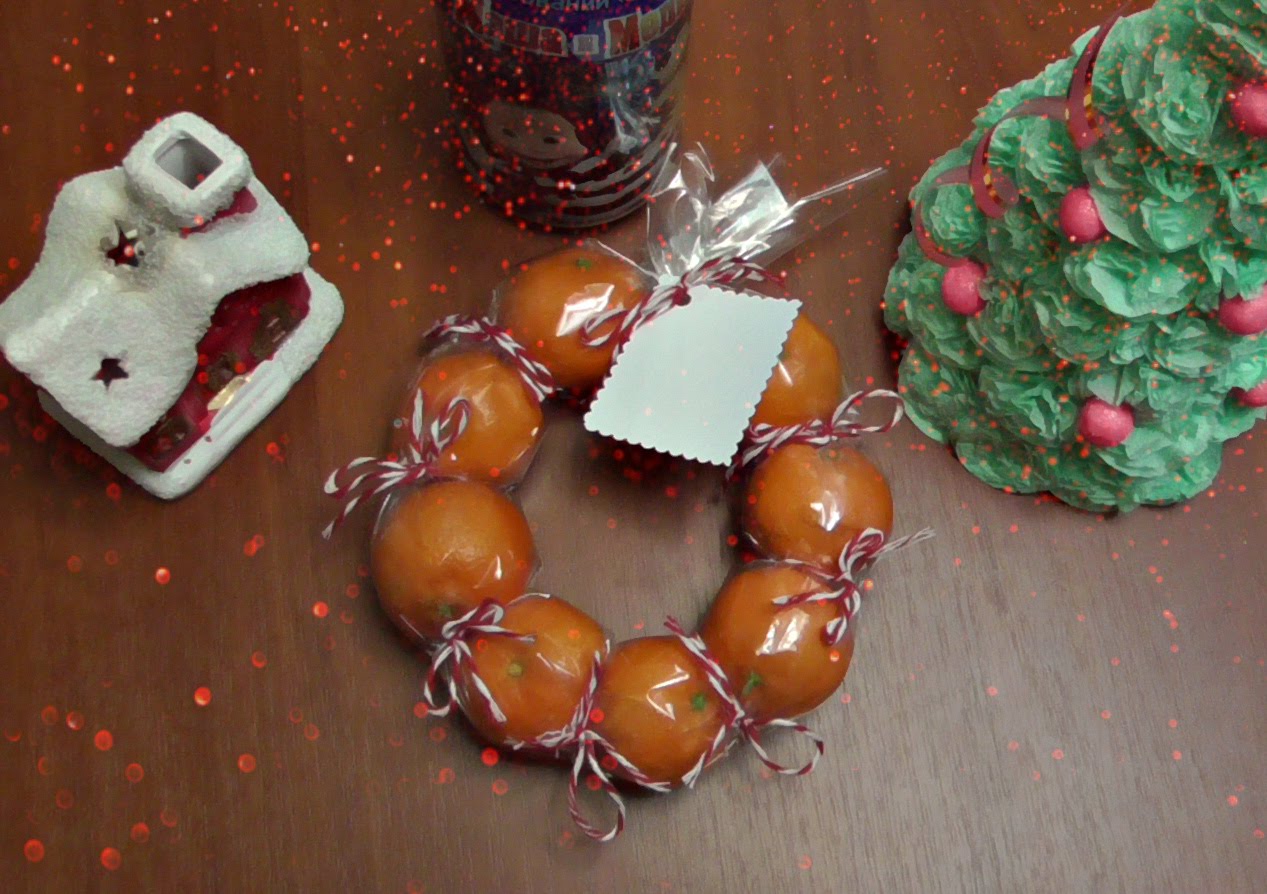
And tie a rope with an eyelet so that the finished craftwork can be conveniently hung. If the ends of the cellophane are too long or uneven, carefully trim the excess.
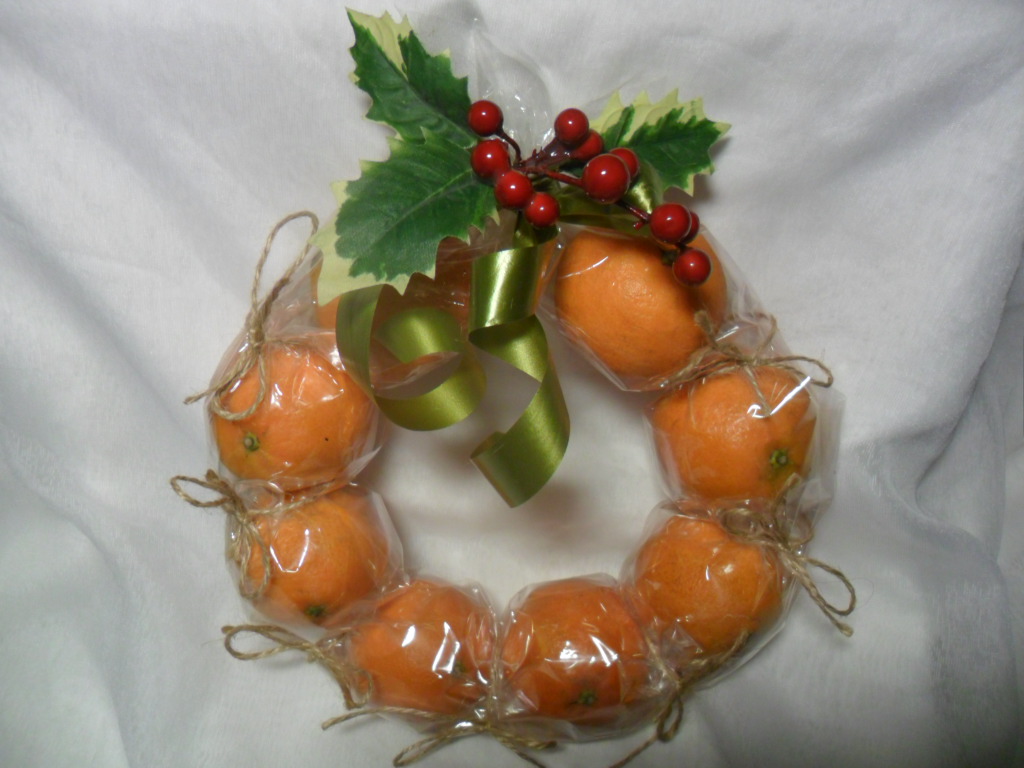
Unusual and simple gift is ready
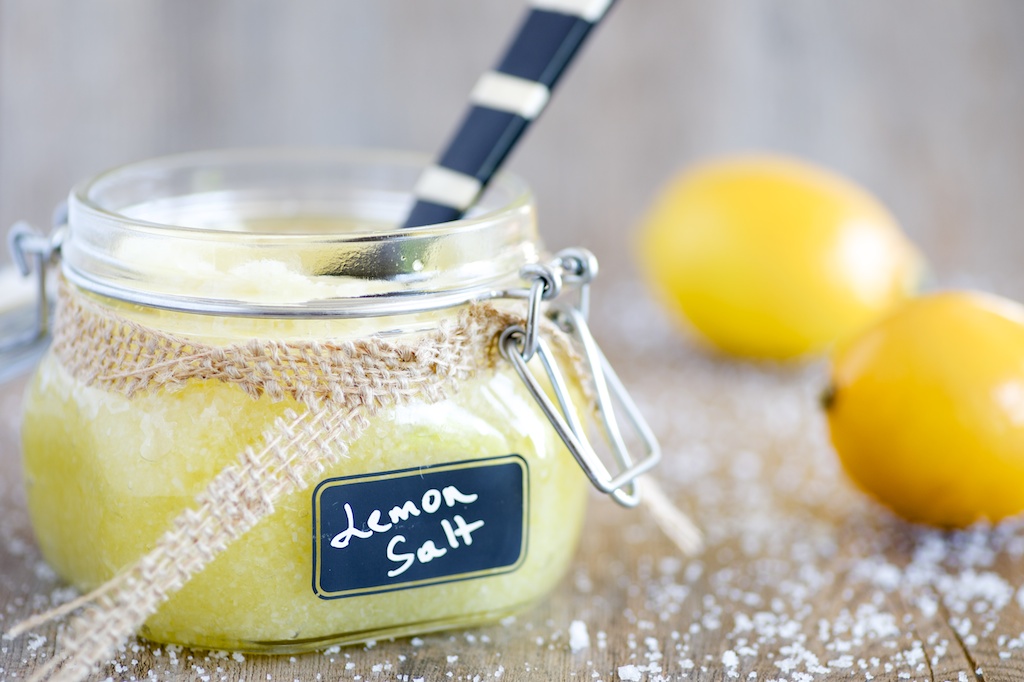
Lemon sugar scrub do it yourself
And here is a simple gift idea, which is easy to surprise your loved ones. Lemon sugar scrub is suitable for any occasion, however, you can make this gift even to yourself if you decide to treat yourself.
Treat yourself to “yummy”
I do not know about you, but with the onset of cold winter months, my arms and legs become incredibly dry. This sugar scrub will help in the fight against such a defect. The bonus in favor of such a gift is that it takes no more than 10 minutes to make it! At the same time, the efficiency of the home version will not be inferior to the high-quality and expensive purchased peeling preparations, which you will find in the store.
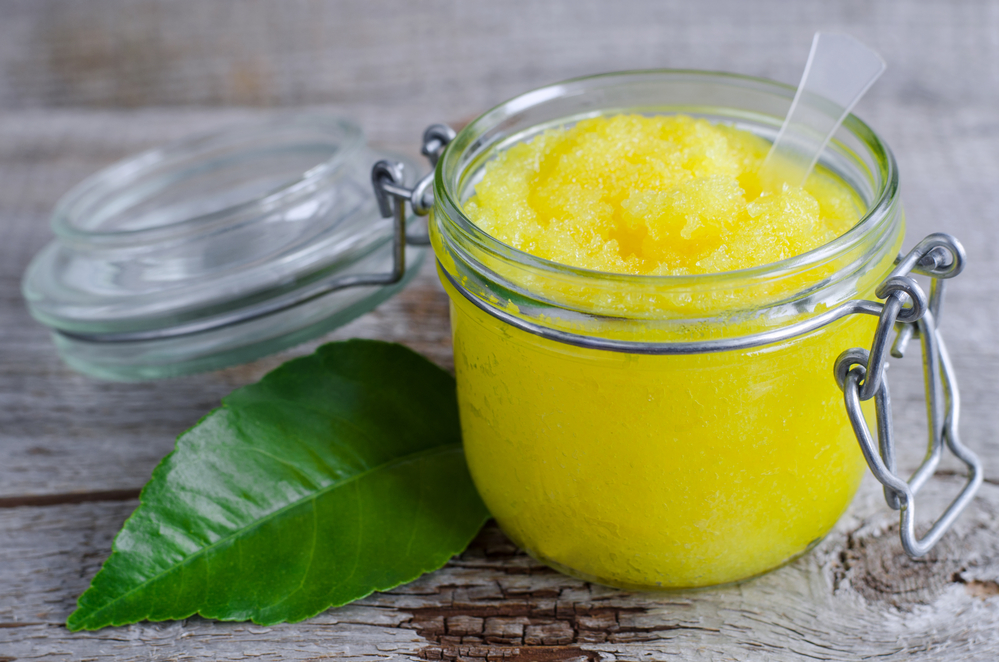
Effective skin cleanser
Ingredients:
- 2 1/2 cups granulated loose sugar;
- 1/4 cup coconut oil (almond oil is also suitable);
- 10-15 drops of natural lemon essential oil.
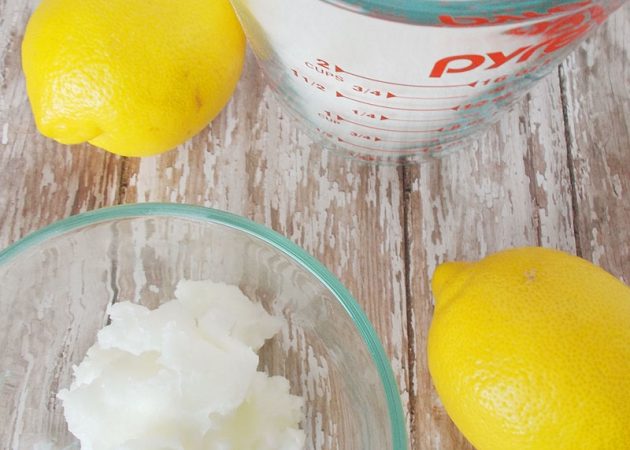
Take the right ingredients
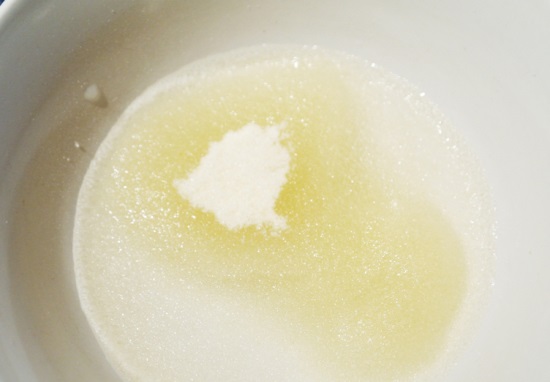
Put the sugar in a large bowl. Set aside. Measure 1/4 cup of coconut oil and place it in the microwave. Heat the coconut oil in the microwave for about 30 seconds or until it melts. Pour the butter over the sugar and stir. Add a drop of lemon oil.
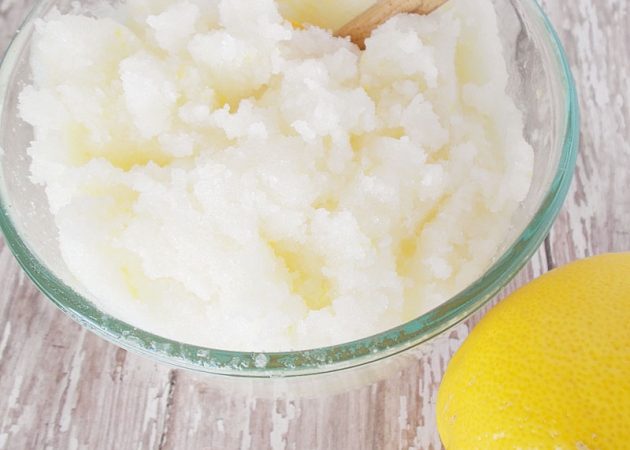
Mix all ingredients
If desired, add lemon zest for extra color and smell. To do this, use a small grater, rubbed the rind of 1 lemon, then stir.
If the sugar scrub is too wet, add sugar, but not more than 1/4 cup, until you reach the desired consistency. Then take a small jar. Labels need to be printed on a color printer, cut and glued - it's simple.

Glue on a jar label
Put your scrub in a finished jar. Done!
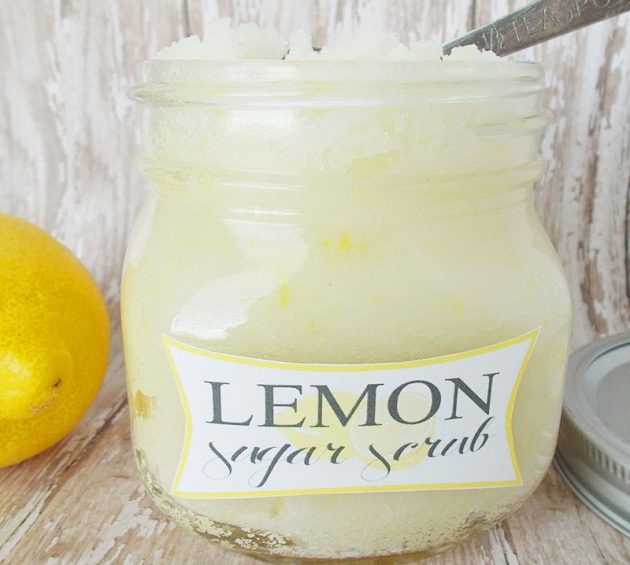
Sugar Lemon Scrub DIY
And to become a responsible donor, you first need to check the product yourself before giving it away, right? Just take about 1 teaspoon of scrub, smear it on your hand and rub it. When you are done cleaning, rinse thoroughly. Lemon gives off a fragrant, clean scent, coconut oil helps moisturize the skin, and sugar helps exfoliate dead skin.
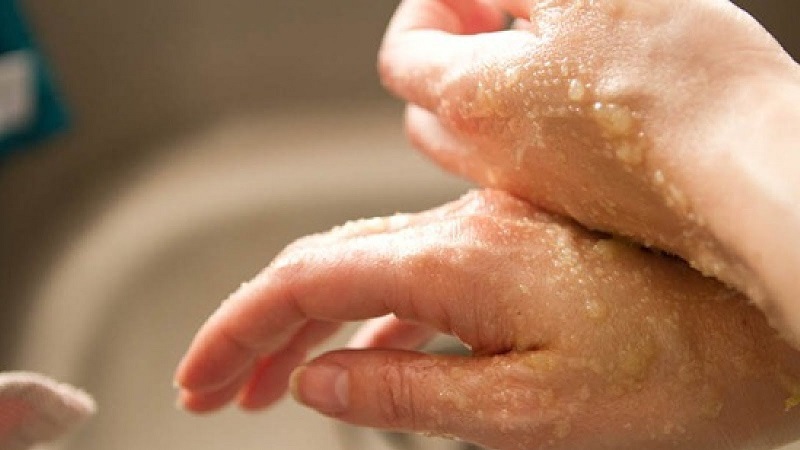
Experience the effect of hand scrub
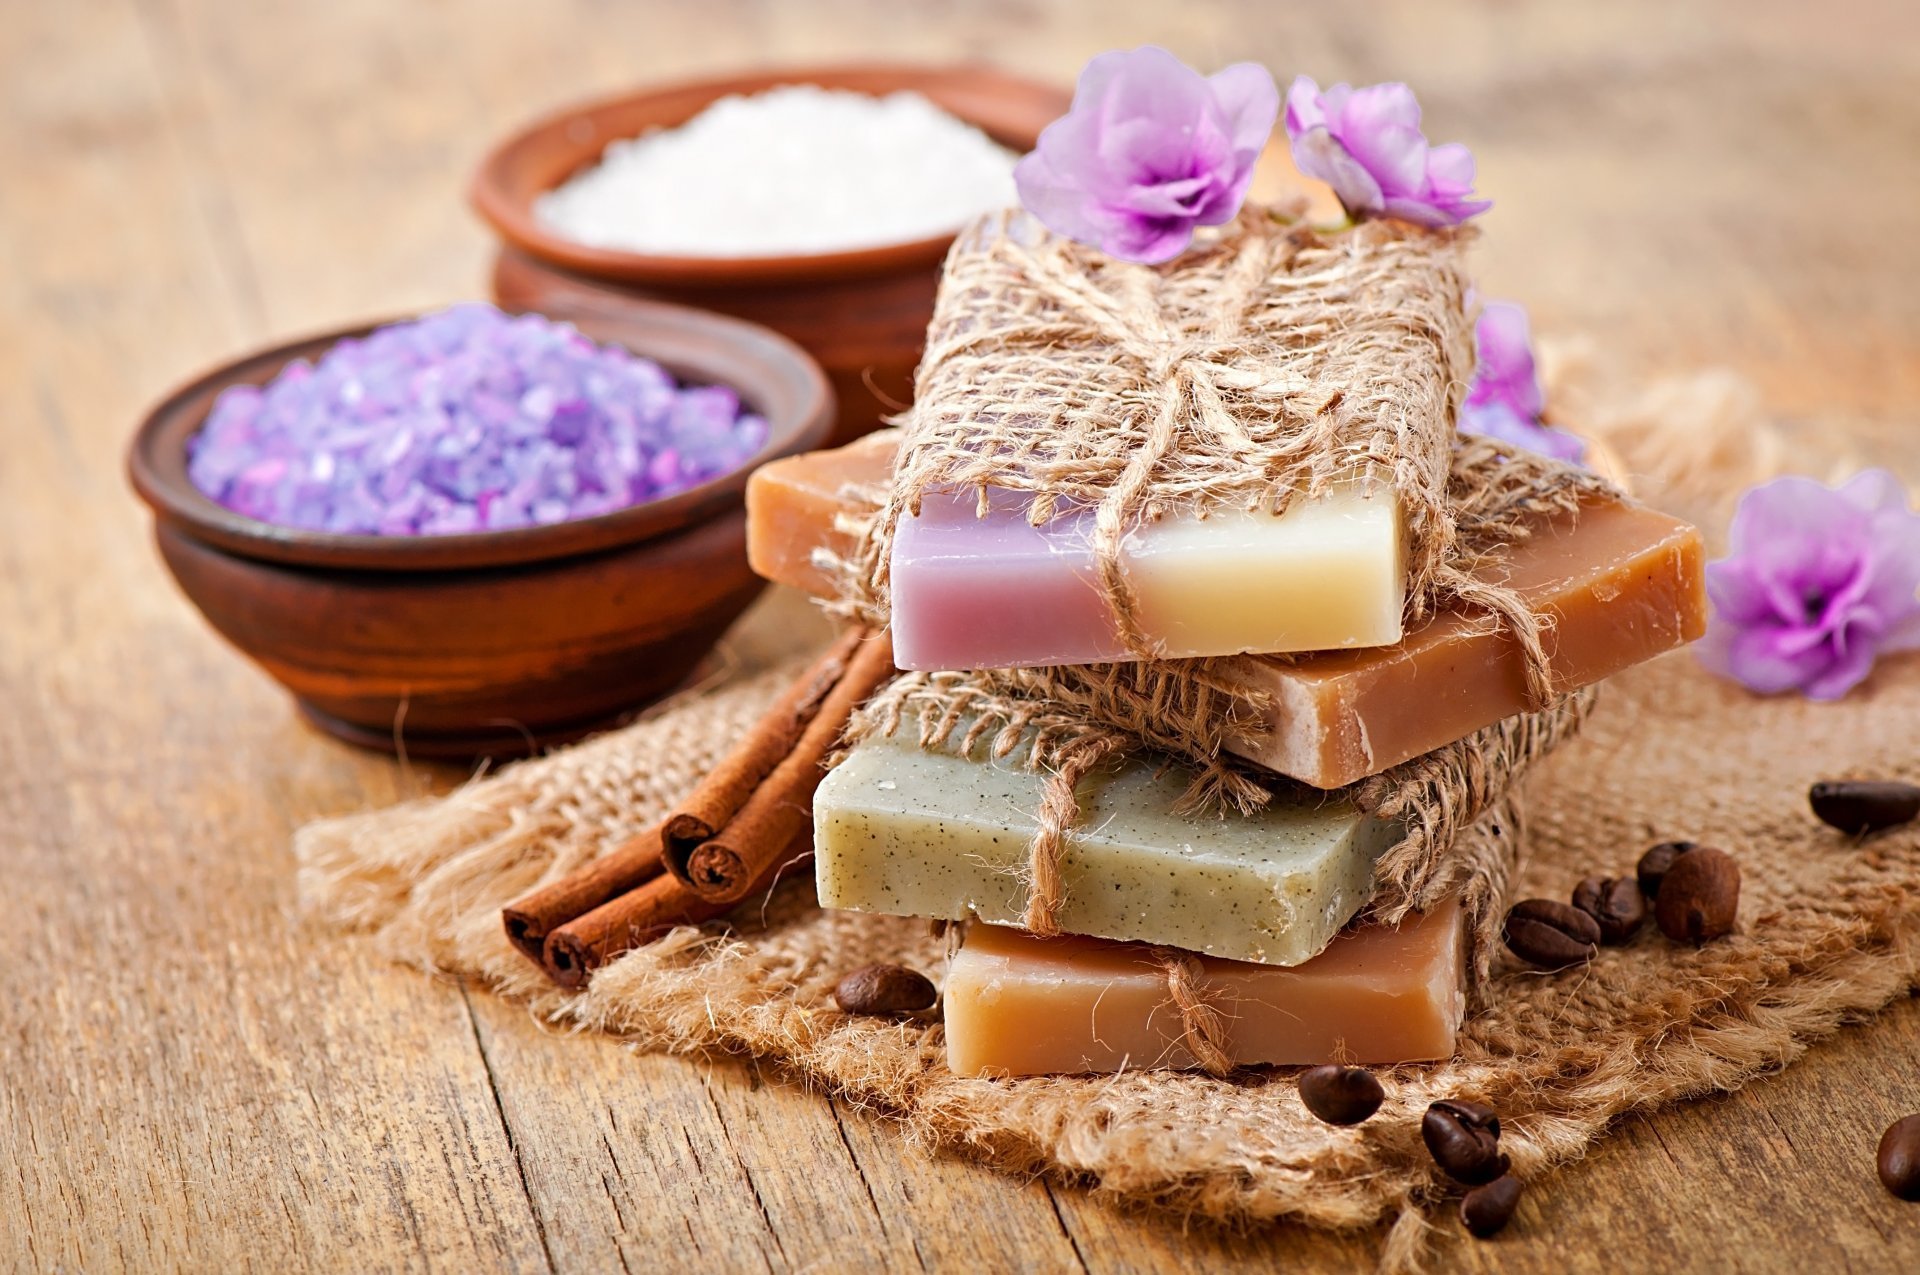
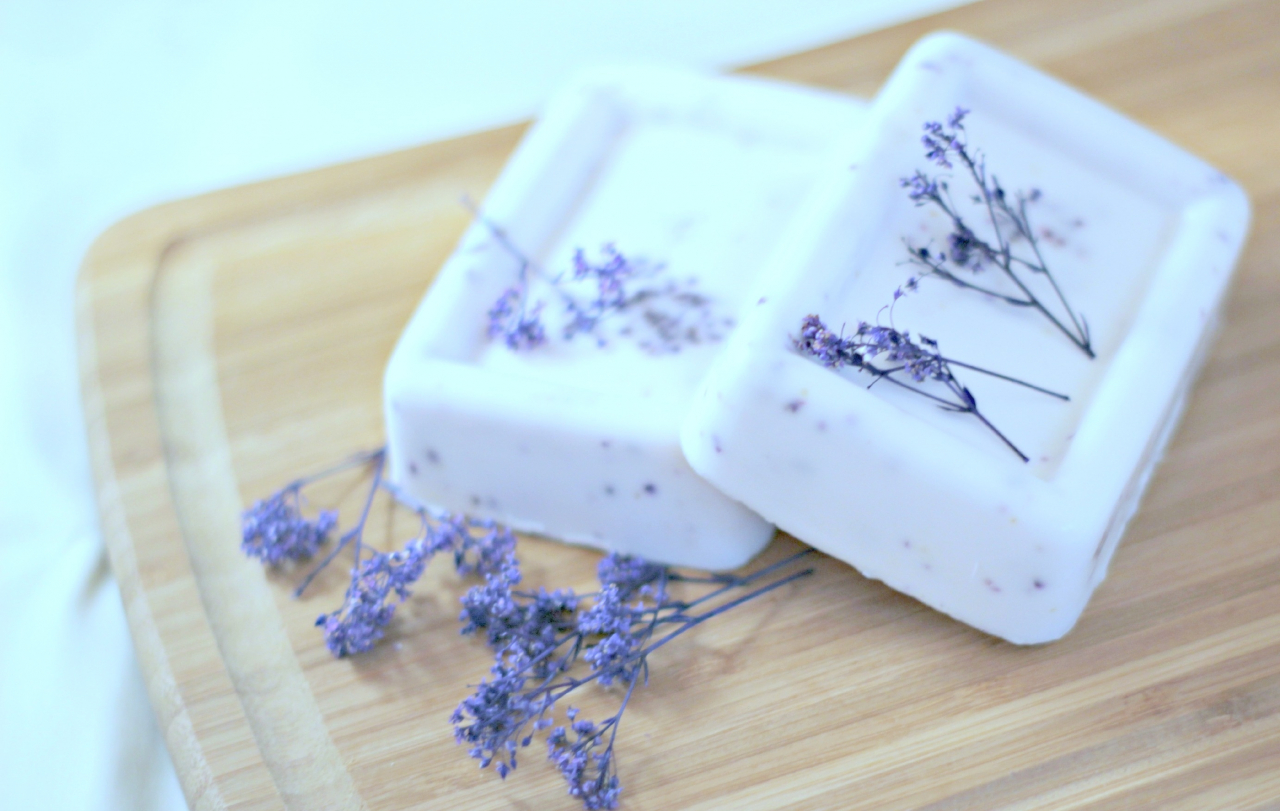
Handmade soap
Make your mom pleasant by giving handmade soap. Be sure that she will appreciate it. You can achieve absolutely any fragrances by combining natural essential oils according to your mood. This project presents three flavors: honey oatmeal, aloe vera and chamomile. And you make your own brand, "seasoned" your soap in any way.
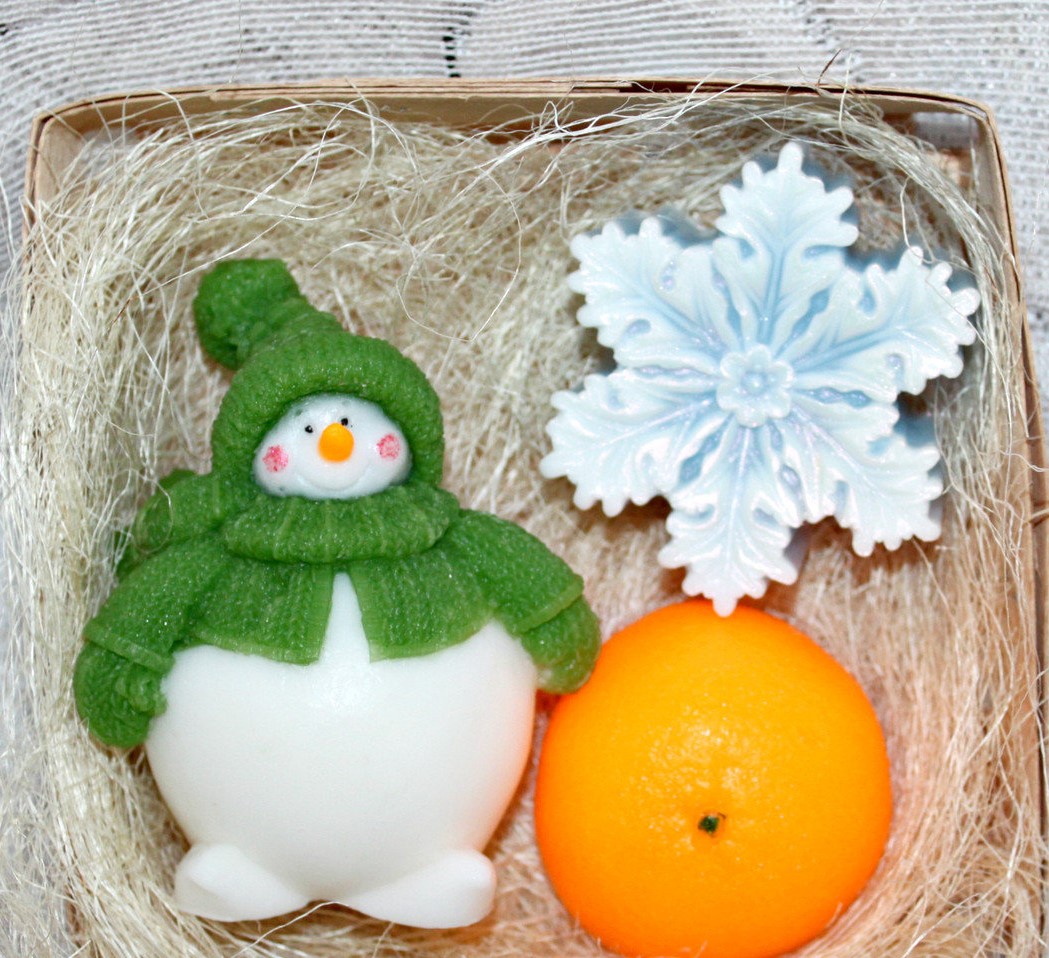
Wonderful elements of the New Year
When it comes to making soap, all of you are sure to be new to this business, however, like me. Therefore, for anyone who wants to go the easy way and not complicate his life, this life hacking is intended: melt and pour glycerin soap into the form.
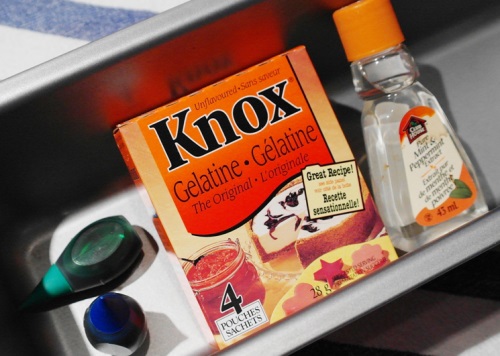
Basic materials:
- 4 cubes of glycerin soap (120 g);
- petroleum jelly or vegetable emulsion;
- bottle for spraying (with fog), filled with alcohol;
- soap forms (you can take specific forms for soap or use the base from a container for yogurt or any other plastic container).
Now about the basic instructions for making soap. Regardless of the “taste” of the soap you want to make, the basic steps are the same.
Unusual gift for all occasions
Start by covering your forms with petroleum jelly or plant emulsion. Set aside. Cut the glycerin into cubes and place it in a safe microwave container with a spout.
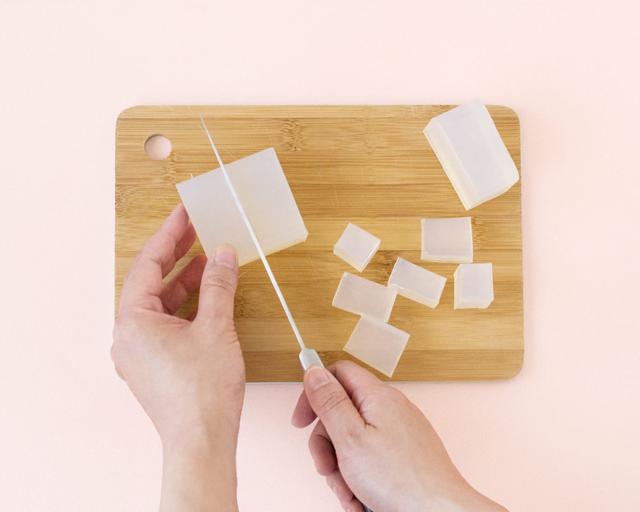
We cut glycerin
Heat the glycerin in the microwave at intervals of 20 seconds before melting, but do not boil it. Stir until smooth.Mix fragrances separately and add them to soap.

We melt the main agent for soap
Pour the "flavored" soap into the prepared form. Spray alcohol from a spray bottle onto the surface of the soap using the “cloud” function. This must be done in order to remove bubbles from its surface. Let the soap cool for 2 hours.
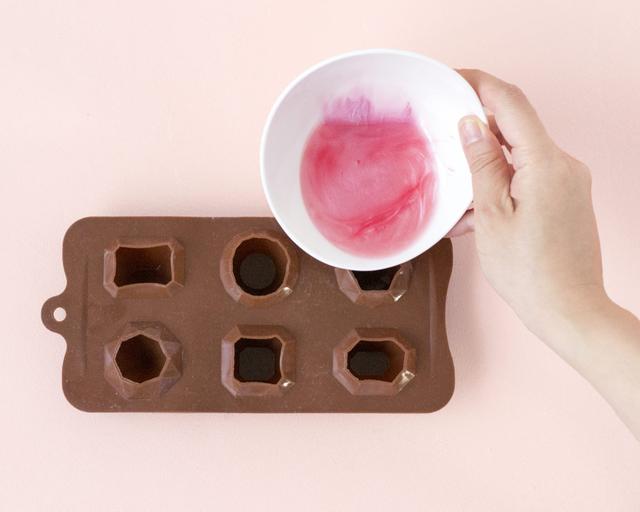
We combine all the ingredients and fill in the form
To remove the soap from the mold, click on the bottom of the mold and pull it out. If the soap still resists the exit in this way, place it in the freezer for 10 minutes and try again.
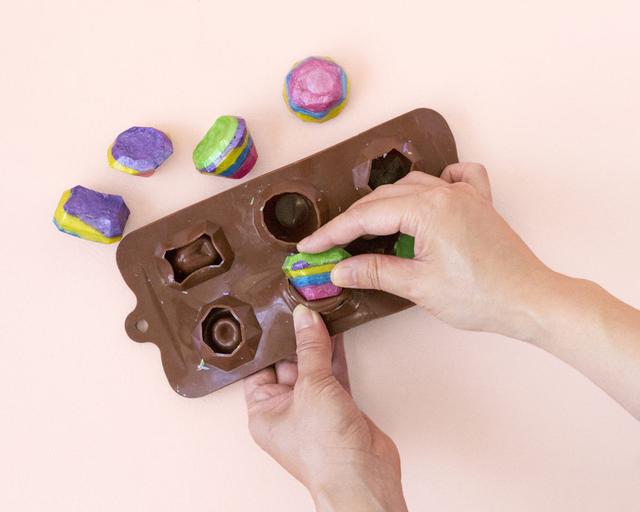
We take out a natural product
Now that all the steps have been completed, I can share with you wonderful recipes! Add this to the melted glycerin before pouring it into the mold.
Use:
- for soap with chamomile, use 1/4 teaspoon of tea leaves;
- 1 1/2 tsp honey, 1 pinch of ginger and 2 tsp. oatmeal for honey;
- 2 teaspoons of aloe vera gel for aloe vera hand soap.
I made several different types of soap in one day! The work did not take much time, and it is a wonderful gift for any occasion. I'm sure you will succeed too!

Give the soap your favorite shape and fragrance.
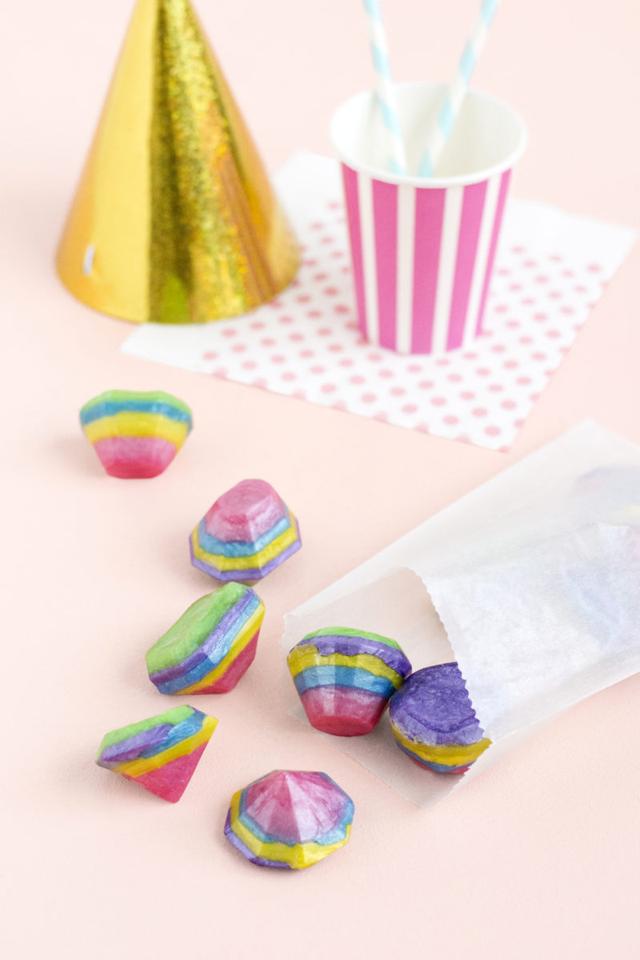
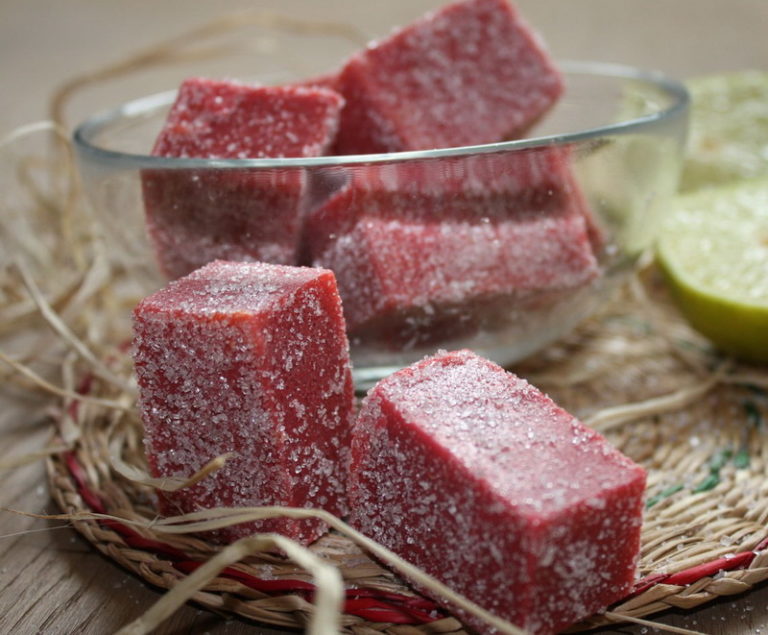
Peppermint Candy
Peppermint chillies are suitable as a sweet gift for the holidays, and are easy to make at home. Confectionery sugar and powdered gelatin are used to create plastic dough, which are then rolled into a thin plate.
After the dough is cut into squares and allowed to dry completely, it can be decorated with rubber stamps using food coloring. The possibilities of design are endless, and besides, this is a rather fun activity in which the passion for creativity is manifested in all.
Plan a gift in advance, because the mint needs to be dried overnight, and be sure to use new (unused) rubber stamps that have been washed and dried. This recipe requires meringue powder, which can be found in most shops for baking.
Coin jewelry looks beautiful when they are packed in small jars, tied with a ribbon.
You will need:
- 2 tablespoons cold water;
- 700g of powdered gelatin;
- 1/3 cup of meringue powder;
- 1 1/2 cups powdered sugar;
- 2 teaspoons of mint extract;
- food dye gel "black";
- rubber stamp.
We buy the right ingredients
At the exit you should have three sets of coins in a dozen (12 pieces) each.
Place cold water in a small seasoning cup. Spread gelatin powder evenly on the surface. Let stand until gelatin is absorbed and forms a solid mass.
Fill gelatin with water
Beat together meringue powder and powdered sugar in a large bowl; set aside. Heat the gelatin in the microwave or on the stove for about 10 seconds or until the mass is thinned. Allow to cool slightly, then pour it into the mixture with powdered sugar.
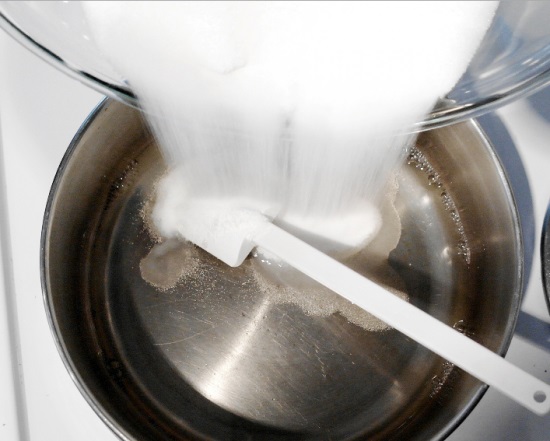
Falling asleep icing sugar
Stir a little, then add peppermint extract. Knead the mixture in the bowl with your hands until a stiff, flexible dough is formed (you may not need to use the whole icing sugar mixture).
Sprinkle with the sugar mixture and roll it between two sheets of parchment paper. Make the dough as thin as possible with a rolling pin, or if you have a pasta machine, pass the dough through the roller several times until it becomes very thin.
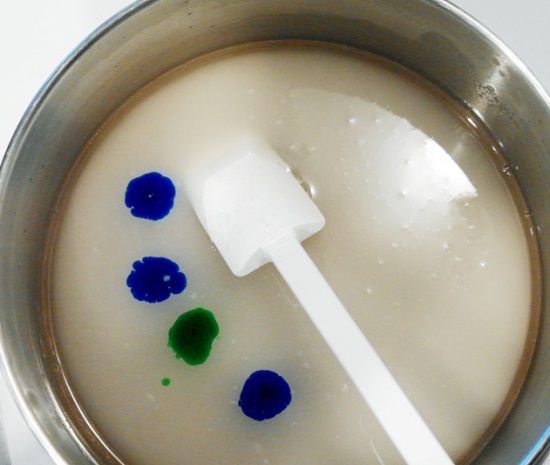
We bring the mixture to the desired color
Cut the dough into squares with a pizza cutter or small penknife. Let the mint dry.
When it hardens and fixes the form, it means that the product is ready for printing. Lightly paint over the surface of the print and paint over the maximum area of rubber stamping.

Leave the mixture to cool in the fridge for at least 24 hours.
Gently but firmly press the cut squares on the die — do not press too hard, as the candy may break.
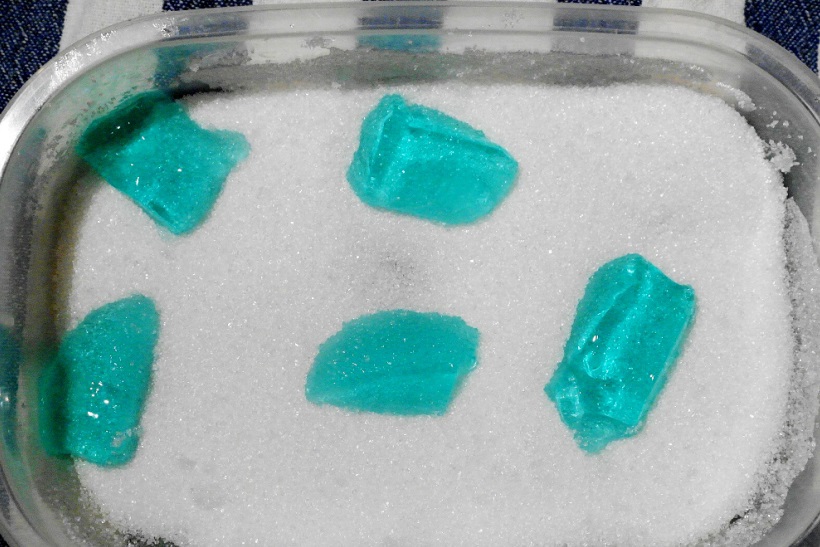
Pour sugar
Leave the mint to dry for 5-10 minutes, then place them in jars or baking bag.
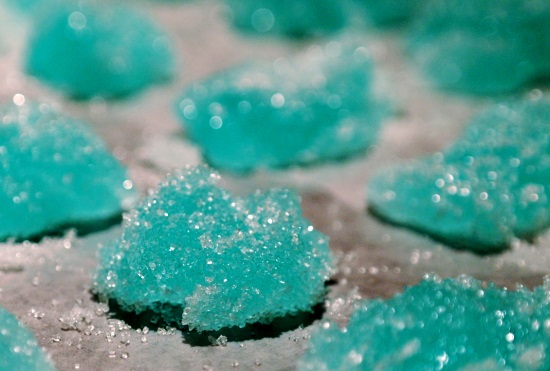
Mint candies are ready
Branch with pompoms
This craft is sure to have time to make everyone by the New Year! After all, this is such a popular and fresh look at the decoration of the New Year house. Some even completely forgot the trees, actively decorating houses instead of them with such branches. Here everything is limited only by your imagination. If you do not know what to give your loved ones for the New Year, give them this jewelry.

The bouquet will serve as a gift to someone close
Pompons can be made both perfectly round and almost shapeless, so that they do not look "refined."

Count the number of turns so that the pompons between them are the same.
Alternate the balls on each side of the branch and try not to repeat the colors nearby.
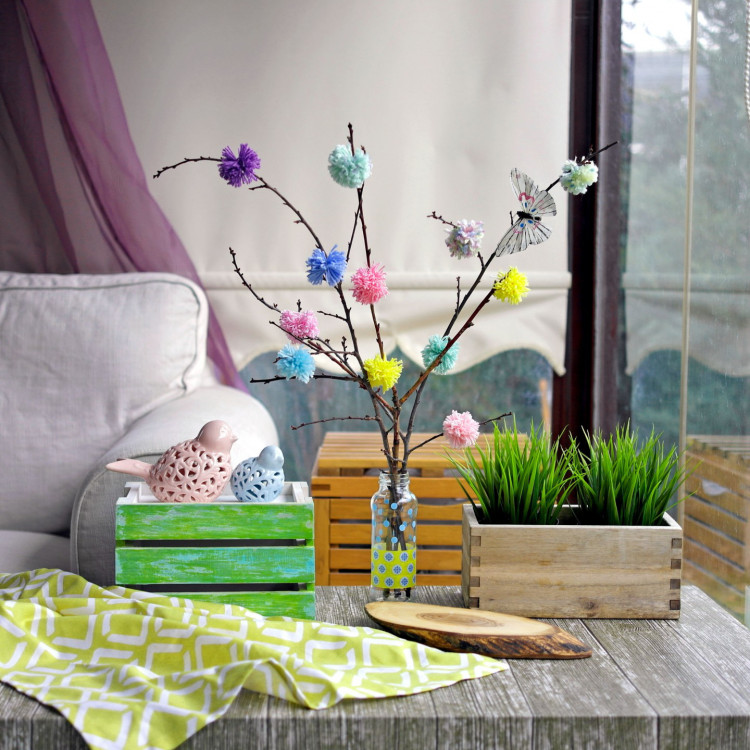
We tie the pompons on the branches in a chaotic manner
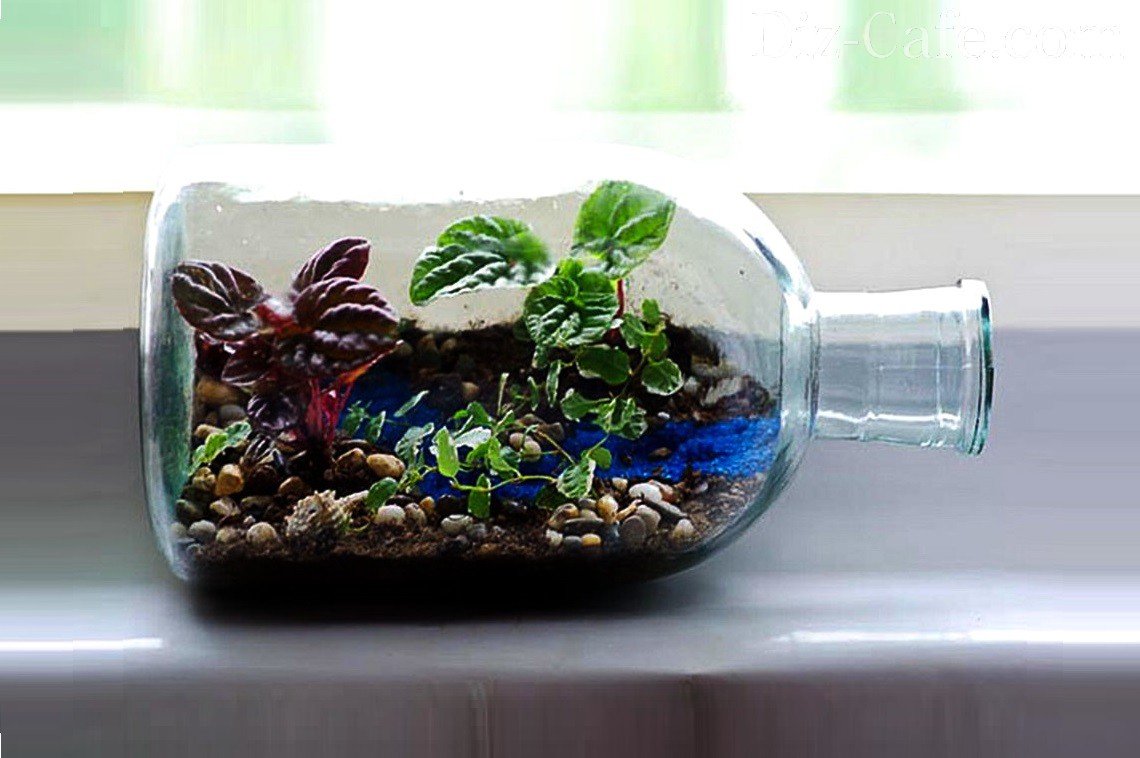
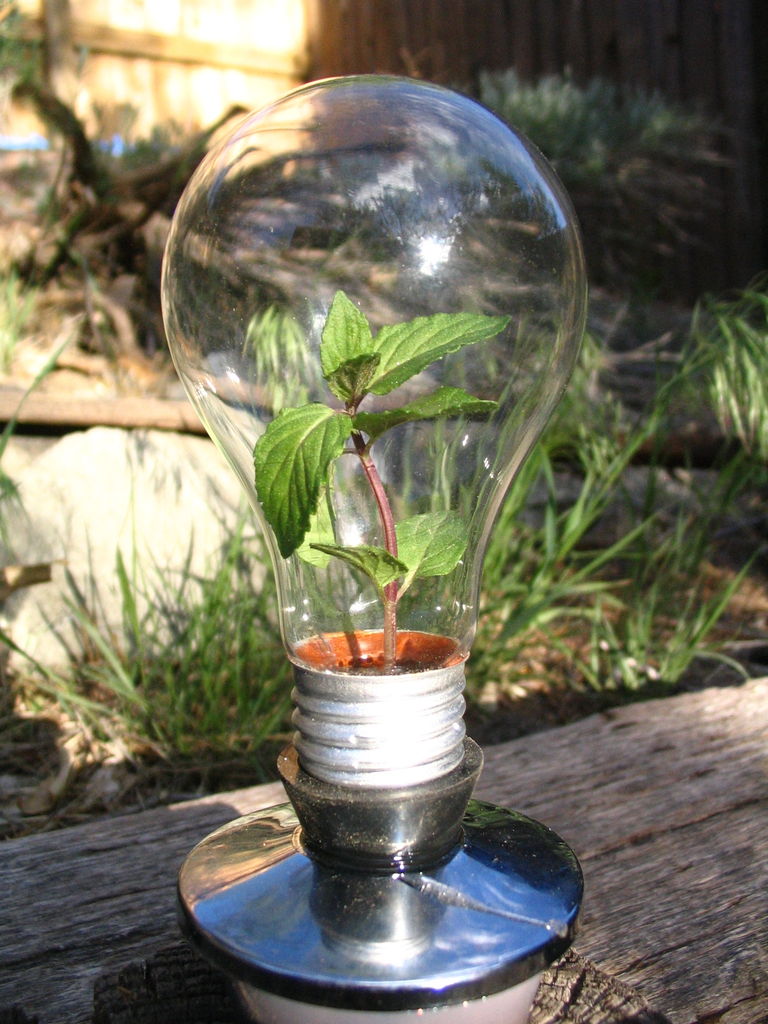
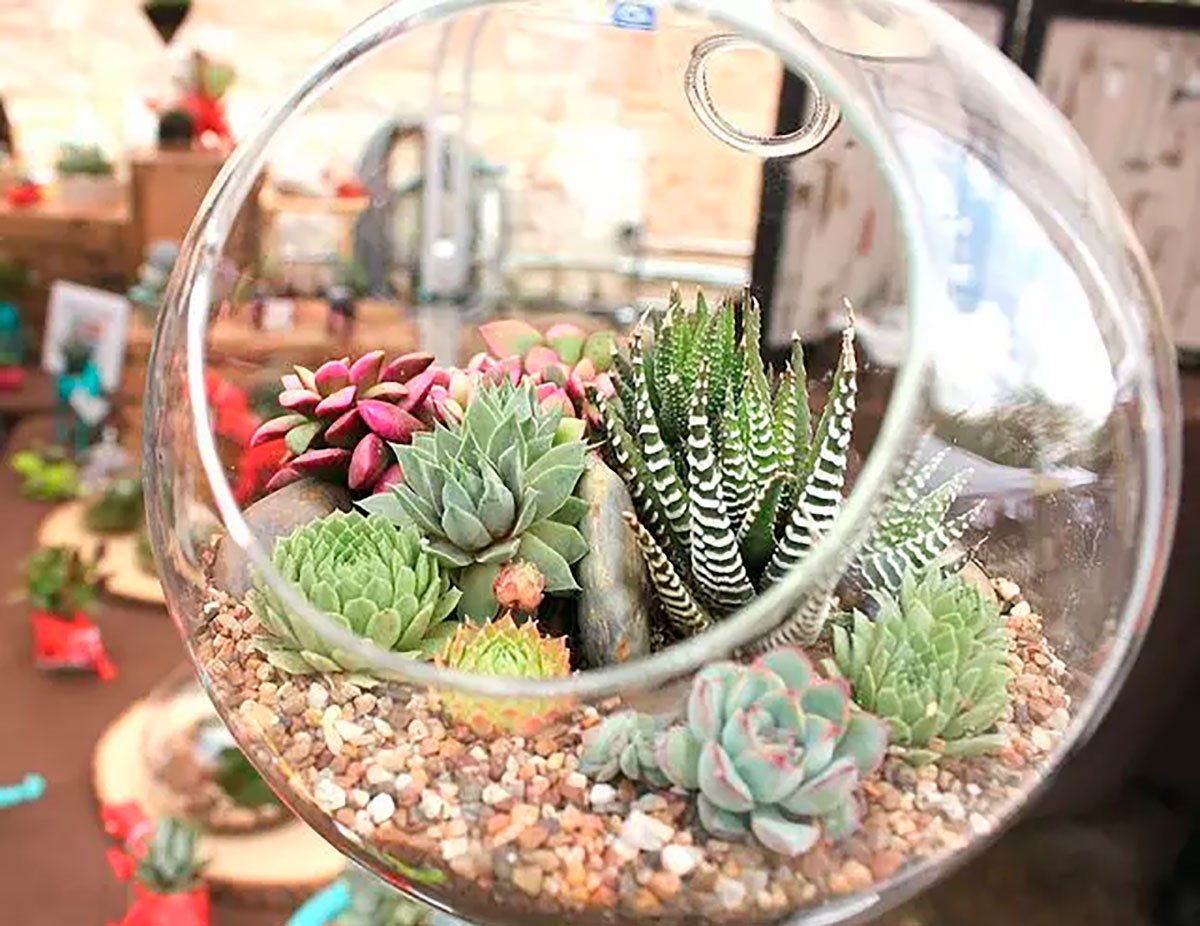
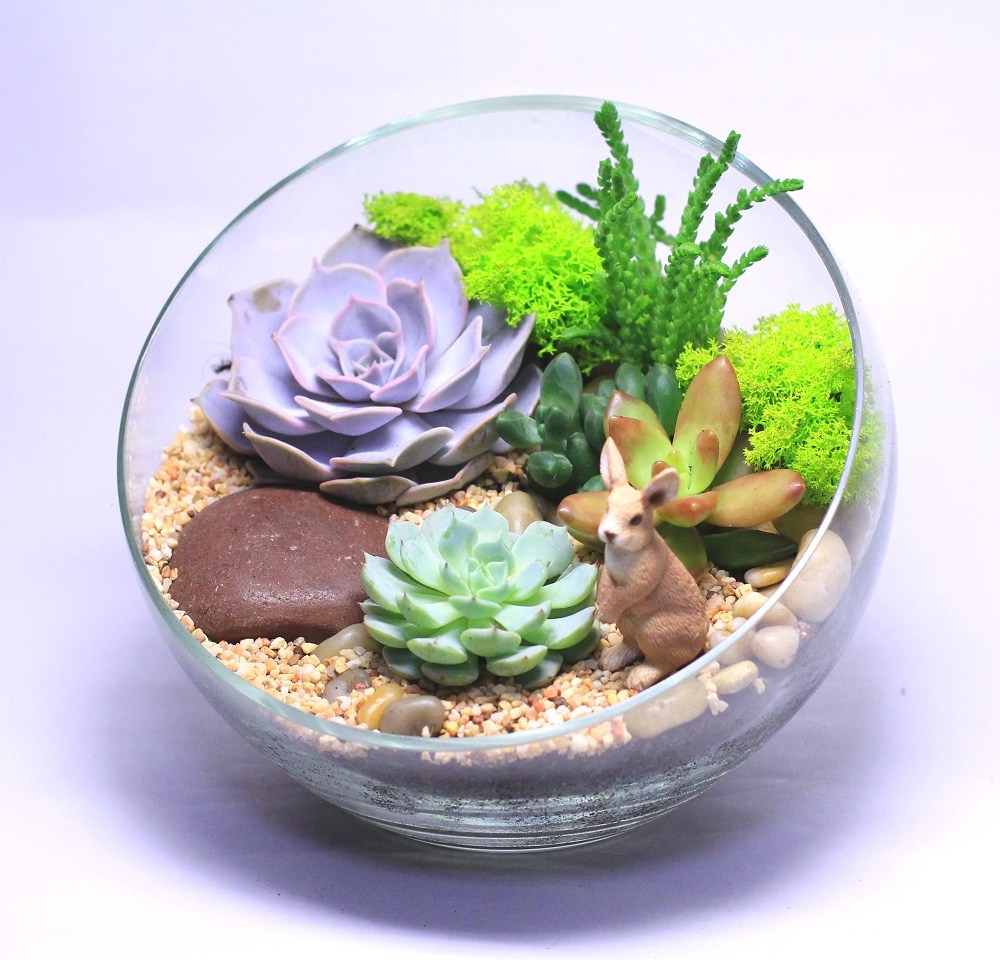
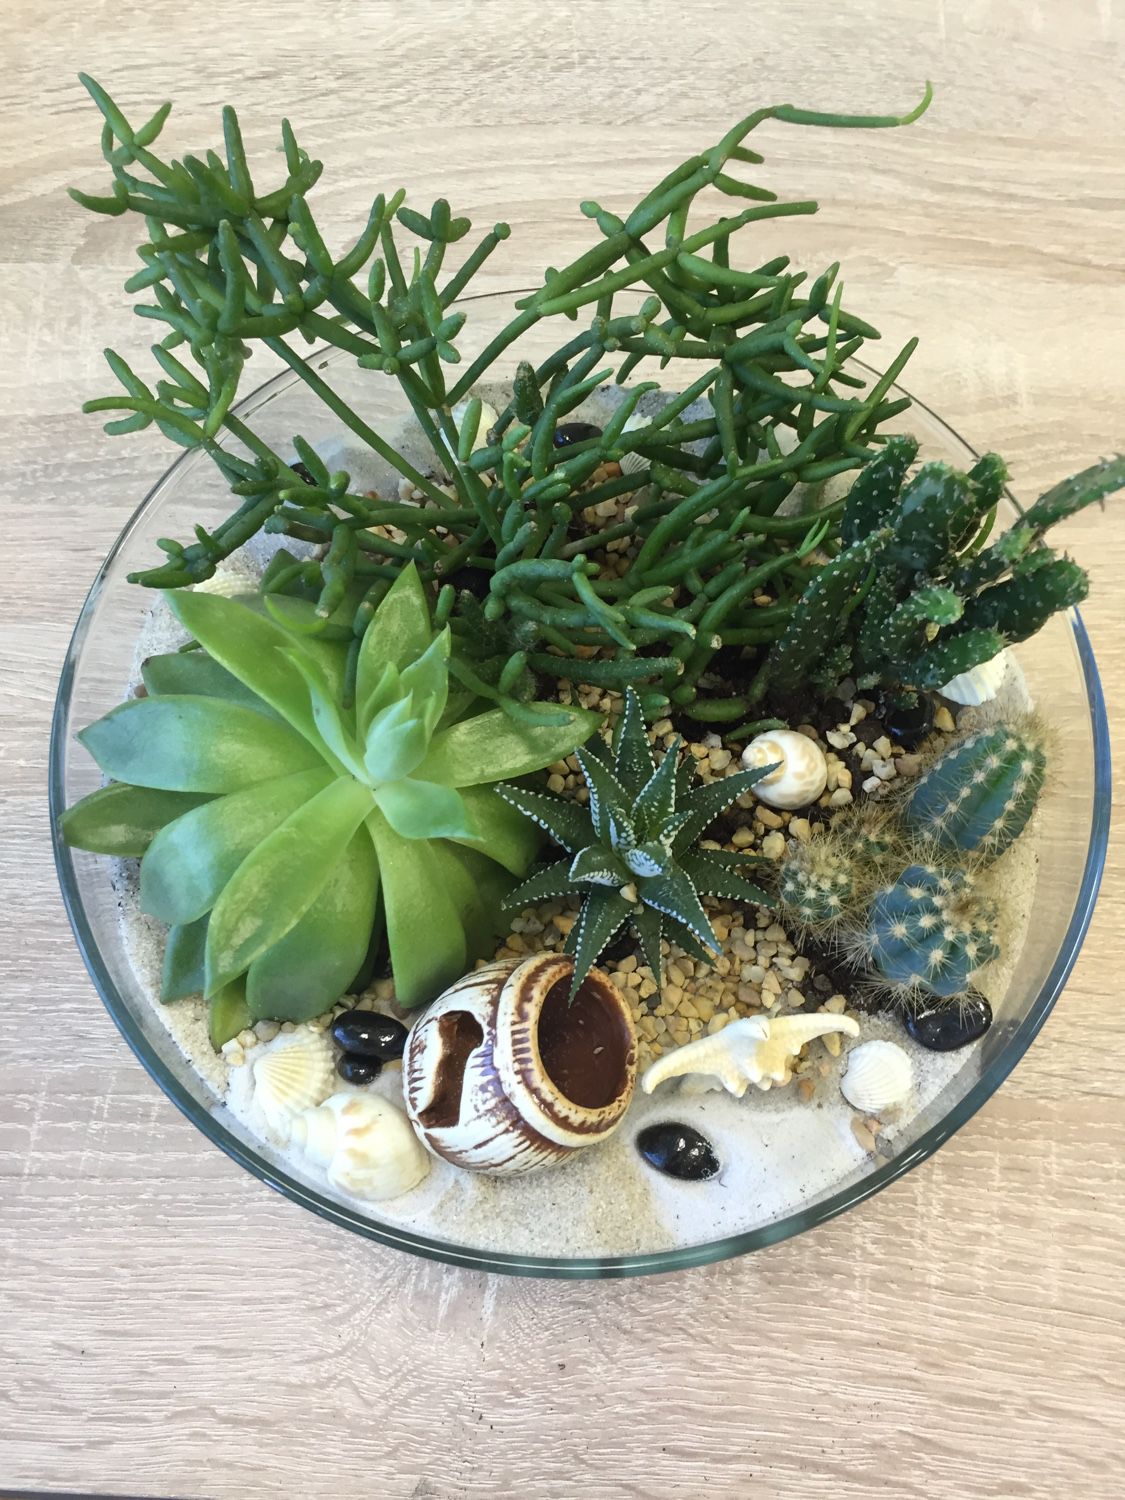
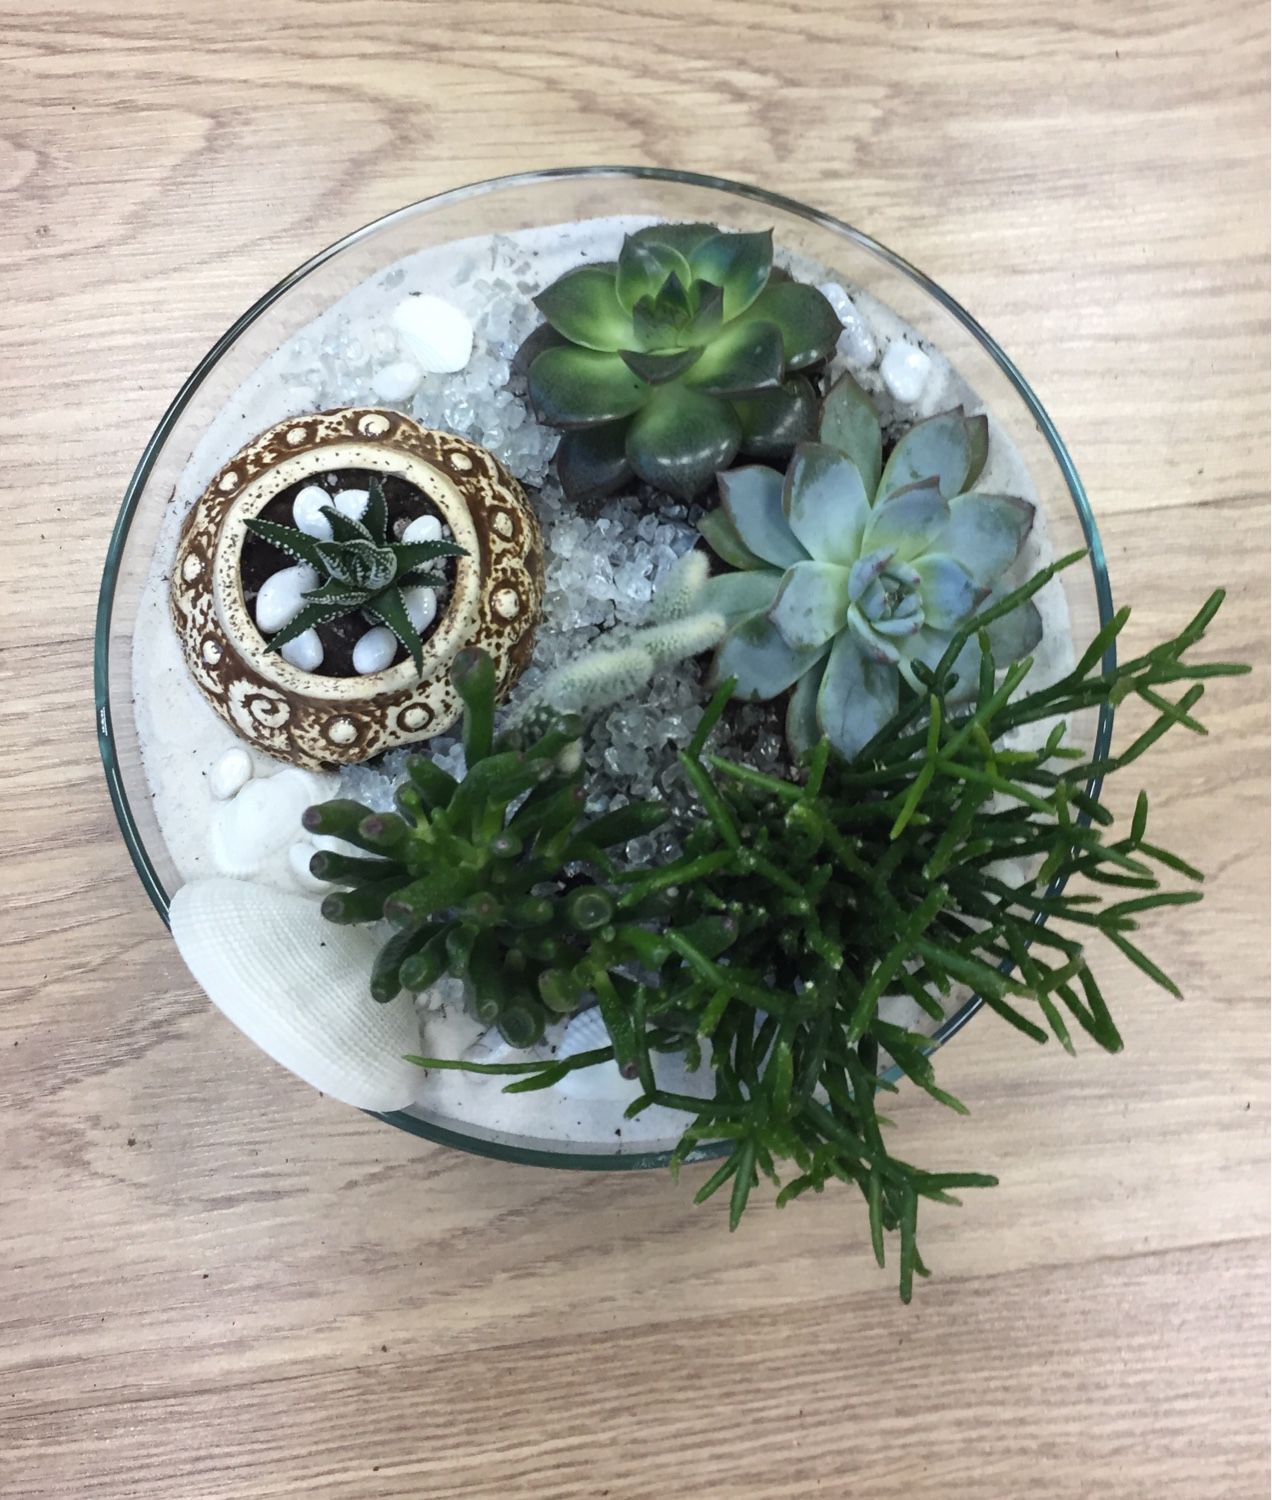
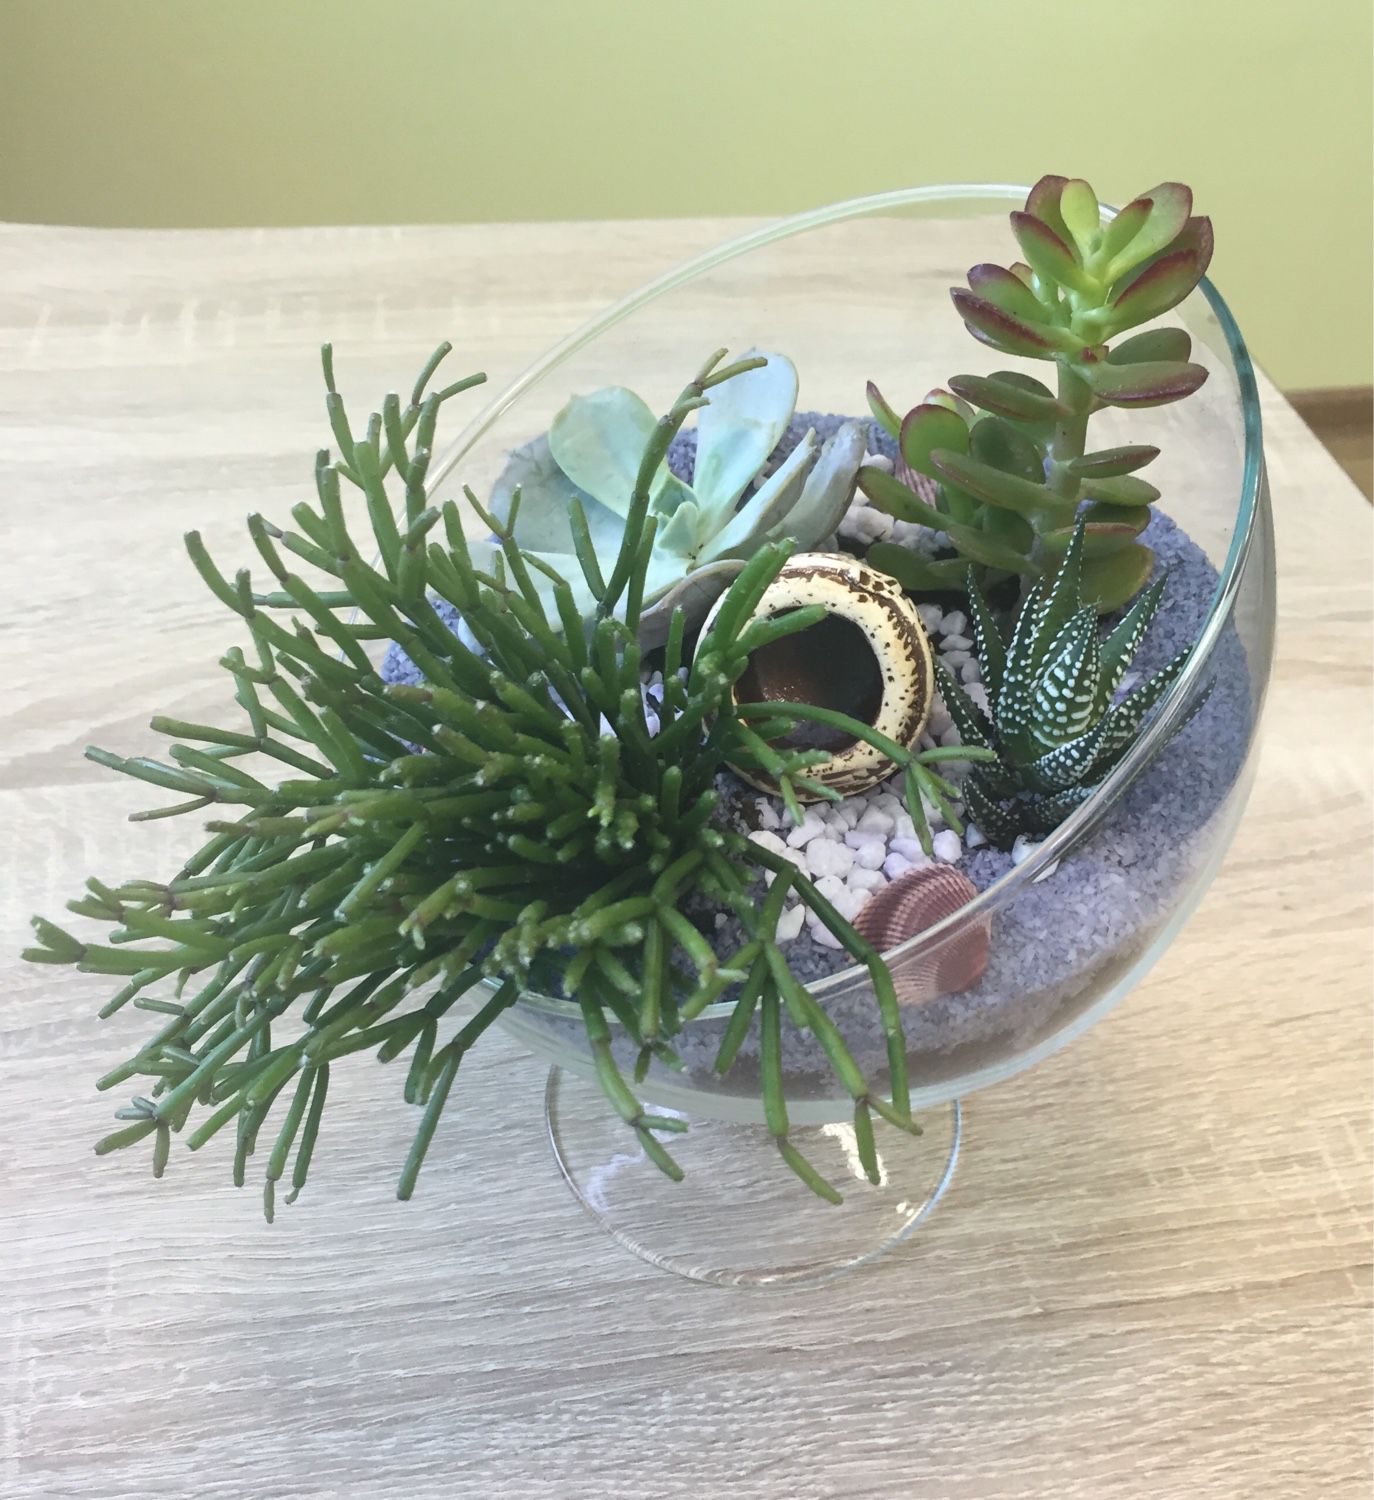
Mini gardens do it yourself
How do you like the idea of giving someone a hand-made plant? The less it is, the more it will cause. For example, use a nutshell to plant this tiny aloe.
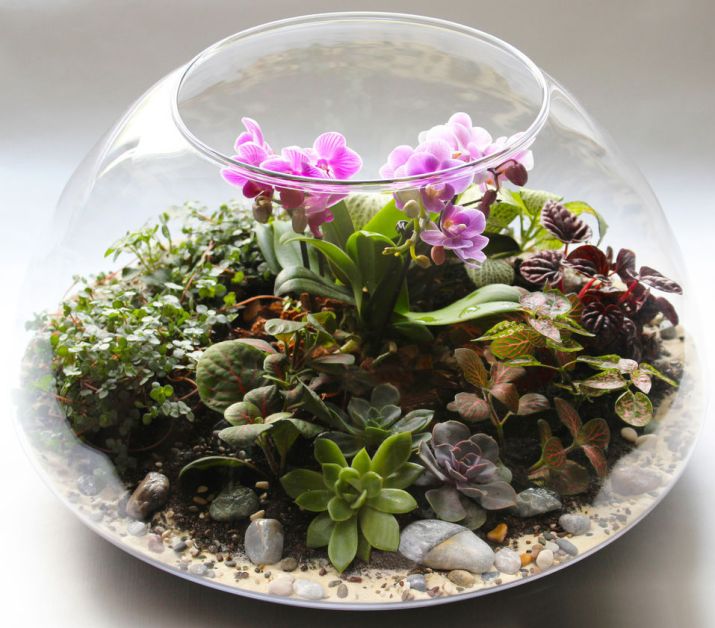
Or plant more large plants in a glass jar and decorate the composition with fun details.
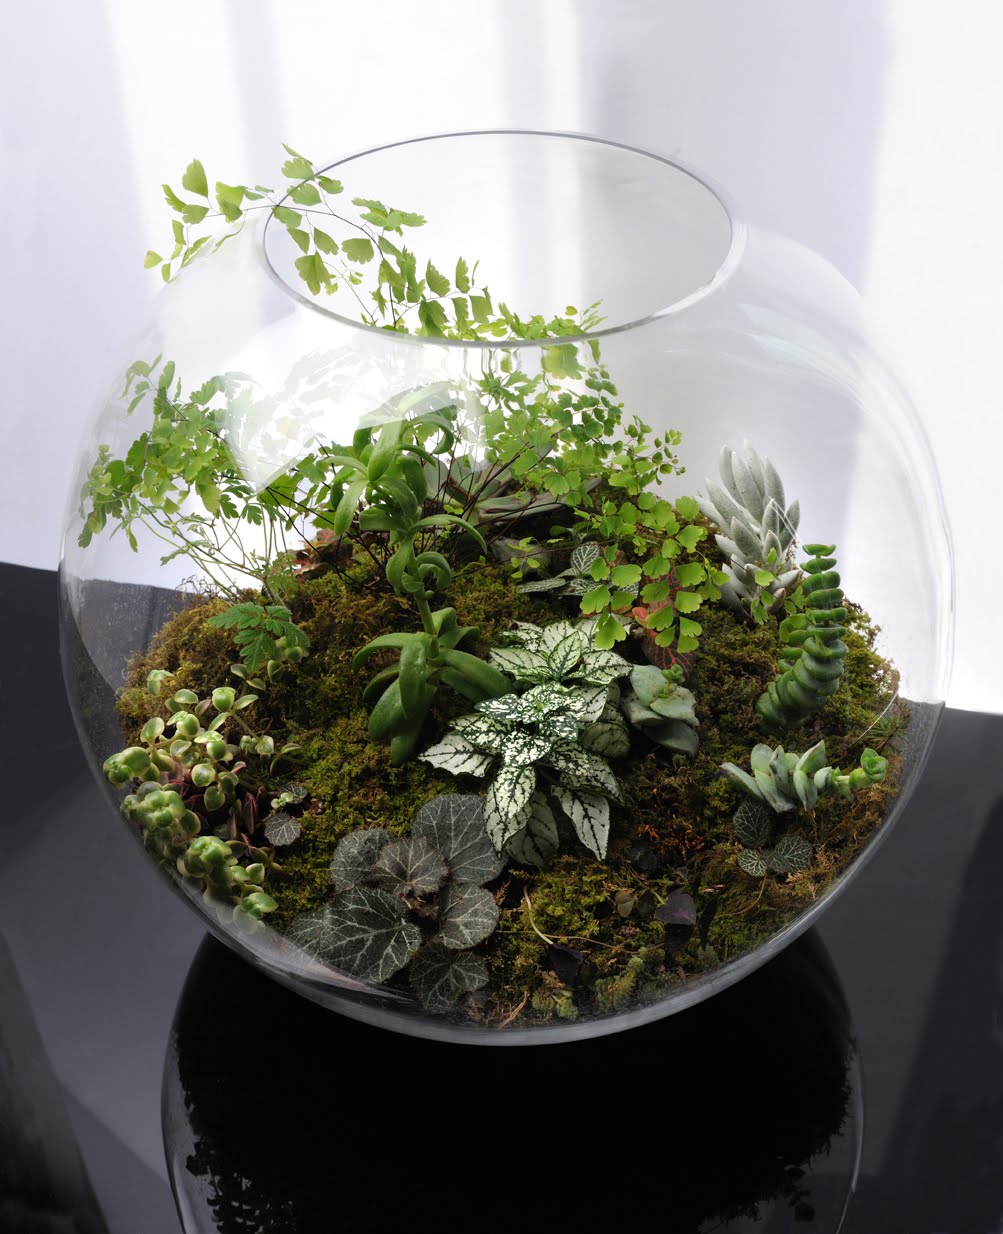
Florarium do it yourself
People like everything small and mini-gardens will perfectly cheer them up. It can be put on a window sill or other prominent place to decorate the room. The perfect gift for Christmas!
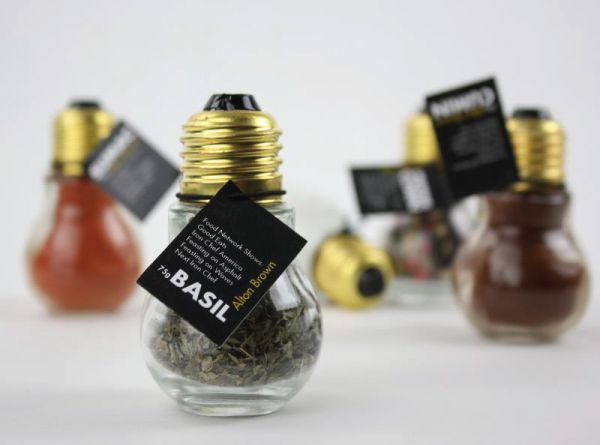
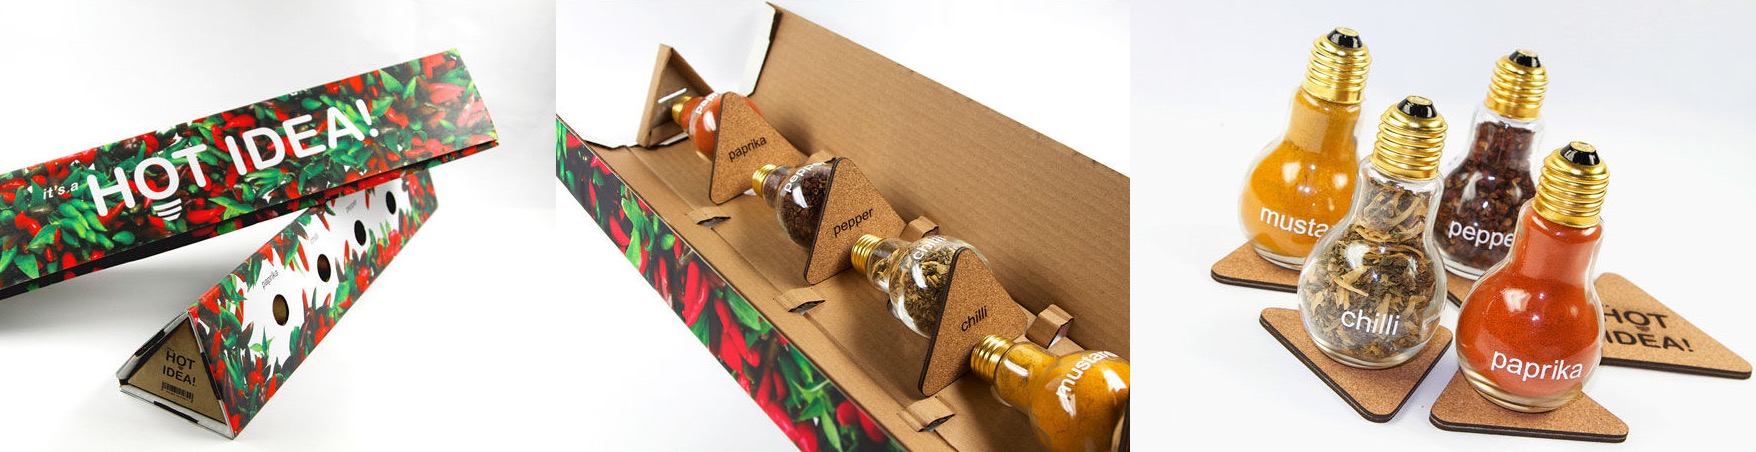
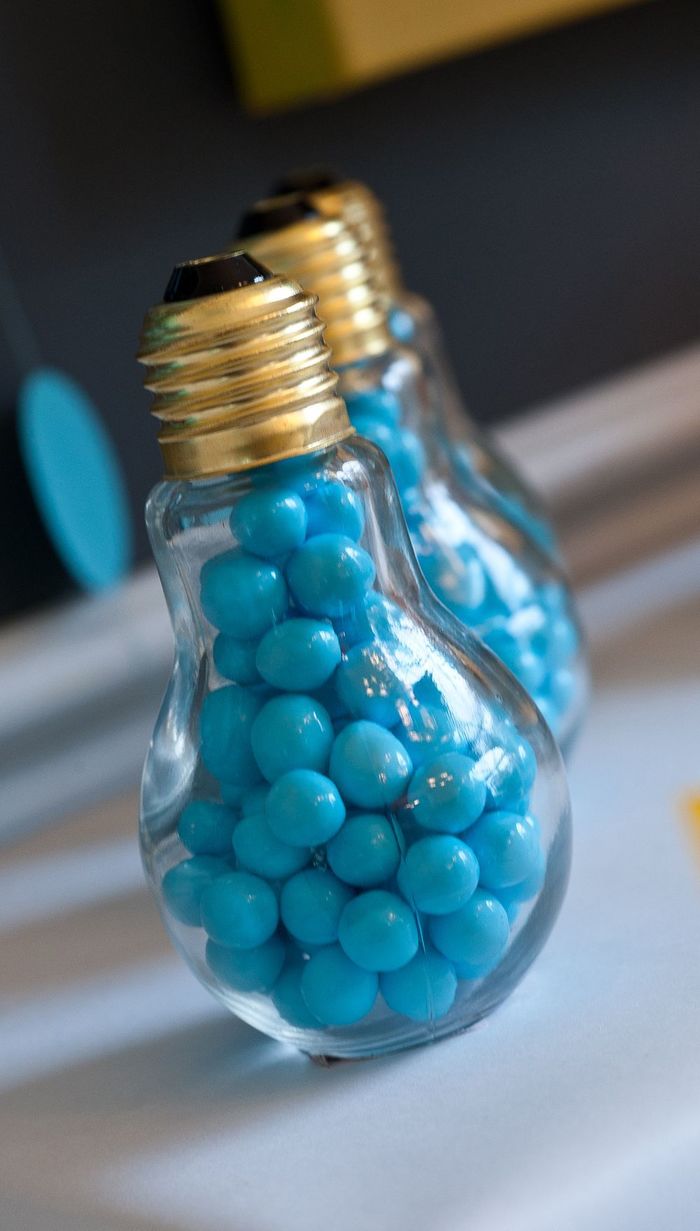
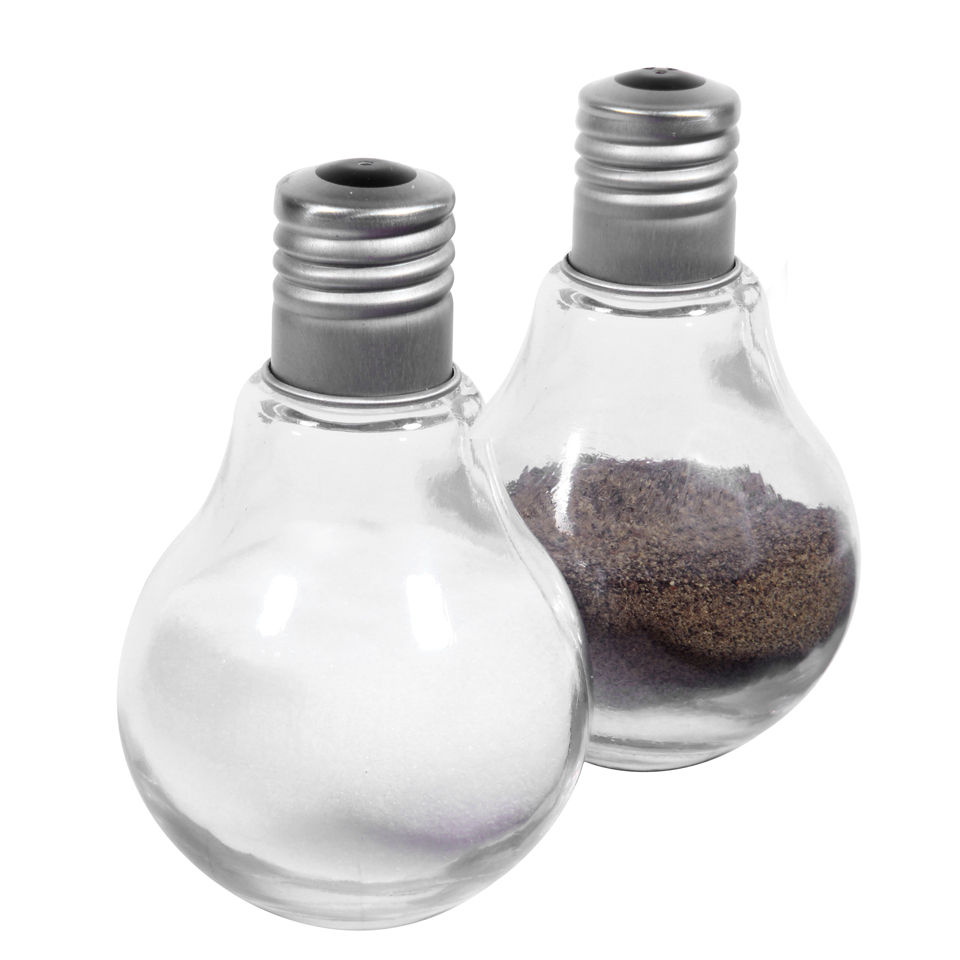
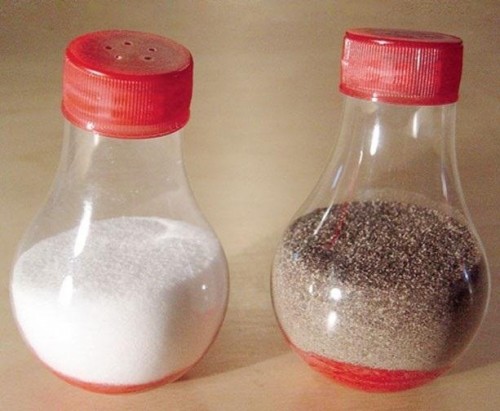
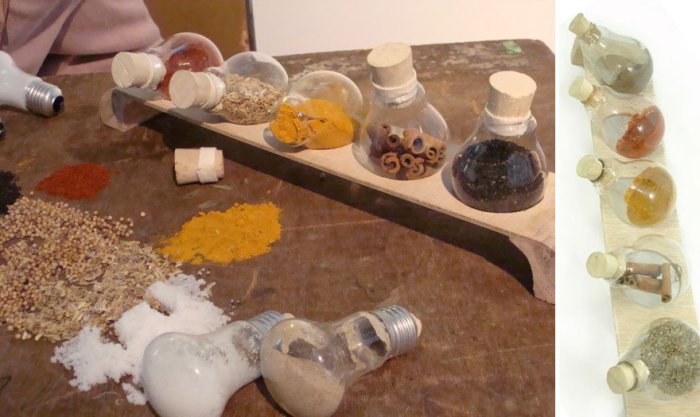
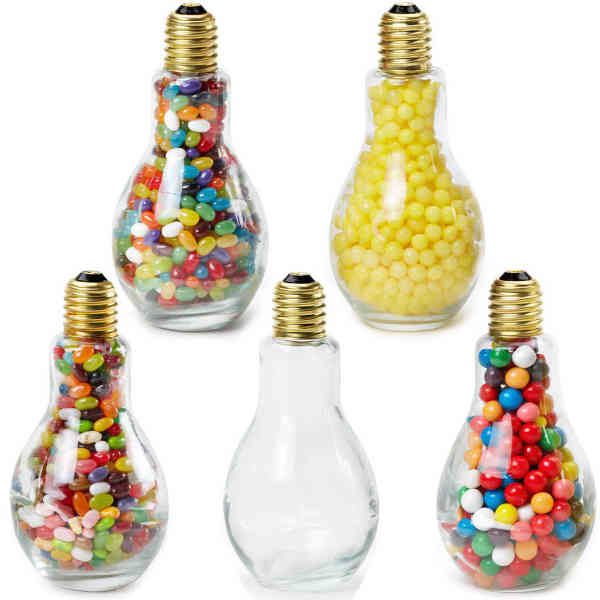
return to menu ↑Spices in light bulbs
Do not throw out old light bulbs, you can make stunning containers from them for an elegant gift! They are perfectly twisted and can serve as decorative jars.

Old light bulbs for a decorative ornament
Before you start this life hacking, I want to remind you of the dangers of using light bulbs for inappropriate purposes, because they consist of thin and fragile glass and careless handling of them can be dangerous. Hazard increases with contact with food. Therefore, I would recommend that you position this gift as a decoration on the wall in the kitchen (which can be used on a “black” day).
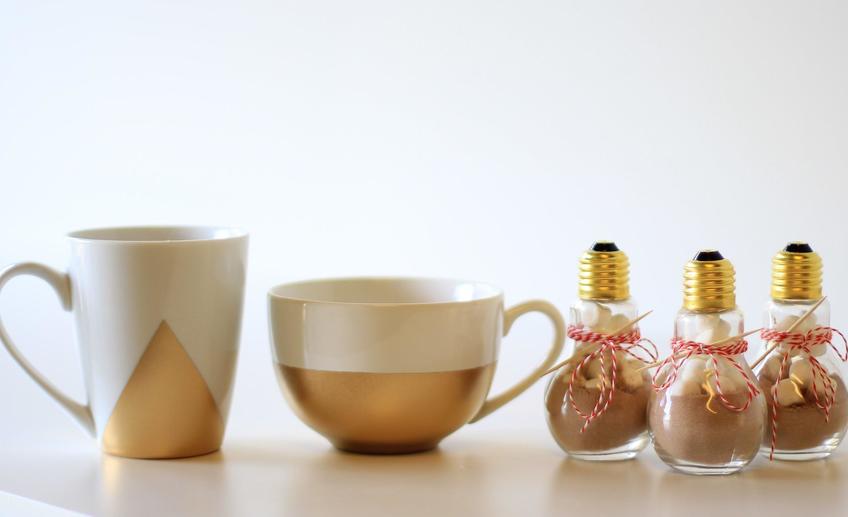
Bulbs as a kitchen decor
You can put your favorite spices there and, as an attachment to the gift, add a mini-book (again, homemade) with your signature recipes in which you use spicy blends. For example, place the mixture for mulled wine in one “jar” and sign it, and in a booklet remind you of a drink recipe.
How to do?
Mix different spices and place in the form using a funnel. Before closing, wrap the hole in a small piece of foil, and then put the lid on. The metal layer will not allow to leave large gaps through which spices can spill out. However, the foil can break through during curling, so everything must be done carefully. Shake each jar a little to see if a hole has formed in the foil and if the contents do not wake up, the process was successful, and if not, repeat the process of donning the foil.
Cute containers for your favorite spices
Instead of a book, you can make separate cards with recipes and instructions for using each mixture and put them next to each jar.
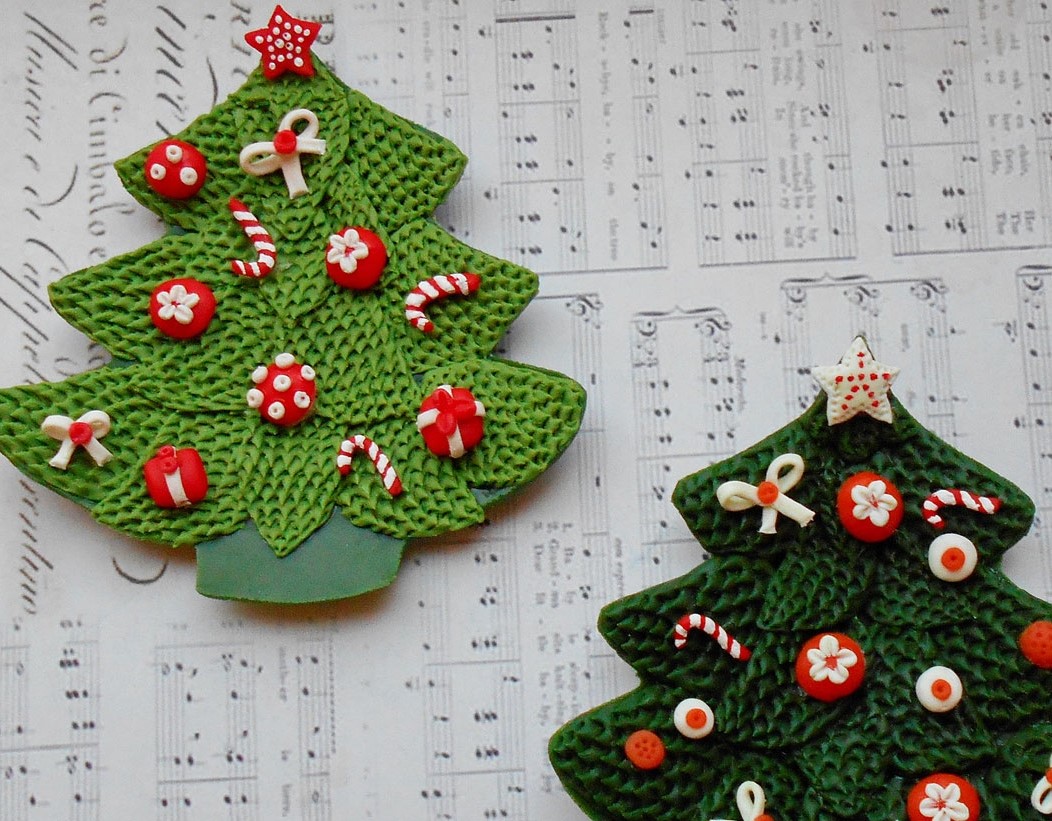
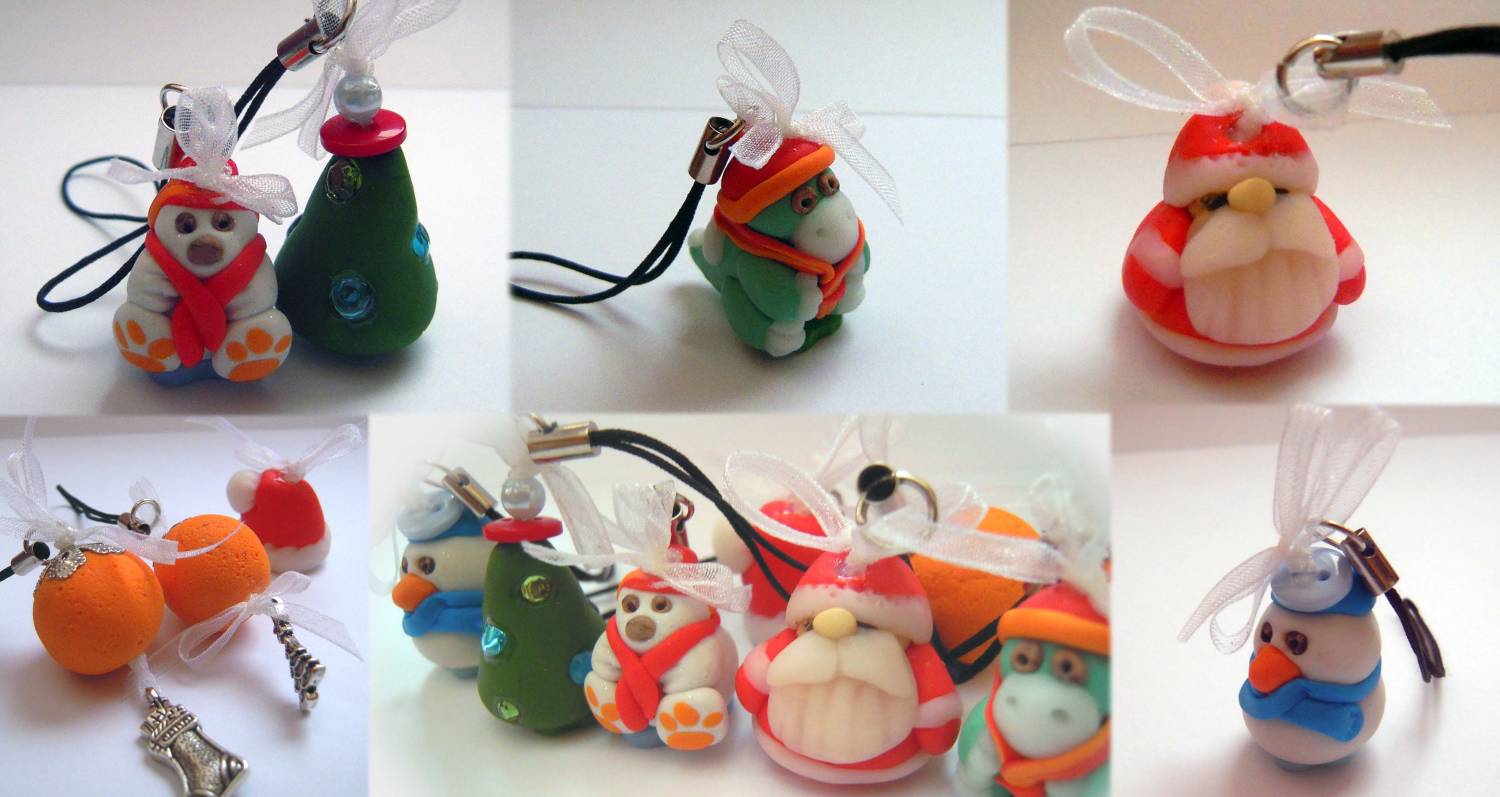
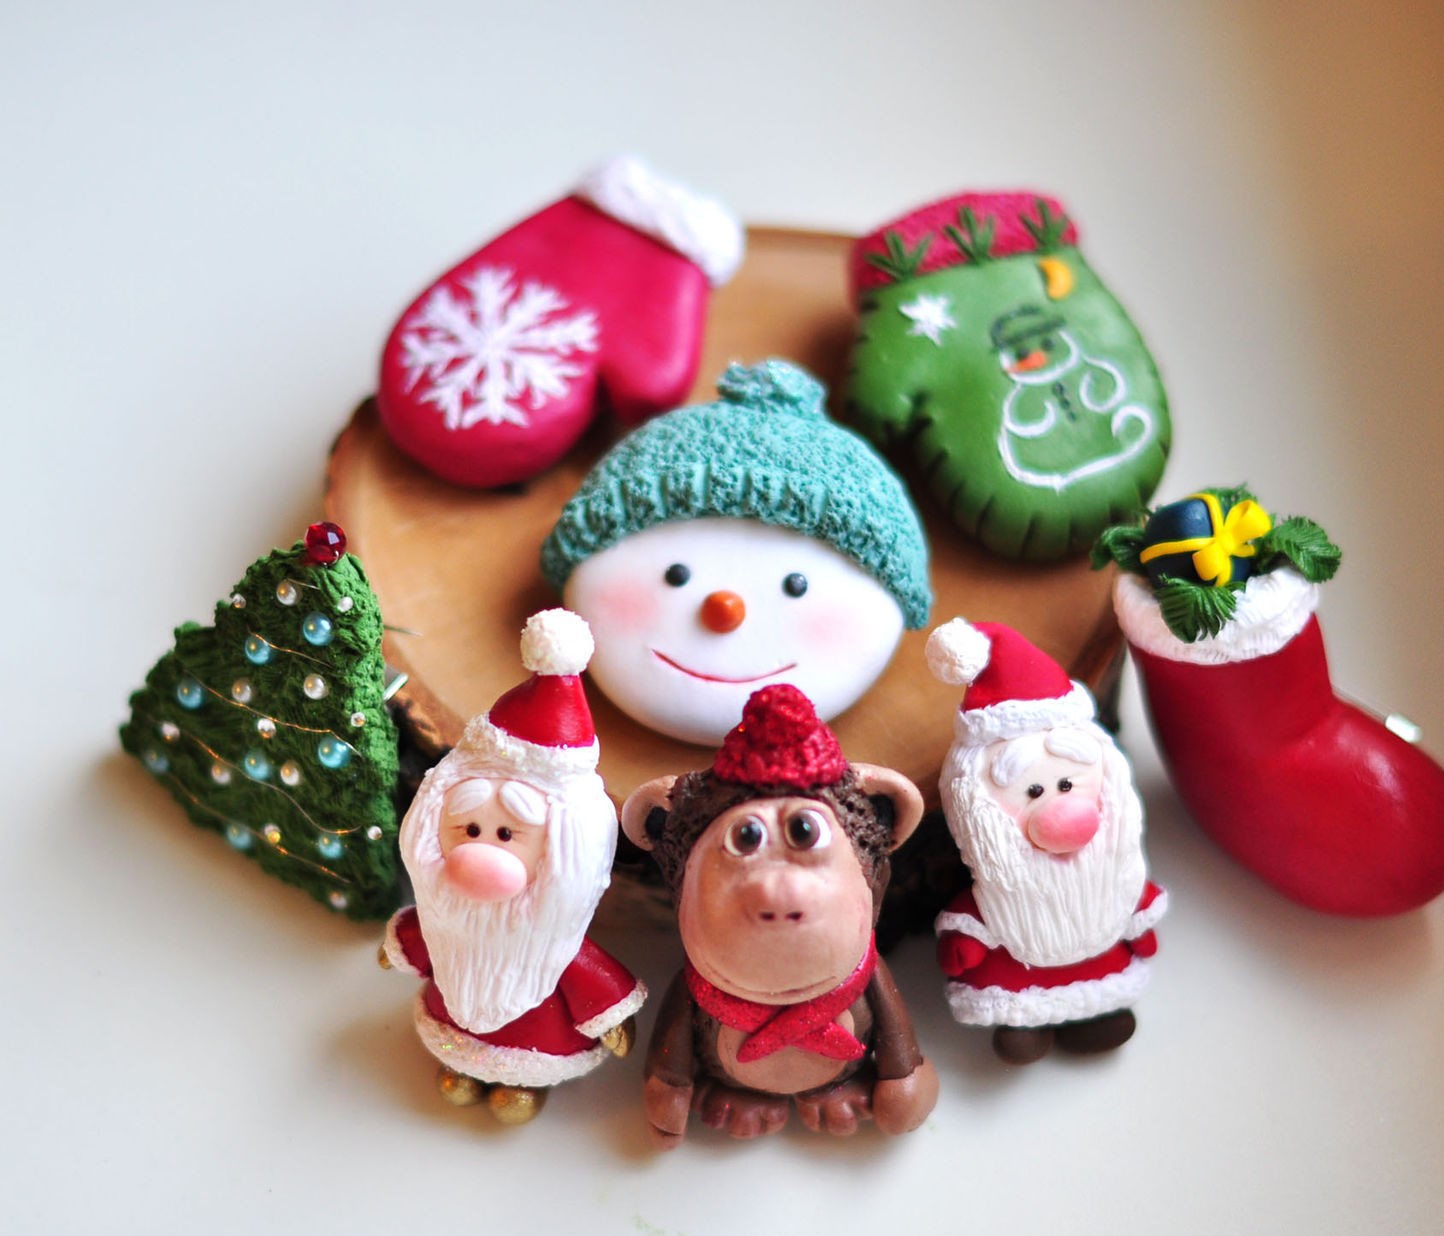
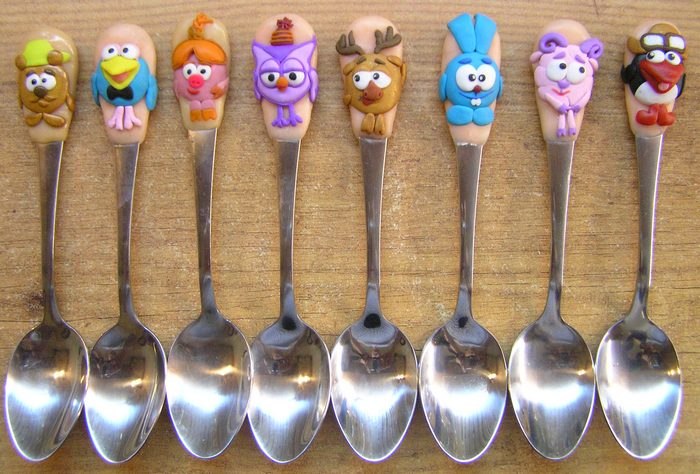
return to menu ↑Polymer clay gifts
For a long time I was afraid and avoided polymer clay, despite its attractive features and properties. It scared me that in order to fix the finished product from polymer clay, kiln in the oven is necessary. It is known that if the temperature is not observed and the product is accidentally over-exposed, poisonous gas will be released from the clay, and the stove can be immediately thrown out.
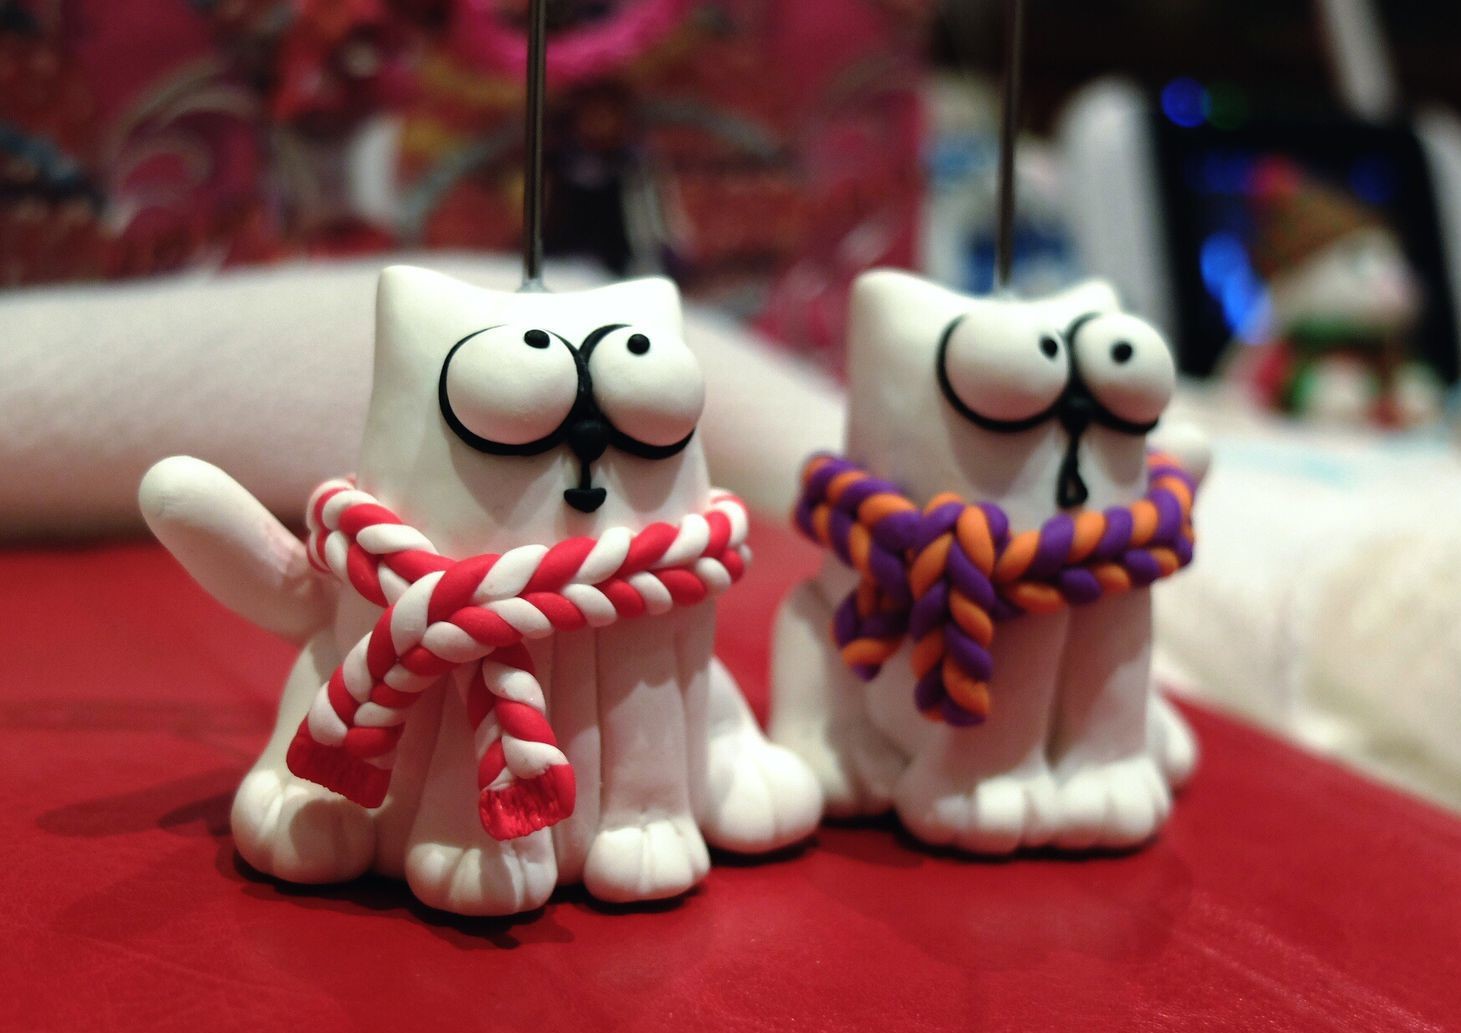
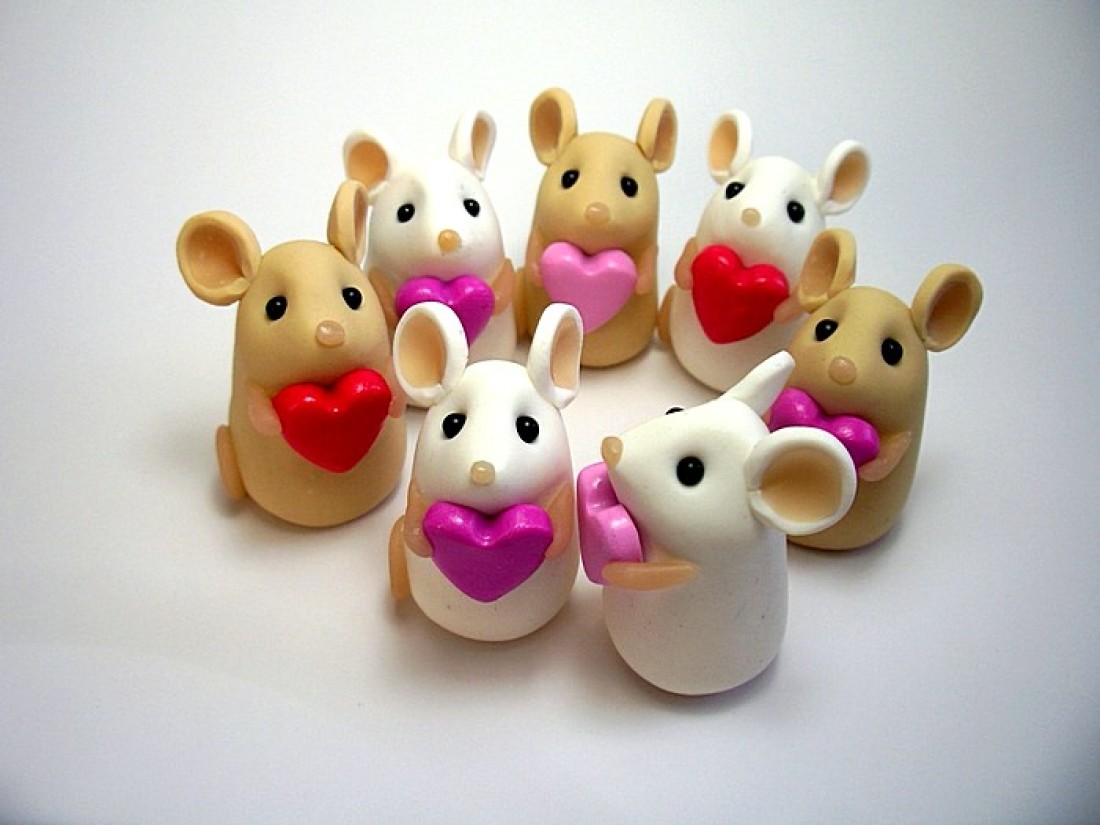
Funny Polymer Cats
But there is good news: not so long ago clay, which does not require roasting, but dries under natural conditions in the air, has appeared and received its distribution. Here is a find for lovers of creativity! I advise all of you to study this material well, because from it you can create wonderful trinkets that are so nice to give.

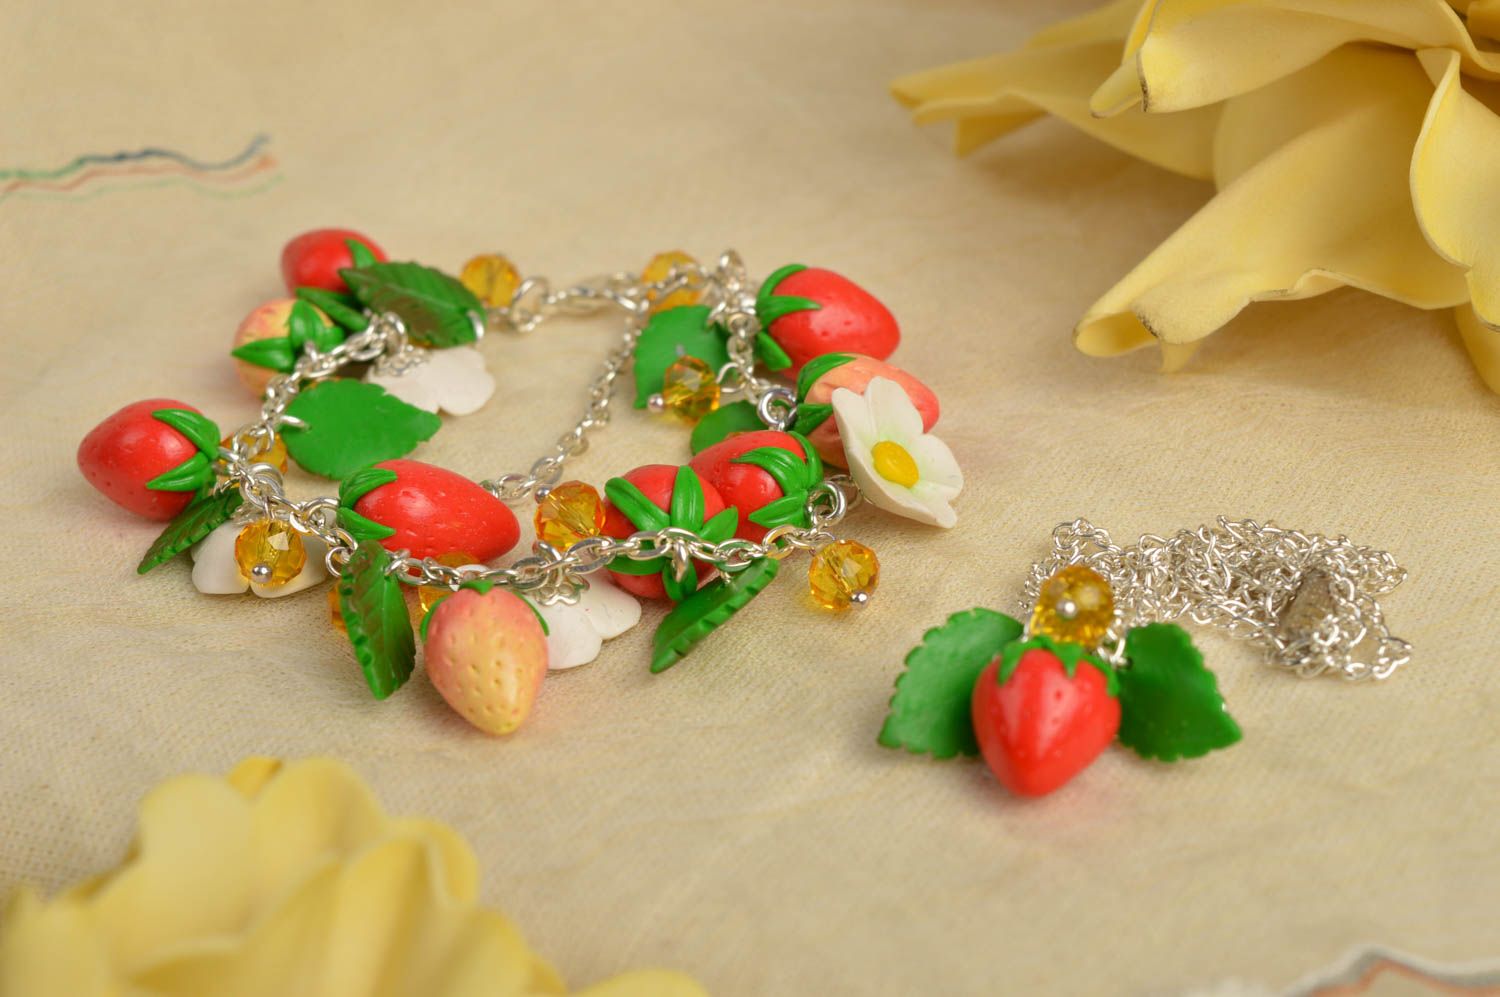
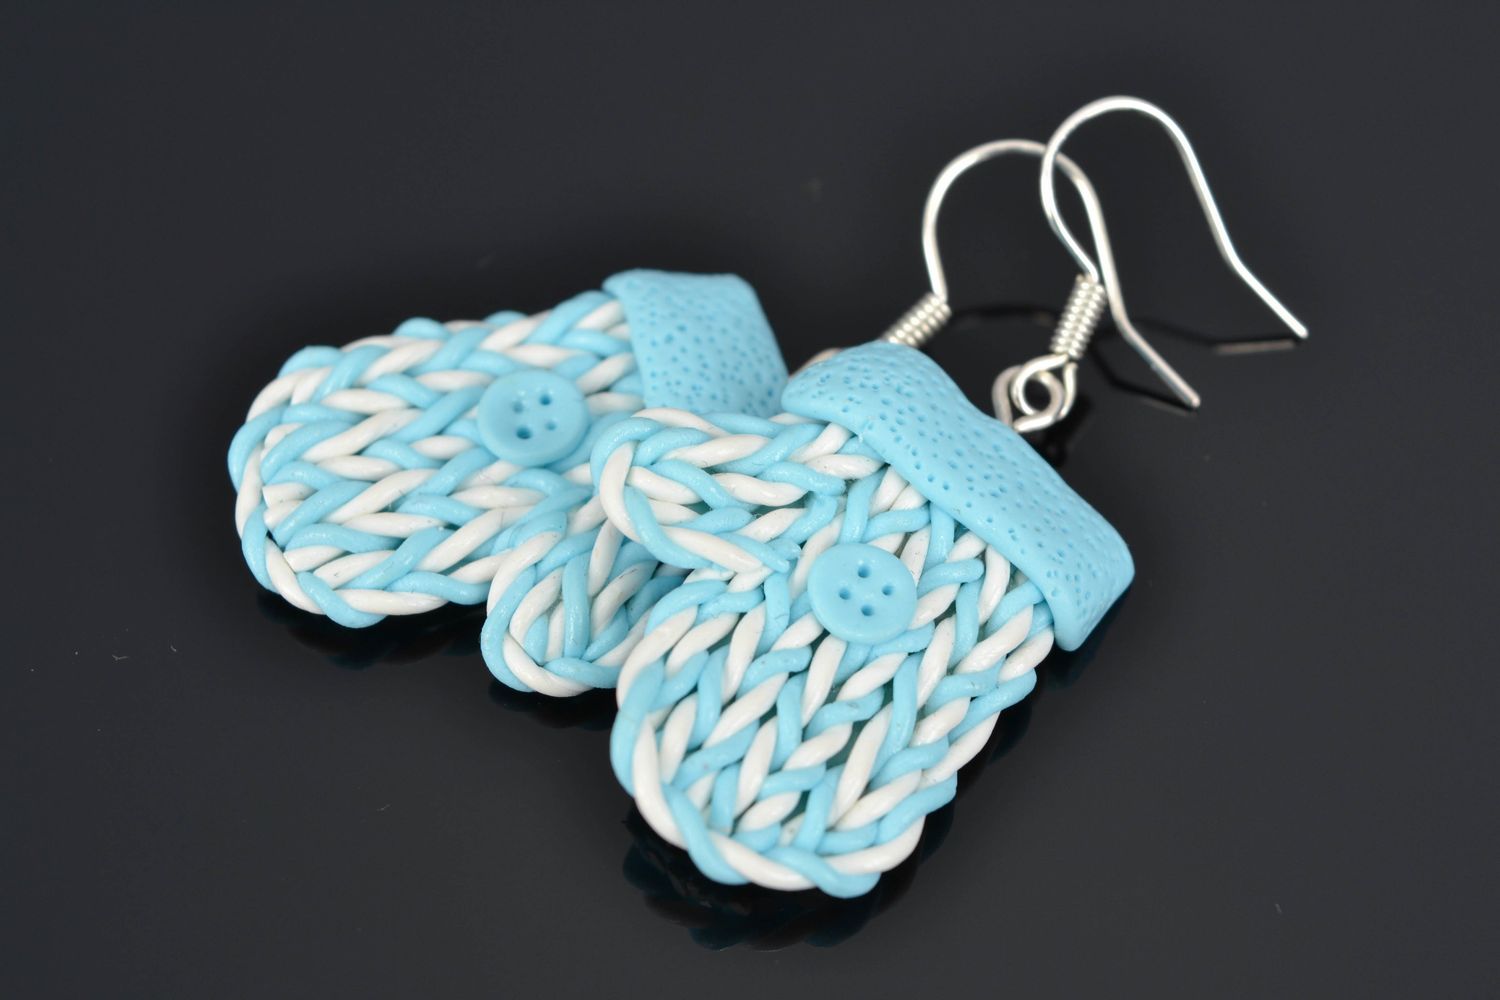
Christmas bracelet made of clay for mood
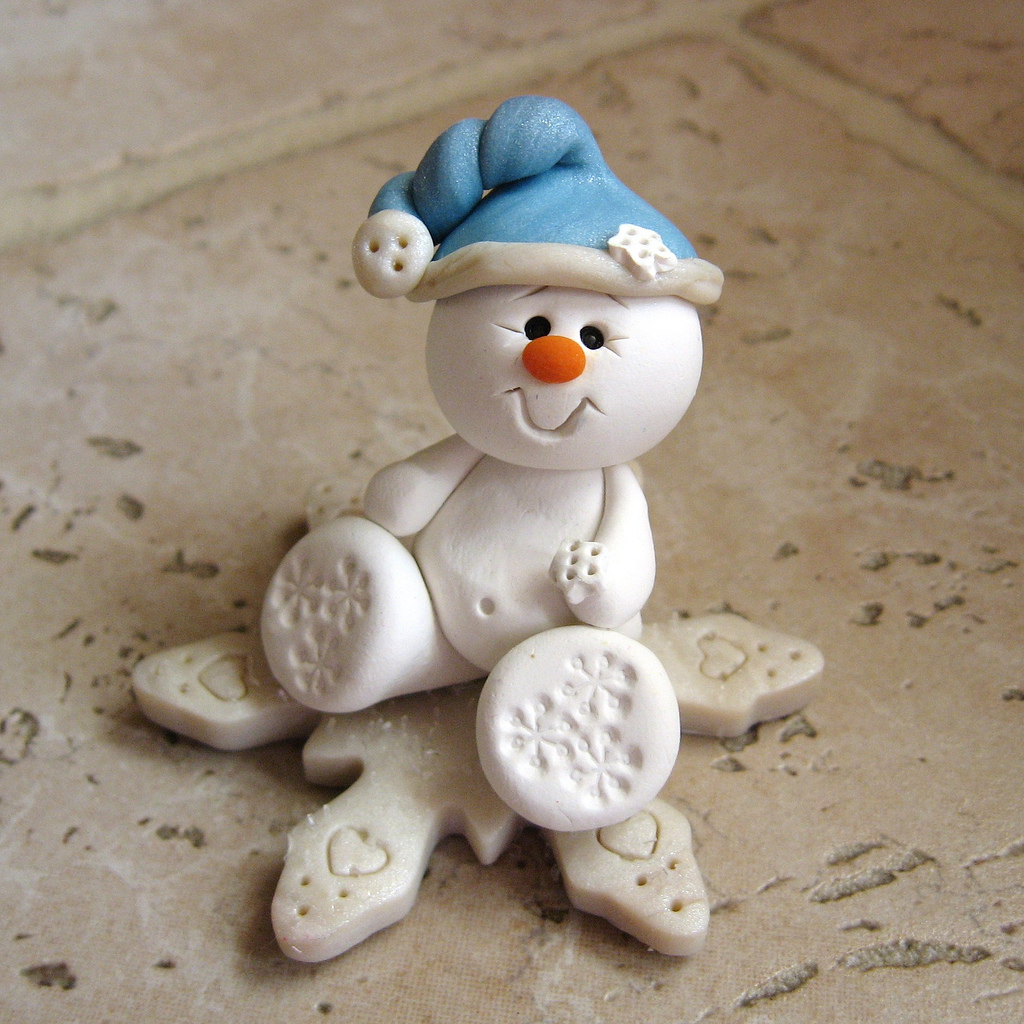
You can make Christmas decorations, key chains, hairpins, pendants, earrings and other trifles from them. The method of use is extremely simple - a kind of clay, which can be thin to transparency (which is valuable when you make, for example, rose petals).

Symbol of the year for good luck
There are in this business and their subtleties!
Very often for the manufacture of clay products used items from the kitchen - forms for cookies, forks, knives, cutters.
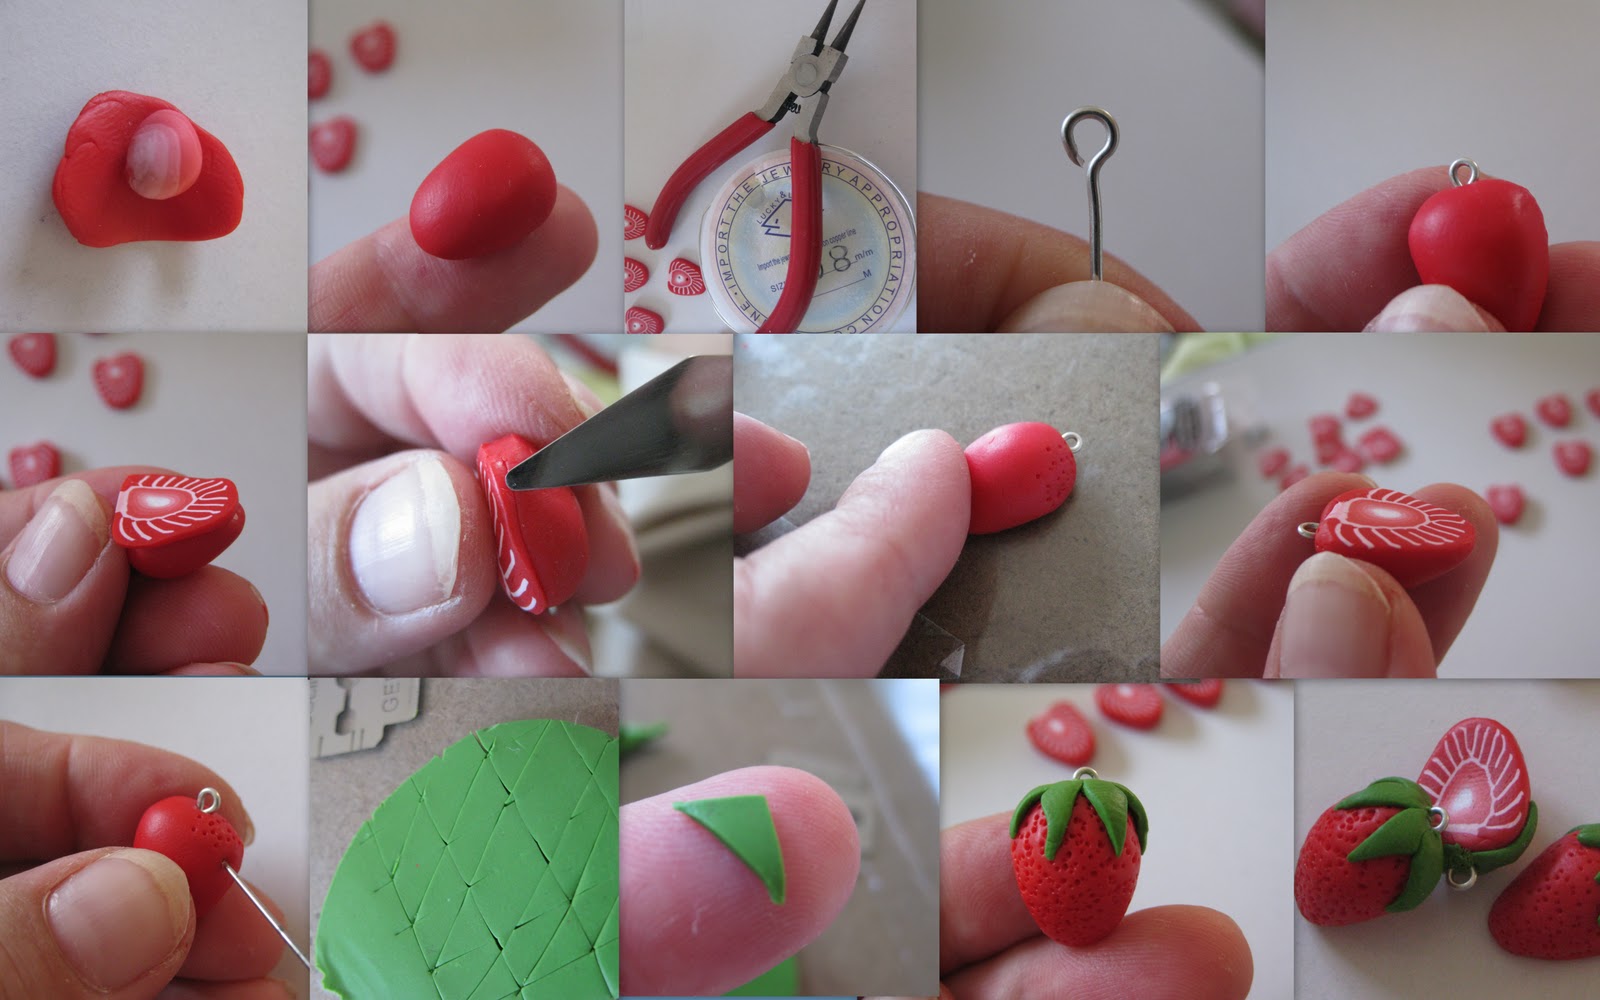
Master class on making strawberries
Just feel like a real chef and roll out your clay (I work on wax paper to protect my table) to a thickness of about 5 mm and then work by hand.
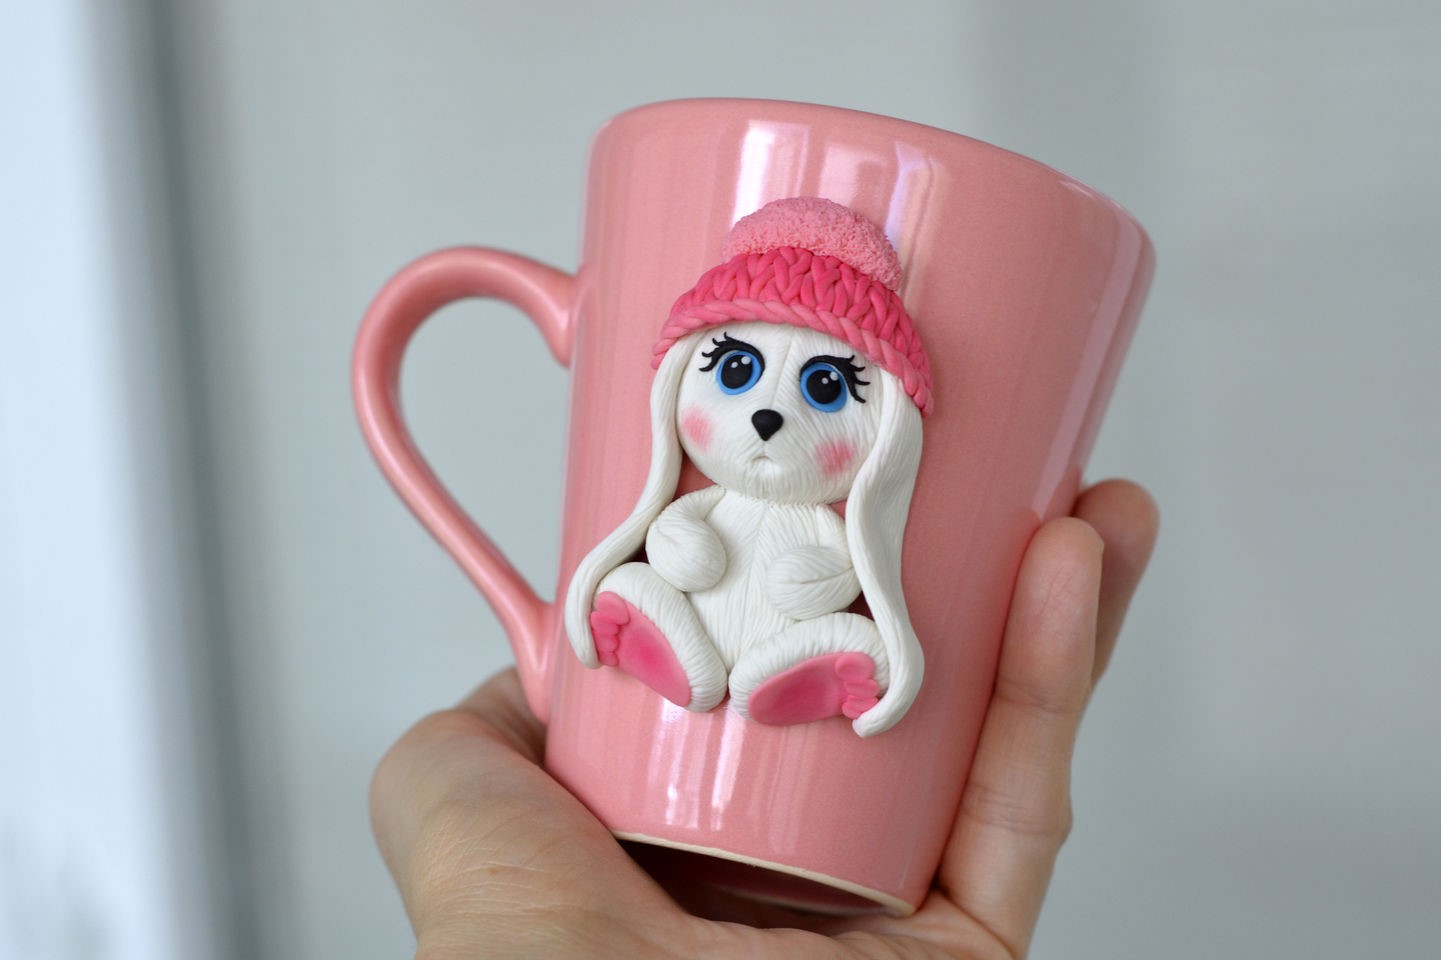
As a supplement to the gift for New Year and Christmas, you can unusually decorate gift wrapping with a baking dish, stamps in the form of letters and clay. Roll the clay in the manner described above, make a shape using cookie cutters and write the names of your loved ones to whom the gift is intended. Polymer clay comes in a variety of colors, including metallic effects - you will definitely find a product to your liking.

Decorate the cup and spoon with your own hands
The most pleasant thing about working with clay is that if you screw up, you can start over. As soon as you like the result, make a hole with a decent size (I used a bamboo skewer) and leave to dry (or bake if your clay provides for thermal processing).
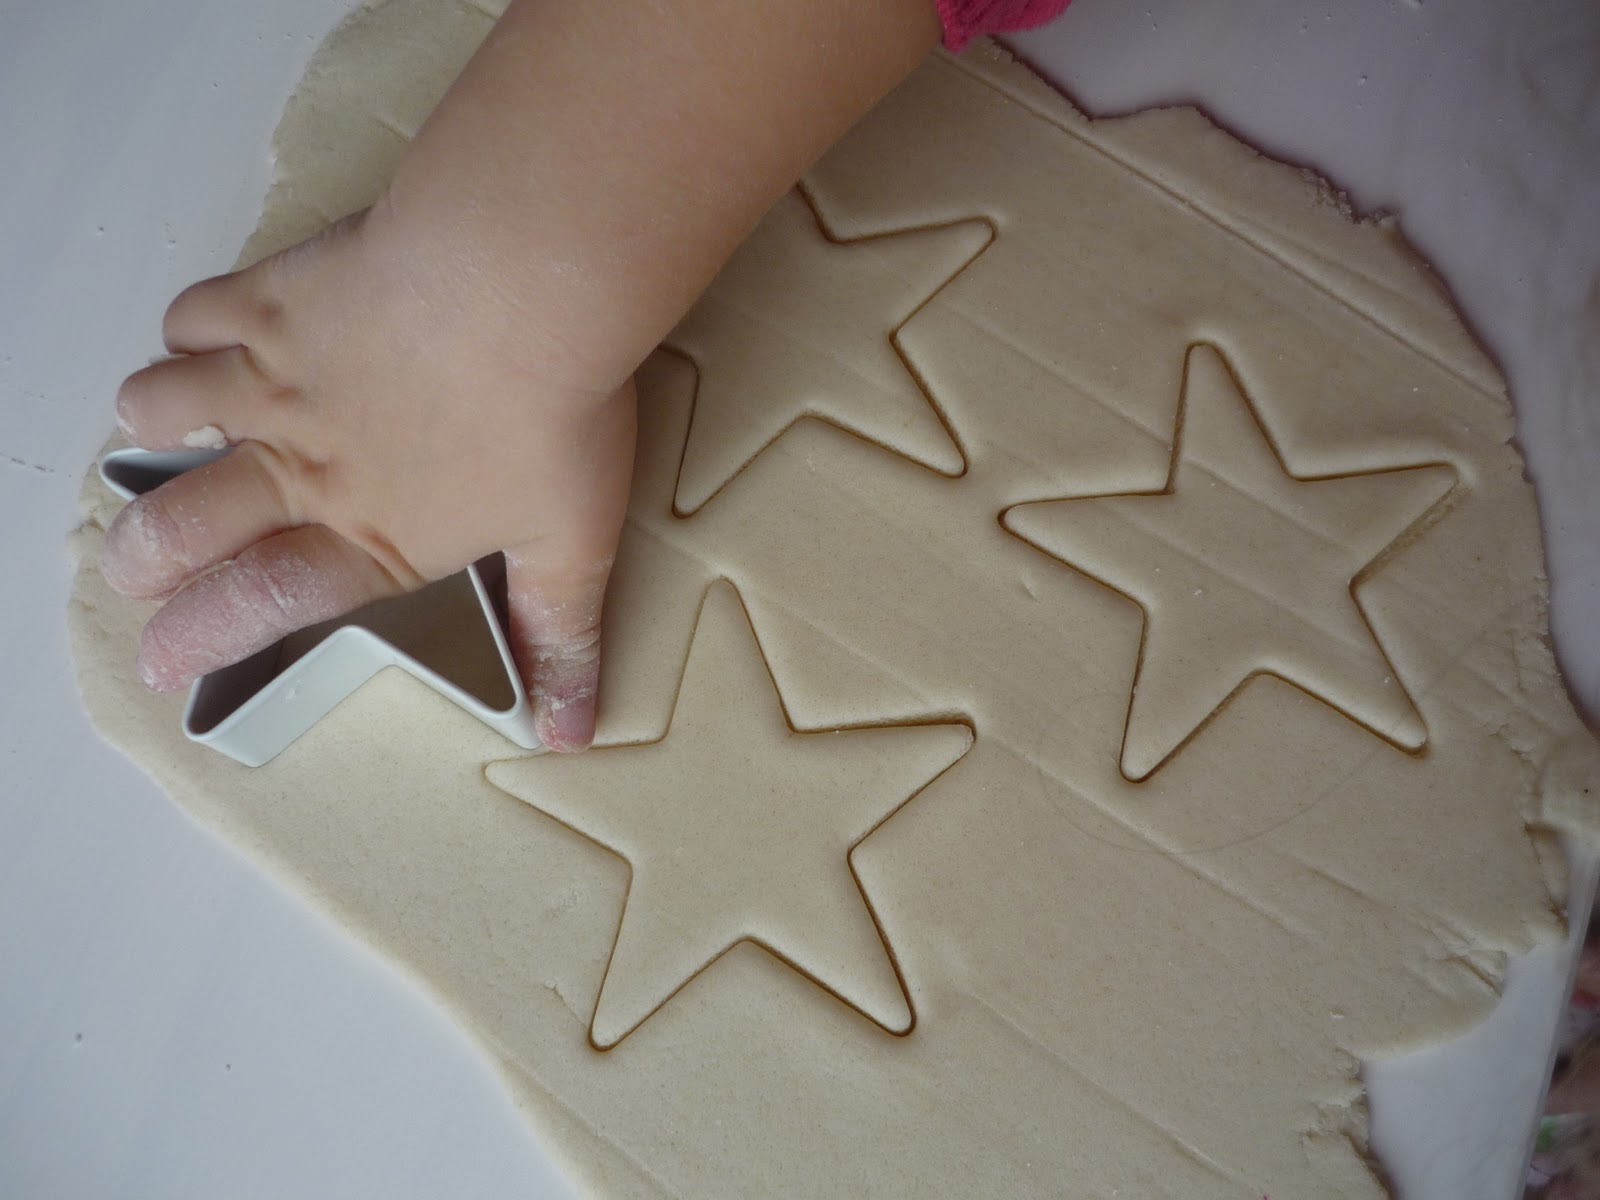
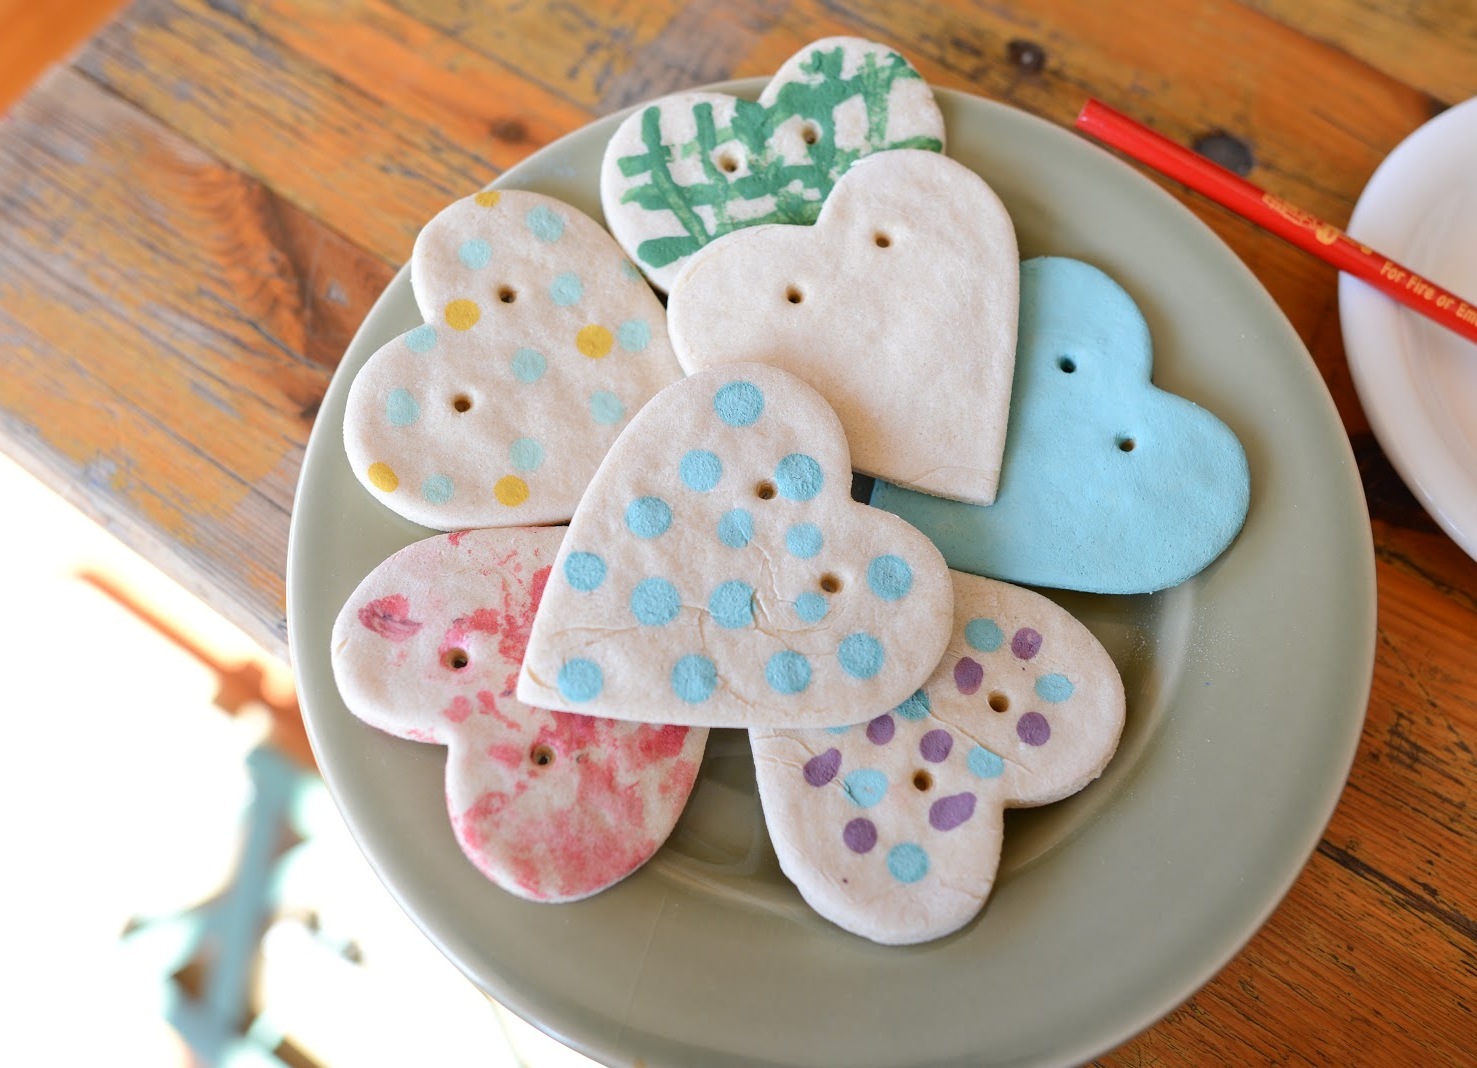
return to menu ↑Crafts from salt dough
While working with clay, I began to think about all the chemicals that should be in it and decided to make my own homemade clay. To embody my recipe just remember childhood, because everything is so simple - you need the usual salty dough (a little more salty).
Here is the exact recipe:
- 1 cup flour;
- 1½ cups salt;
- 1 cup of water (maybe a little more or a little less).
Mix salt and flour in a bowl. Add water ¼ cup at a time, mixing well. You may not need all the water, or you may need a little more, depending on the humidity and temperature in the work area. Form a ball, then remove it from the bowl and rinse a little. It must be firm, but pliable. You can interfere with the desired color now, or do it later on the finished product after firing, covering it with paint on top (or use two methods at once).

Bright and supple salty dough
Give the desired shape. You can let the product air dry, but baking at 120 degrees will reduce the work. Baking time will depend on the thickness of the pieces. If the shape is the size of a ping-pong ball, bake it for about 20 minutes.
Give the desired shape to the dough
When done, allow the product to cool completely. Then they can be painted, they become quite durable and can hold on for years.

Dry and color the gift
Natural Polymer Clay Substitute
Here is another recipe, it is a little more complicated, does not use salt and produces a finer finish.
Ingredients:
- 2 cups cornstarch;
- 2 cups of baking soda;
- 1 cup of cold water;
- dye if desired.
Mix all the ingredients in a saucepan and heat over medium heat, while stirring. The mass will gradually begin to thicken, like mashed potatoes. Remove from heat and allow to cool.
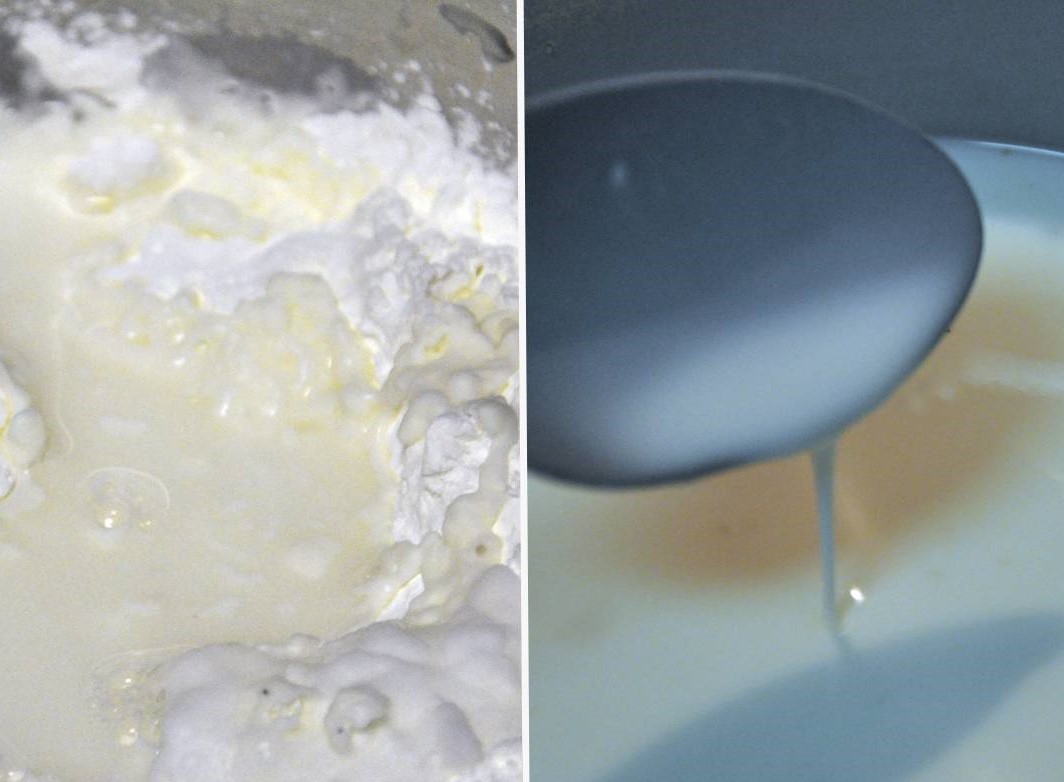
Homogeneous mass of starch
When it is cold enough to work, knead the dough as above. You can add a tablespoon of butter (baby, petroleum jelly or mineral oil) and a teaspoon of liquid vegetable glycerin to make it smoother.
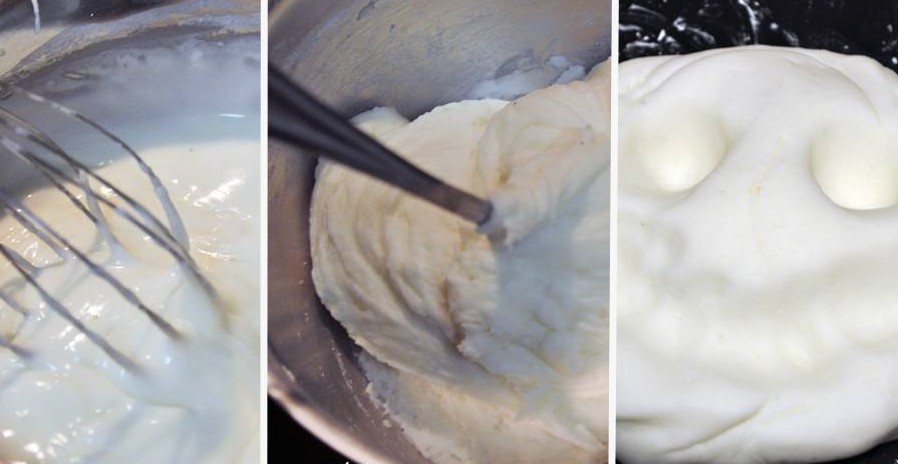
White dough for creativity
At this stage, you can cut the dough into several parts and paint them with a dye (or wait and decorate them later in the process). The use of gloves will protect your hands from food paint, as well as reduce fingerprints on the product.
Form the shapes in the desired shape. Bake at 120 degrees for 15-20 minutes. This type of dough must be baked, as it does not harden on its own.
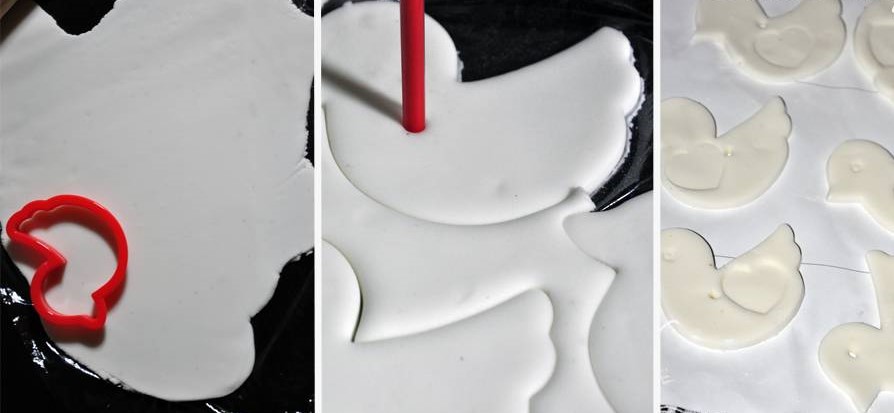
Choose a form for modeling
If you want to decorate crafts, wait until they cool down completely.
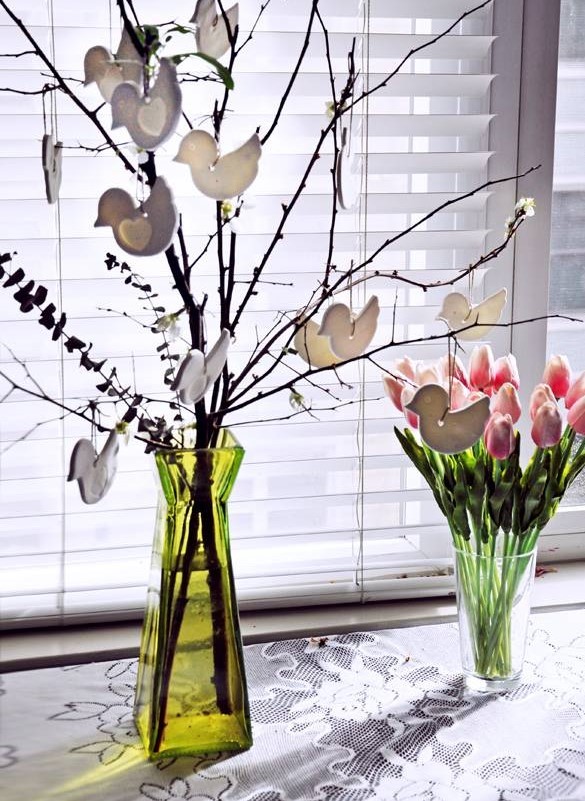
We form the finished composition
Such a dough and the like can be made in large batches in advance and frozen in a plastic zip pouch. Keep in mind that after removing from the freezer, condensation appears on the surface of the dough - moisture - which needs to be dried before use. After defrosting the dough will become a little harder and more crumbly, so you need to spend more time to knead it for work. If the dough is too sticky, put it on a cutting board and treat with a little flour.
return to menu ↑Ideas for homemade clay
For dyeing finished products you can use any type of paint. Be sure to cool them after baking, as some oil-based paints may be flammable. Apply sealant, such as varnish or paste. Use wax for shine.
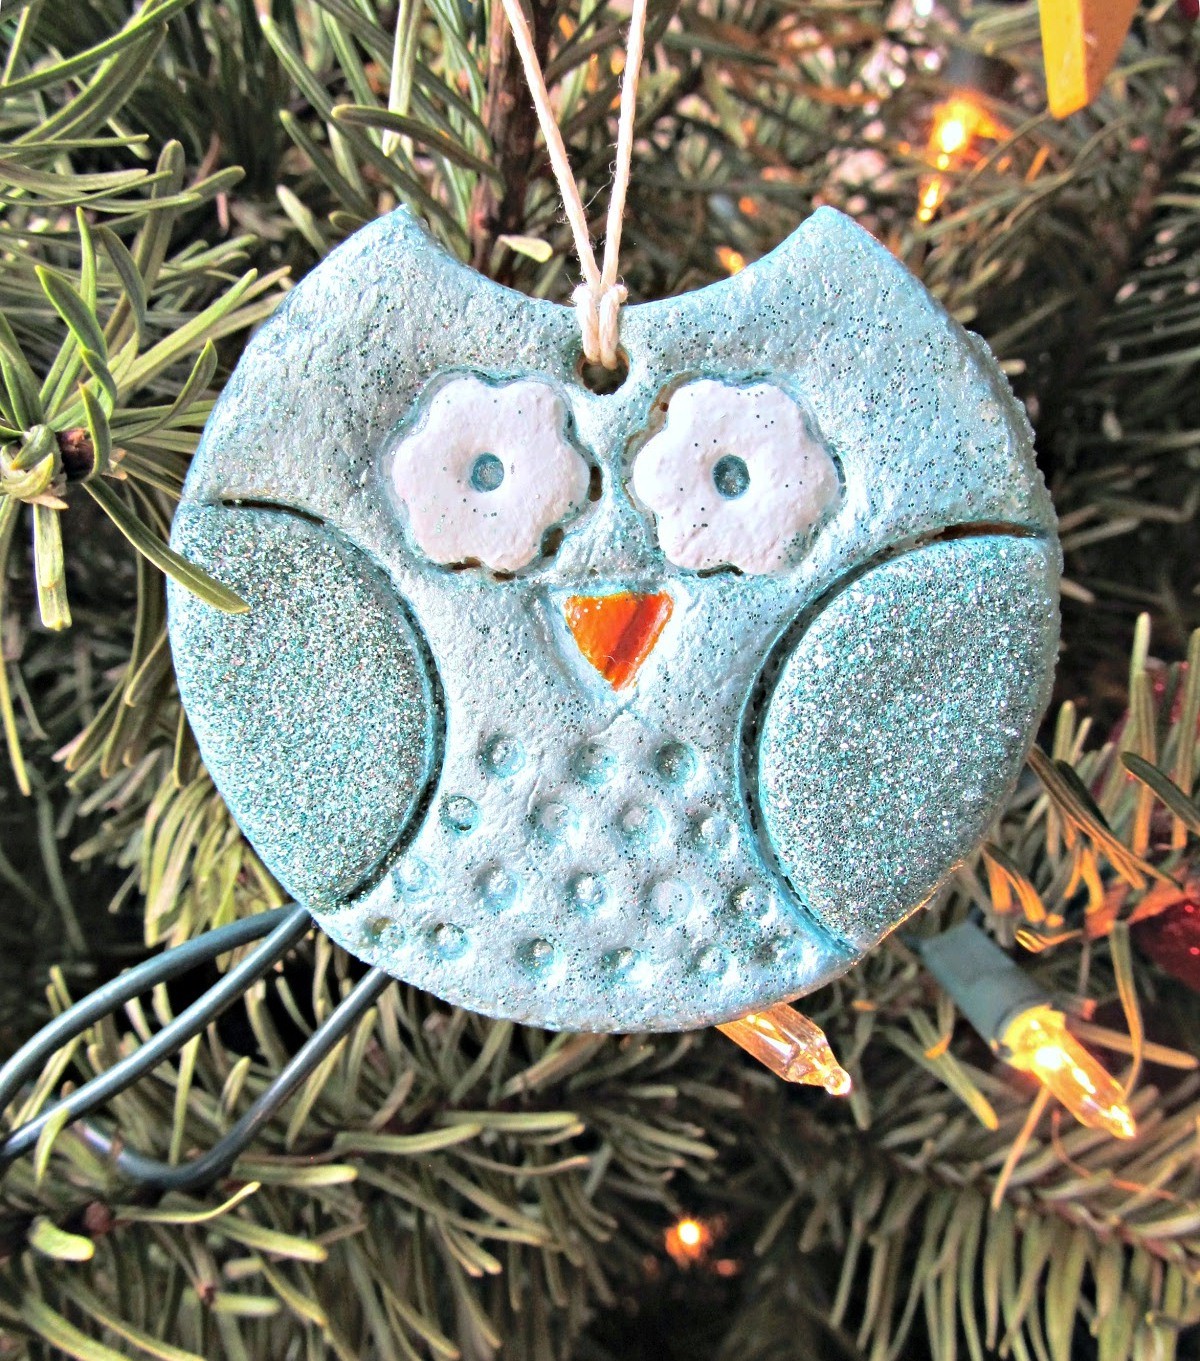
Sovushka beauty for your guest
If after baking you see unsightly fingerprints on the product, use sandpaper to slightly wipe off the top layer.
Apply special effects, adding color mica or shine. To do this, mix it in the clay before baking.
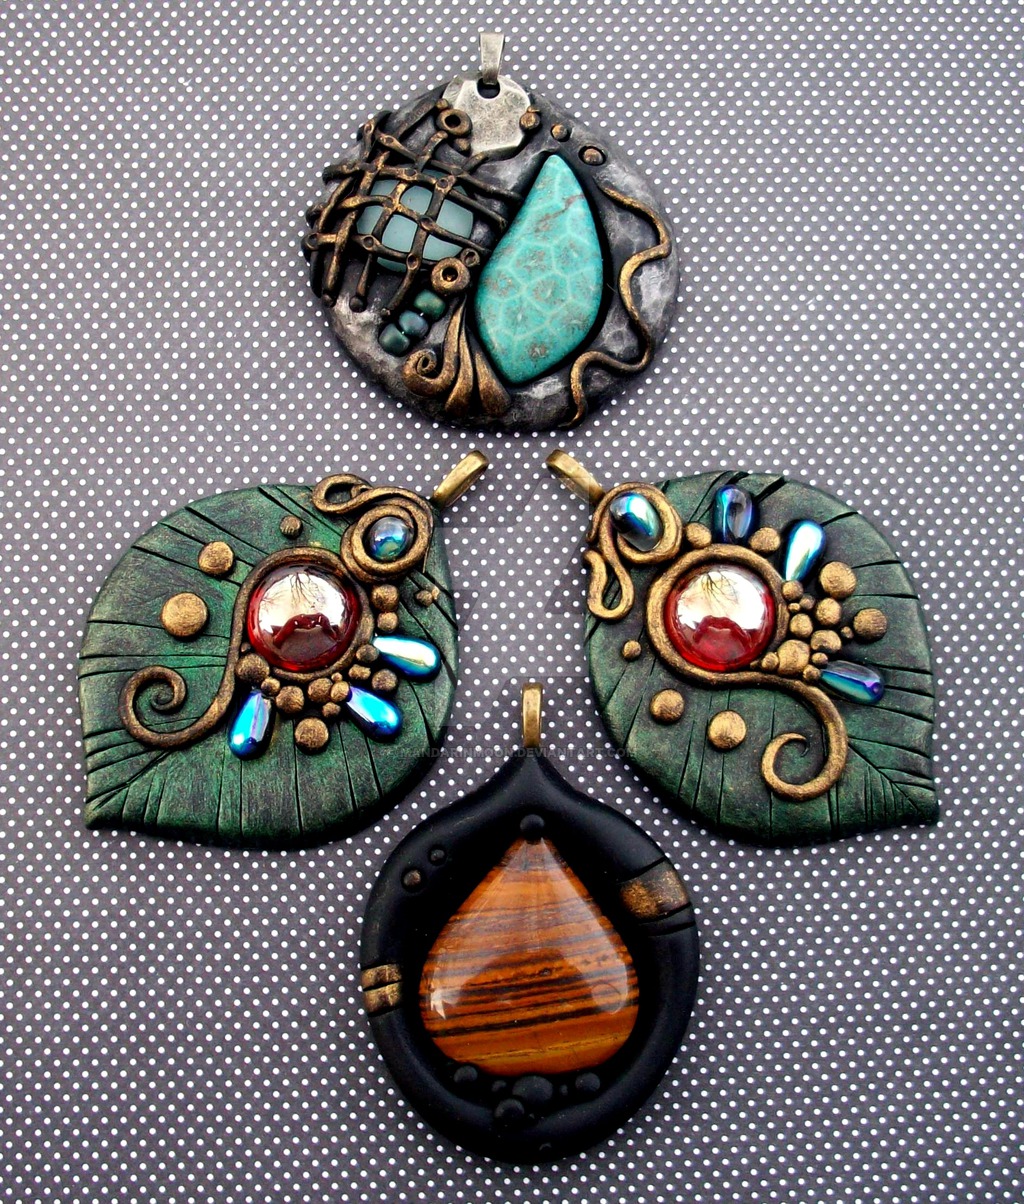
Bright clay pendants to complete the look
You can also decorate the product with rhinestones or foil. Place the pebbles on top, and then press them into the clay. Then remove them, add glue and insert the rhinestone back into the hole. You can bake most of the stones, and everything will be fine. Crystals and stones do not melt, and they rarely ever crack at the low temperatures required for this clay.
Make your own magnetic
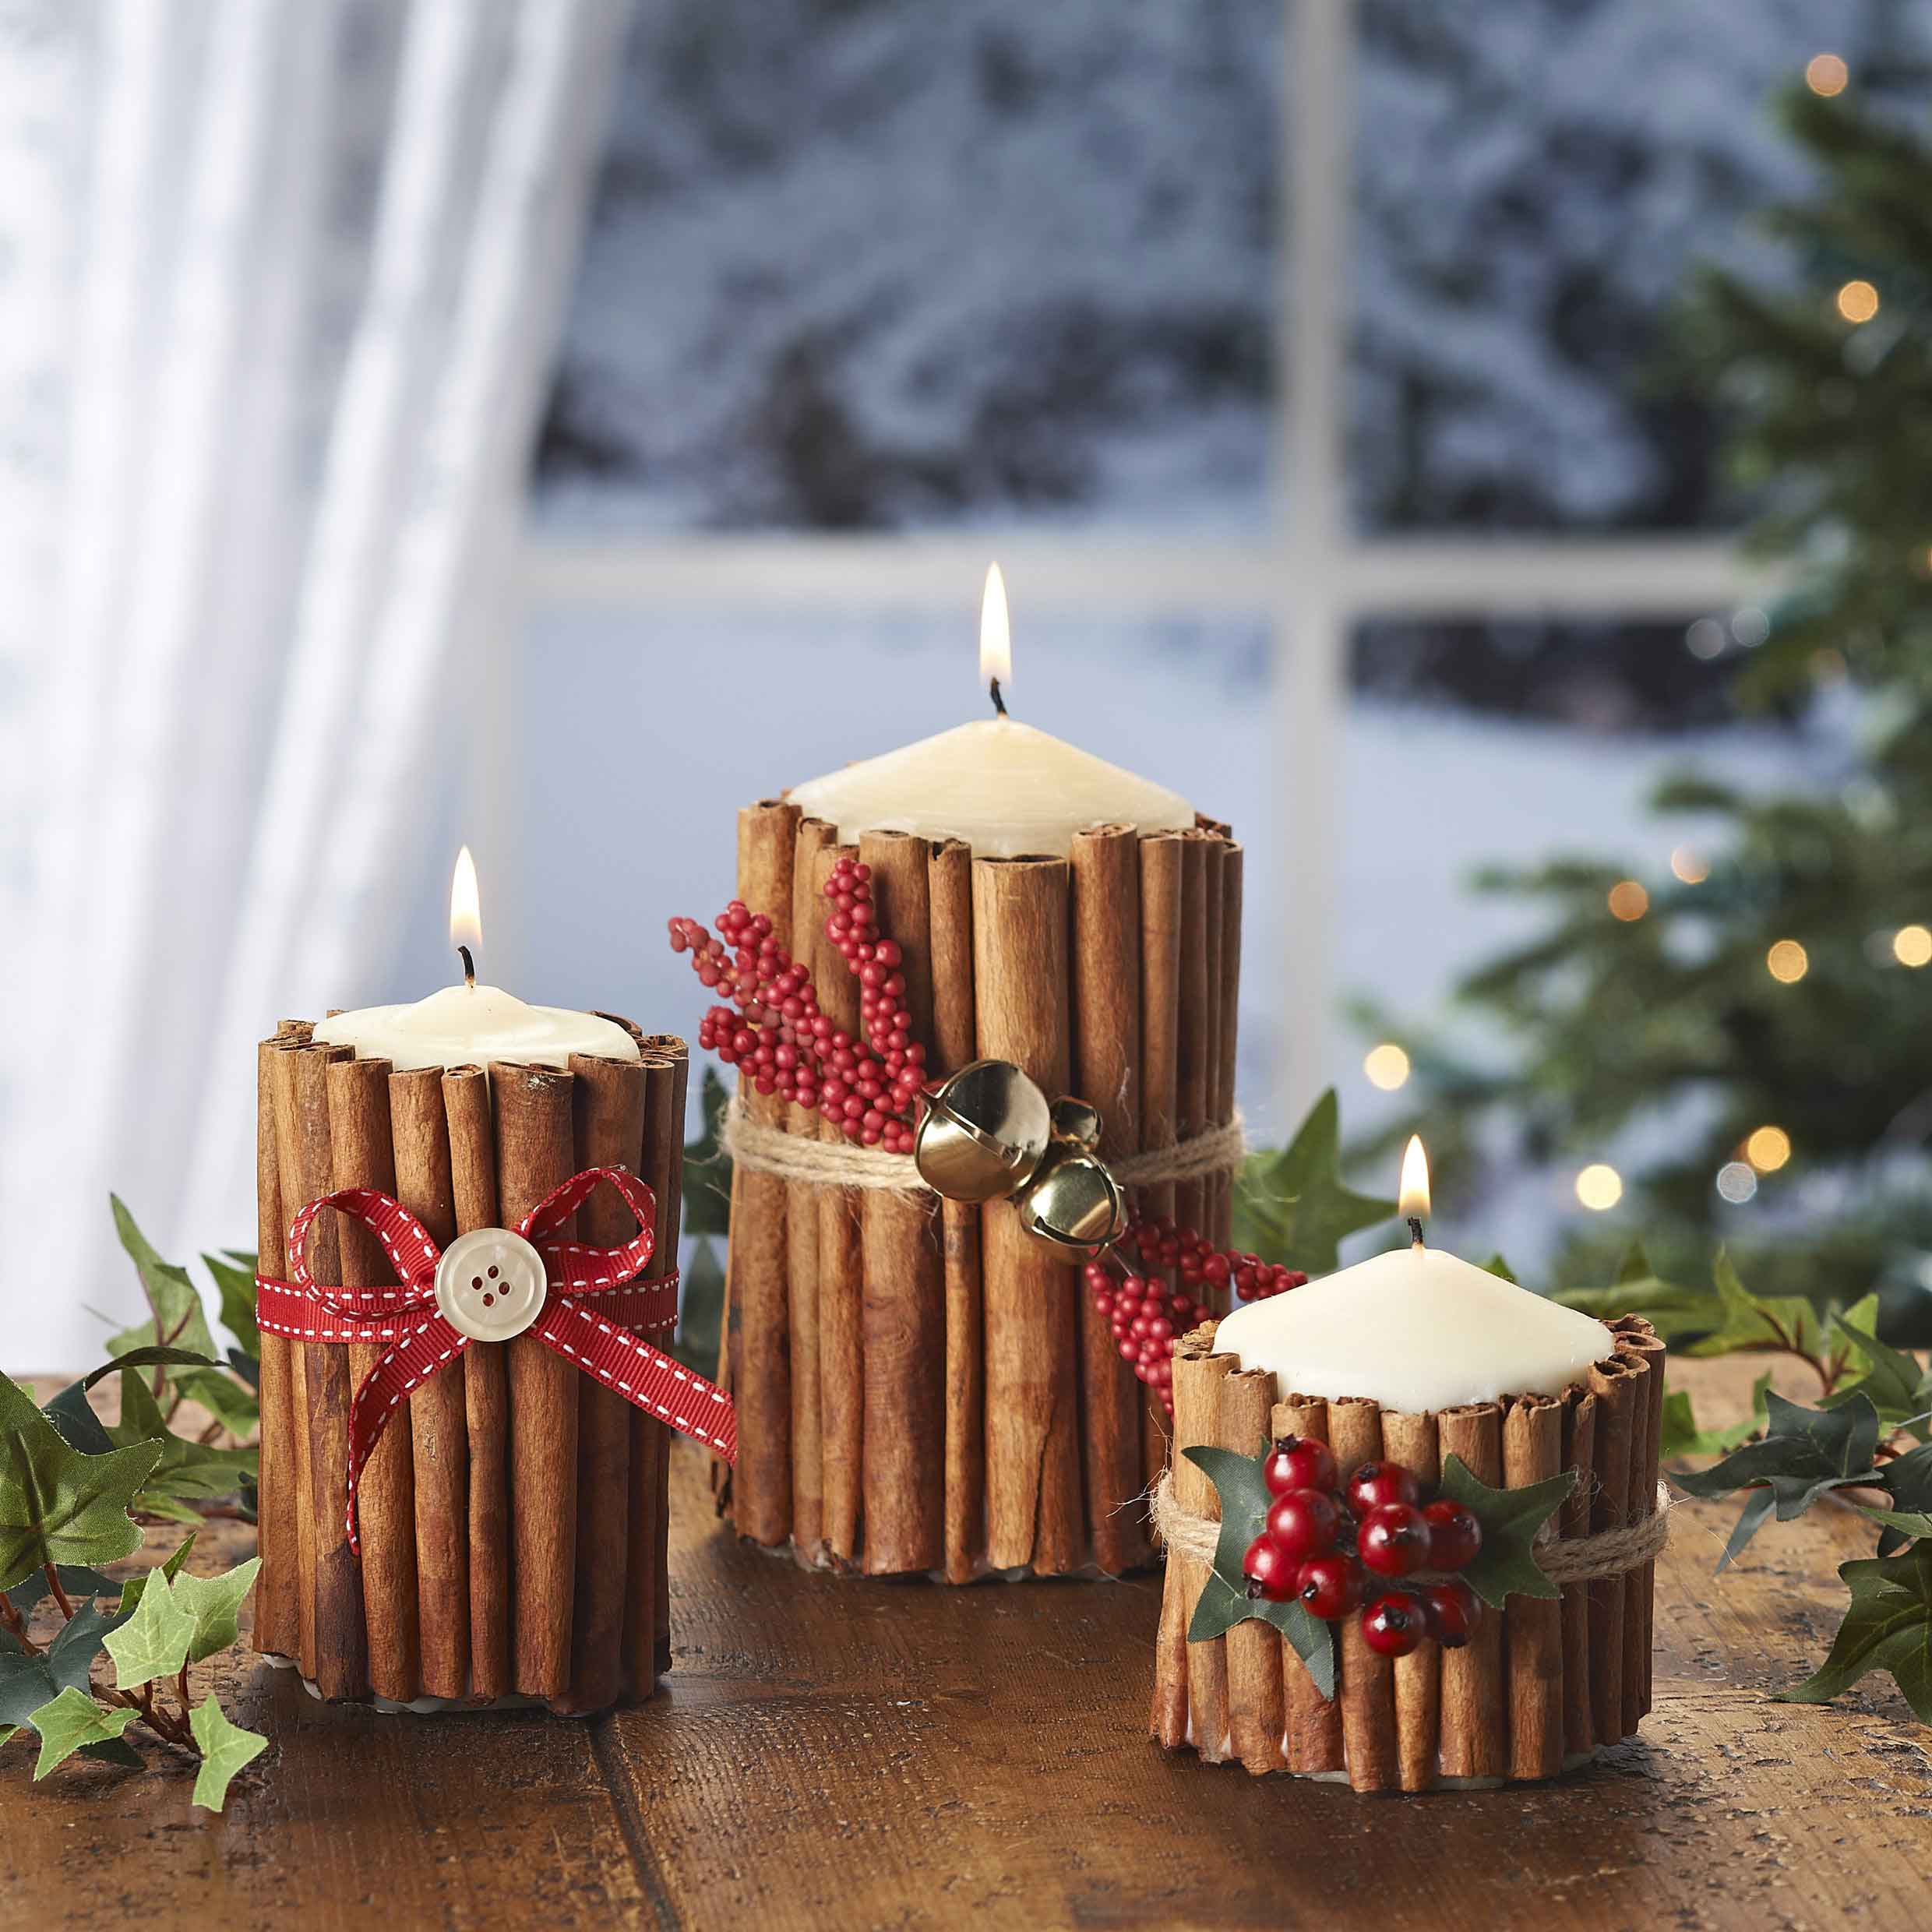
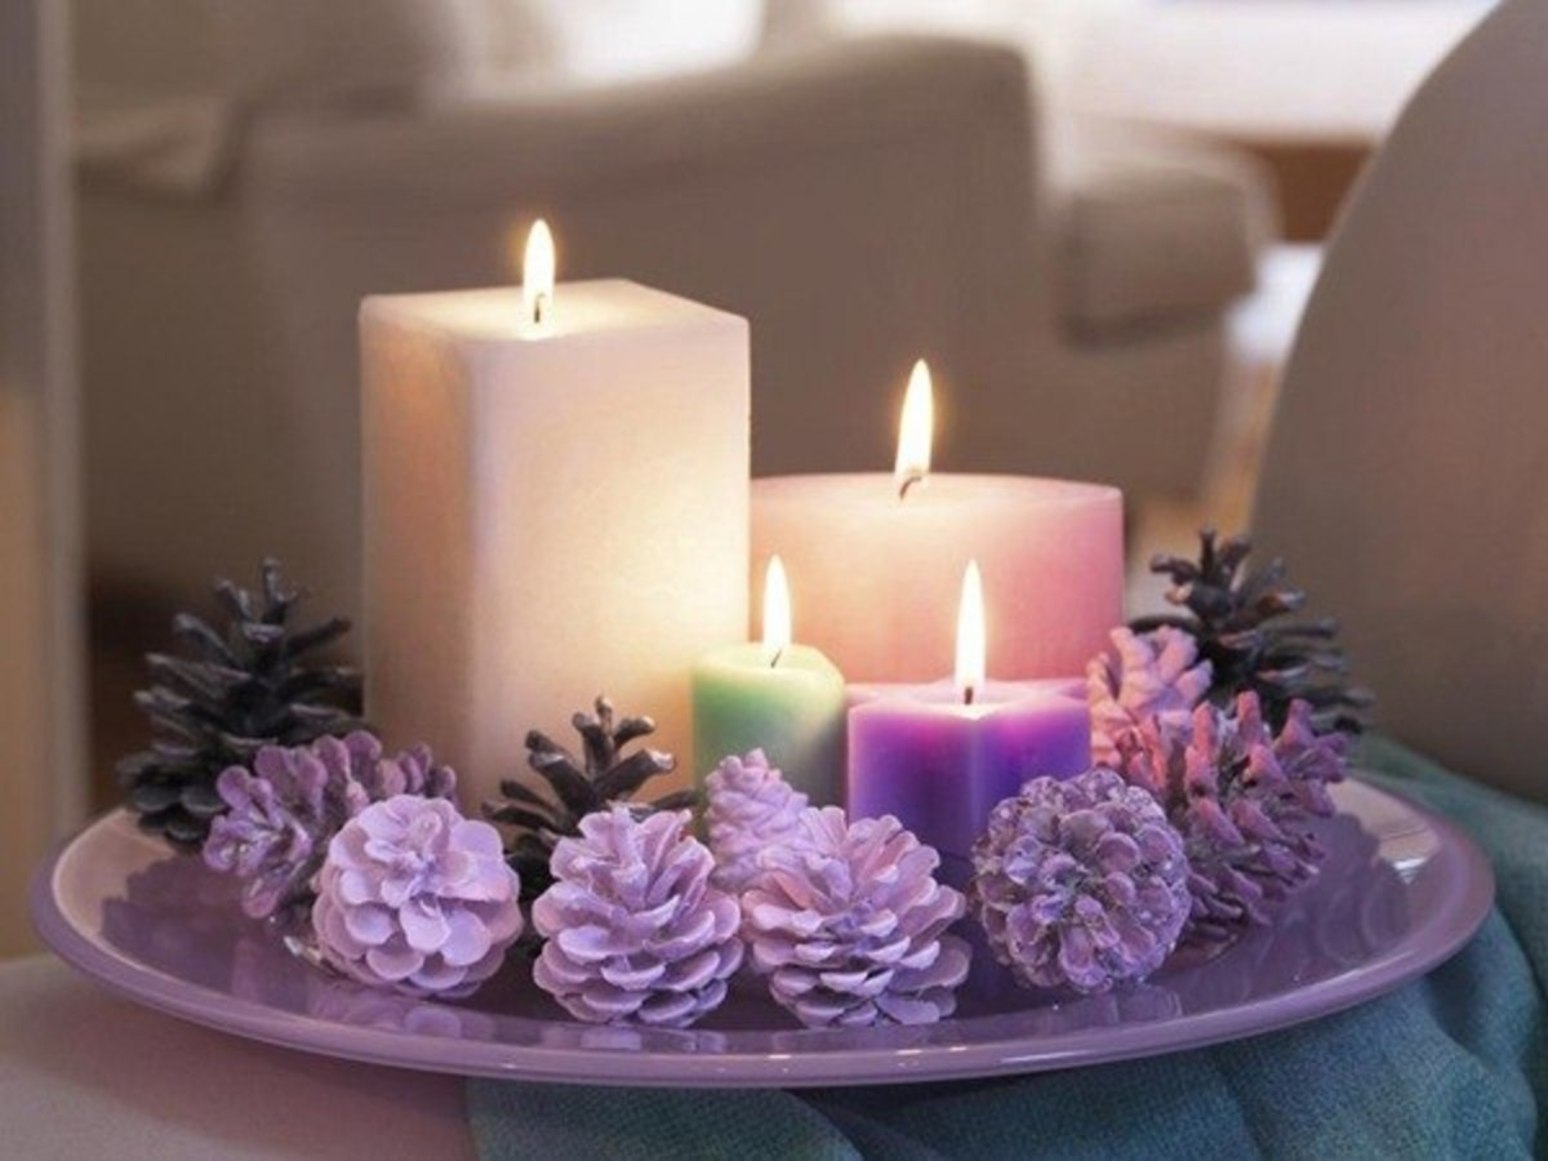
Candles
Usually a gift for the holidays with your own hands is either some kind of exotic food, or candles, since both of these options are always needed and there are not many of them! Since sometimes sweets are not quite suitable for a special person or occasion, candles will save the situation - it works flawlessly.
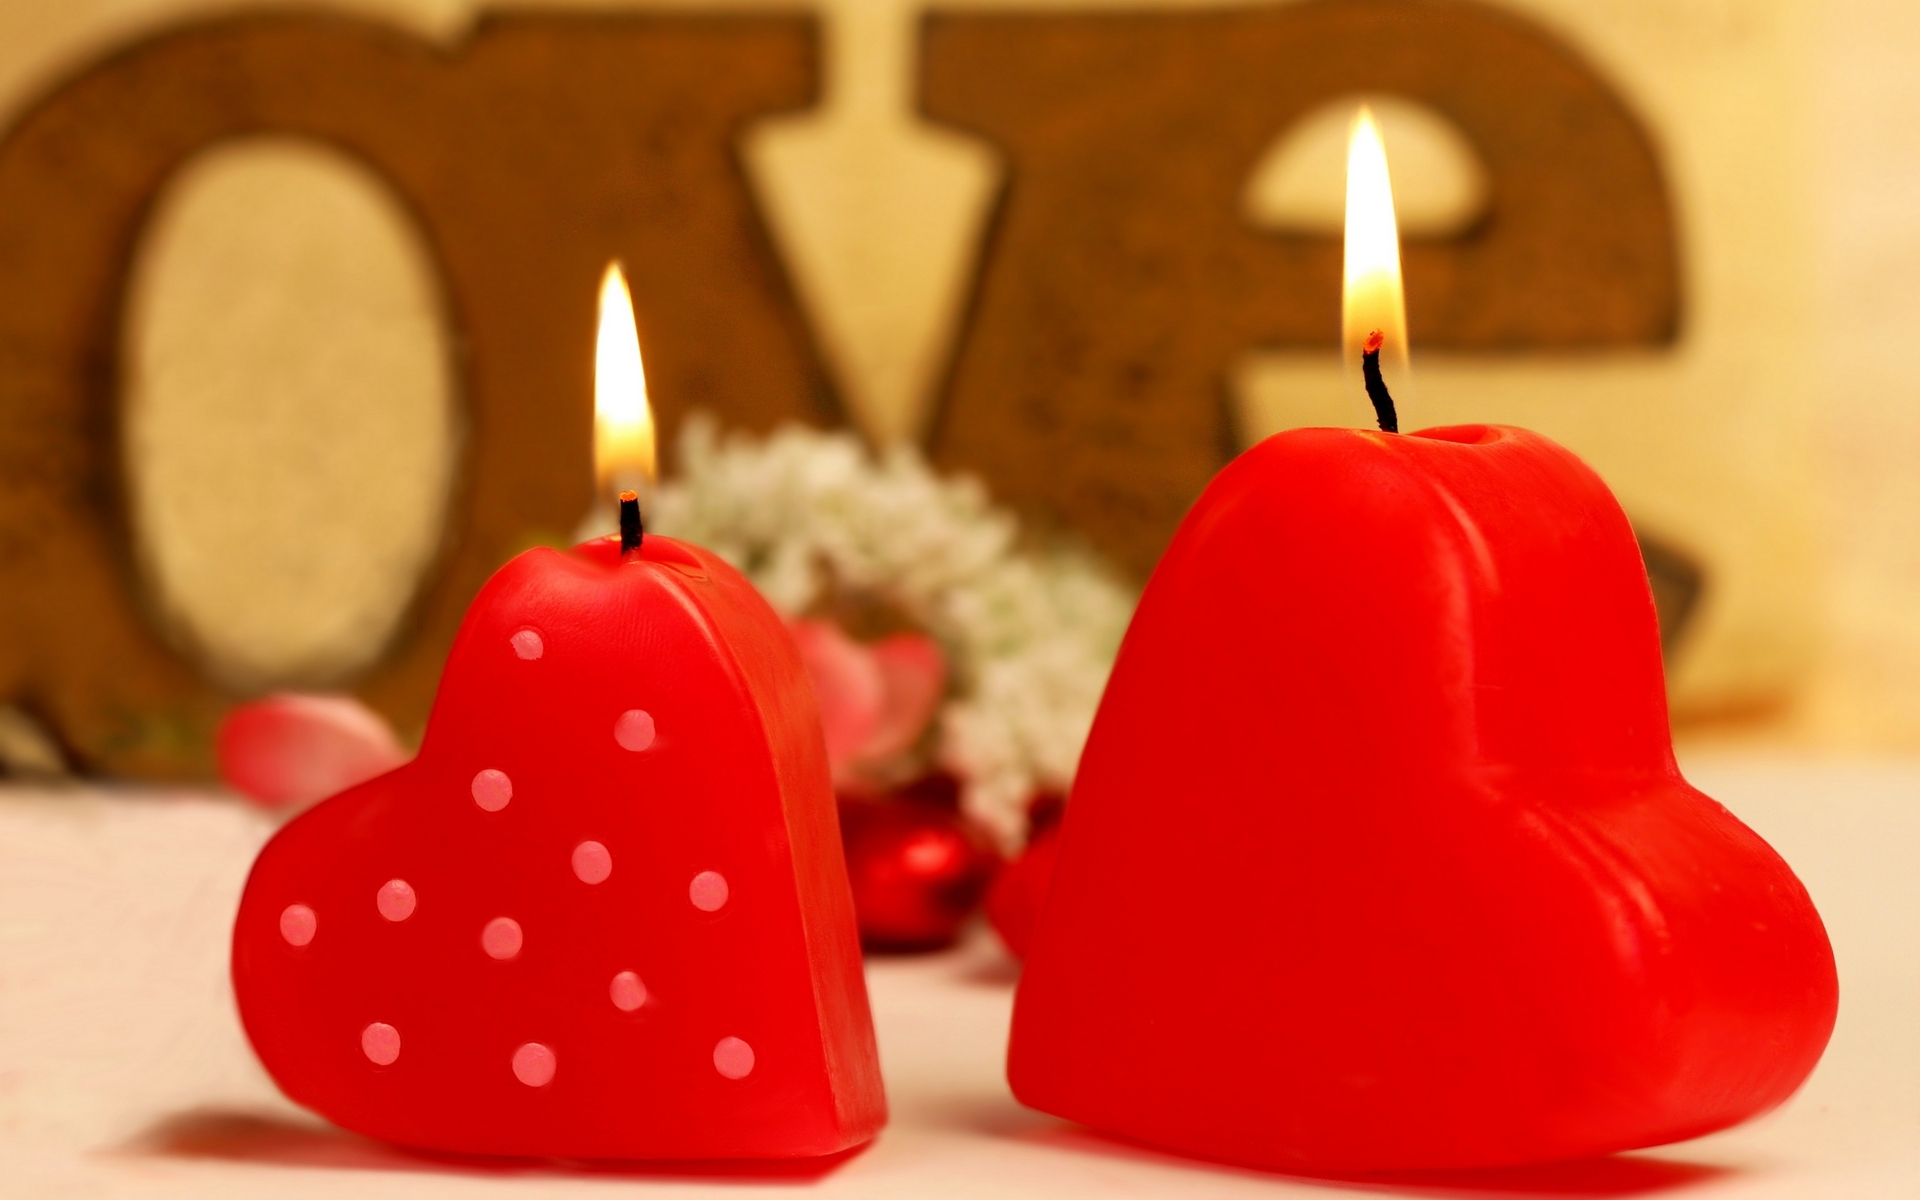
Scented candles for a romantic setting
There are three reasons why I like to give homemade candles to friends for the holidays. First, they are amazingly customizable: there are a lot of different oils and coloring agents to choose from, and you can decorate your jar as you like!

Show your imagination to create mood
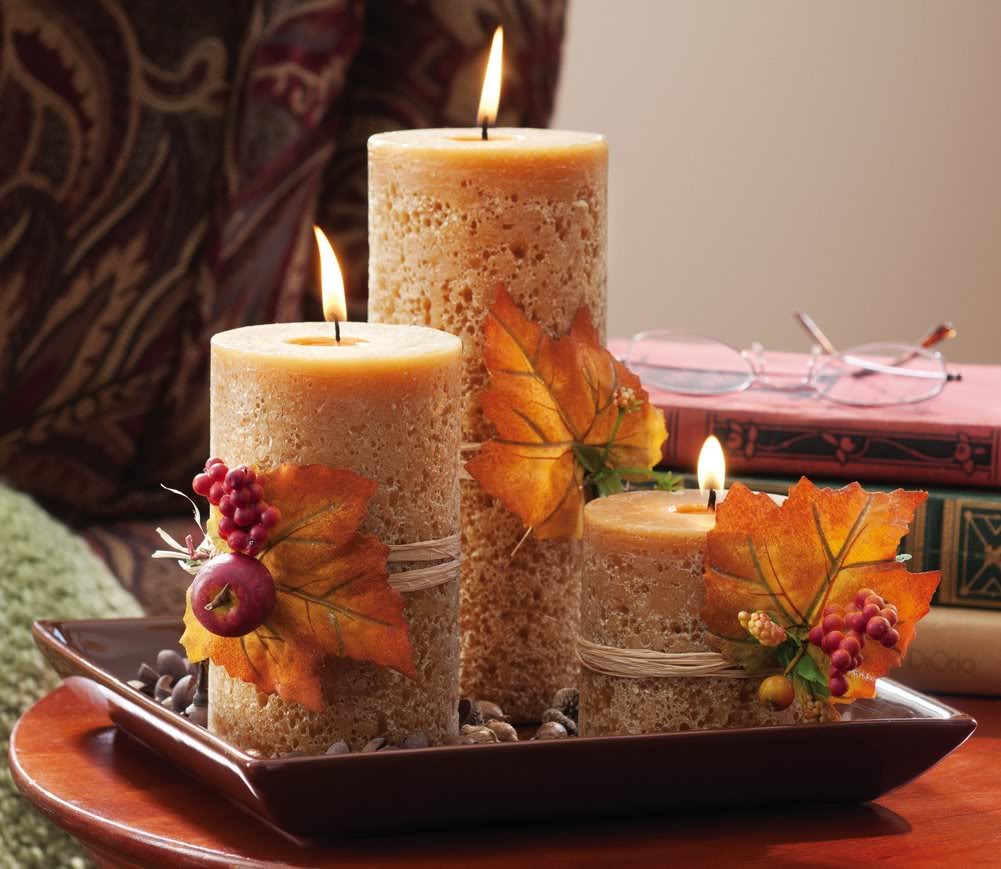
Then they are very easy to make, and therefore the process does not take much time. It’s just a matter of mixing, heating, and pouring (and possibly decorating). Most of the time you spend on making candles is the process of waiting for the wax to melt, then when it hardens after pouring. At best, the whole gift will cost you 100-150 rubles, but the aesthetics will be on top.
Wonderful gift for warmth and comfort
Here is what you need:
- Soy candle wax (or wax for candles of your choice);
- Candle wick;
- Ceramic tableware;
- Hot glue;
- A small piece of cardboard that will hold the wick;
- Saucepan and glass bowl for a water bath;
- Food thermometer;
- Oven;
- Fragrant oil;
- Dyes (optional);
- Container with spout (optional).
Before you begin, make sure that you have the appropriate type and size of wick for the size and type of candle you are making. If you are using soy wax, make sure your wick is suitable for soy candles. If the shape of the candle is wide, make sure that your wick is wide enough in diameter for optimal burning. In most craft stores where you can find these materials, recommendations on the type and size of the wick, which you should use depending on your project, will be made on the packaging (this is all much simpler than it looks).
Step 1
Start burning wax. I used soy wax, which I melted into a water bath using a bowl, which I put in a pot of boiling water. Melt the wax, keeping the flame at medium and low. Never leave melting wax unattended!

The wax will melt faster if crushed into small pieces.
Step 2
While the wax melts (and while you watch your wax), secure the wick to the bottom of your can. Apply a little hot glue to the center of the jar and hold it until it dries.
Step 3
Secure your wick so that it stands upright. I used cardboard as a lid on the jar, cutting out a round shape from it and piercing a hole for the wick in the center. Then I cut off part of the circle to pour hot wax inside. Make a knot on the wick, if it is very thin and there is a possibility of its falling.
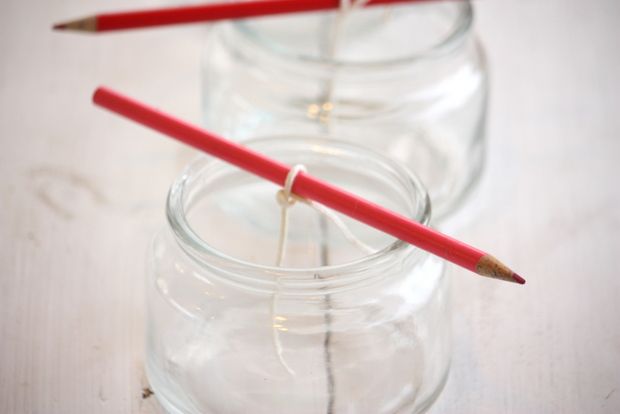
You can use a pencil instead of cardboard.
I glued the self-made retainer with hot glue (do not be afraid, the dried hot glue applied on the glass is relatively easy to clean when you're done). This is just one of several ways to balance a wick.
Step 4
When your wax melts, allow it to cool slightly before adding dyes (if desired) and flavor. Wax purchased at craft stores usually comes with instructions that recommend the ideal temperature for adding fragrances and colorants to wax depending on the type you use.
For my wax it was recommended to add fragrant oil when the wax reaches a temperature of 40-60 degrees. Do not add oil to hot wax, also because some fragrances can lose their smell when in contact with high temperature liquid.

While the wax is soft, you can adjust the position of the wick
To speed up the cooling process, I poured my hot wax into a measuring cup to measure the temperature with a spout.
If you bought special flavors or dyes intended for the manufacture of candles, they should contain recommendations on how much you need to use, given the amount of wax you work with.
If you have a standard essential oil in bottles with a dispenser, then I suggest focusing on your own taste, and, starting with the first 5 drops, add a few drops, stirring and inhaling the resulting aroma. Continue the experiment until the desired saturation is obtained.
Step 5
Pour the wax into the jar and let it cool.

Be careful: melted wax is very hot.
Step 6
When your wax is completely cold, trim the wick so that the tail is about 1 cm. A beautiful scented candle is ready!
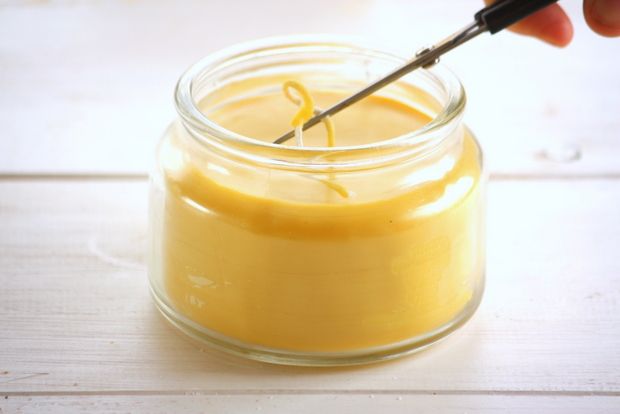
Leave sufficient wick length
Step 7 (Optional)
Give your candle a rustic look by decorating it with sacking and twine. Make a picture on the burlap and paint it with acrylic paint.

Making a candle by yourself is easy and simple.
Use hot glue to attach the burlap to the can and make a bow of twine. Natural materials will attract the eye, add comfort and emphasize the author's origin of the gift.
Interesting ideas
Do it yourself


: Original ideas for small rooms")