Weaving baskets of newspaper tubes step by step for beginners (90 + Photo). How to start and finish?
. How to start and finish?")
Weaving baskets from newspaper tubes is a popular way to decorate the interior: a simple task will allow you to create real works of art.
Content:
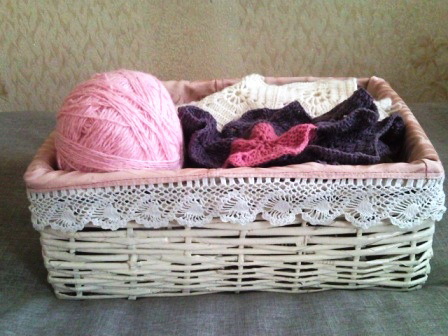
Weaving baskets involves the use of rope technology, with its help you can create beautiful products for home decor. In such baskets it is convenient to store knitting threads, items crafts and other accessories. A ready-made basket does not differ in special strength, therefore it is not worth placing objects with a large weight into it.
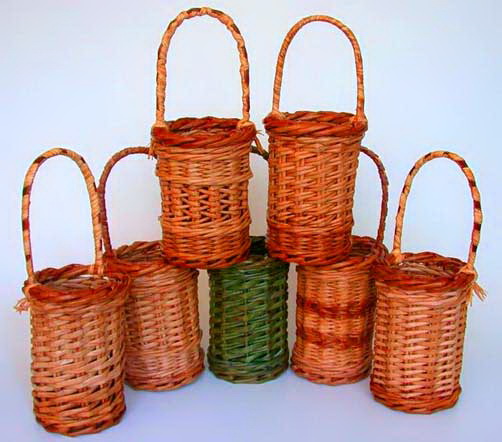
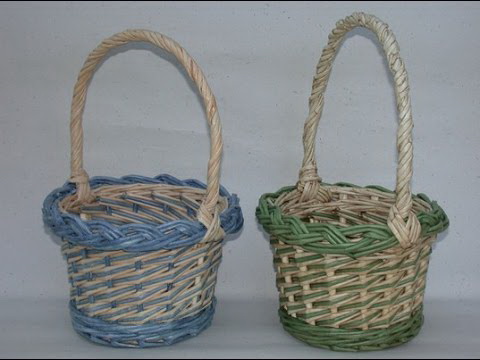
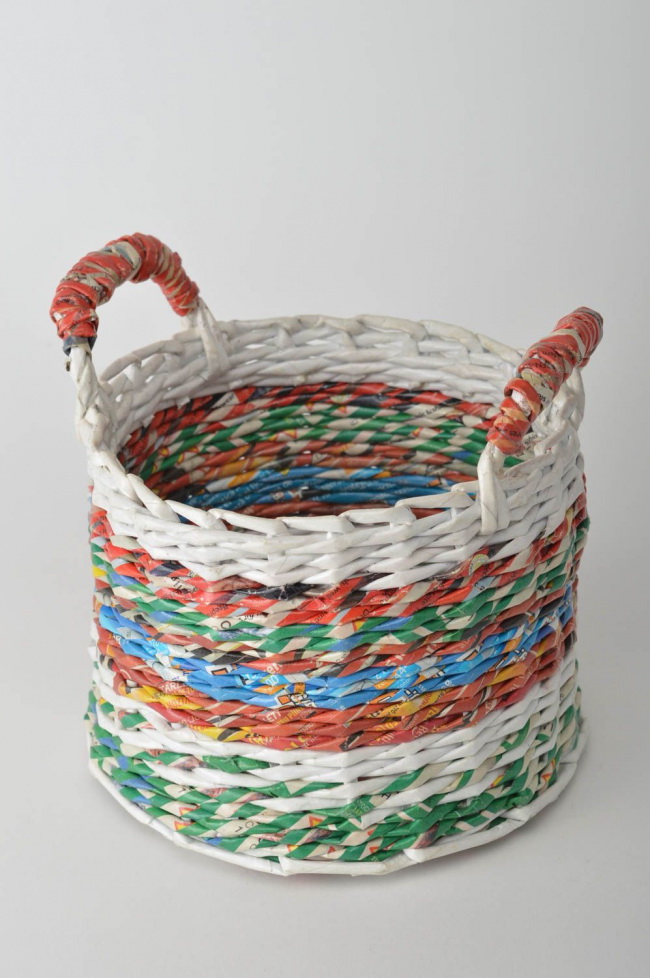
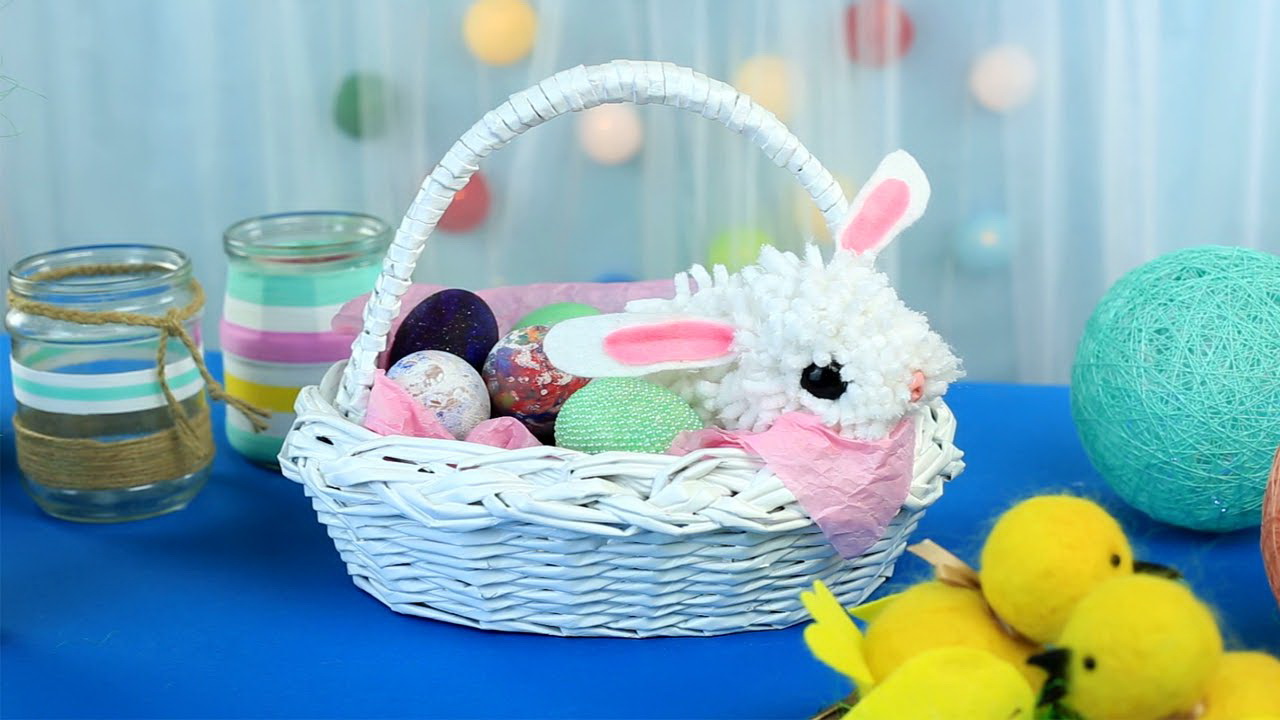
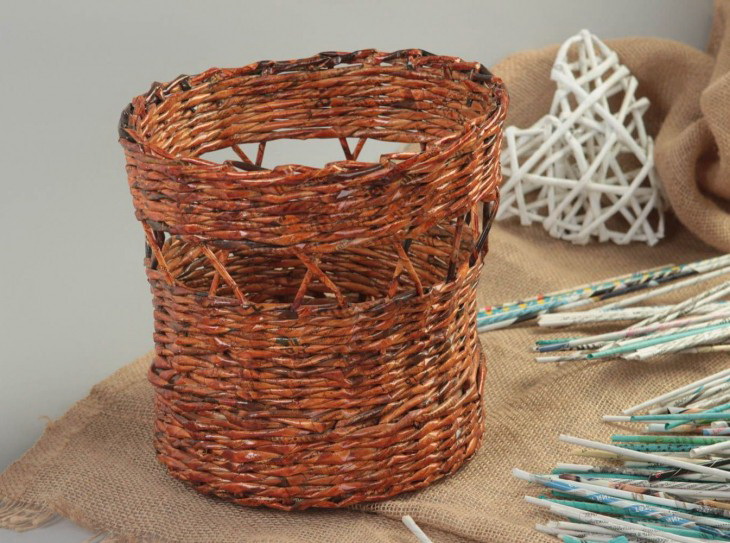
Basket of newspaper tubes
To independently make a basket with your own hands at home, you can use a master class for beginning needlewomen. All that is required is to prepare the necessary materials and follow the suggested step-by-step instructions from the photo. The process is so exciting that it will allow to use even children aged from 7 years.
For work you will need:
- paper - it is better to take newspapers with a solid foundation: advertising leaflets or magazines are well suited;
- spoke - it is useful for twisting the tubes themselves: the thicker the needle, the thicker the tubes will be, therefore it is better to take the size from 2.5 to 4 mm;
- PVA glue - to assemble the base;
- scissors;
- acrylic paint, varnish or stain - for finishing the finished product;
- accessories for the decor of the basket.
. How to start and finish?")
. How to start and finish?")
. How to start and finish?")
. How to start and finish?")
Having prepared all the necessary materials, we proceed to work.
To begin, let's cut the journal into strips 5-7 cm wide, of which we twist the tubules later.
Take a needle and attach to it the end of the strip, gradually twisting around the axis: we get the first tube that needs to be fixed with a drop of glue on the end.
At the next stage, we proceed to the creation of a base for the bottom part.
We put across 4 on 4 tubules, forming a cross. For durability, it is recommended that the cross be coated with white glue to make the base more reliable. The cross is considered to be one of the easiest ways to make a base, so it is often used in weaving workshops for beginners.
Next, go to the weaving of the bottom.
- We take one tube and fold it in half, forming a loop. We put it on the resulting 4 tubes as shown in the photo. After that, proceed to weaving rope method.
- Rope weaving is carried out in this order of work: the tube that is in front is twisted backwards, and the one that was at the back — on the contrary, is twisted forward. So you need to braid a few rows until the sticks run out. When they run out, build up - just insert a new blank into the hole of the old one and secure with glue.
- After making 2 rows of 4 tubes, they need to be divided and continue weaving after every 2 newspaper sticks. This will give the base particular strength. The next step will be braiding 1 divided tube, as shown in the photo: in the end, the number of rows will depend on the future diameter of the bottom.
- The paper blanks involved in weaving are cut and bent inwards, the bottom itself in the places of the end is glued and fixed with clothespins until completely dry. After this, we begin the ascent of the walls of the basket in order to proceed to the fabrication of the side parts.
. How to start and finish?")
. How to start and finish?")
. How to start and finish?")
. How to start and finish?")
. How to start and finish?")
Next, proceed to weaving the wall.
- Again we make a loop from the blank, put it on the wall of the tube and weave it in the rope way just as we worked with the bottom.
- The number of rows depends on the height: in order for the basket to keep its shape, we put the can on the bottom and weave it.
- To finish weaving, we also cut off the ends and bend the billet inwards, smearing it with glue.
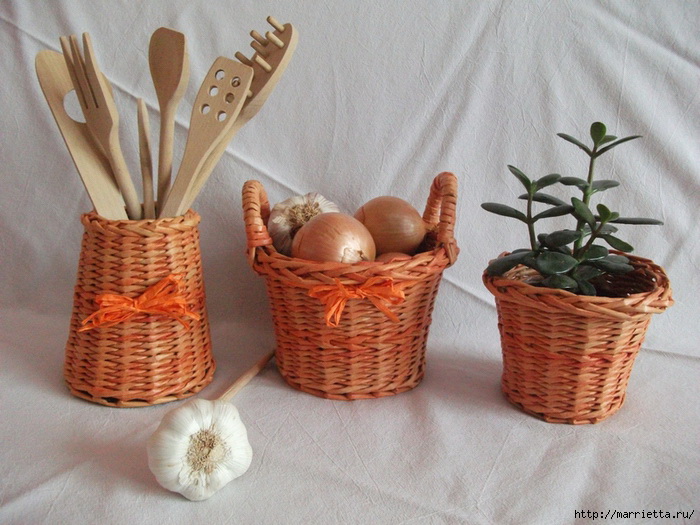
Beautiful decor
We start weaving the handle.
- To do this, leave 3 tubes on opposite sides of the basket and braid them.
- Weaving should be carried out immediately from both sides of the product, gradually narrowing it to the center of the basket.
- At the top, the ends are connected with scotch tape and masked as the base of the handle.
- The final stage is considered to finish the product: mix a little acrylic white paint, water and glue and walk this composition around the perimeter of the walls.
- It is also necessary to paint over the bottom of the product. To dry the basket, turn it upside down and leave it for several hours.
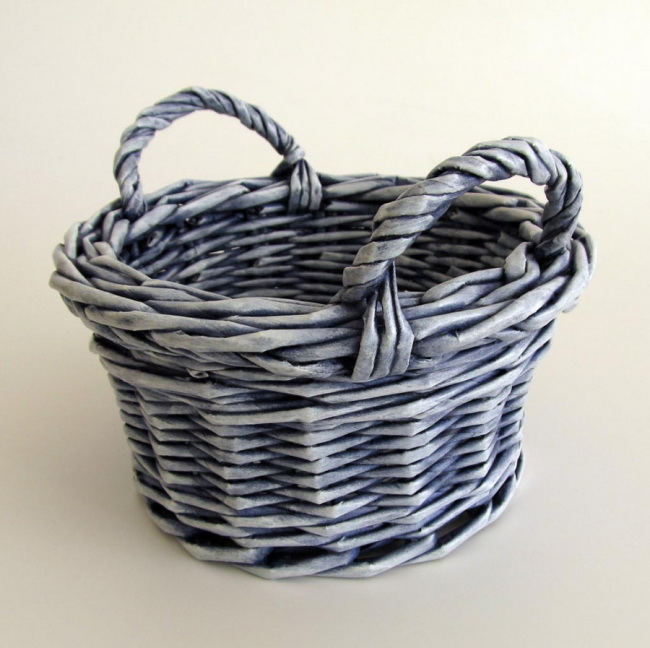
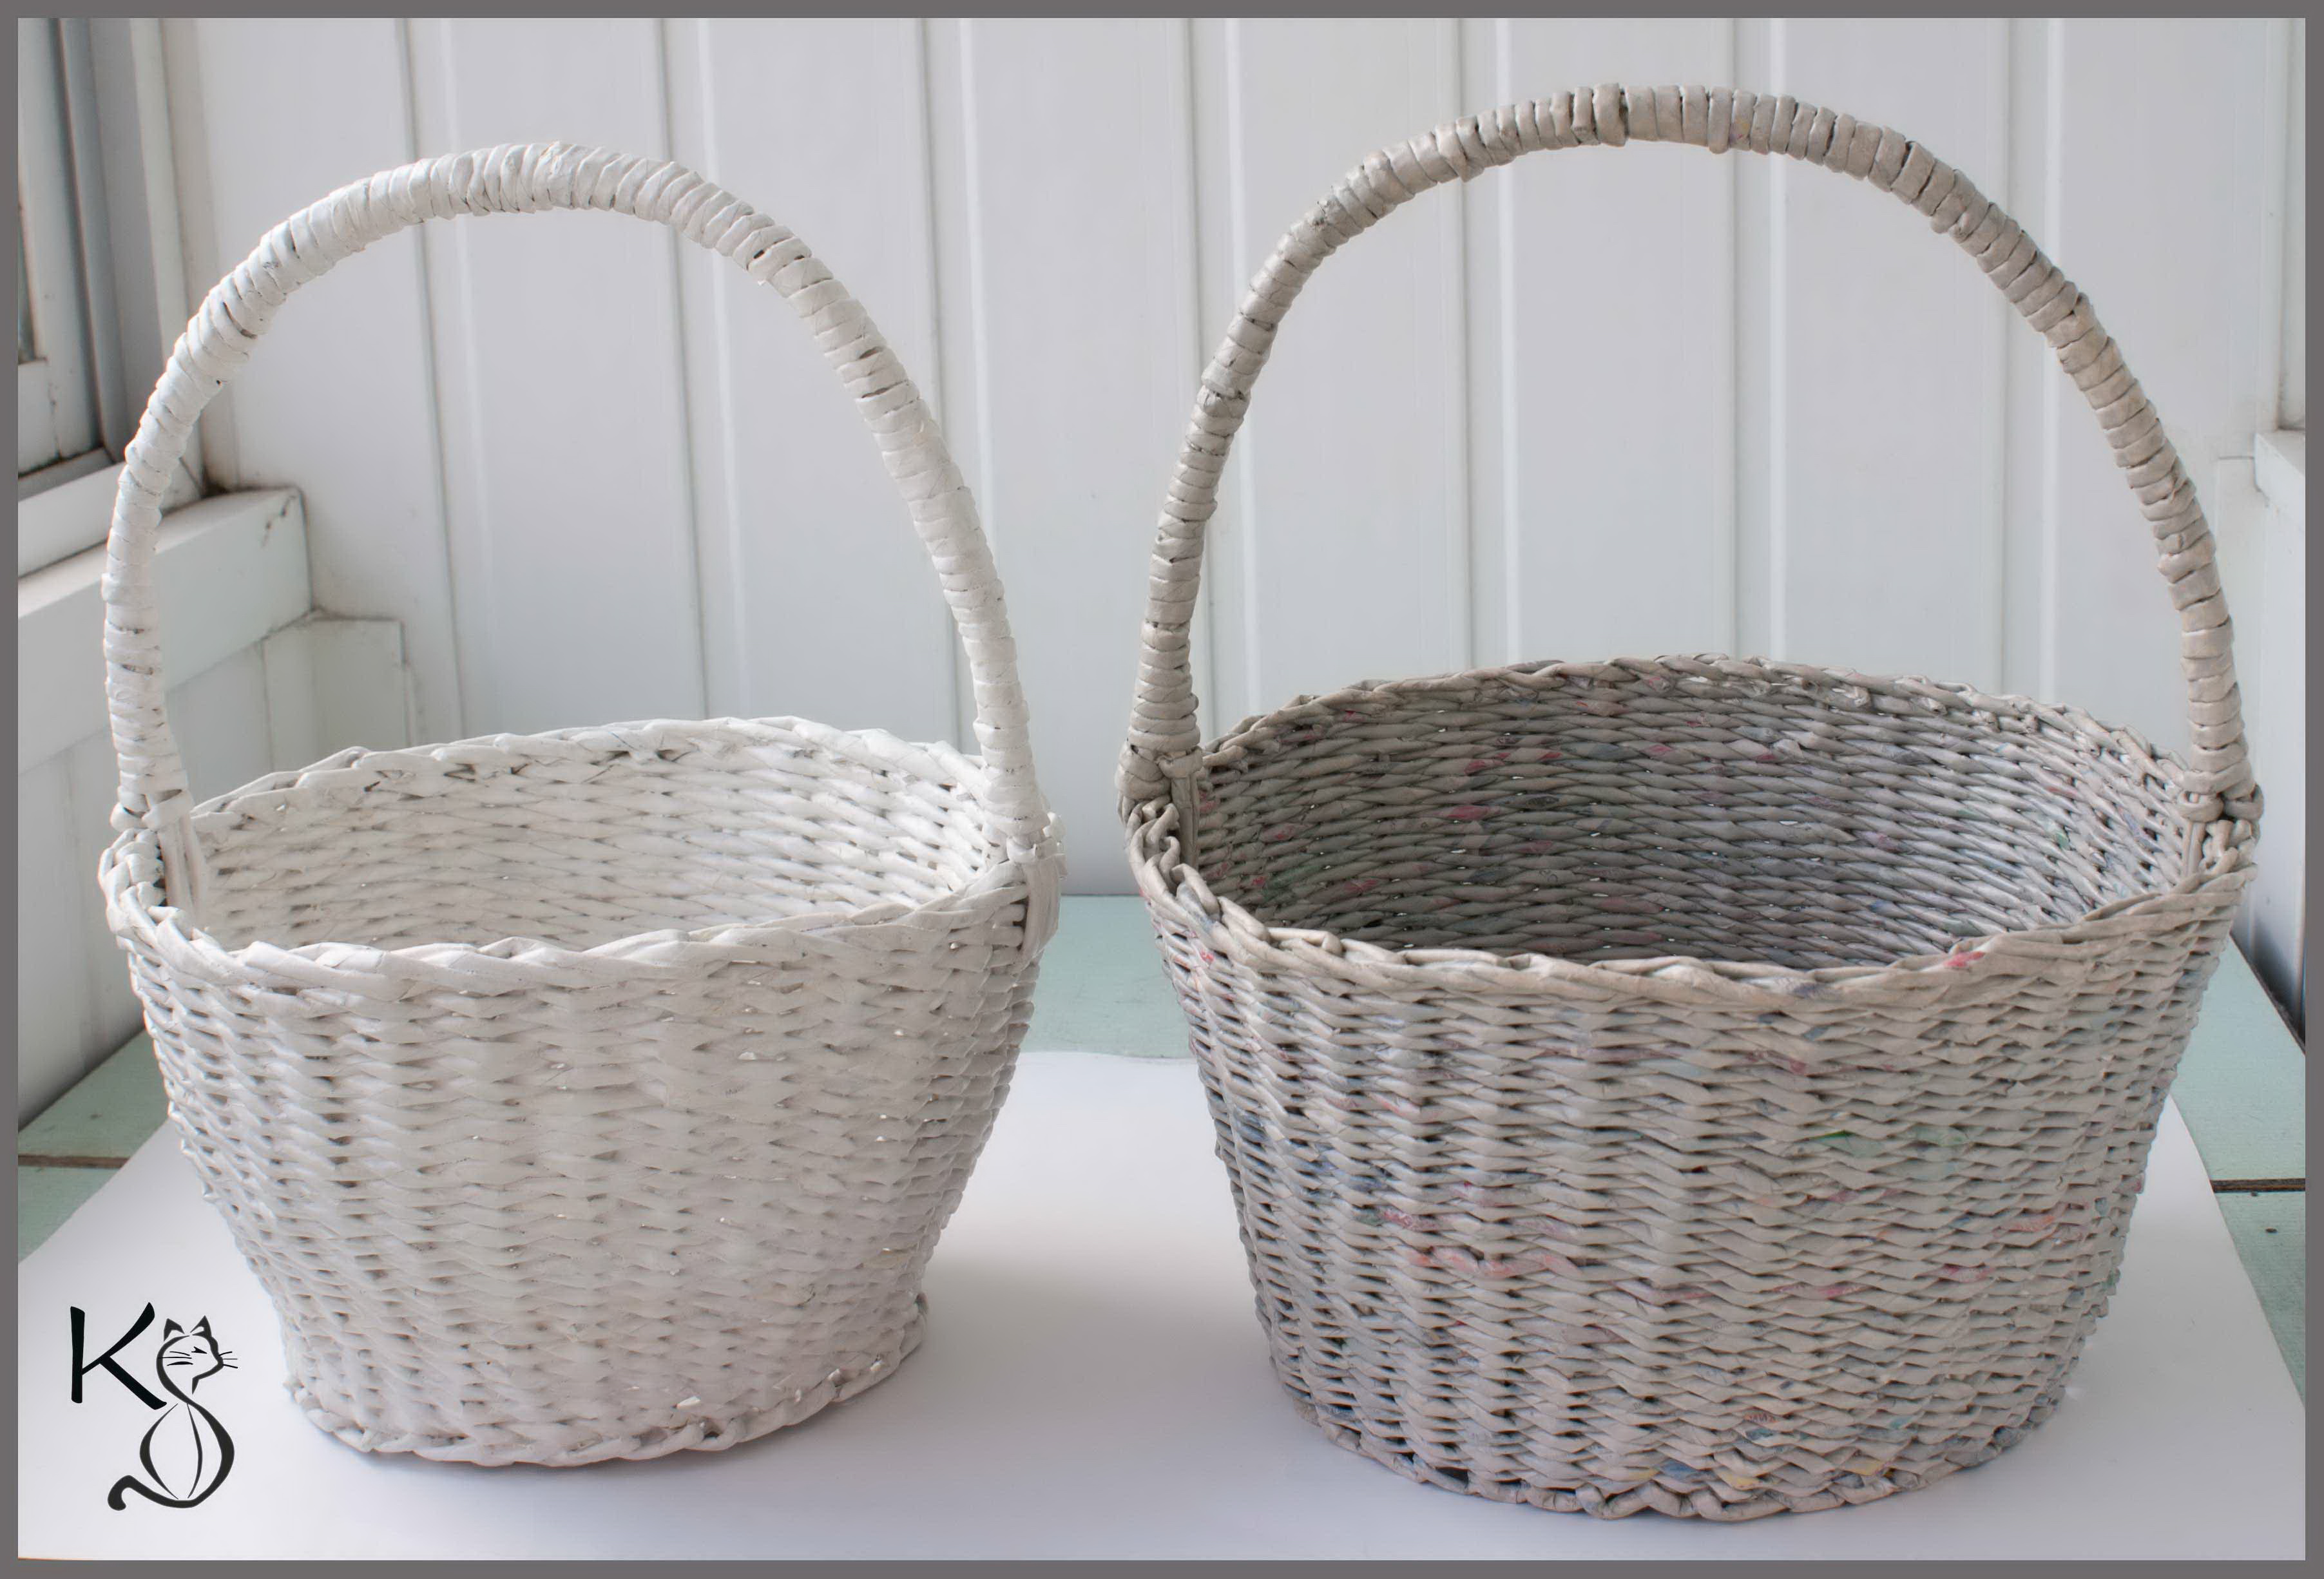
Weave handle
One of the main parts of the basket is a quality handle, because it will come in handy to move products from place to place. The handle should be dense and durable, it can be decorated at will: make braiding with tape, stick artificial stones and rhinestones, and also simply decorate with colored acrylic. You can make a pen in several ways:
- openwork weaving;
- pigtail;
- rope way.

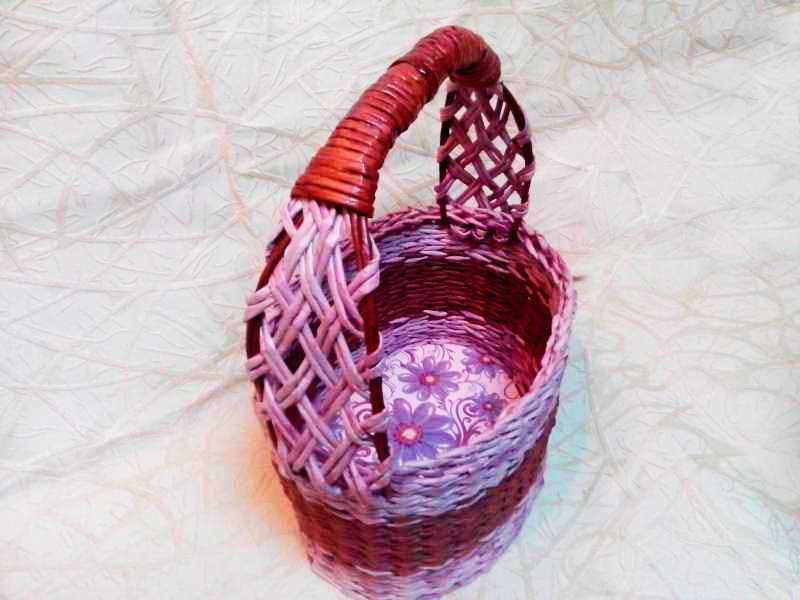
Handle weaving technique
In this master class will be considered the manufacture of a reliable and beautiful handle for a basket using a pigtail weaving technique. At first glance, it seems that the technique is complex and defies explanation, but by performing step-by-step actions after 1 hour, you can enjoy the finished wicker handle.
Weave strong handle
Detailed workshop
Getting to work step by step:
- Newspaper bundles in the amount of 6 pieces we fold together and wrap them with colored blanks of tubes. It is easy to do this: it is enough to start from the edge of the blanks, gradually wrapping them around the entire perimeter into one dense bundle.
- When the base of the handle is ready, proceed to fasten an additional 4 tubes for decorating the pigtails. To do this, at the very base of the handle, we attach 4 tubes of different or one color and we tie them a little to the workpiece using convolution.
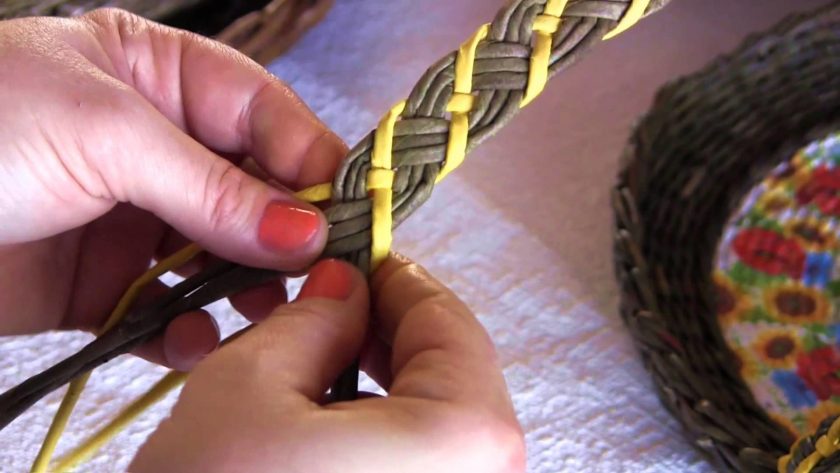
- We begin to weave a pigtail: at first we bend down two side sticks to the sides, and we fold the middle two onto ourselves. After this we carry out weaving according to the picture in the photo below.
- When the tube ends, insert a new one into it, wetting the compound with glue. We continue weaving until the braid covers the entire base of the handle.The finished handle can be attached to the basket in any way: the best way to do this is using rope technique.
The handle must be of high quality
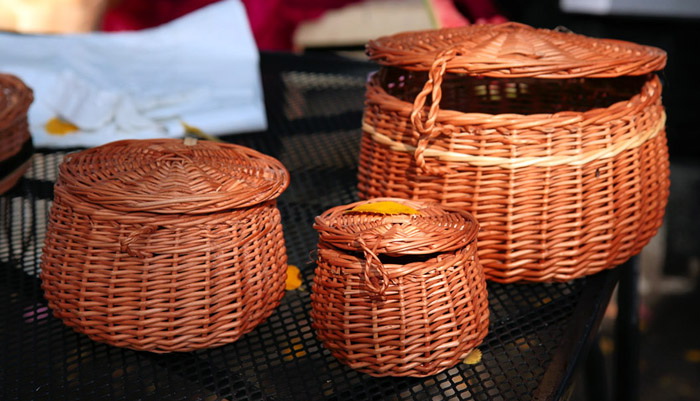
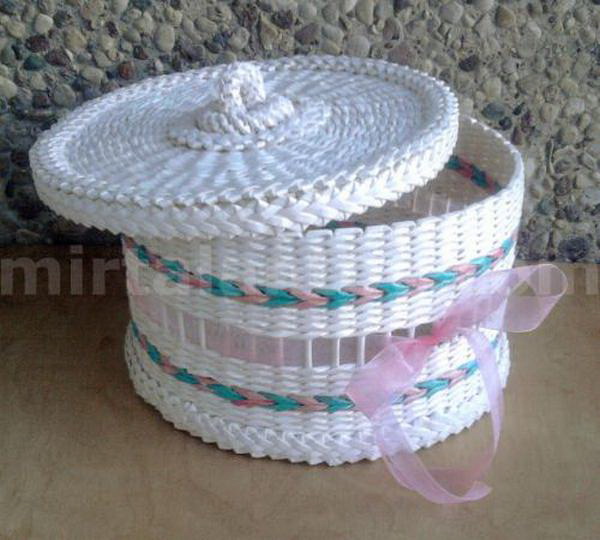
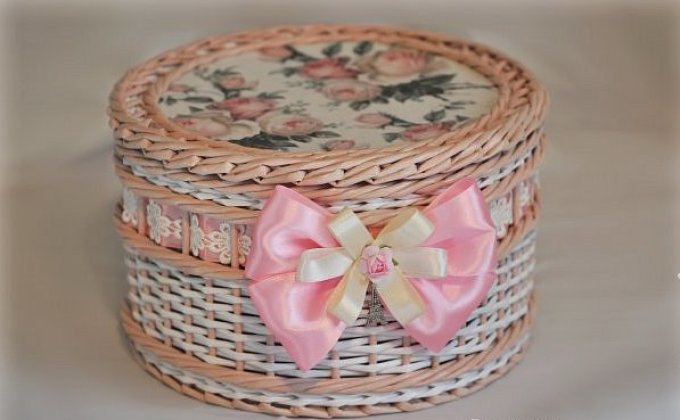
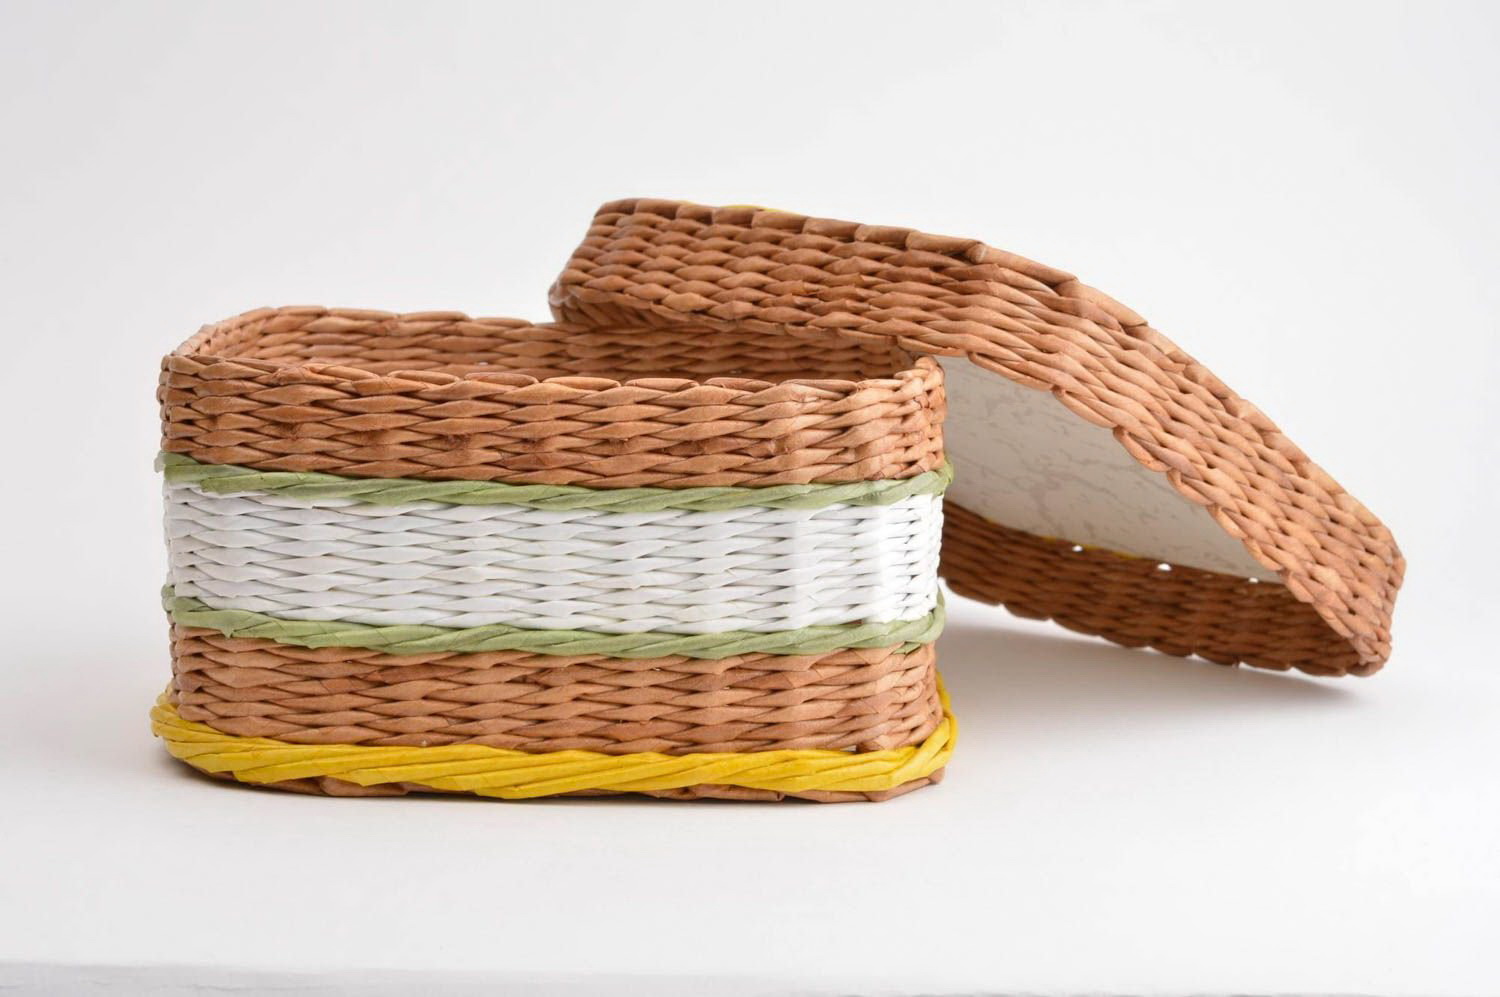
How to make a cover?
If the basket is woven open, then it is enough to make handles for it, and it will be ready. When it is planned to manufacture a structure with a lid, the upper part of the product is woven separately. To make a cover yourself, you can use an uncomplicated master class for beginners.
For work, prepare 2 circles of cardboard corresponding to the finished basket. The circle can be decorated immediately: perform decoupage, decorate with acrylic or cover with a cloth. You will also need PVA glue, a lot of newspaper tubes of one or more colors and varnish.
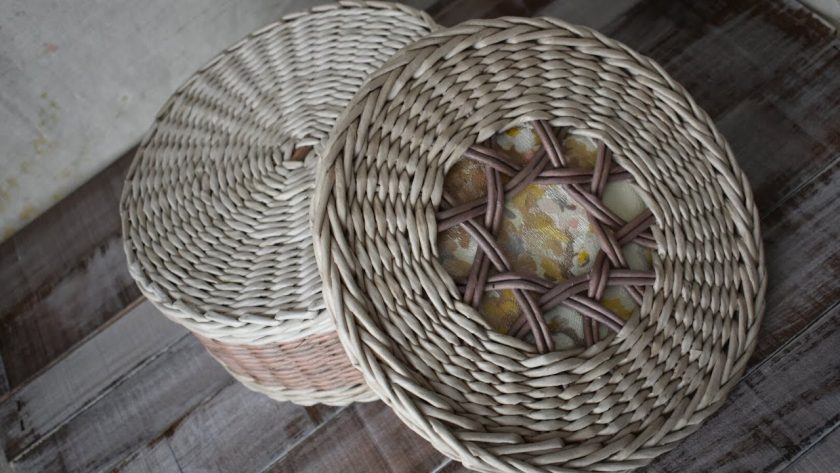
Beautiful wicker cap
Start the process of creating a simple but beautiful cover:
- Two circles of cardboard must be glued together, after placing around the circumference, the rays of the newspaper twists.
- Weaving is performed in a rope technique or by layering. The four main rods are inserted through one radial twist and the weaving of a circle of cardboard begins.
- All 4 rods are used at once: first they are turned on over the newspaper tube, then they are carried out after the next tube. The result is a beautiful border on the contour of the cardboard. So the whole circle is woven around the diameter of the basket.
- To make the sides of the lid, the billet is applied to the basket and the beams are twisted down by bending the stand behind the rack. Weaving continues in the above technique. The ends are cut and bent inward, pasting.
The finished cover should dry, then it can be decorated in its own way.
return to menu ↑Basket weaving methods
The wide popularity of making beautiful baskets from newspaper tubes has triggered the development of new techniques. If earlier it was possible to weave a basket only by the method indicated above, then modern masters do not sit still.
They come up with new ways to weave blanks, as well as various schematic patterns. To learn more about each type of weaving, we suggest reviewing a summary table with a description of the methods.
Suitable as a gift
| Equipment | Description | Where does it apply? |
|---|---|---|
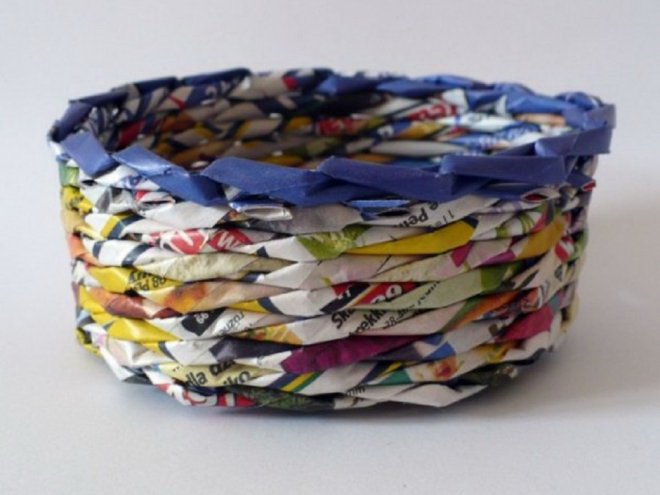
| Spiral twisting | The technique is considered one of the easiest, judging by the reviews of needlewomen, even a schoolboy can handle it. The essence of the method is to gradually increase the height of the product due to the circular interweaving of the tubes. Each new billet is superimposed on the previous one in a spiral. | Used to create high baskets for decorative purposes, as well as attractive vases of unusual shape. With this technology it is easy to make a stylish decor for the interior. |
| Layered | The technique involves making a basket from several tubes at once. For ease of weaving, first perform several rows of rope technique, insert additional tubes into the support holes, and begin to braid the walls in a circle with each tube simultaneously. | It is used to create baskets of various shapes, as well as to decorate patterns on the surface of products. It should be noted that the rack should be much stronger than the blanks themselves for braiding. |
| Rope | This method of weaving was discussed in the master class above, where the guide to creating an original, but simple basket for beginners is disassembled step by step. | Weaving technique is used to create simple round and square products.This method is suitable for training novice craftswomen. |
| Spiral weave | You should not confuse methods with twisting in a spiral - they are fundamentally different. This method involves weaving at an angle | Spiral weaving is suitable for the manufacture of small and tall items, such as narrow baskets, glasses, vases. |
| Pigtail | There are 2 types of this method - edge and invoice. The first option is used to weave the counterclockwise, with the tubes being brought out and then inwards. The invoice method implies the use of several twists braided with the edge at once. | Baskets made with such weaving look more elegant. The texture of the picture resembles a real basket of willow vines. |
| Openwork | It is easy to learn such weaving - outwardly it looks like lace. It consists of holes and patterns. The technique is a synthesis of simple and complex techniques. | Original baskets from openwork weaving are open or closed. They are well suited for the presentation of a gift to a birthday man as a packaging box. |
The above weaving methods will help to better understand how to make a basket with your own hands. Beginners better use rope technique or spiral twisting, more detailed descriptions of these techniques will be presented in the course of the material.
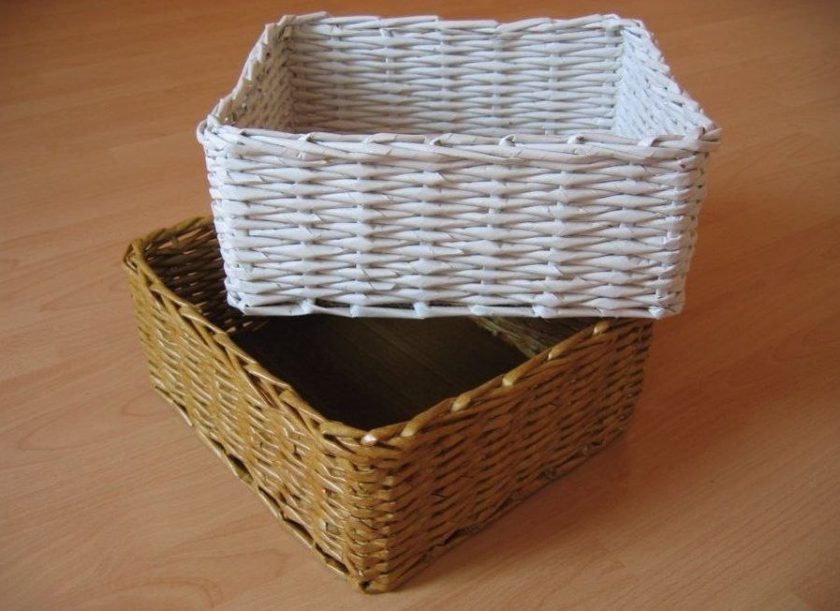
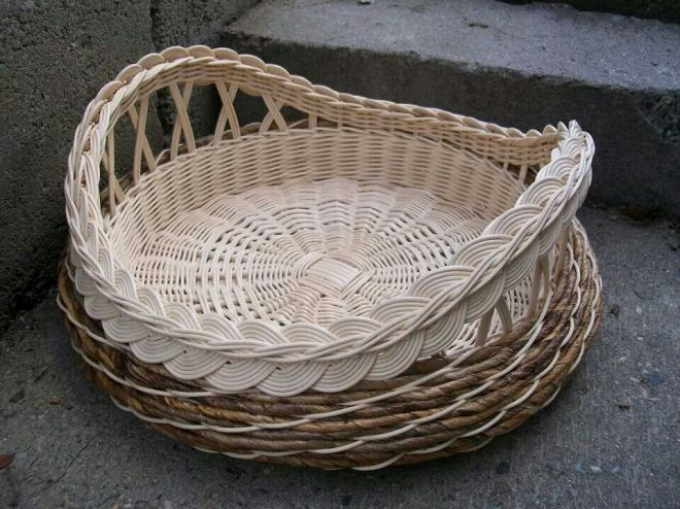
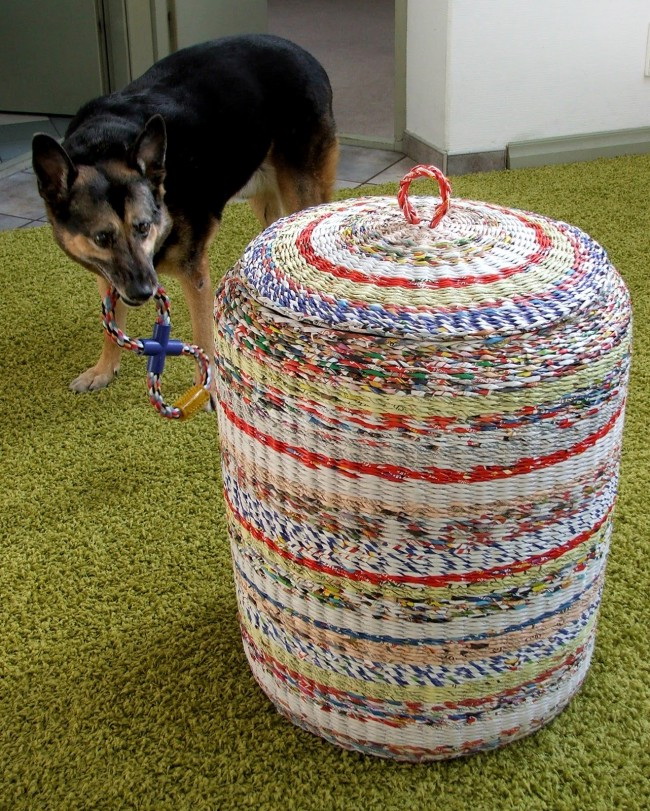
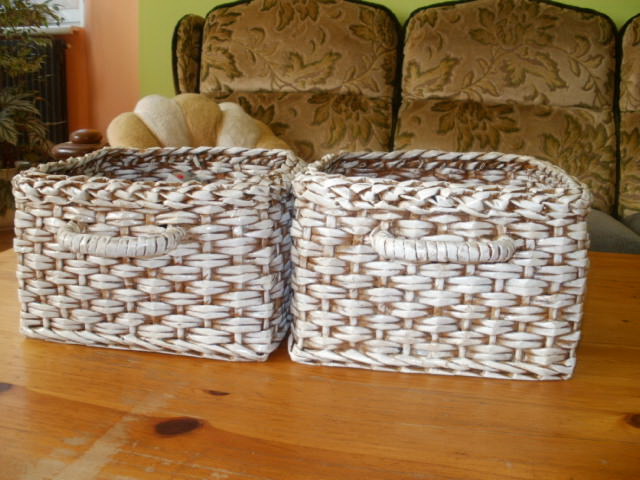
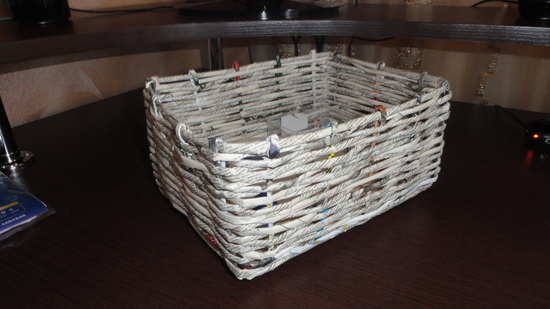
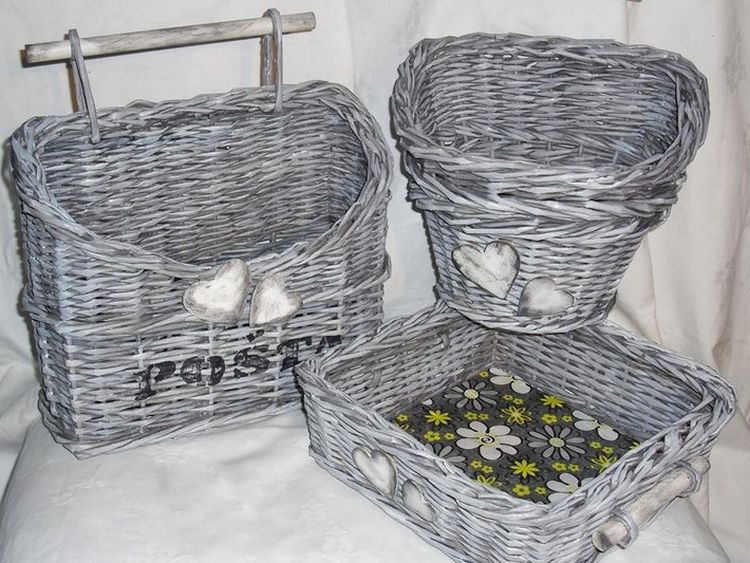
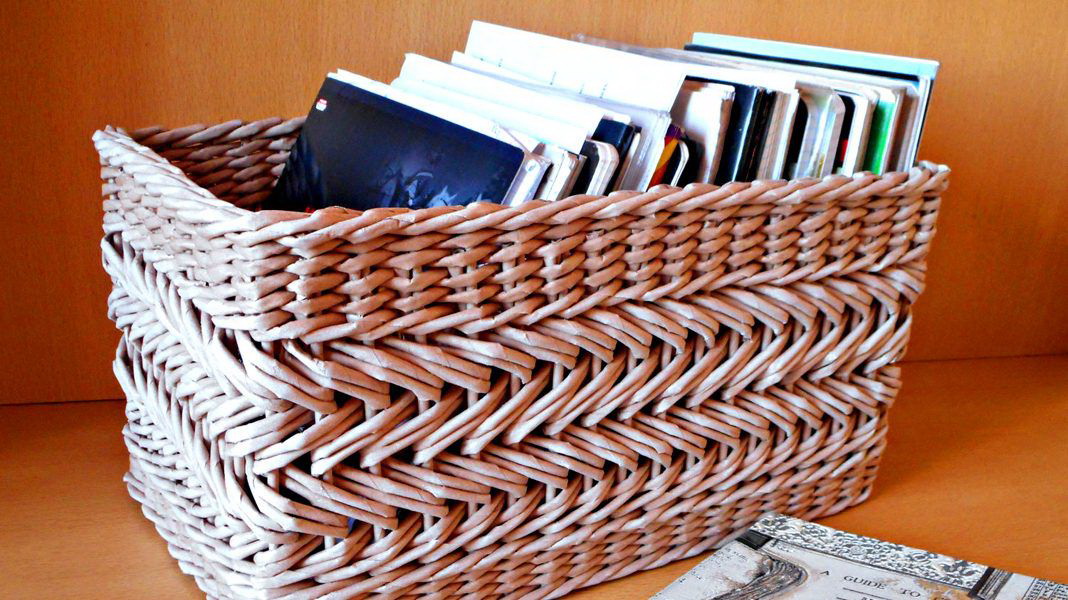
return to menu ↑Laundry baskets
The main advantage of the work in this technique is its practical side: having learned to weave baskets from the improvised material, you can easily create household items.
One of these useful devices is a laundry basket - the work is done simply, the complexity lies only in the size of the product itself. To independently weave a laundry basket of newspaper twists, please be patient and necessary materials.

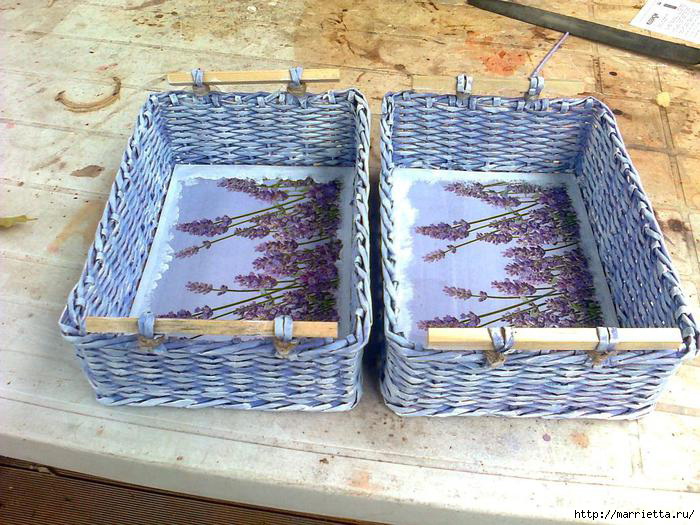
Laundry storage option
Prepare these materials and tools:
- thick cardboard; some needlewomen use corrugated cardboard;
- wallpaper or colored bottom paper;
- paper tubes, pre-painted to the desired color and covered with stain;
- colorless varnish;
- PVA glue;
- fabric for the liner on the base.
Clothespins are also required to secure the bottom for the time it dries and heavy items such as a weight or a stack of books. The box will not be superfluous, according to the size of which the basket will be braided. She will add a bottom of stability and will make a basket of the correct form.
. How to start and finish?")
. How to start and finish?")
. How to start and finish?")
. How to start and finish?")
. How to start and finish?")
When the material is dry, you can go to the braiding walls. To do this, the tubes are folded with each subsequent convolution and pulled up. In the center of the bottom set the box of a suitable size so that the weaving has acquired the correct shape.
The work uses the technique of layer-by-layer interweaving with several tubes at once..
You can use both single-color convolutions, and apply two-color variants. The tubule winds up at the base of the axle, then it is displayed in front of the axle - thus, weaving turns out similar to cotton fibers.
. How to start and finish?")
. How to start and finish?")
. How to start and finish?")
. How to start and finish?")
. How to start and finish?")
When the height is reached, you can proceed to the manufacture of pens. To do this, on opposite sides of the basket make lifting rows, imitating the handle. At the end of the work the tubes are cut and hidden inside, fixing with glue. The decoration of the basket is made as you wish: often it is a one-color painting with acrylic paint.
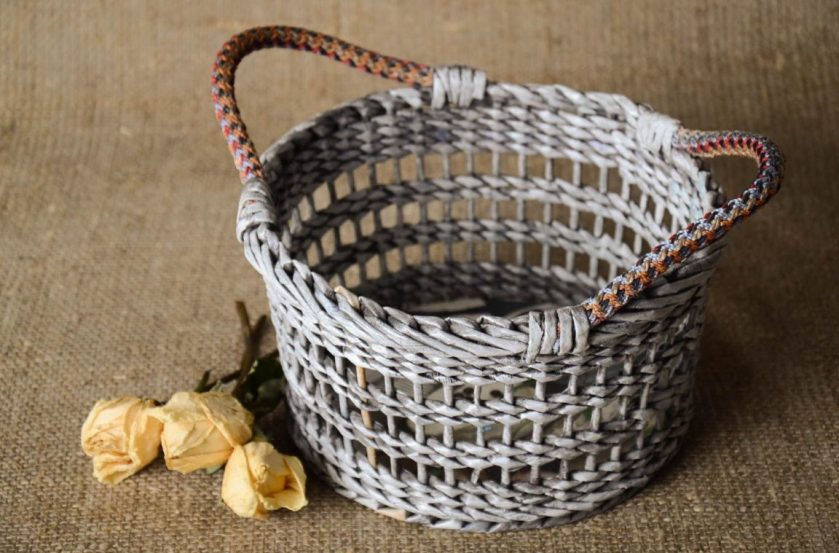
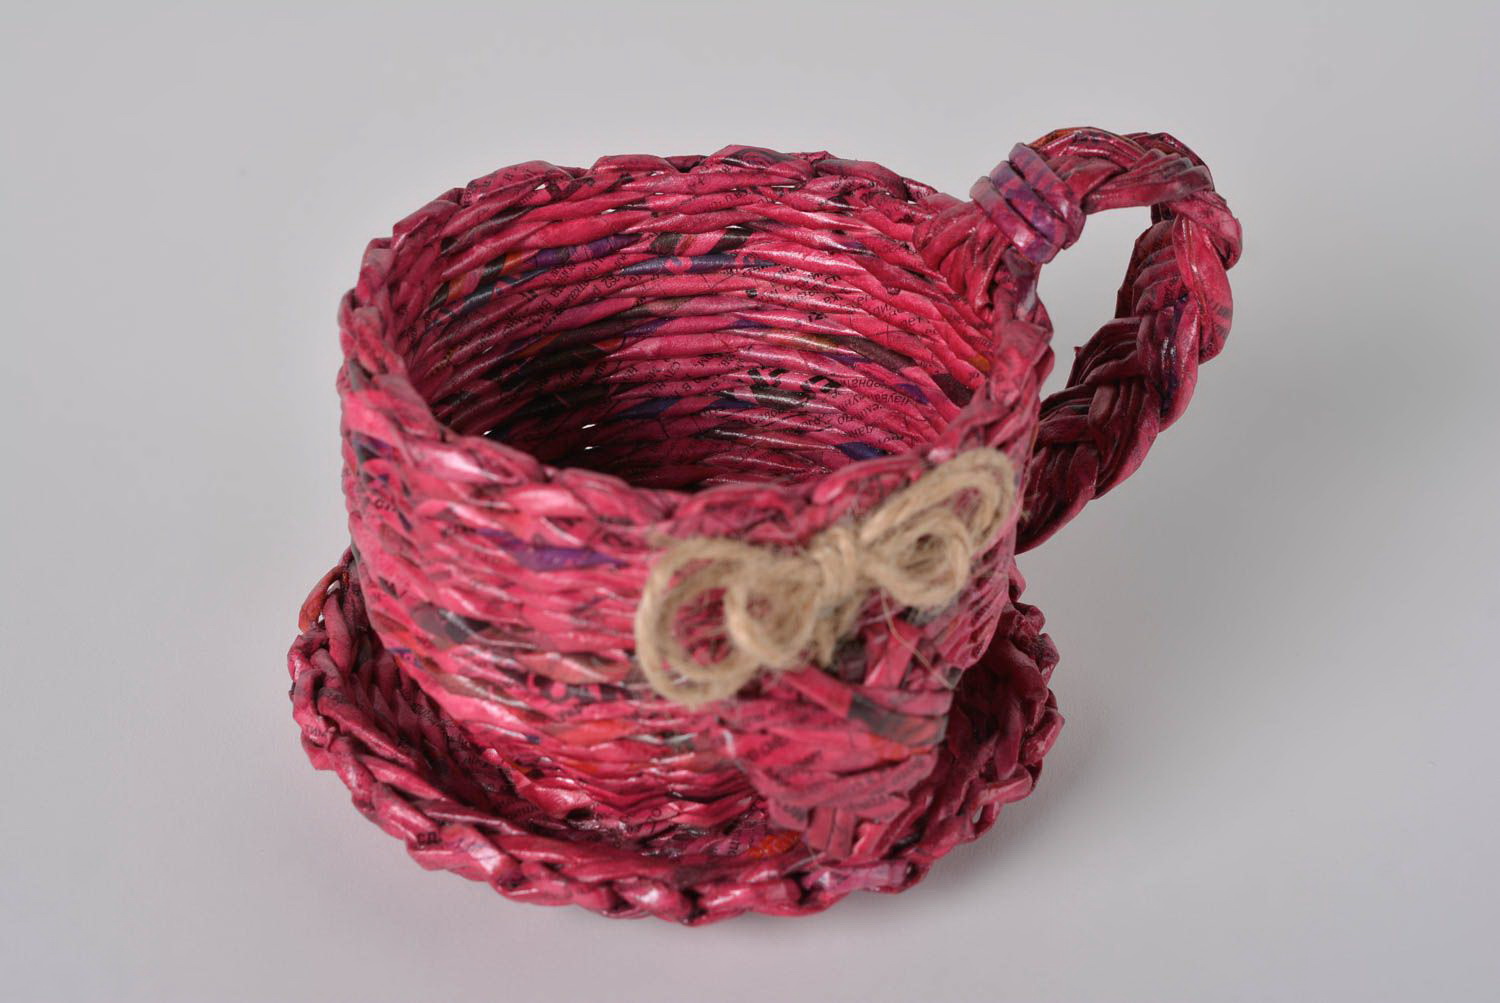
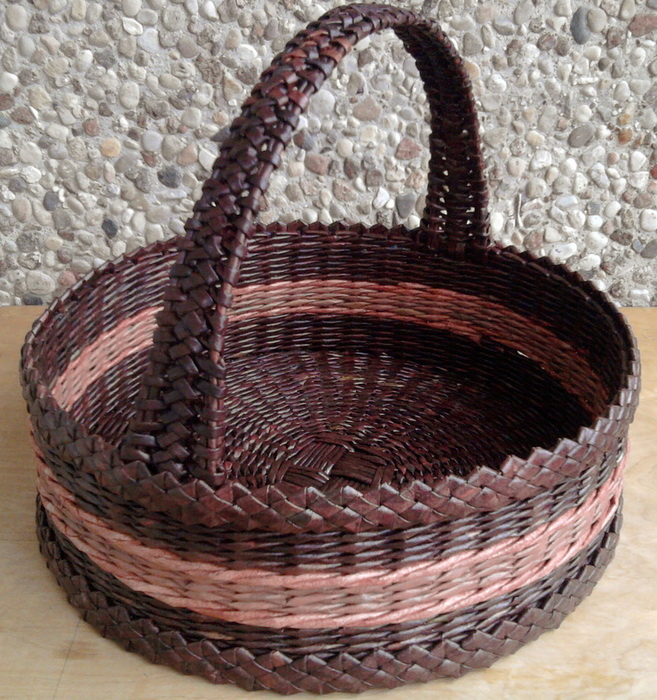
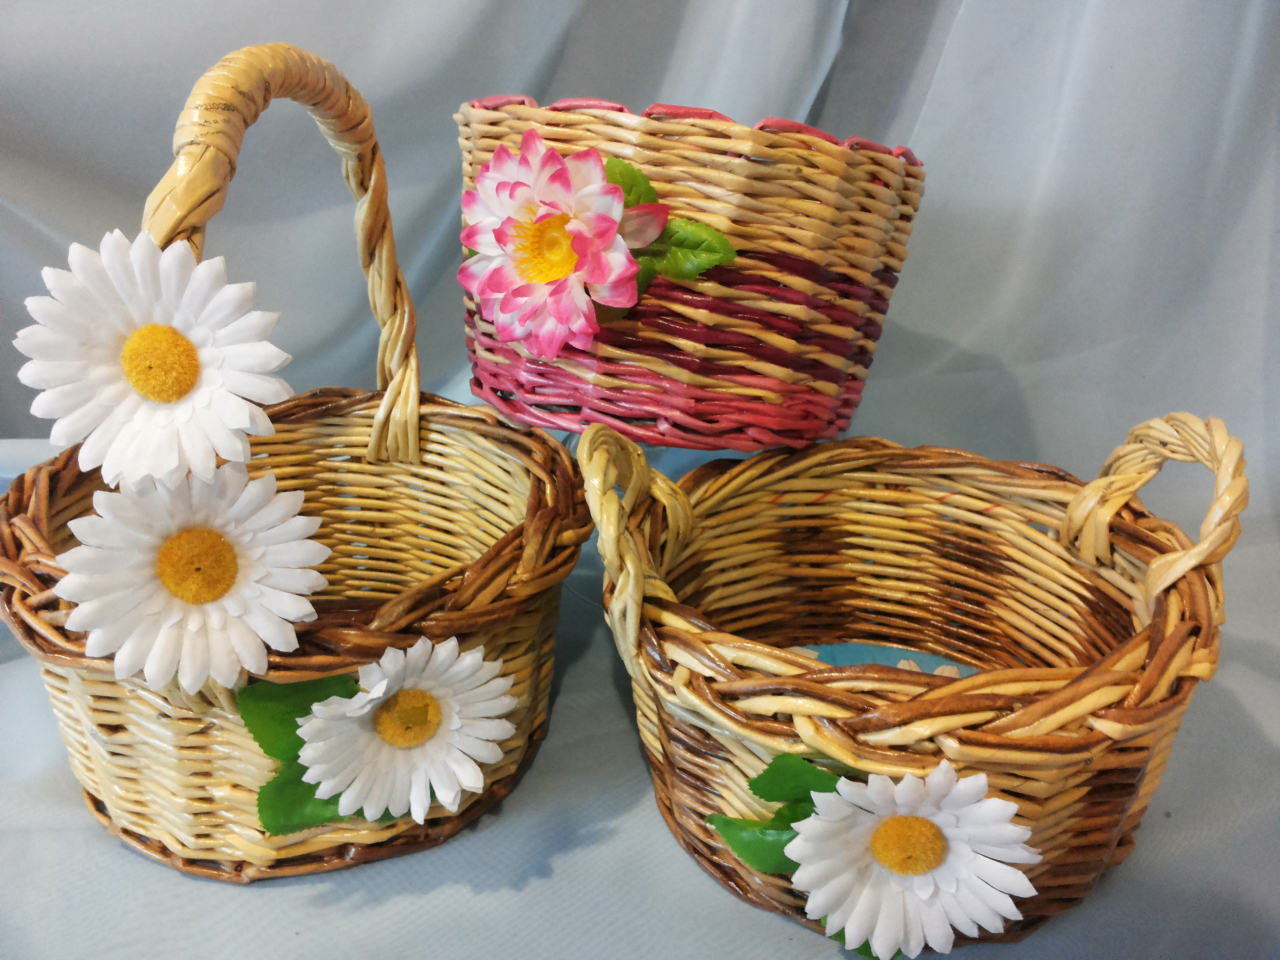
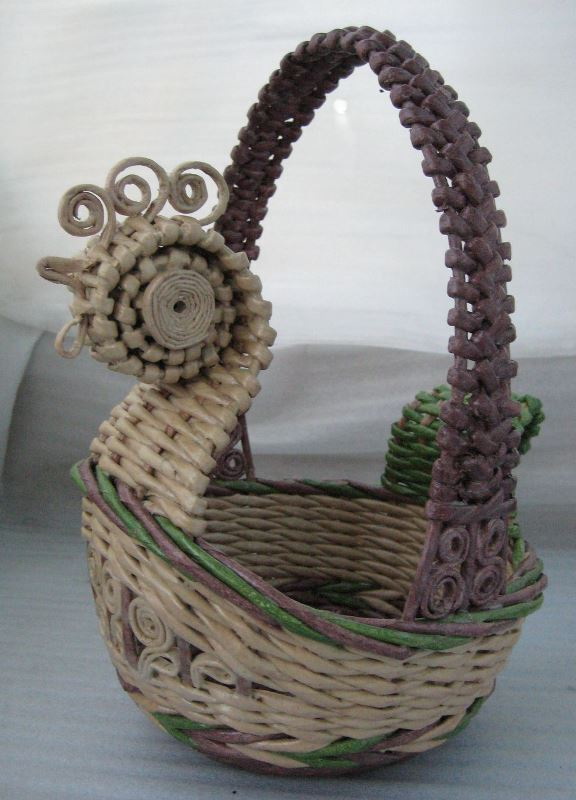
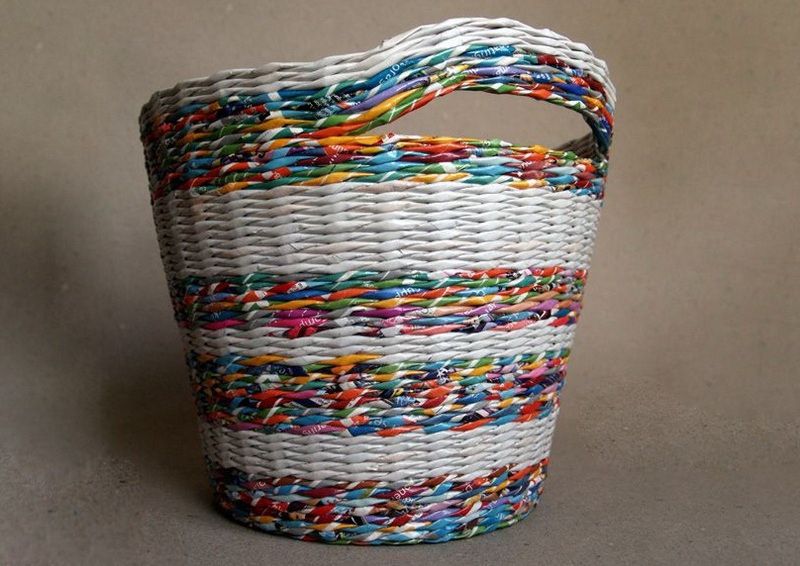
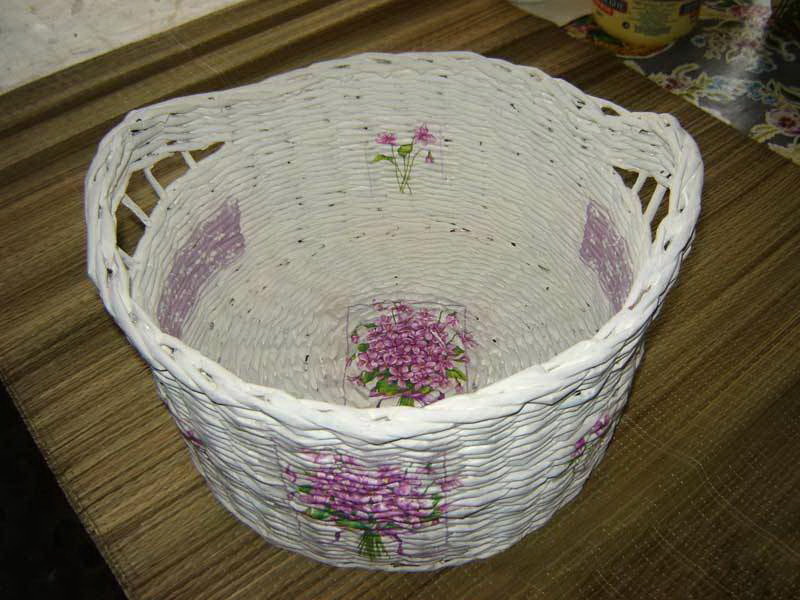
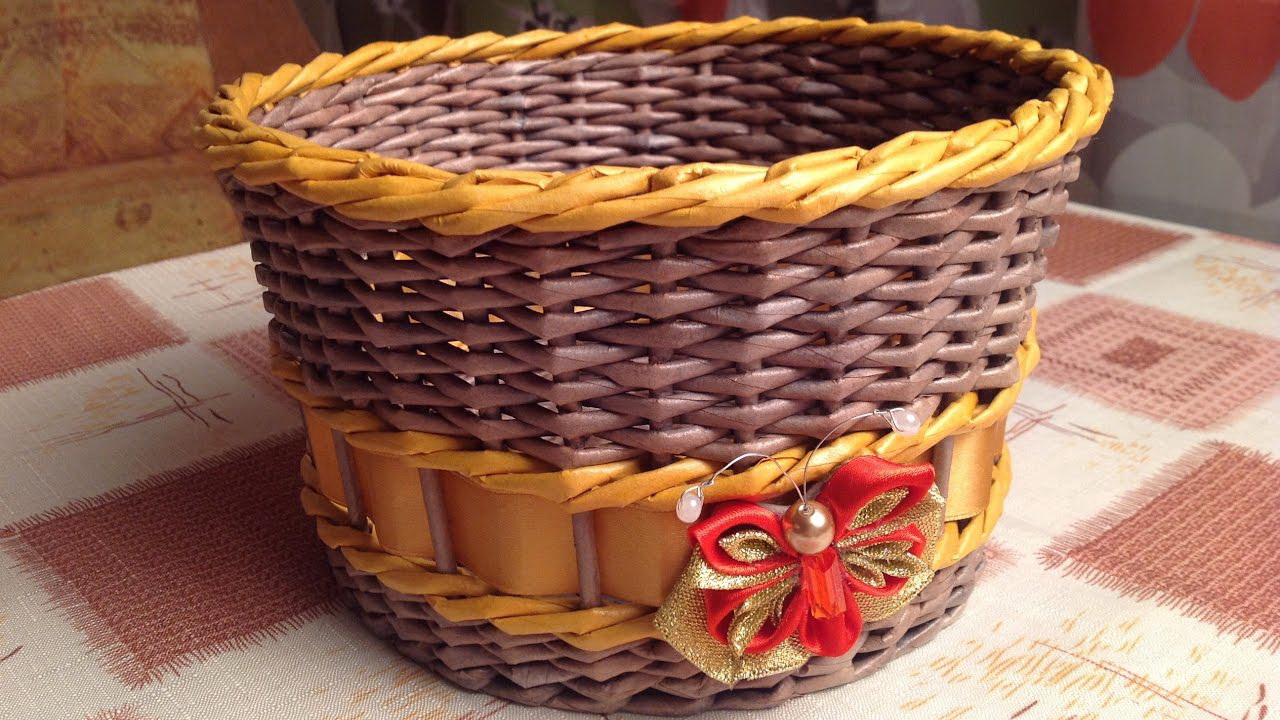
return to menu ↑Fruit Basket
It is always easy to find a practical use for hand-made things. For example, a good idea would be to make a basket for fruit: the product can be used instead of a metal bread basket and put light fruit in it. Some baskets in finished form can hold a lot of weight, everything will depend on the technique and weaving density.
Can store fruit
To independently make a beautiful basket for fruit, prepare newspaper tubes in the amount of 310 pieces - their length is 27 cm. It is recommended to pre-paint the tubules with this composition: take 2 tbsp of water per half liter of water. l acrylic varnish and mix with color shade. To process all the tubules and begin step by step work.
| Stage | Description |
|---|---|
| Bottom formation | The bottom is performed in a rope technique using a cross for the base. Take 12 tubes, divide them into groups of 3 in each and glue the crosspiece. |
| Weave bottom | Weave in this technique 6 rows, weaving 3 tubes at once, and then begin to weave 1 bundle each. So you need to weave until then, until you get the bottom of the desired diameter. |
| Forming boards | To make lifts for weaving the sides of the structure, it is necessary to insert 3 more tubes into each hole with a stick. |
| Bead weave | Putting the bottom on a round object, such as a wooden bowl, you can continue to work. Here you can already weave beads using the layered technique: it is performed in 2-4 rods and will be much more reliable than the rope technique. |
| Creation of lace | To make the basket elegant, you can create a picture: just cross the neighboring bars in the center of the weave, imitating diamonds. Each connection to press the clothespin and weave new rods for further work. |
| Handle formation | When the main work is ready, we proceed to the creation of the handle: we insert additional rods from the sides of the product and create a handle, according to the master class indicated above. |
| Decor | We finish the construction at will: we paint with multi-colored pigments, we make inserts from fabric. |
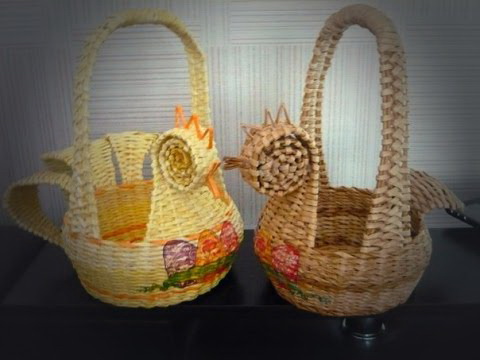
Fruit Basket
Detailed workshop
This basket does not need a lid, because it is designed to store fruit. The handle of the product can be effectively decorated with a foamiran rose.
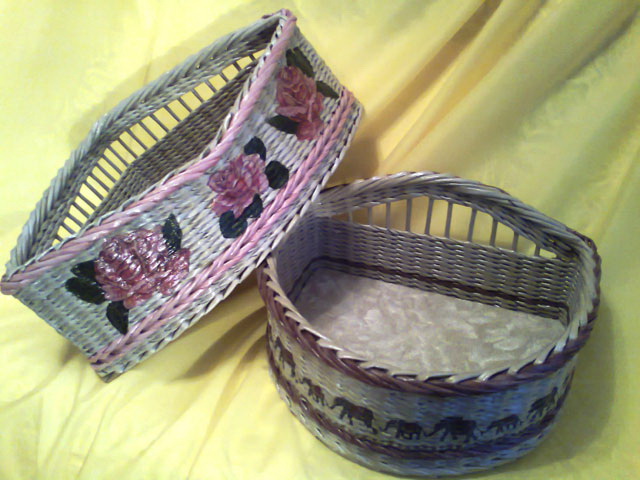
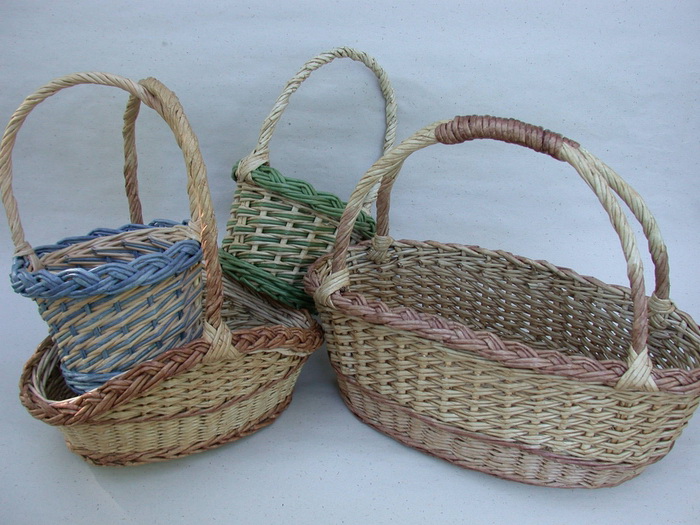
return to menu ↑Weaving baskets of different shapes
For different needs, baskets of various shapes are used. For example, a rectangular high basket is useful for storing linen, a square or round one is suitable for storing sewing accessories, and an oval design will be appropriate for decorating a room for the holidays. Detailed workshops on the manufacture of each form are presented below.

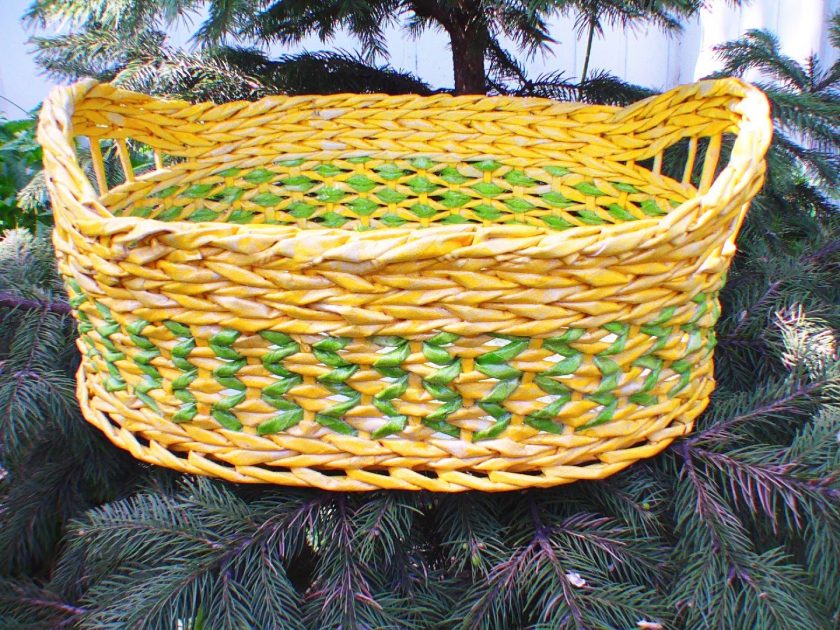
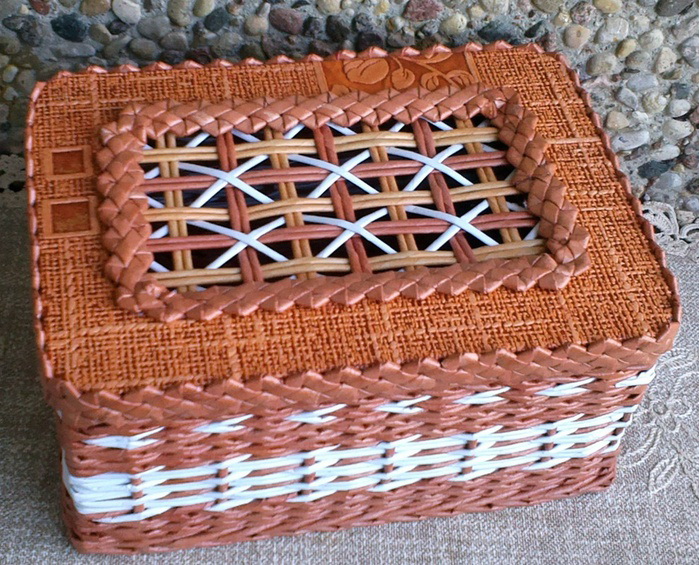
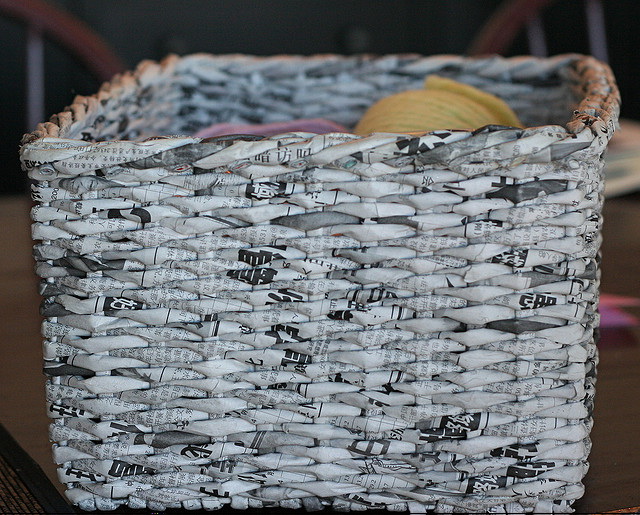
Square model
Square basket
This type of product is perfect as a desktop bread bins. It is enough to put inside a fabric insert and a beautiful bread box for serving guests - ready. The work will be based on the use of a special device that helps to weave the base of the product faster.
Square basket weave
Detailed workshop
To make such an auxiliary device, it is enough to take a sheet of cardboard, bend it in half lengthwise and after 2 cm from the bend with a hole punch, make holes for the tubes. You also need to prepare a large number of paper or newspaper convolutions.
To make the basket look more like a straw, make the twists flat.
- The sticks for the base are inserted into the holes of the cardboard so that most of them are closer to work.
- We begin to twist the bottom: take a long tube and insert it next to the cardboard, then we work in the technique of rope weaving. When we reach the desired perimeter of the square, the bottom is finished.
- To form and lift the walls, we insert new spikes around the perimeter of the square: bend the twist in half and thread through the hole, grabbing the nearest tube. Fix the attachment points with scotch tape and clothespins.
- We begin to braid the walls until we get the height. For ease of operation, we put the design on a square box.

Can be used as a breadbasket
When the work is finished, you can attach a handle to it or weave an additional cover. Such a basket will not only serve as a breadbasket, but will also become a good variant of the packing box.
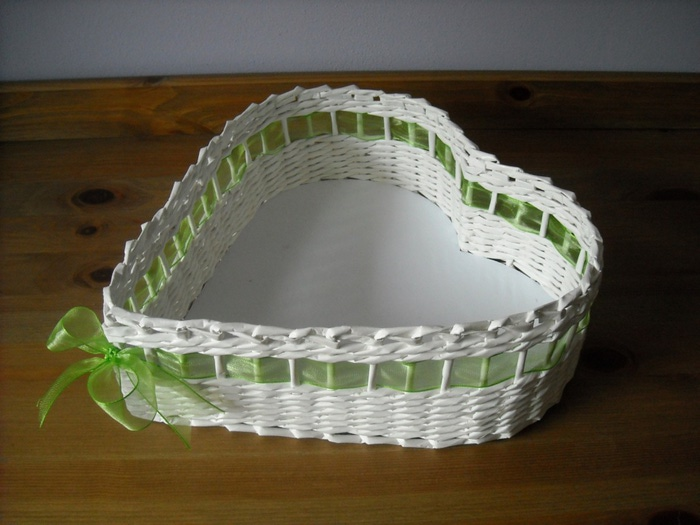
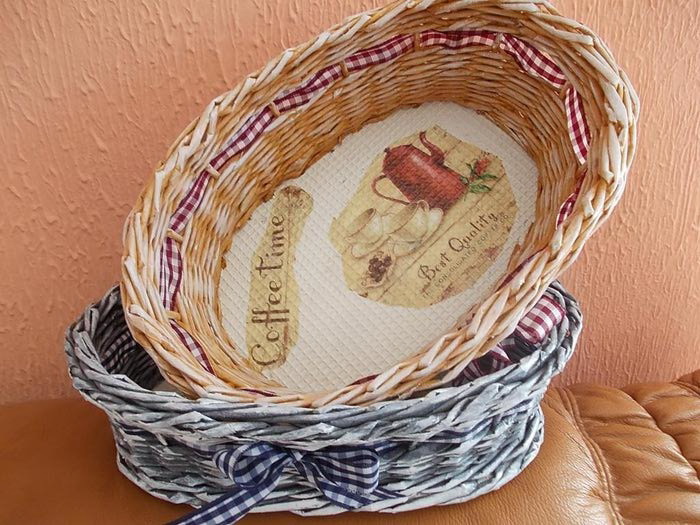
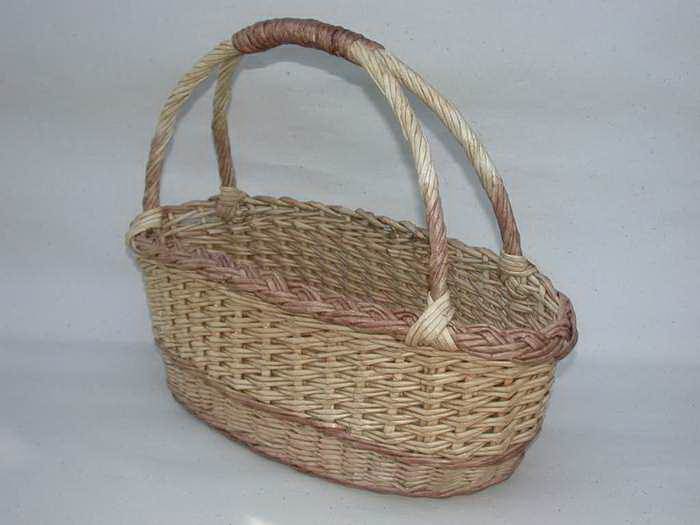
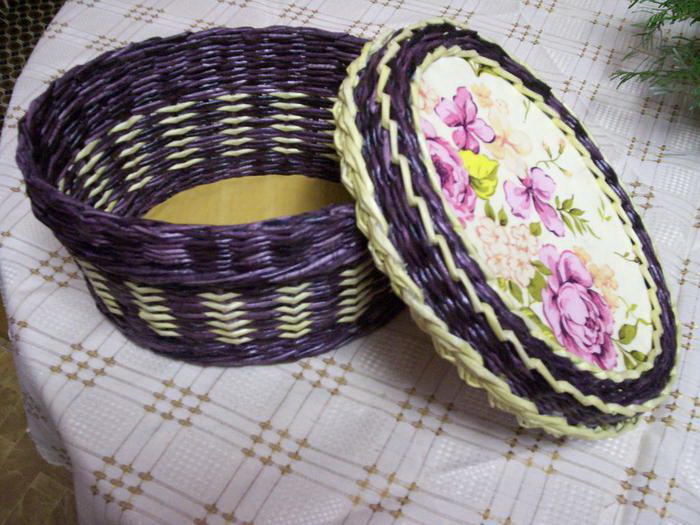
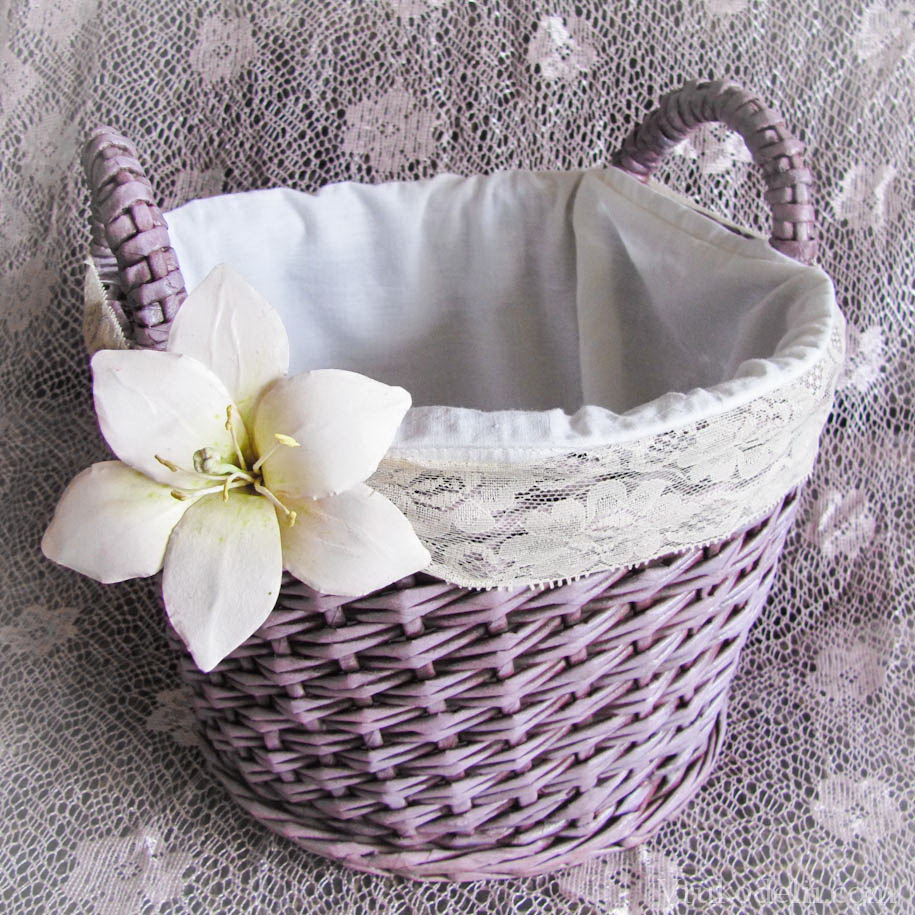
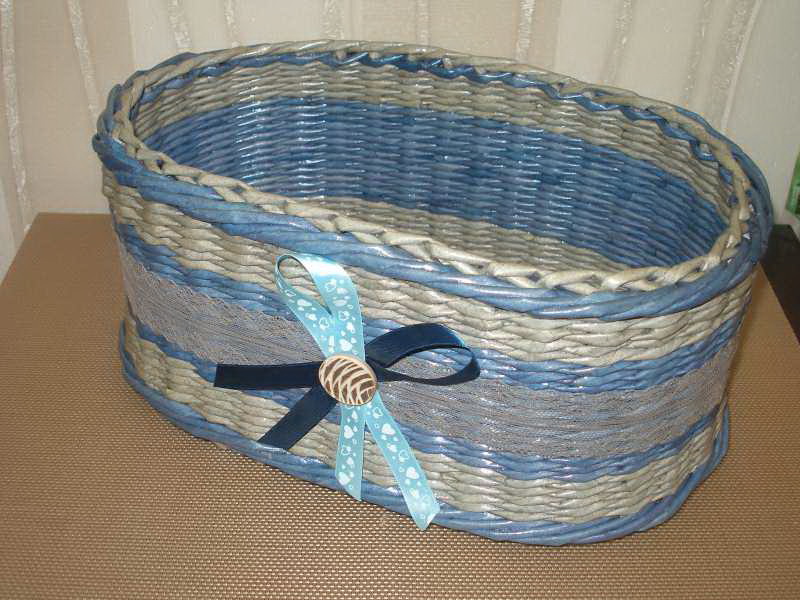
return to menu ↑Oval basket
The product of oval type is considered the second most popular after a round basket.. This form is more spacious and suggests using it as a casket, a packing box, or just for storing handy accessories. The product itself is decorated:
- flowers;
- tapes;
- threads;
- various textiles.
For work we need all the same materials:
- newspaper tubes of strips of size 11x28 cm;
- needle for winding;
- glue;
- stain;
- varnish;
- decor
The first step is traditionally considered the manufacture of the crosspiece: in a rectangular structure, it looks and is done differently. Since weaving of the rope into 2 tubes is used, then double twist strings must be passed through.
One of the most popular forms
The first two rows are woven one by one and two by tubes, the other nine rows are woven one by one. In the middle of the work, you need to add additional racks in a number equal to the number of main racks. After that, the transition is made to the side. Then the boards are woven, after 5 rows it is necessary to make holes for the tape - if you wish, you can not do them.
To make the holes even, they are leveled using thick cardboard. The rest of the product is wrapped in the usual method.
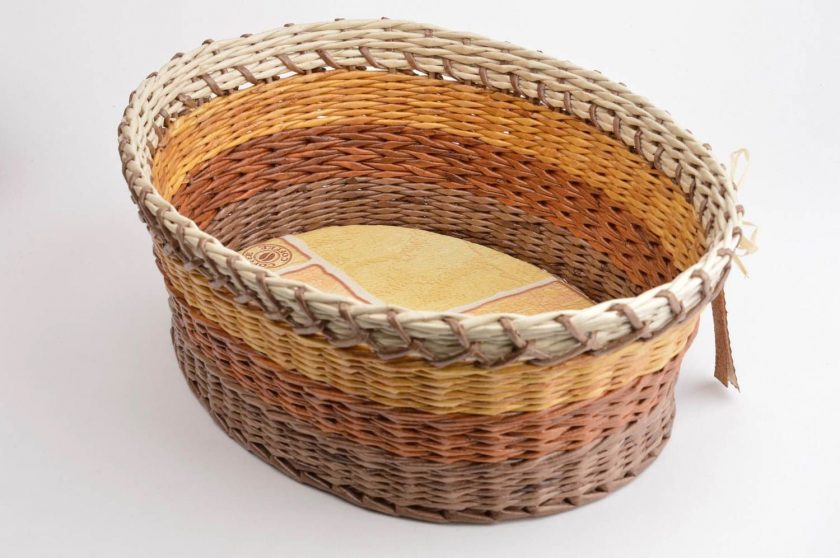
Fit into the kitchen interior
return to menu ↑
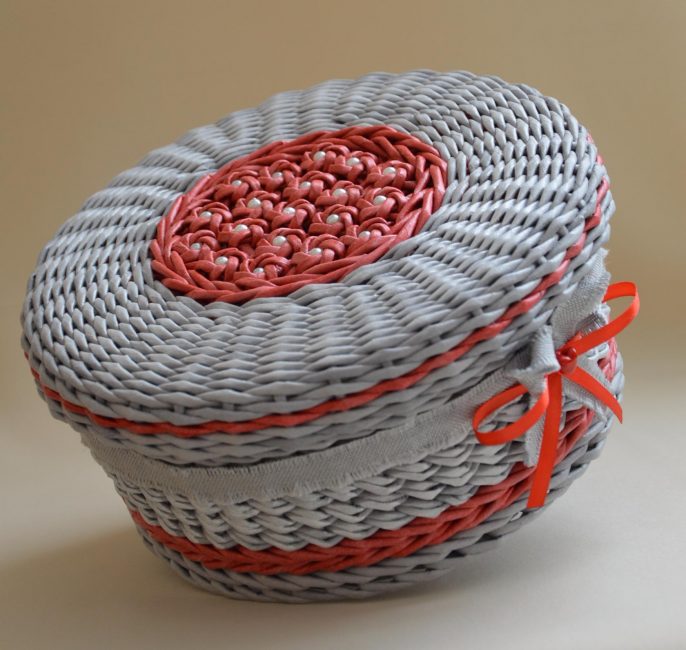
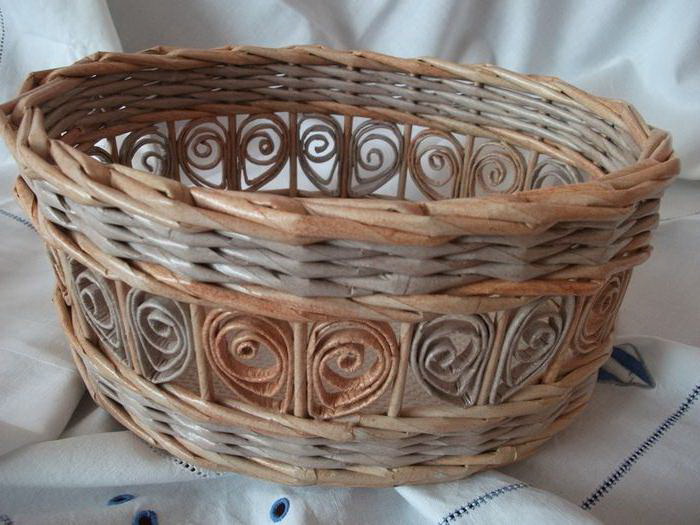
Openwork basket with your own hands
One of the most beautiful types of baskets is the openwork variety. To weave the product you can use complex techniques, creating smooth transitions from one pattern to another.
If the difficulties are not for us, then we recommend using the master class offered below, which will teach you how to easily and quickly make an openwork product..
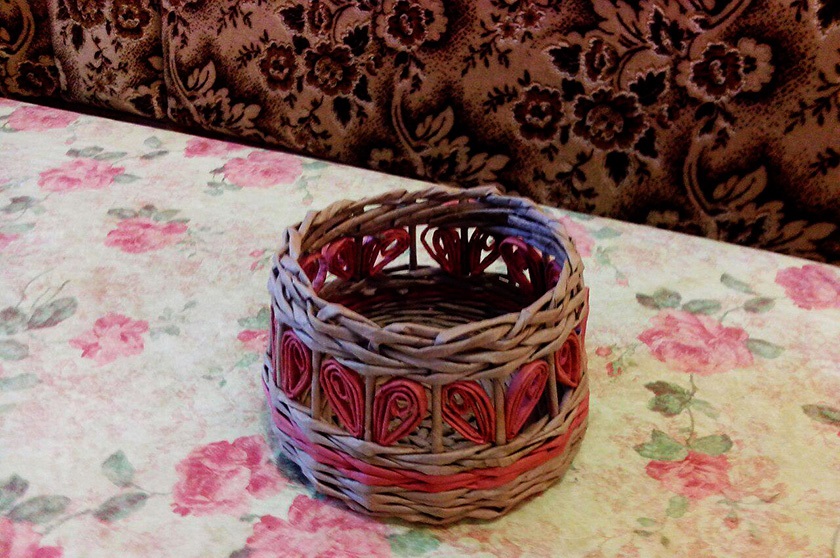
Openwork product
- Prepare materials: newspaper tubes will be needed - we already know how to weave them. The number of tubes depends on their length, as well as on the height of the basket and its diameter. For work, it is better to take 2 shades of sticks at once: one of them will be made with openwork patterns in the form of hearts.
- Getting down to making the bottom: it is woven the same way as in the master class on a round basket. Take 4 pairs of tubes and glue them to the cross, slipping the base in the middle with white glue. The first row of the bottom will be braided 2 tubes at a time, starting from the second row it is necessary to braid 1 stick each.
- According to this scheme all the bottom is woven until the desired size of the basket is formed. Then you need to raise the tubes up - you can do it manually or use a round dish for a more even rise.The weaving of the first two rows will occur on the technique of direct and inverse "herringbone", when the first tube comes in for the convolution, and the second is laid in front of it.
- After braiding the first two rows of sides, a wand of a different color is inserted. With its help, some more rows are braided, for example, 2 rows. Further, it is proposed to make an openwork pattern.
- You can make an openwork pattern of any shape, in this master class a heart is used. It is very easy to make: newspaper convolution is twisted in a spiral, forming an oval. Each twist is inserted into the hole of the basket, it turns out the heart: the top and bottom of the figure is glued with PVA to the supports.
- Further weaving continues: you need to make as many rows as you need to get the desired height. The ends of the tubes are trimmed, and the tails are hidden under other convolutions, everything is fixed with glue. The result is a graceful basket with openwork patterns.
. How to start and finish?")
. How to start and finish?")
. How to start and finish?")
. How to start and finish?")
Such a product will be a good gift for a loved one for Valentine's Day - there you can put a beautiful card and a chocolate bar. Also in such a basket is convenient to store sewing supplies and patches of cloth.
The original and romantic basket will be your favorite decor item in the nursery or bedroom.
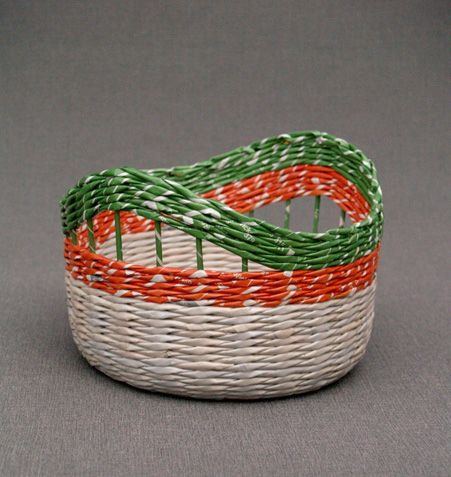
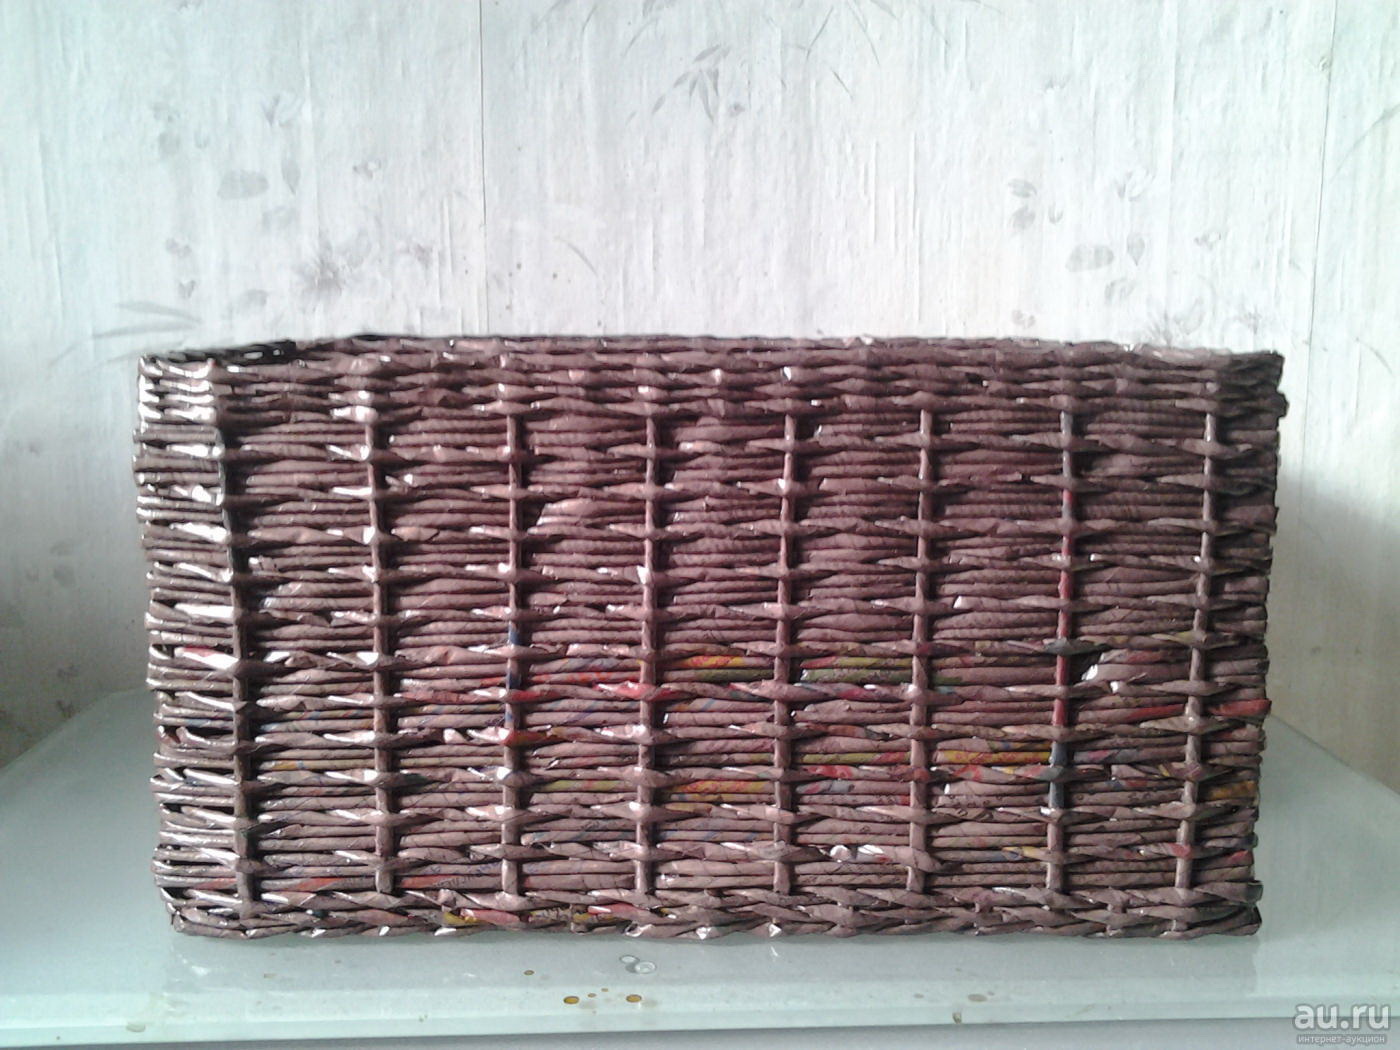
return to menu ↑Basket chess - weaving scheme
To get an original and stylish product from newspaper tubes, various weaving patterns are used. One of the simple but effective schemes is the "chess" method. Such a pattern can be obtained using rope weaving two flowers, as well as in the manufacture of a basket with holes, where the gaps alternate with filled squares.
The pattern on the photo is woven very simply:
- First, a rectangular bottom is made - it can be made according to the master classes above.
- After the transition to the raising of the sides, another 5-10 rows are woven, and then the chess weaving begins.
- For every two pillars, one newspaper tube is used, which weaves them alternately by layering.
. How to start and finish?")
. How to start and finish?")
. How to start and finish?")
. How to start and finish?")
. How to start and finish?")
Weaving baskets of newspaper tubes step by step for beginners (90 + Photo). How to start and finish?
Detailed workshop
Some needlewomen have come up with a great life hacking for durable and smooth weaving of the sides of the basket: after the transition was made to the rise and added new twigs for weaving, the upper beams can be fixed on the box with the help of clothespins. Thanks to this trick, weaving will not only become even, but the process will go much faster.
May be a gift for Valentine's Day


 - How to choose and put? Modern and beautiful options")