Crochet napkins: 130+ Photos of Simple and Beautiful Patterns for beginners. Learning to knit quickly and beautifully
Crochet napkins
In this article, I advise anyone interested in the assembly of embroidery patterns of unusually attractive crochet napkins, and in addition I will describe their techniques. For weaving napkins, you must have certain skills and be really professional in the use of knitting needles. This includes the elegance of the final product and refinement, which is an indicator of your skill, and learning the knitting technique is simple.
Content of this article:
Highlights
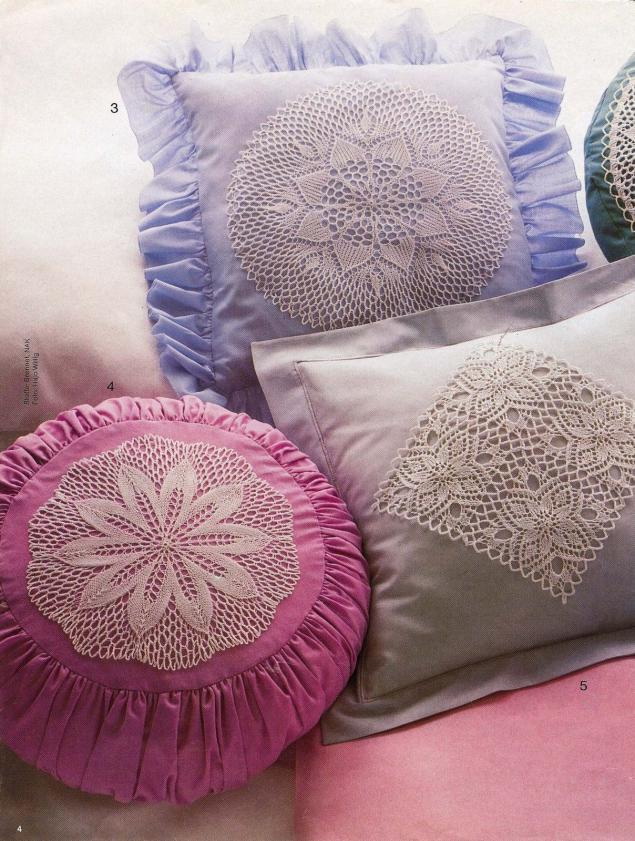
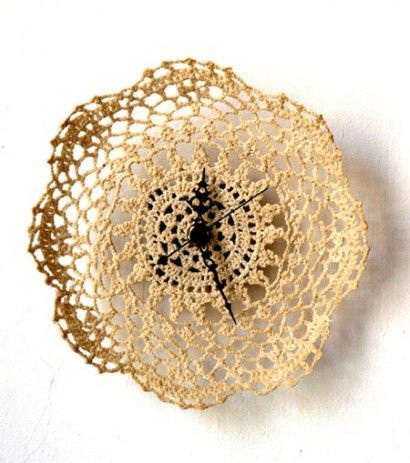
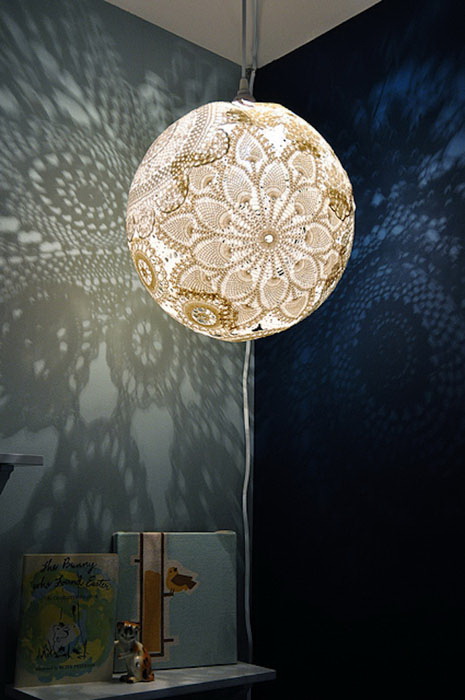
Knitting napkins are unusually light and their appearance resembles snowflakes from the personification of flight and airiness. Extensive use, due to several advantages:
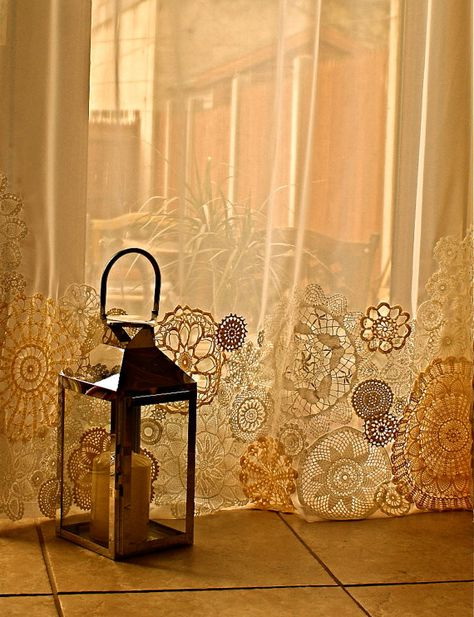
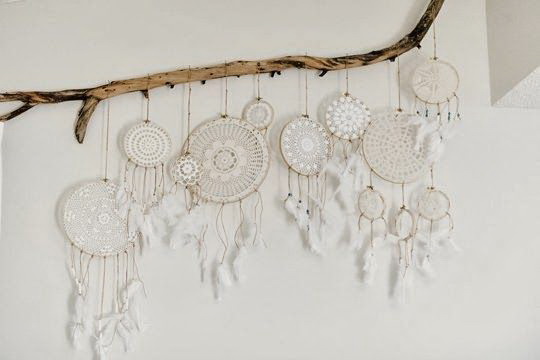
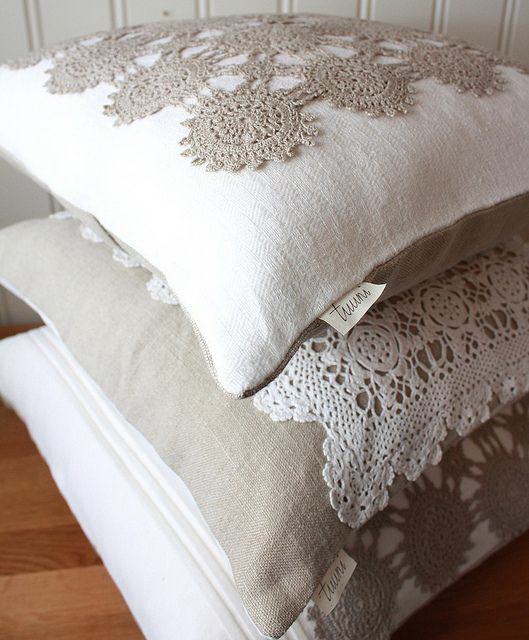
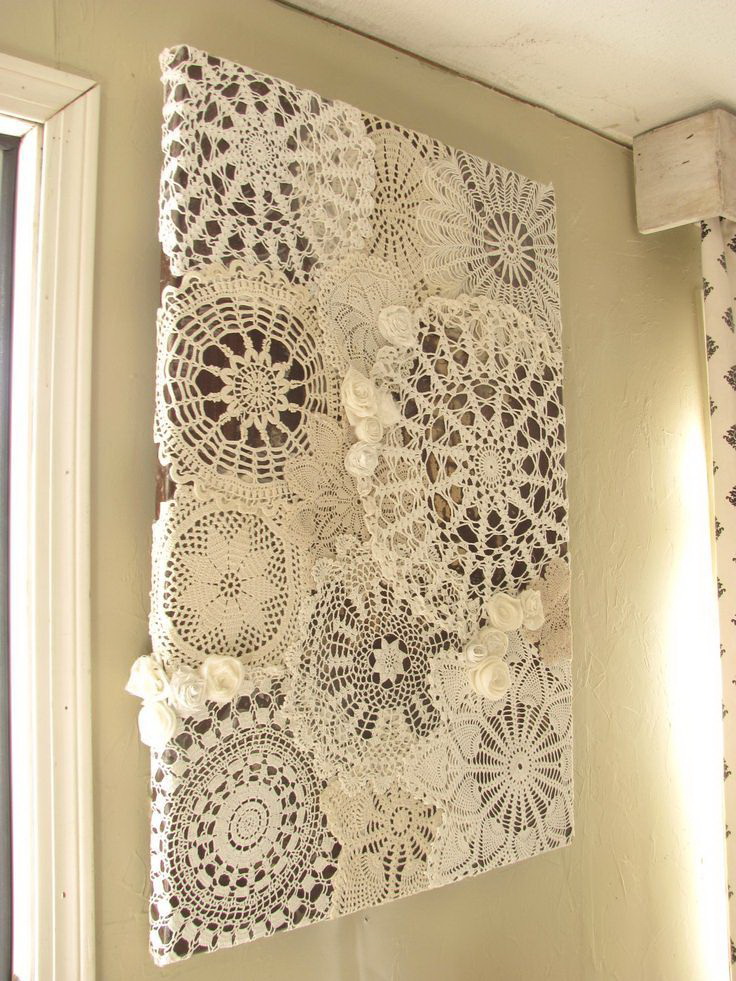
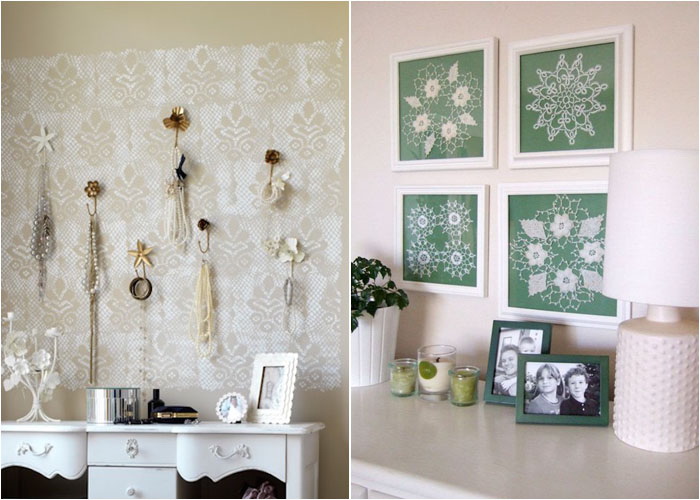
- perfectly decorate and complement the interior design;
- There is a feeling of comfort and family atmosphere unconditionally;
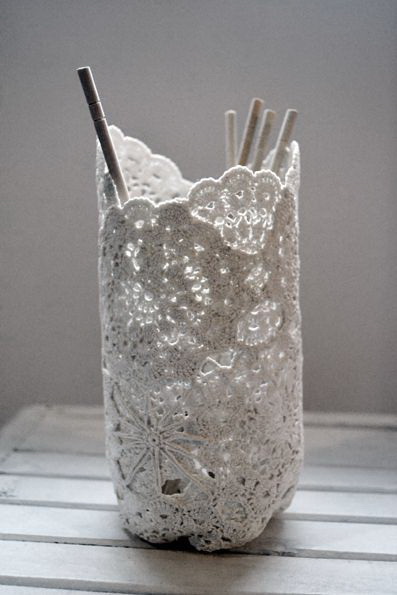
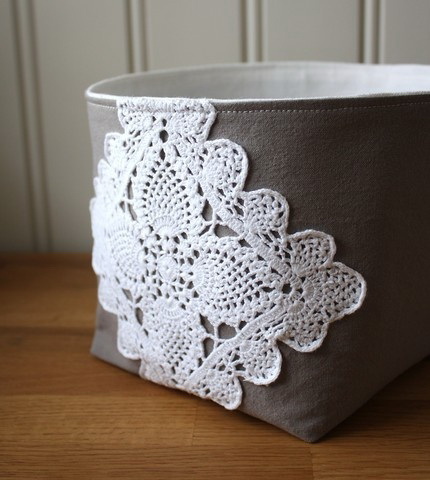
- This is a great base for expanding its activities due to the knitting of various components that make it possible to make a beautiful cover or decoration for worktops.
Crochet knitted napkins are an important item for an institution where comfort and warmth should always be present. Such associations should occur to anyone who agreed to the training of knitting with cr-m and knitting needles napkins.

Crochet napkins for comfort and warmth
In the future, they will be able to create similar decorations themselves in accordance with these arguments in the current modern manner, using the most extraordinary methods, and also be able to make napkins of one form or another, unusual configurations with drawings and the most detailed patterned elements. This can be done only in the case of rigid miniatures of directions and the present ability to weave threads.
Experienced needlewomen work on napkins for a long time, but other users will be able to learn this skill in the same way. Knitting patterns will attract absolutely everyone, and the product will always be in demand for regular customers.
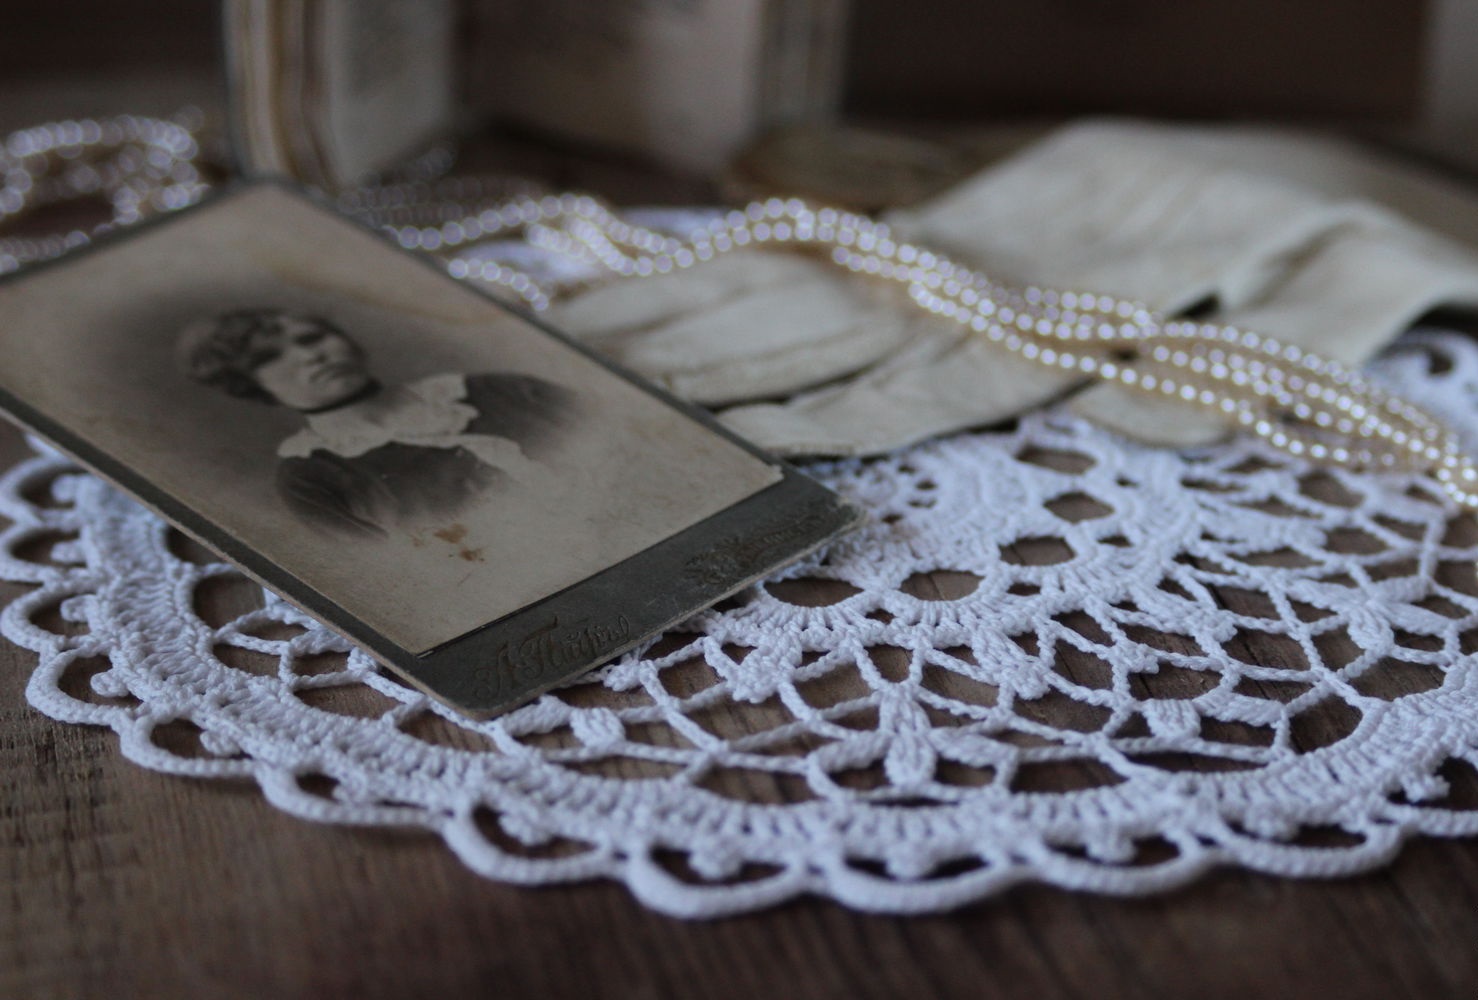
Cozy decor
2 knitting methods:
- thin;
- ring
In the elementary knitting of cr-m, there is a direct movement in the first place and vice versa with a turn to complete any order and make canopies. At the same time, areas are not formed by fixing the thread at the end of any order. In the circular knitting of a product or a tubular shape in the absence of a stitch, they are bound.
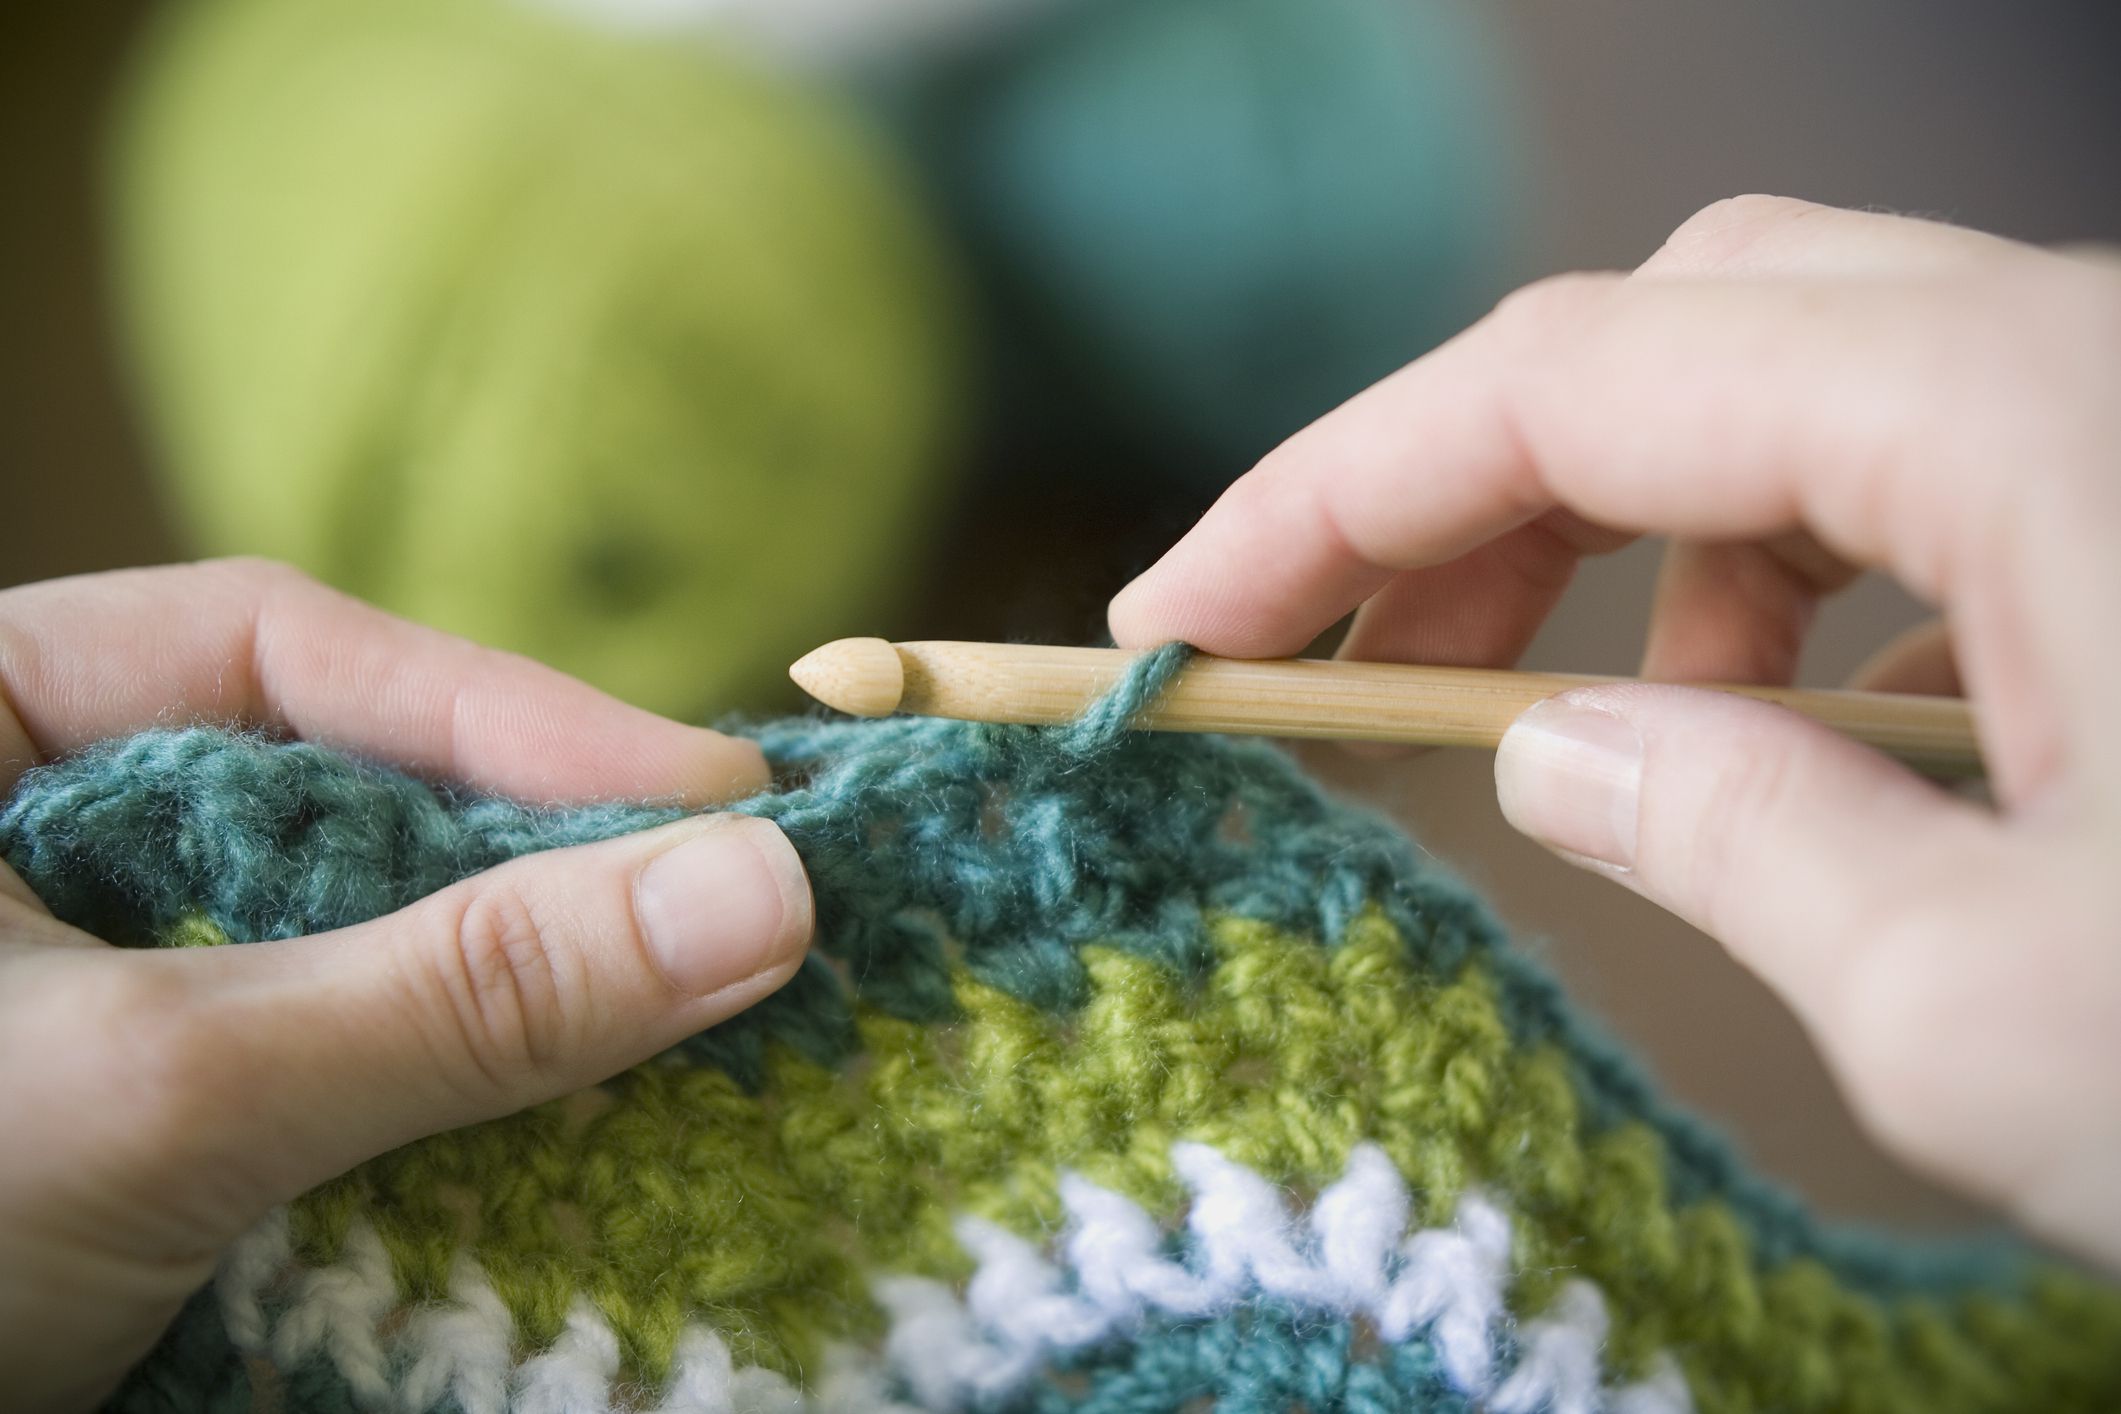
Crochet - hard work
When knitting, the thread is guided by the index finger on the left side. The hook is held in the left hand by the huge and index fingers. The thread is piled on a hook, stretched into an independent loop, and stretched by means of it.
The main types of sheds in knitting cr-m:
- weightless;
- semi-column;
- column in the absence of a nakida or columns with them.
Types of napkins
return to menu ↑Beautiful and simple napkin cr-m for the table
Surprisingly, this product will be a good platform for training novice professionals, and is also a pedestal for pros. In the process itself, it will be possible to learn the craft in this way and create masterpieces, having already got the hang of it. For example, for beginners, not very large wipes will fit for the purpose of their training.
Suppose the fact that the interest in knitting this product makes it possible to lure a lot of inexperienced users. Also, those wishing to make their first napkin should focus their interest on the fact that the product also has a different configuration. Here it is possible to note traditional whole napkins with lace along the edges.
Option for beginners
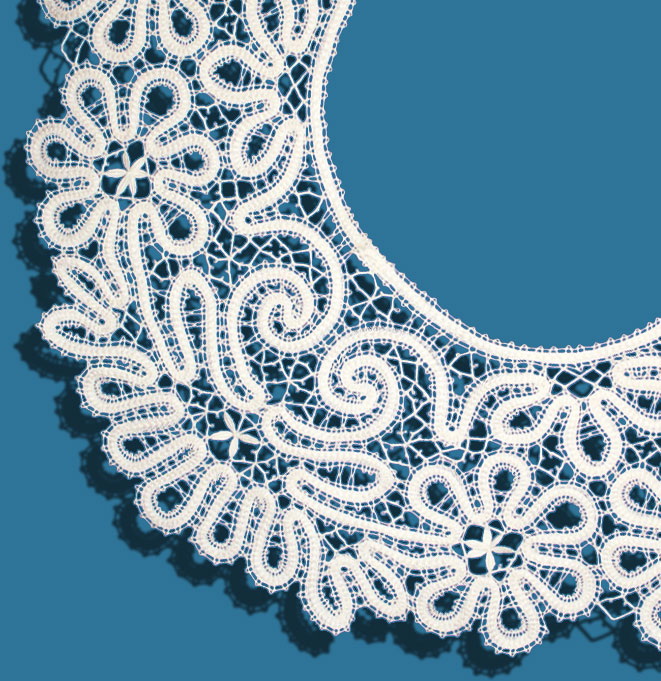
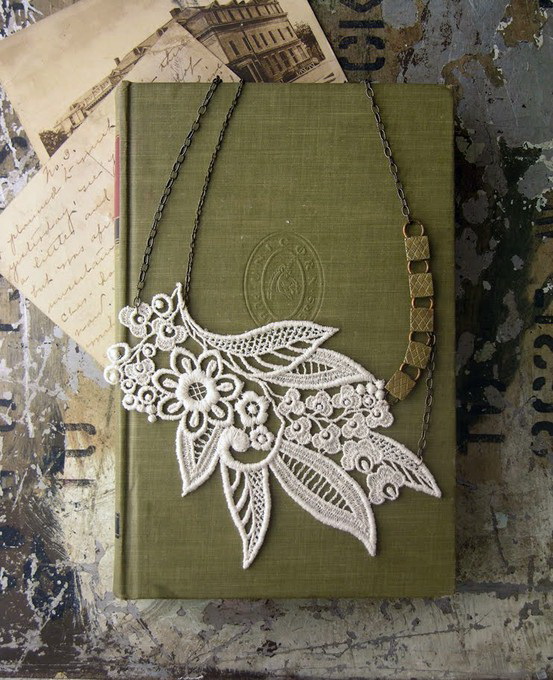
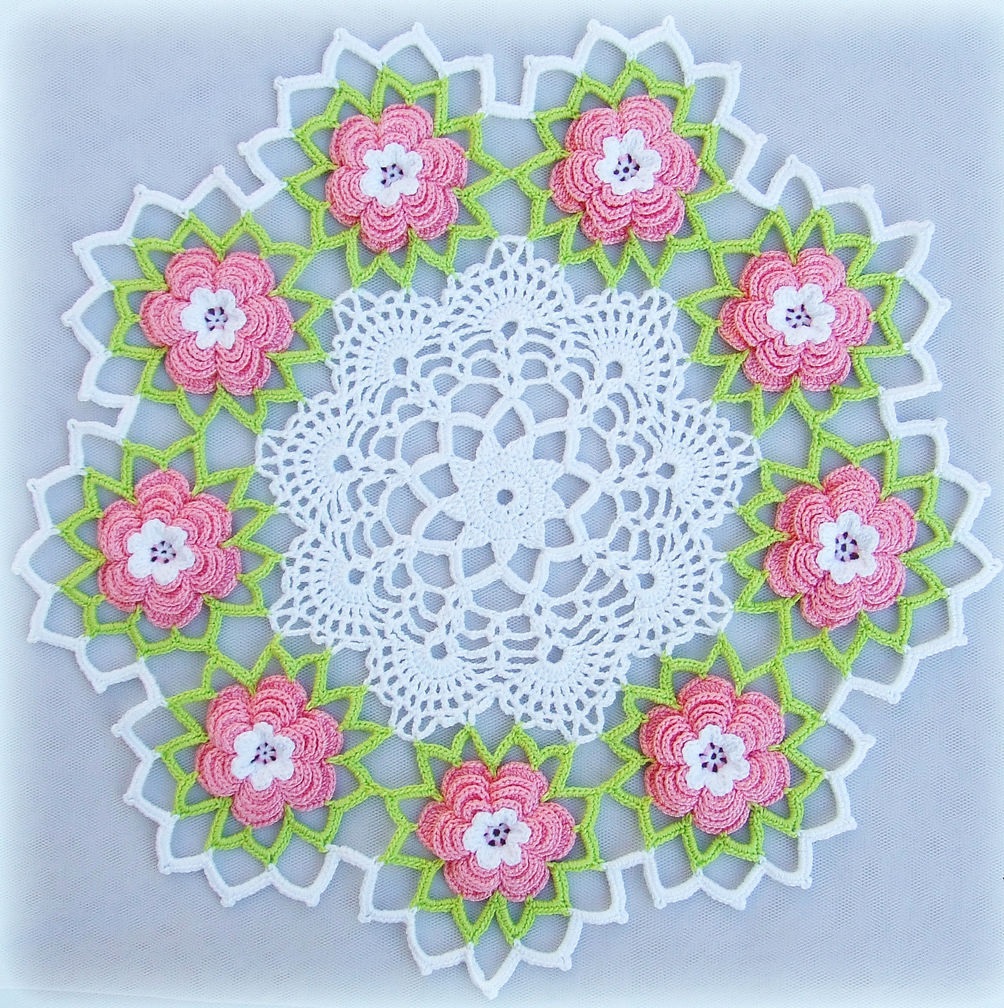
Lace, with floral patterns
The knitting skill is also refined by the fact that in various simple napkins various sheds are used:
- semi-columns;
- light loops;
- bollards with capes.
All this helps to get a good experience in the process of the activity itself. For example, such patterns are used to decorate the openwork napkin.
Lace, with floral patterns
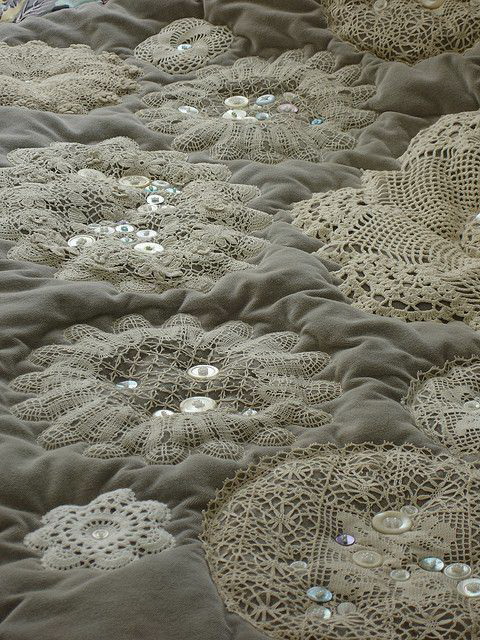
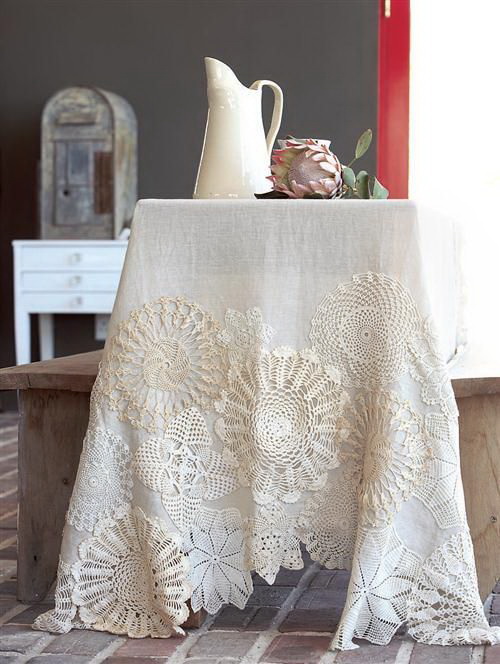
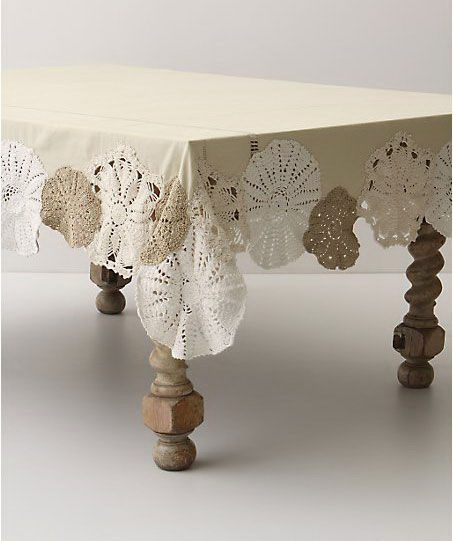
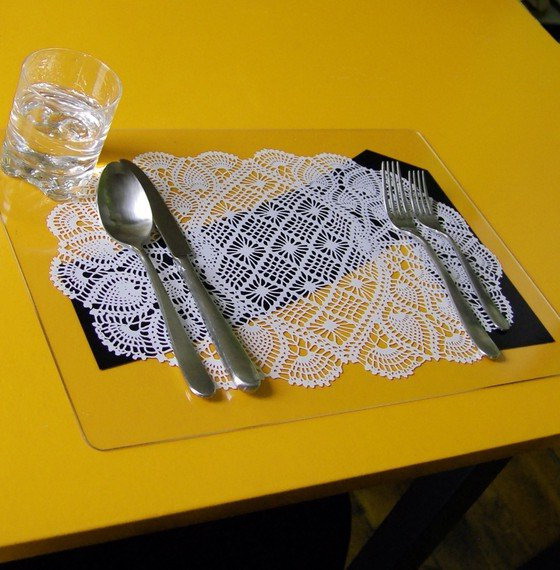
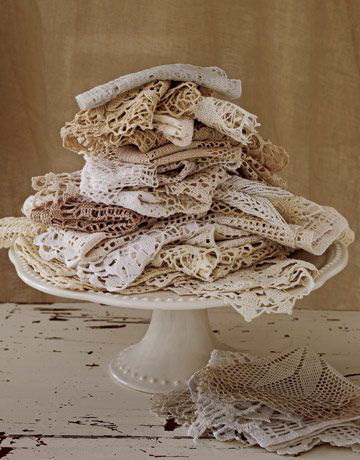
Cloth from napkins cr
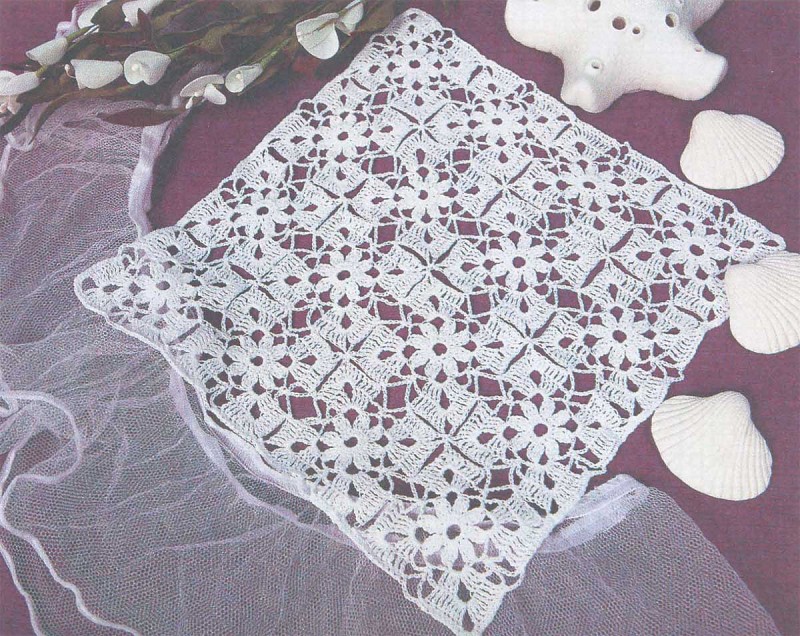
Elegant square napkin able to transform into quite significant countertop for covering of the table. The superiority of the squares in this is indisputable, it is possible to group them and in the final result to combine them into a huge foundation.
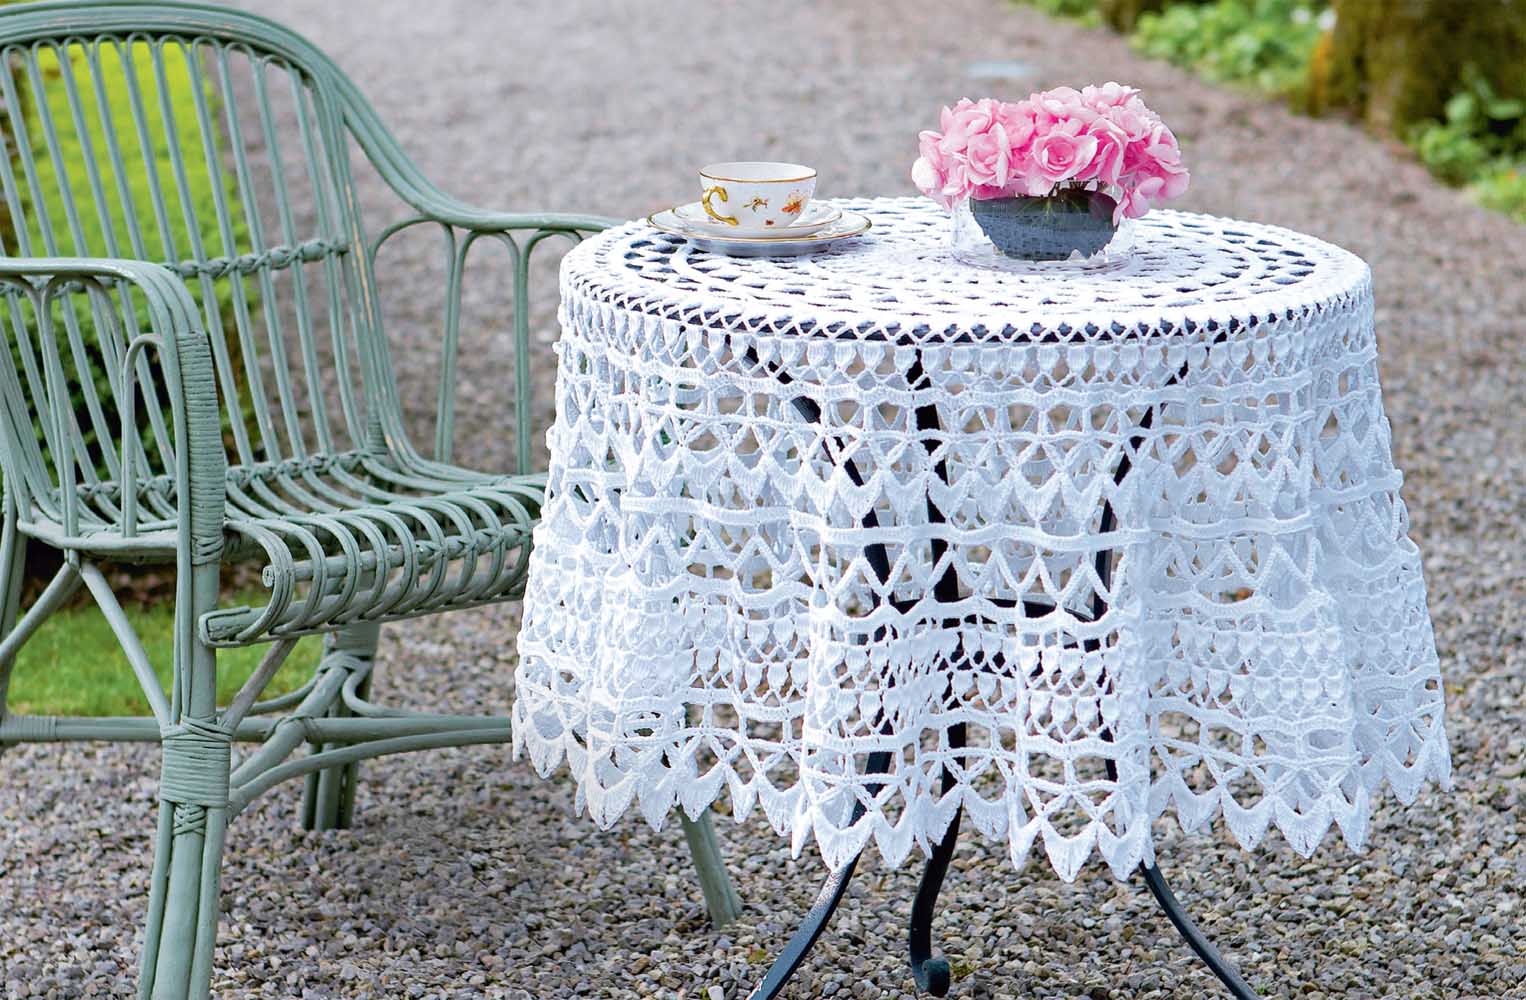
Knitted tablecloth
Detailed charts and beginners guide
Let us begin the study of alternatives for knitting the cr-m of these light products, the main quality is the preservation of comfort in the dwelling, and the schemes and detailed displays of activity will significantly simplify our task.
Weaving napkins cr-m beginners absolutely open. In order to learn faster, you need to choose a number of simple alternatives for knitting with the purpose of the foundation. Let's start with the usual knitting patterns, then you can go to the most difficult, but not less fascinating.
Knitted napkin pattern
For the purpose of the base, of course, it is necessary to choose an ornament around which further knitting will take place. Of course, at first it is not at all necessary to select very difficult forms, although they look extremely elegant. If suddenly something fails, you will quickly lose interest and simply quit the weaving at the initial stage. For this reason, the hands still need to be trained, and therefore it is necessary to choose an elementary knitting scheme.
Before you start


Thus, it is necessary to combine a number of light canopies. Usually their number varies, depending on your aspiration and the selected pattern.When the ornament of the napkin is very pleasant and light, knit about 8 light canopies. In case the full image is highly compacted, it will be sufficient to make gaps from 5 canopies.
Then you need to combine the main and final loop in the column. Perform this is necessary with the presence of support semi-columns. With their support in the following series, the base of the system is combined with its end, and all the components of the napkin, which must be joined.


We do everything step by step and slowly:
- Attaches the 1st row. In it we observe the sequence of three light loops. Then it is necessary to wrap it in columns in the absence of a single ring over the ring, which is better to make from simple canopies.
- Go to the second knitting order. We tie 5 light canopies. Then you need gaps of 2 columns with n-ohm, while doing this from the half-column, which we had in the past ranks. Then we stick a column with n-ohm, then 2 light loops.
When we knit the prescribed number of awnings, we switch to the scheme of the chosen napkin. But there may be problems with the fact that absolutely in all schemes the decryption or the source to the scheme informs. For this reason, you will need to decrypt the relative droppings, which you will learn about later.
return to menu ↑Simple
Where do you need to start knitting napkins cr-m, which means the ingenuous weaving loops of yarns, which will help you quickly get used to and switch to the most difficult and exciting schemes.
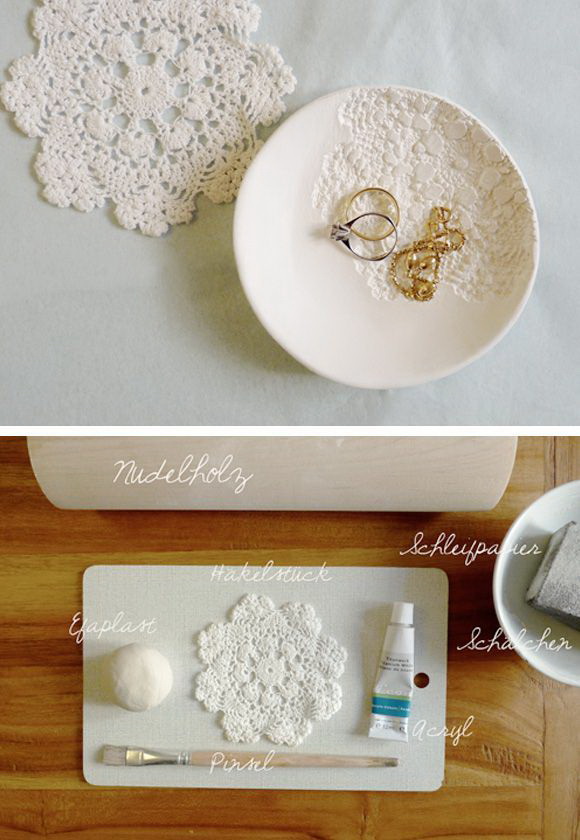
Preparation: For a start, you need a yarn of optimum tone of 50 g 160 m. And a hook 2.
Note: The following abbreviations are important in the text: StbN is a column in the absence of a nakida, StbSN is a double crochet column, SST is a docking column, VP is a weightless ear, StbSN is a semi-double crochet. After preliminary preparation, you can proceed to knitting.
Simple knitting
Beautiful and simple napkin cr-m for the table
Simple scheme:
We collect a chain with 8P, combine it into a ringlet and perform as follows.
- We do several: 1 VP, 16 StbN, SST. First, knitting poles are replaced in the proper amount: VP, 1P StbSN, 5 VP x 8.
- We produce several weaves near the arch with 5 VP. SST, 5 StbSN, 2 VP x 8, SST; 4 We collect the next 5 pieces of the past system and attach them: 2 StbSN, 3 StbSN, 2 StbSN, 2 VP x 8, SST;
- We omit the 2nd and 6th column, stick 5 StbSN, 3 VP, about 2 VP - 1 StbSN, 2 VP, 1 StbSN x 8 SST. Near the arch, to all without exception VP, we attach 1 StbSN, 2 VP, 1 StbSN, 3 VP SST;
- We start attaching the SST near the arch and attach 1 StbSN, 3 VP, 1 StbSN, 3 VP, lose 1 arch and repeat the weaving. We end with several 1 VP, 1 ПStbSN. Next, do a few more StbN near the arch and 5 StbSN near the next, SST. We cut the thread and do not forget to fix.
Yarn "Sunny Lace"
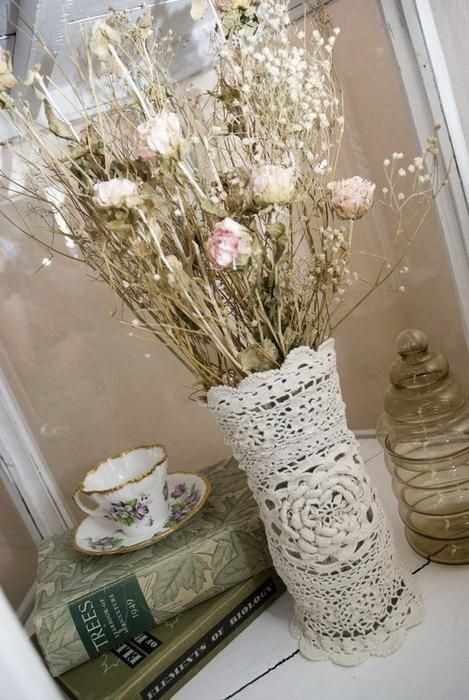
This napkin under the vases. Its caliber is within 12.5 cm. In order to knit this napkin we need the Zhonkil yarn 100g of 395m mercerized fabric and a hook 2.
Sunny lace
Note: SSN - ST-IC with one nakida, VP - weightless ear, SP - mounting ear, Picot - 3 VP, combined, SBN - column in the absence of a nakida.
- In the area of 3 VP we attach 15 SSN to the third VP. 2 5 VP, 1SSN merge into SSN system (PR), 2 VP merge into 3rd VP. 3 1SP to 4th VP, 3 VP and 3SSN are attached with a single tip to the PR arch, 4 VP, 4-SSN tips to the PR arch, 4 VP, VP are merged into the third;
- 1 VP, 1SBN in a single top, 5SSN in the arch of the last system, 1SBN in a single vertex, merge into SBN; 5 3 VP, 3 VP, 1SBN in the 3rd SSN of the last order, 3 VP, 1SSN in the SBN of the last row, form into the 3rd VP; 6 2SP 4-5 VP, 1SBN arch, 5 VP, merge into SBN; 7 4SP, 1SBN arch, 5 VP, merge into SBN; 8 4SP, 1SBN in the arch, 3 VP, 2SSN, pin and 2SSN in the arch, 3 VP, merge into SBN.
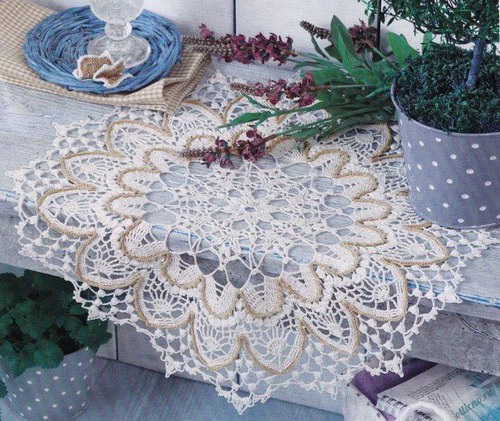
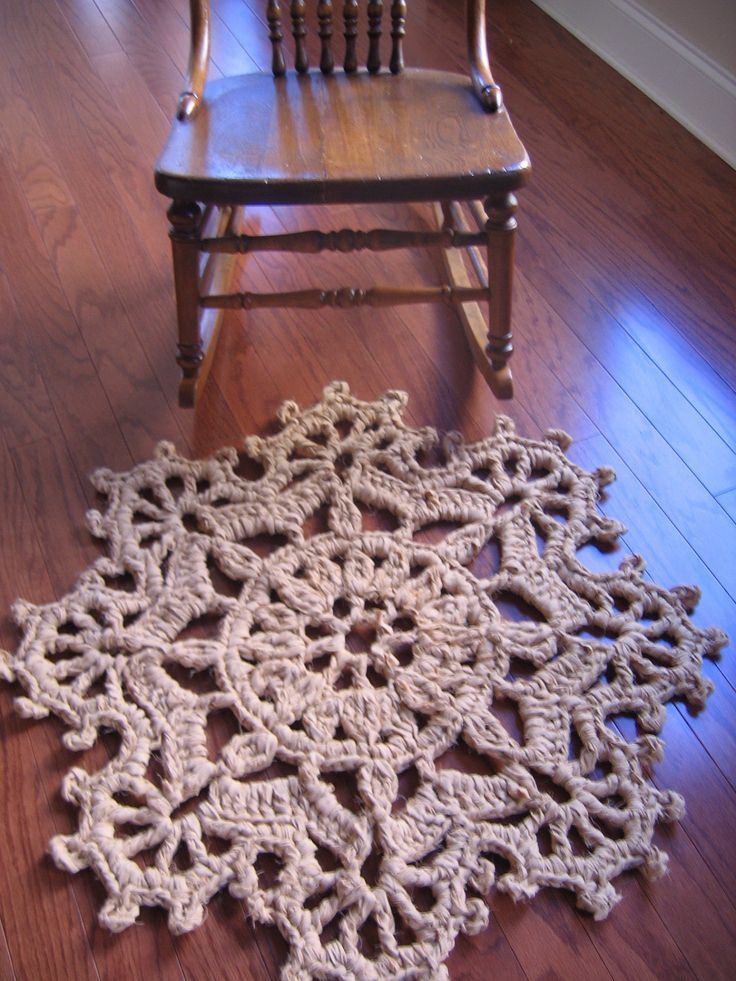
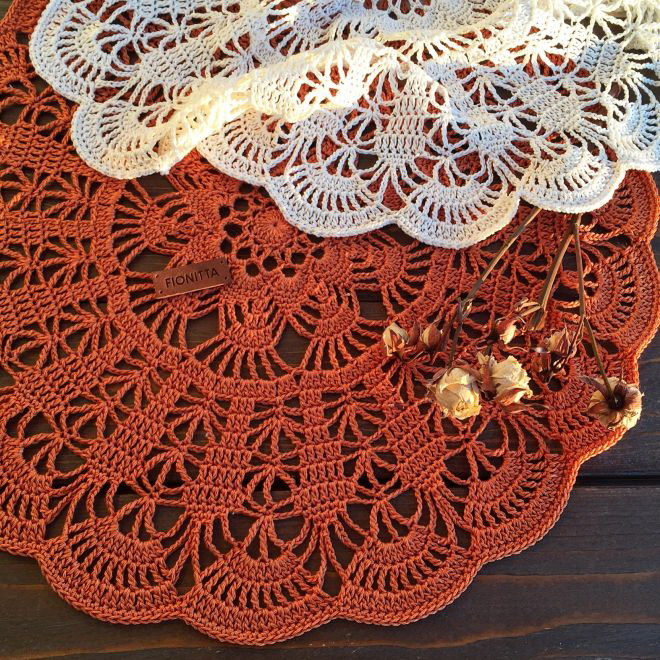
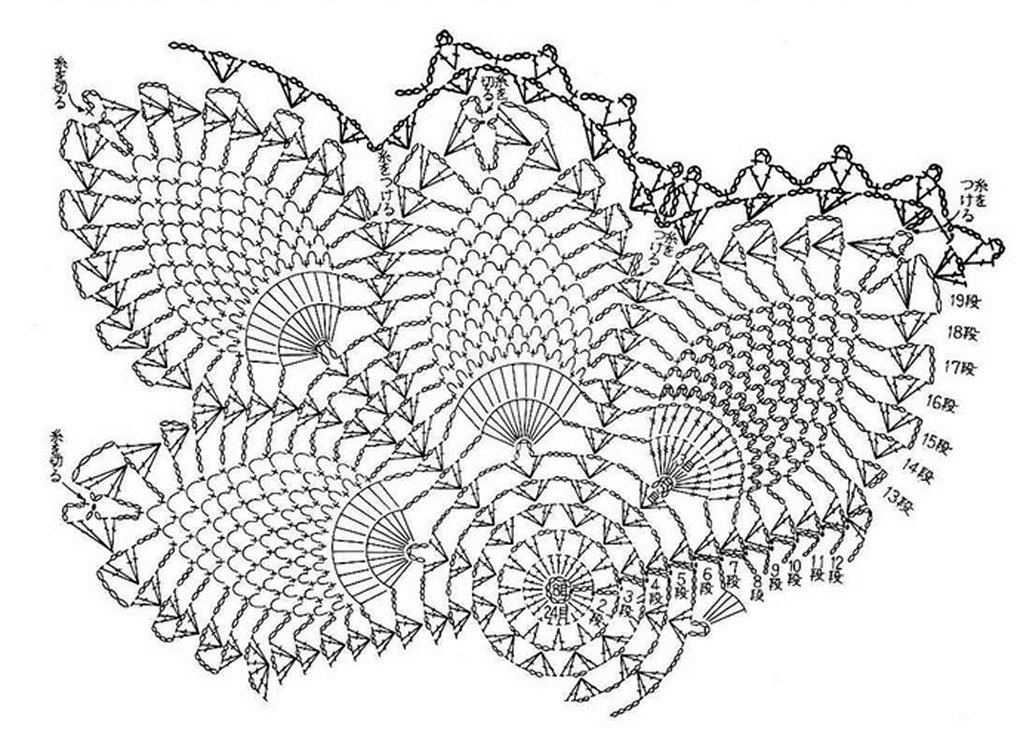
Oval
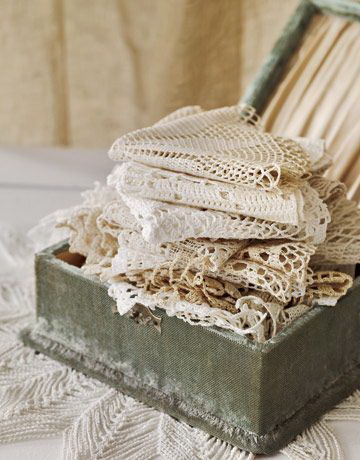
Such napkins are always comfortable and warm, like old houses. Earlier in everyday life there were several napkins of a rounded figure, which were transmitted through the pedigree to this day. Now it’s time to learn how to weave similar homemade napkins.
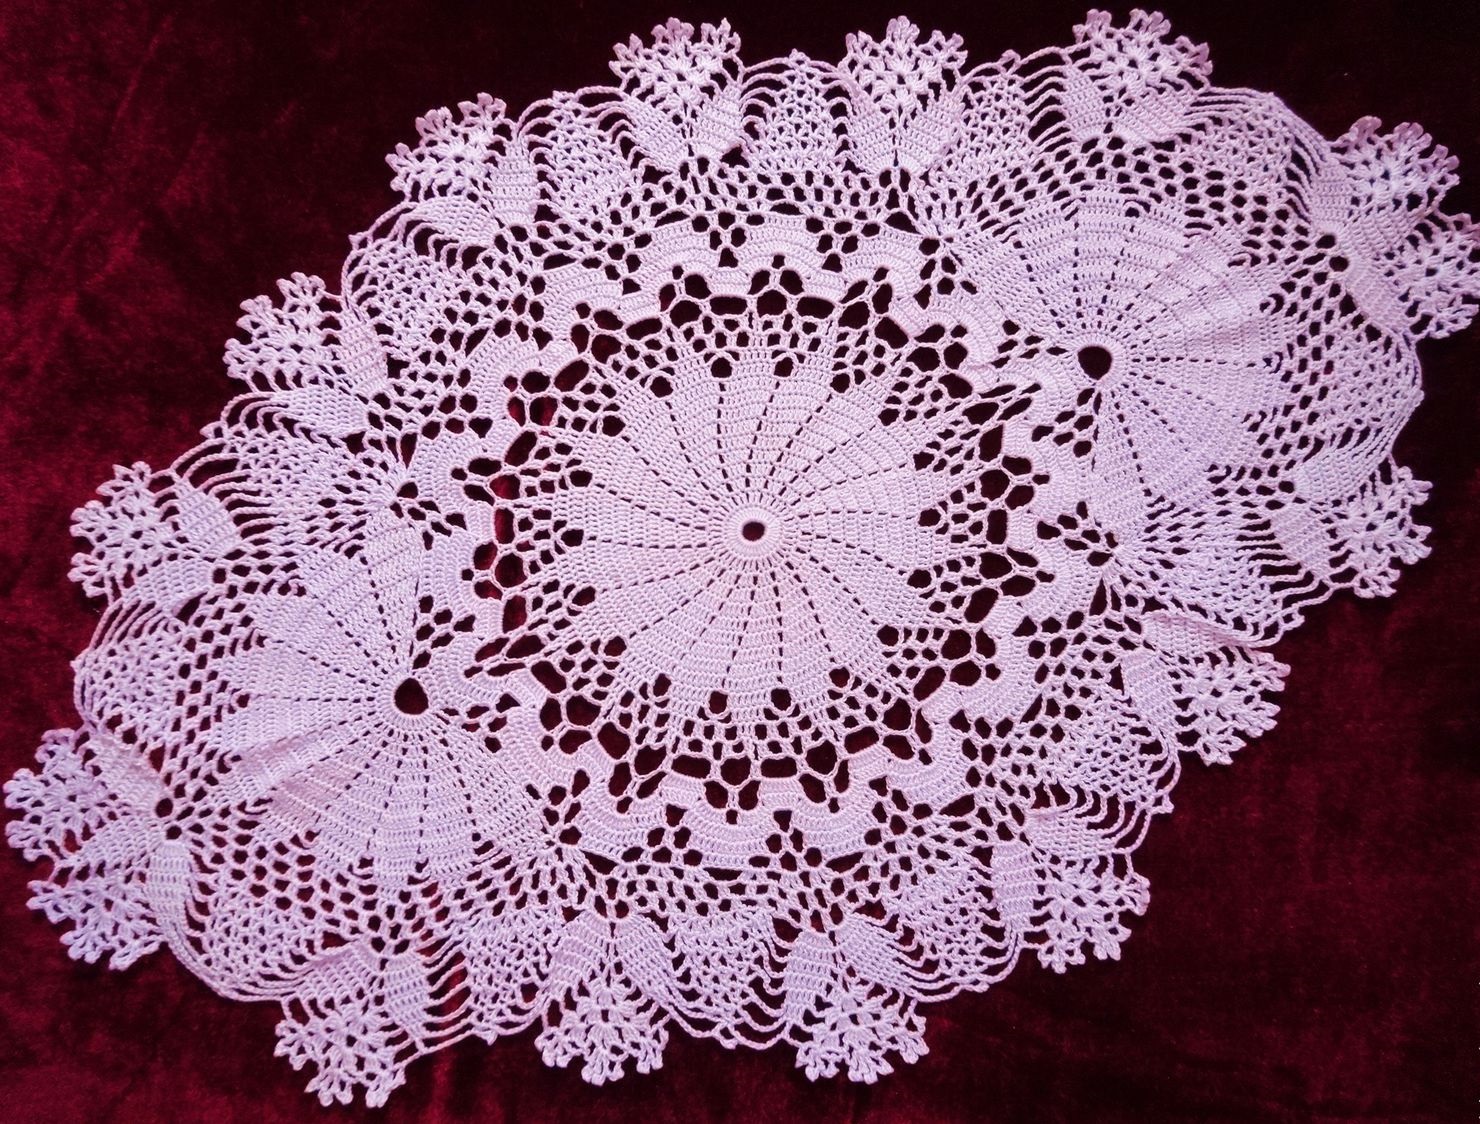
Oval option
A rounded napkin of cr-m with diagrams and a display will undoubtedly help you create and present a wonderful present to your loved ones, who will appreciate your gift with nostalgia.
The size of our napkin is 24 cm. To organize weaving, you need a Hebesh snow-white yarn 50 g 208 m and a hook 1.5.
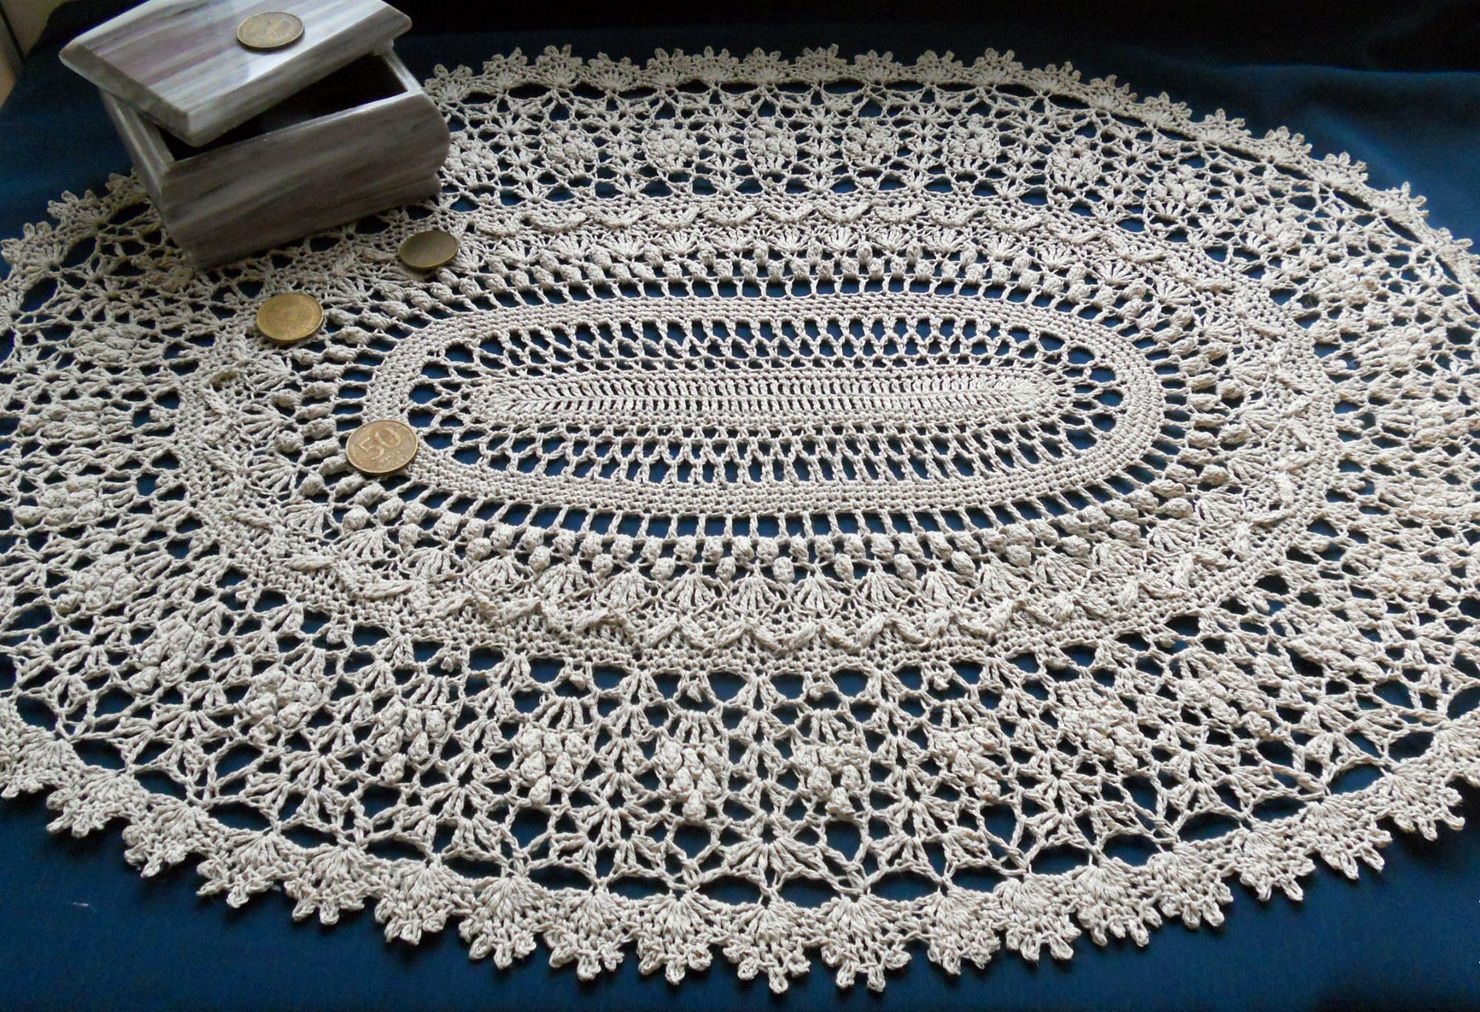
More standard oval version
Lace, with floral patterns
In order to expand the chain with 8 VP and close it with 1 SST in the ring.Then pester the ring lines and combine 4 sockets between themselves in the extreme ranks. Add a string of arrows near the outlets with circular lines.
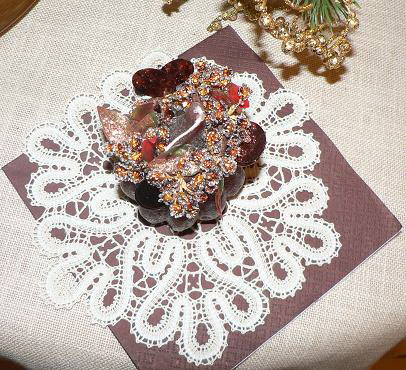
Figured napkin
The traditional way of knitting curly napkin:
- To weave this product, you need a yarn of red and azure yarn fabric 25 g 150 m and snow-white thread 100 g 400 m, hook 1.15.
- Take 45 light canopies, then make a column with a chain of ten loops and attach the cr-m 5 VP and st.b / n to the 6th loop of the chain.
- Link a docking column at the end of the first order. In any arochka there is a column in the absence of n-yes, a half-column, 3 columns with a n-th, a half-k, and again a column in the absence of a nakida. Mixed with these components, pester 2 VP. Tying the outer side, tie a ring with 8 VP, without ceasing to twist the upper lobe.
- In the end of the building SP, use 4 VP and a column with 3 cases in VP of the 1st order. The result should be a figure ring. 3 In the 3rd line we knit arches with 5 or 6 VP.
- Then, we make 2 building arches and a grid with 3 VP. 5 In the 6th line, alternate the chains with 5 VP and the columns in the absence of a nakida in the center of the arches of the previous system. 6 Fasten 5 columns in any arch with na-th, dividing their VP.
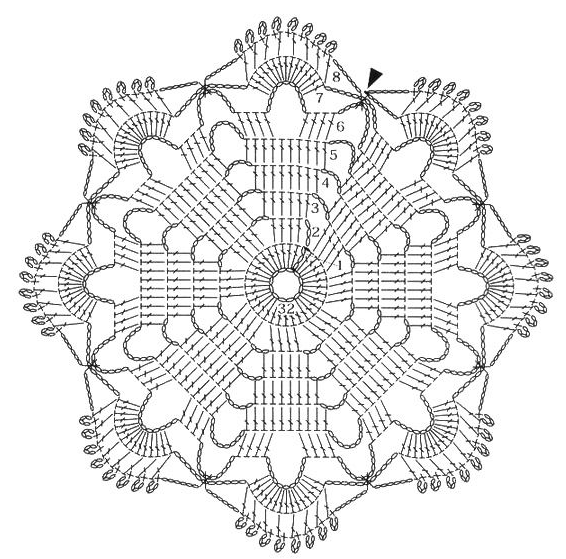
- We weave 4 building arches with VP. Rally a few more stations with the n-th, broken VP. We form 3 systems according to 7 VP. Getting to knitting with red thread. In the diagram, the role of the basis of this system is marked by a red triangle. Attach the arch with 7 VP, then Art. B / n and twirl.
- We tie 14 st.b / n in this arochka, in the opposite side. Twirl again. We attach 3 VP, 2 VP, Art. Repeat steps 1-7 one more time and do not stop weaving according to the pattern.
If you start to attach the subsequent component instead of 3 VP, then knit 3 assembly columns, wrap them, and do not cease weaving the napkin according to the diagram. Finishing this product, SPlot 4 VP and connect the column.
Now tie with azure thread. Increase the number of VP c-ews. In the extreme order, we form any aroch of 3 VP, 3 columns with a n-th and a single tip, a pin with 5 VP, 3 VP.
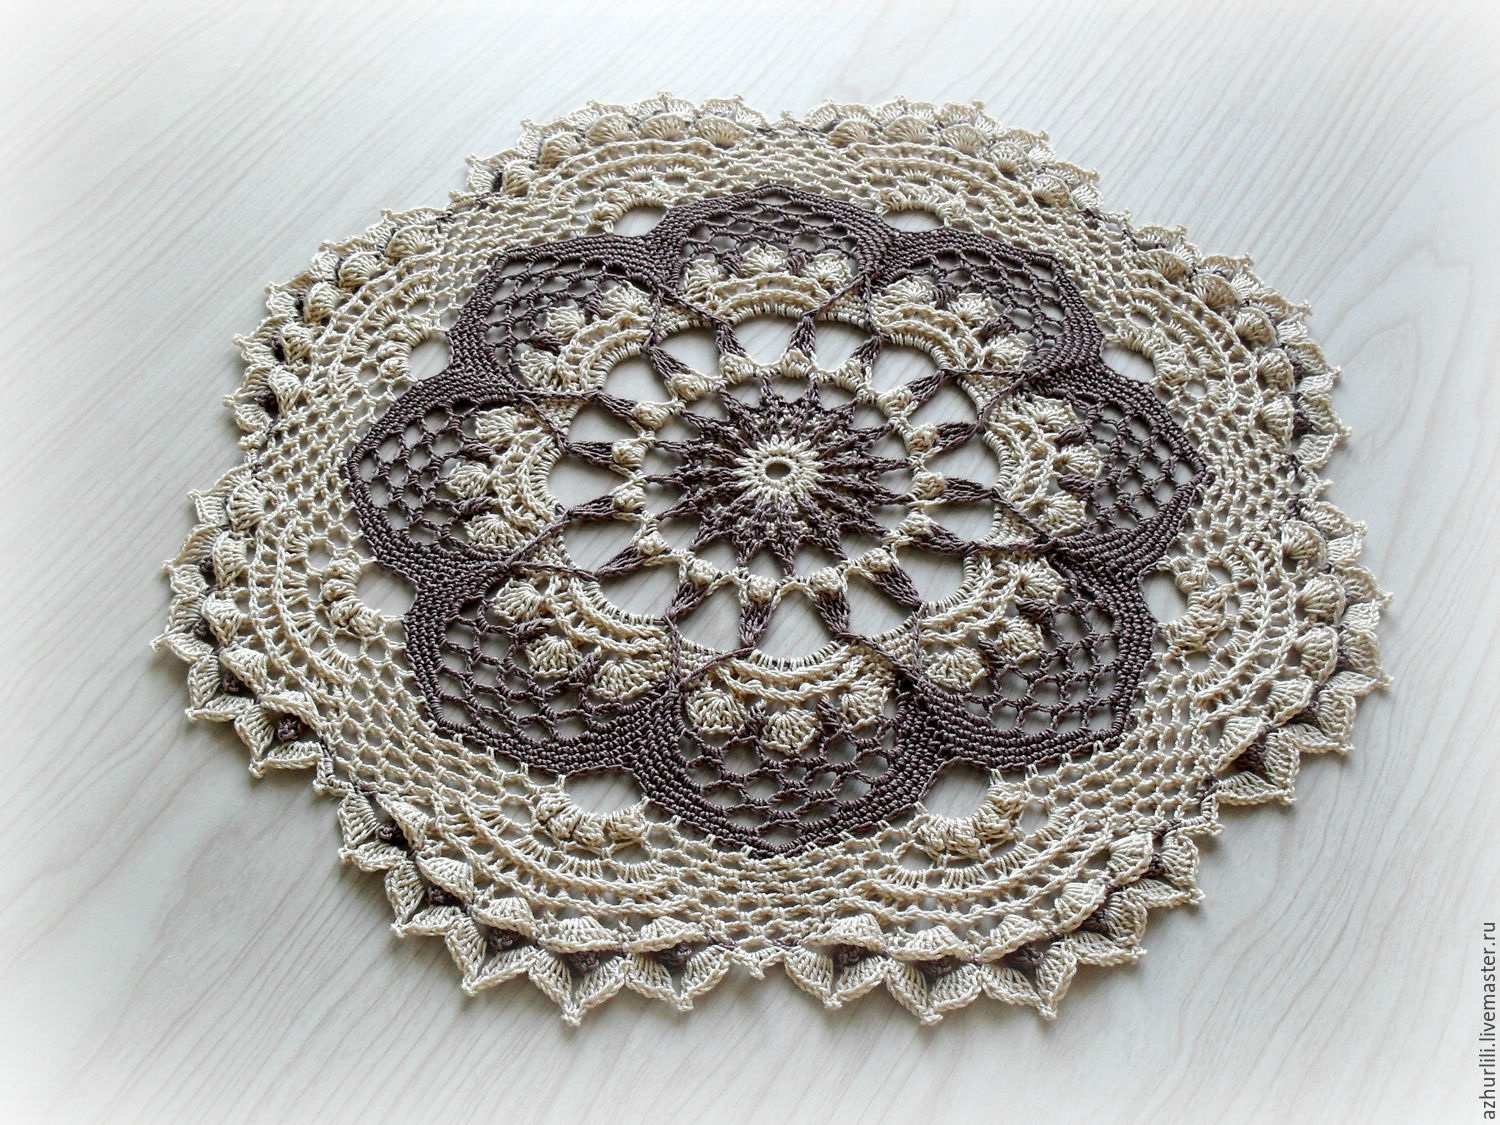
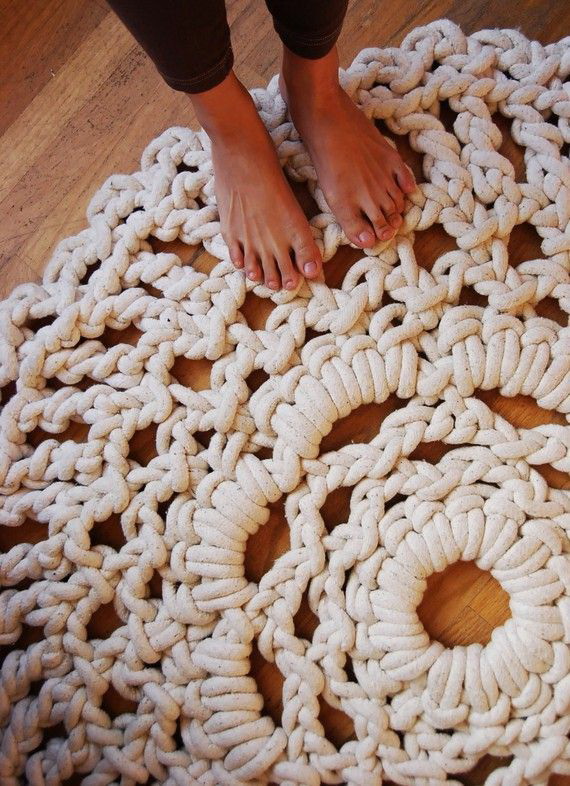
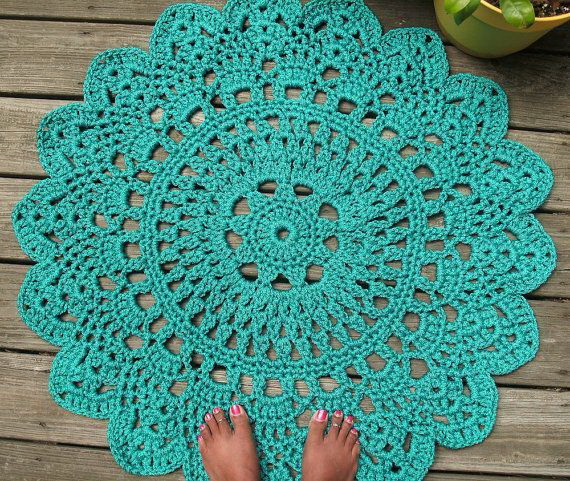
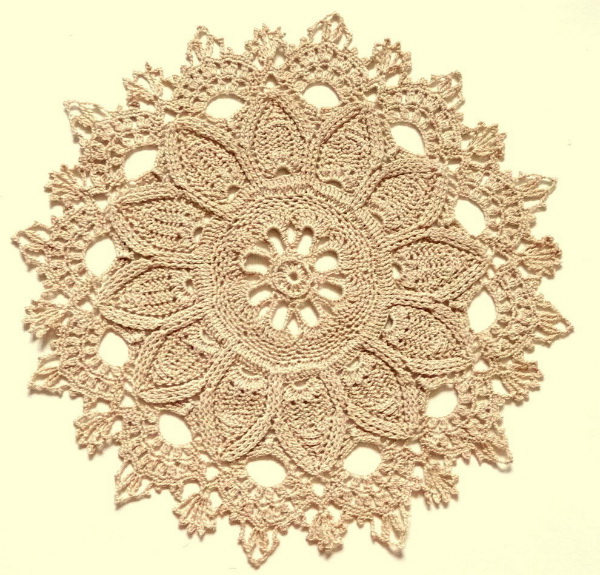
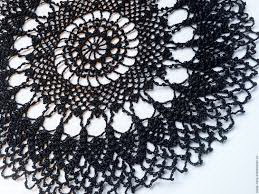
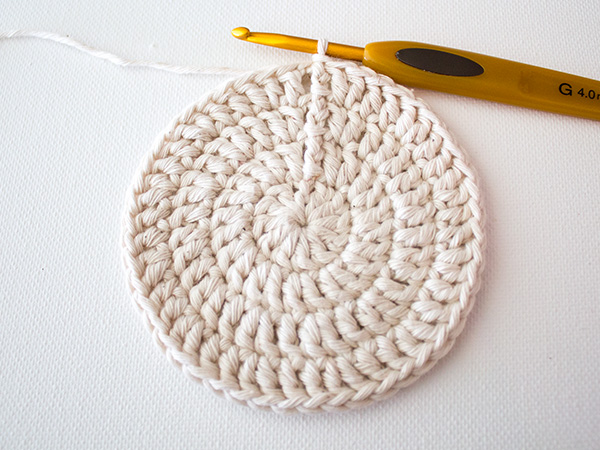
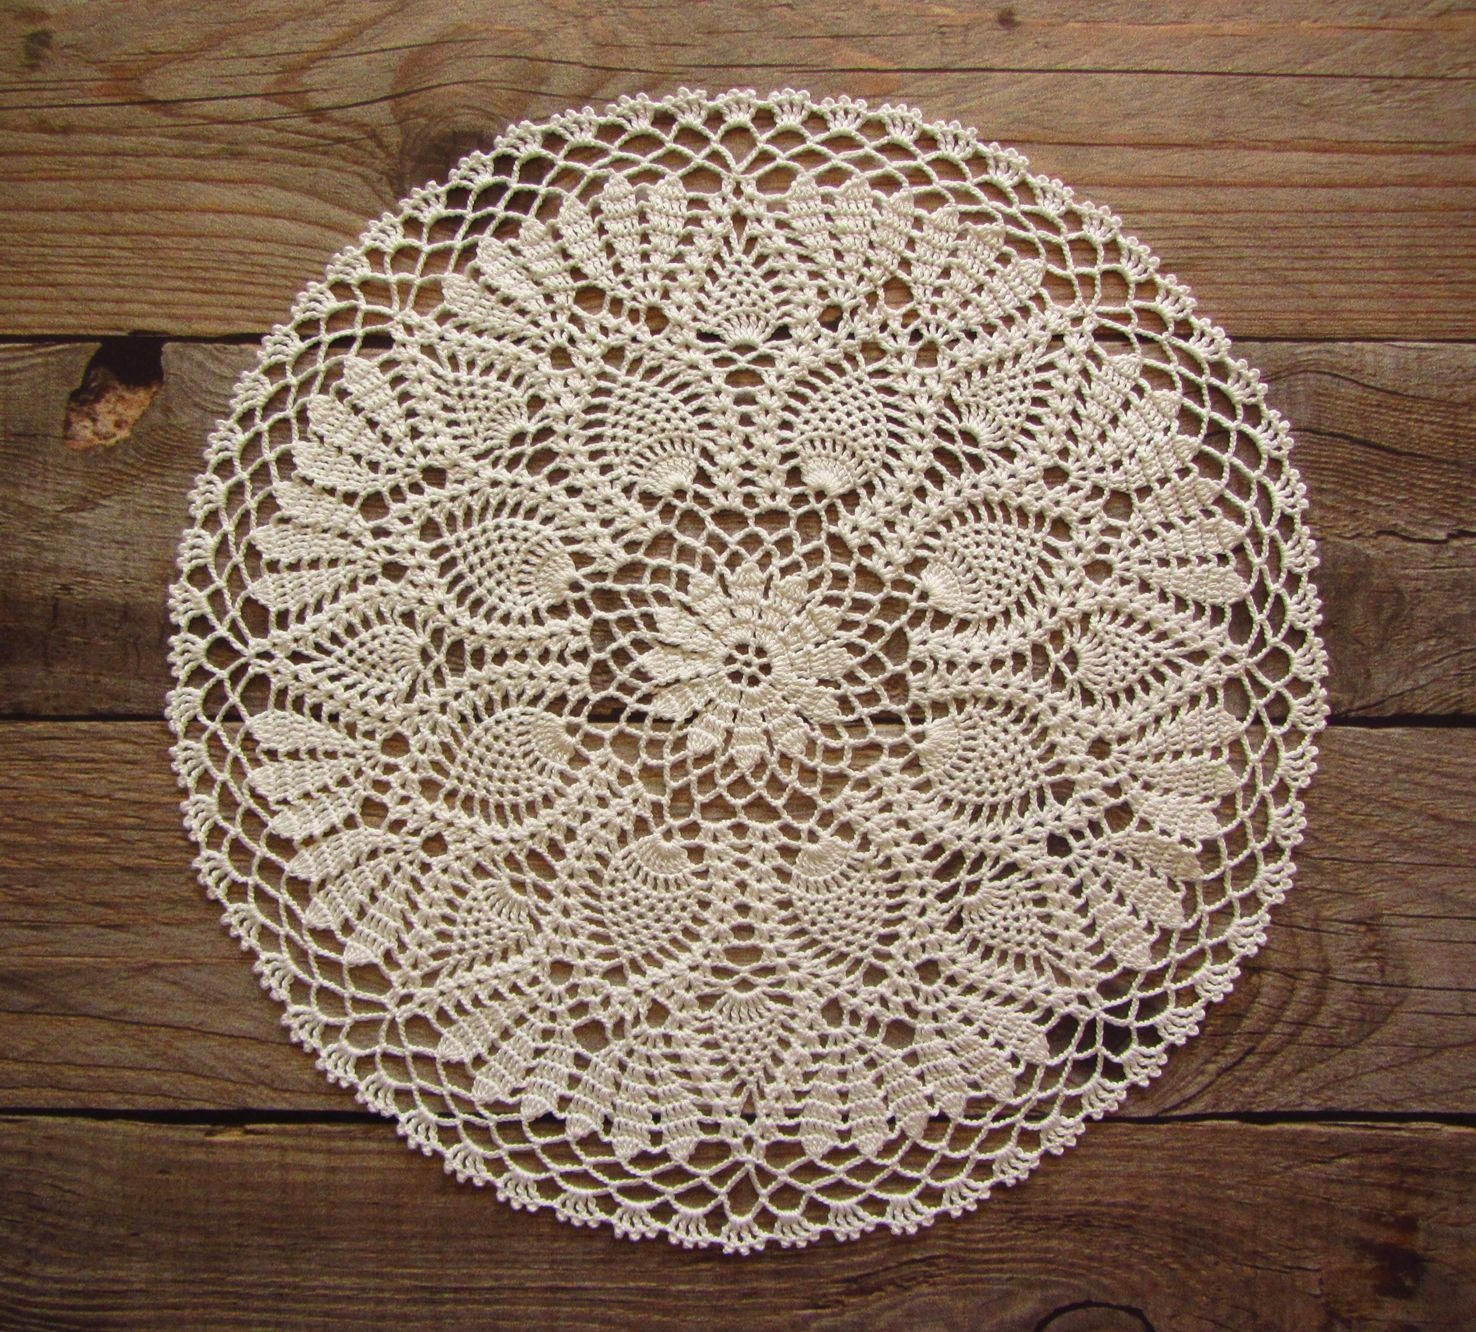
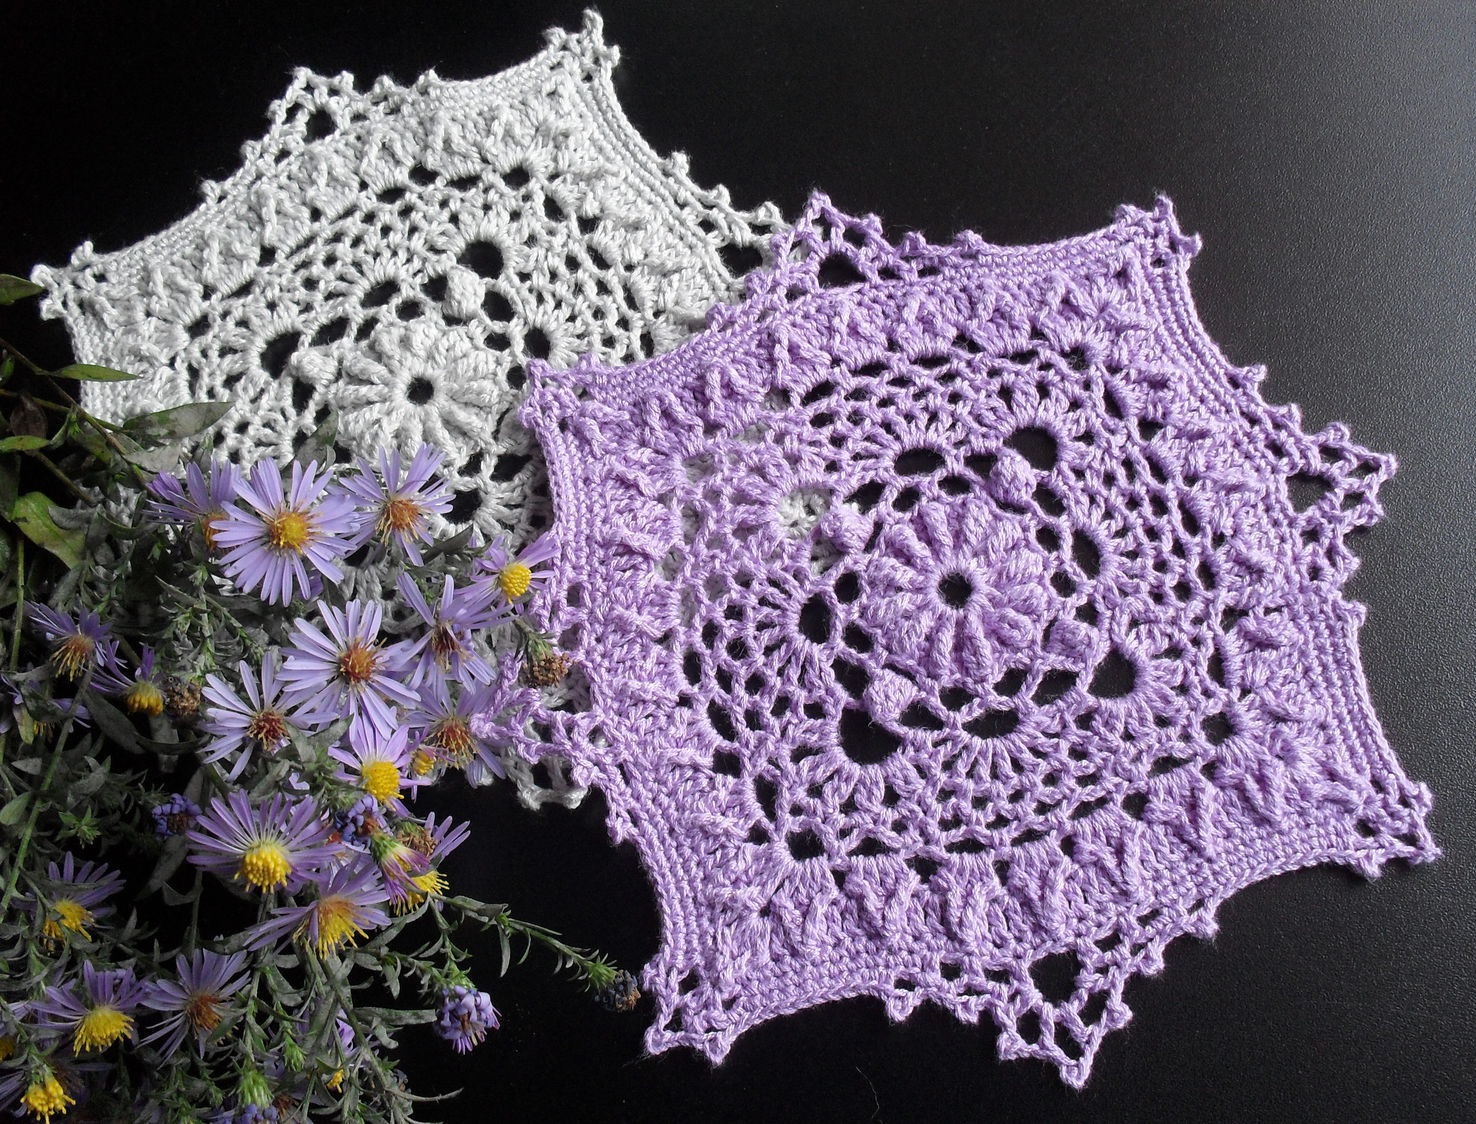
return to menu ↑Round
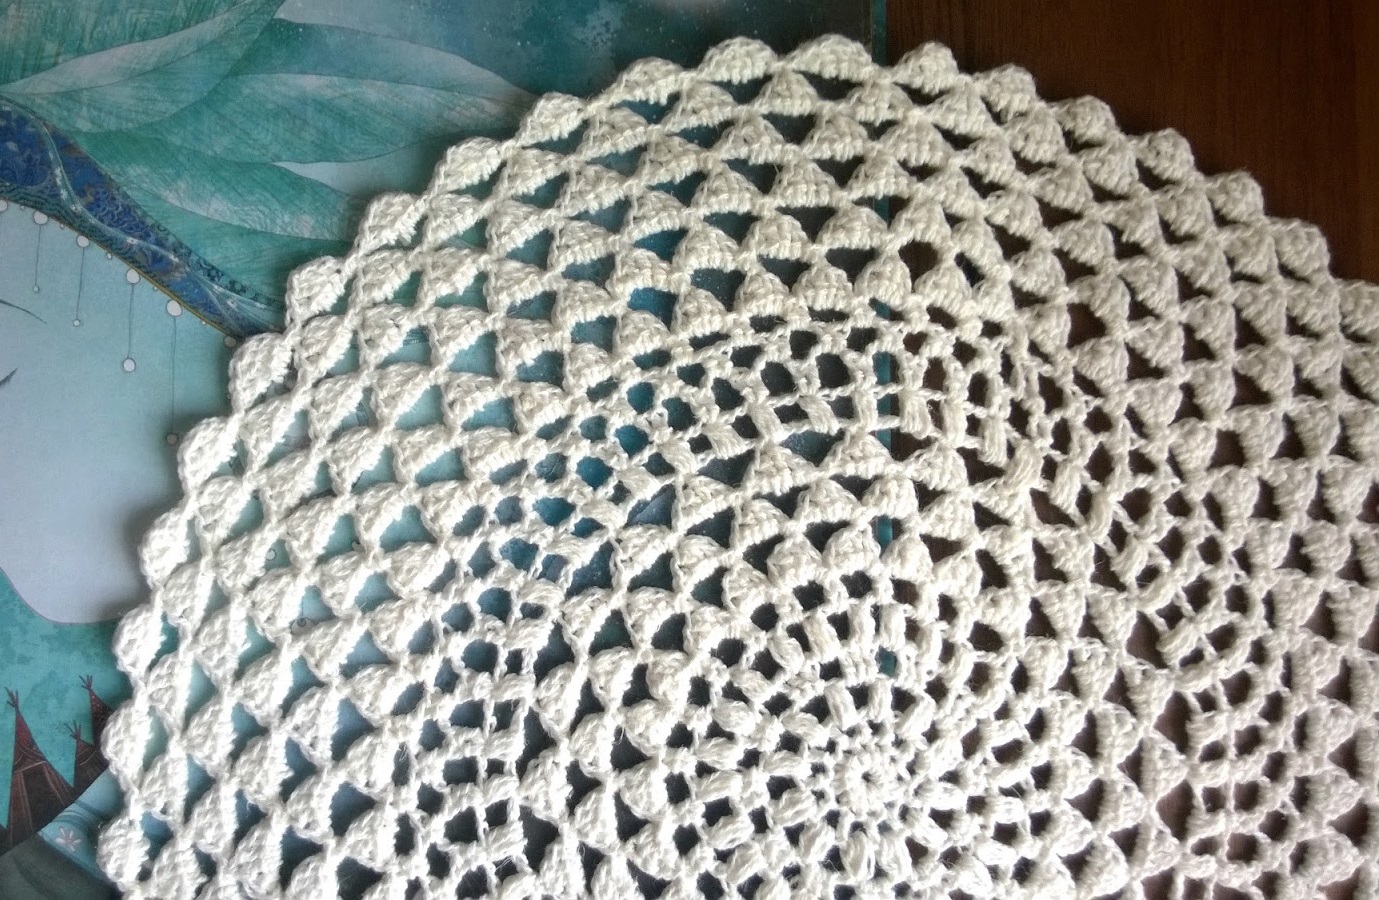
This is the most well-known type among absolutely all probable napkins produced with the help of a hook. The variety of patterns and ornaments surprises both beginners and experienced workers. Let's analyze a number of alternatives and knitting techniques. The caliber of the forthcoming convex napkin is 20 cm. We prepare yarn from one hundred percent mercerization fabric 100 g 395 m, hook No2.
The most famous type of product
Note: SP - mounting eyelet, VP - weightless eyelet, SSN - single-cap column, SBN - column in the absence of a nakida, PR - preceding several, A - single highest level, i.e. 2 CH knit together, Pico - 4 VP and 1SBN in the main VP.
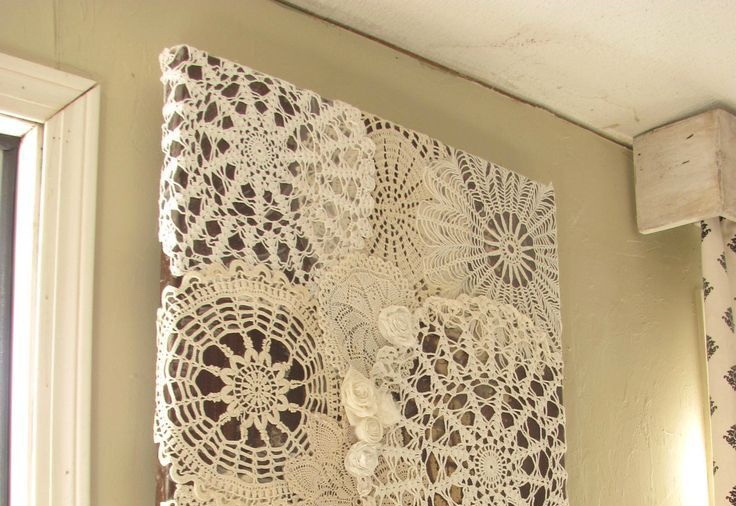
Cloth from napkins cr
There should be a total of 8 VP. 1 5 VP, 1SSN, 2 VP are united in the 3rd VP, including the 2nd line and we attach them to 3 VP. In the base of the system we add another 2SSN, 3 VP and 3SSN in 1SSN PR, we combine it into the 3rd VP. We make 2SSN from SSN PR, 4 VP, 5CHN and combine them into the latest SSN and 1SSN, combine everything into the 3rd VP:
Bright napkin tablecloth
- Several 6SSN, made according to the scheme: 2SSN from SSN in the last SSN PR and 1SSN in half, we connect with 4 VP, 7SSN. Further, as in the 3rd line: add to any independent SSN in the center of the 1SSN, form a connection with three VP.
- We connect 8SSN with 5 VP and 9SSN, made according to the scheme indicated in the previous step 4, we connect to 3rd VP 6 10SSN, 6 VP, 11SSN the volume to 3rd VP + 1SP. Finally, we make 8SSN, 1SSN PR, 8 VP, 9SSN independent, saving 1SSN from two edges, or create parallelograms, join in 3rd VP + 1SP 8 6SSN, 13 VP, 7SSM in 3rd VP + 1SP.
- We make 4SSN, 6 VP from 1SBN and 6 VP. We add 1SBN, 6 VP, 5SSN to the center of the arch, combine them into a 3rd VP + 1SP 10 2SSN, 6VP weave into a small arch. 6SNB, 6VP and 3SSN in 3rd VP + 1SP 11 1SSN. From 7VP we pass through 4e SBN PR, made according to the following scheme: 2SSN with А, 3VP, 7VP, 2SSN, we supplement them with 3rd VP.
- 4VP, pin from 3VP, we supplement the arches with VP PR — these are 2SSN with А, 2VP, grid, 2VP, 2SSN with А, 3VP, pin, 4VP, 1SSN, weave them into 3rd VP.
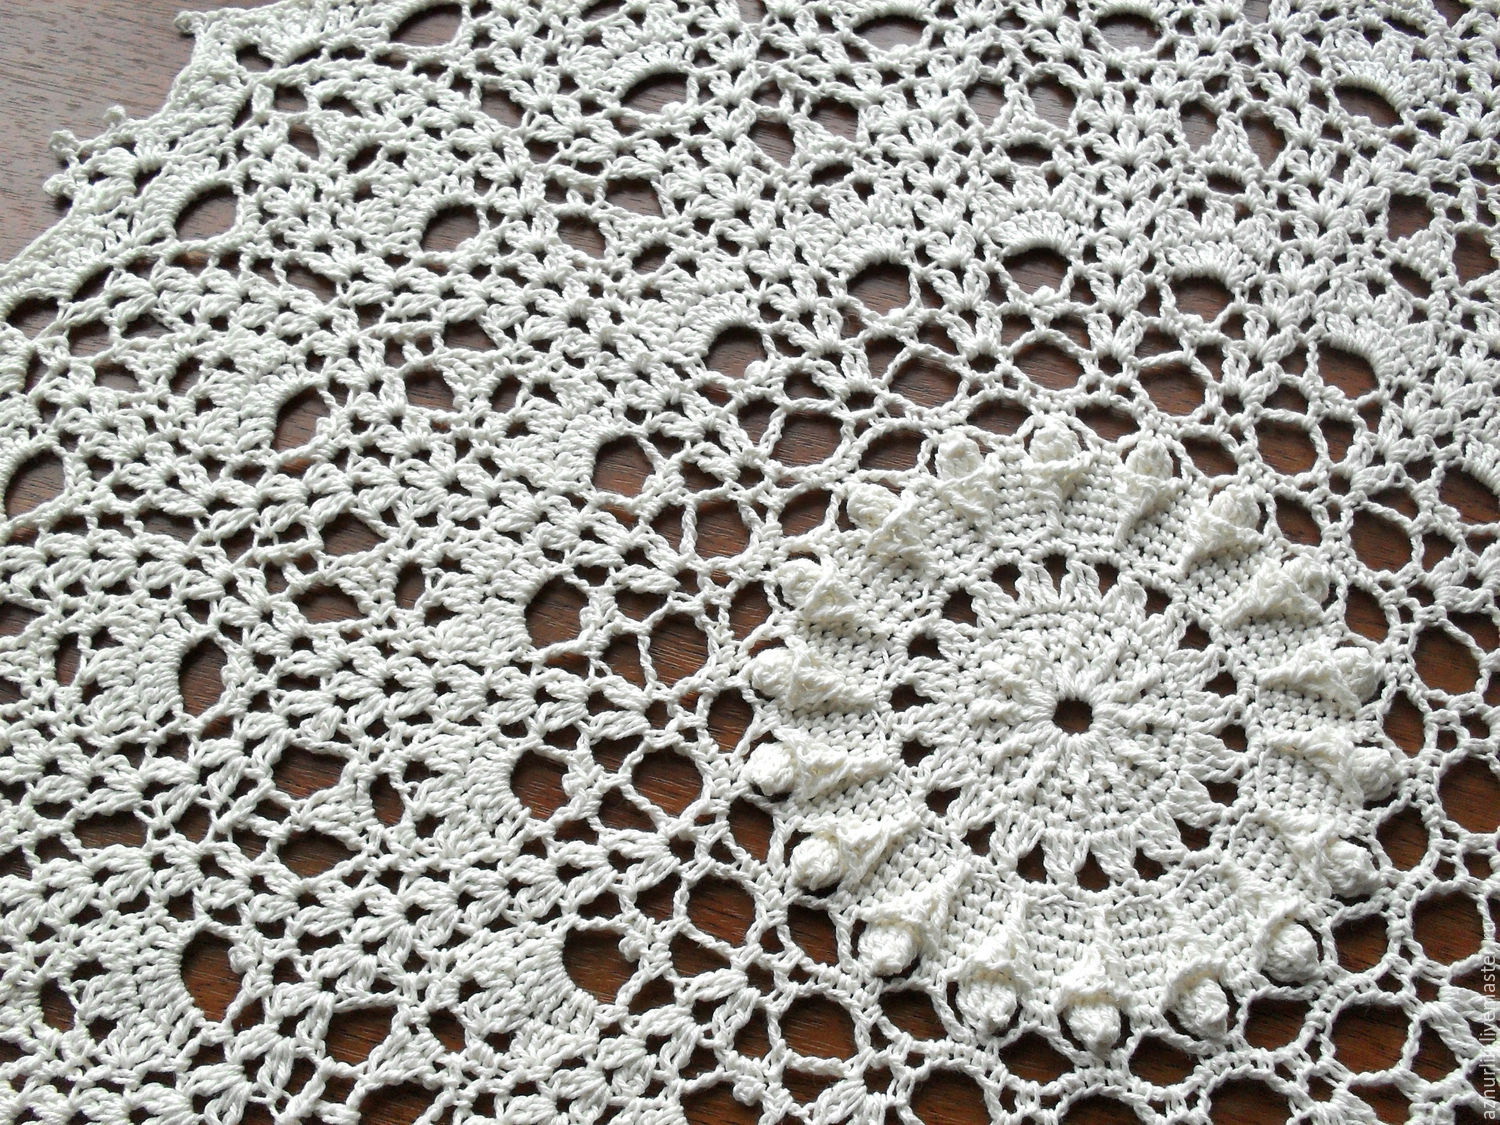
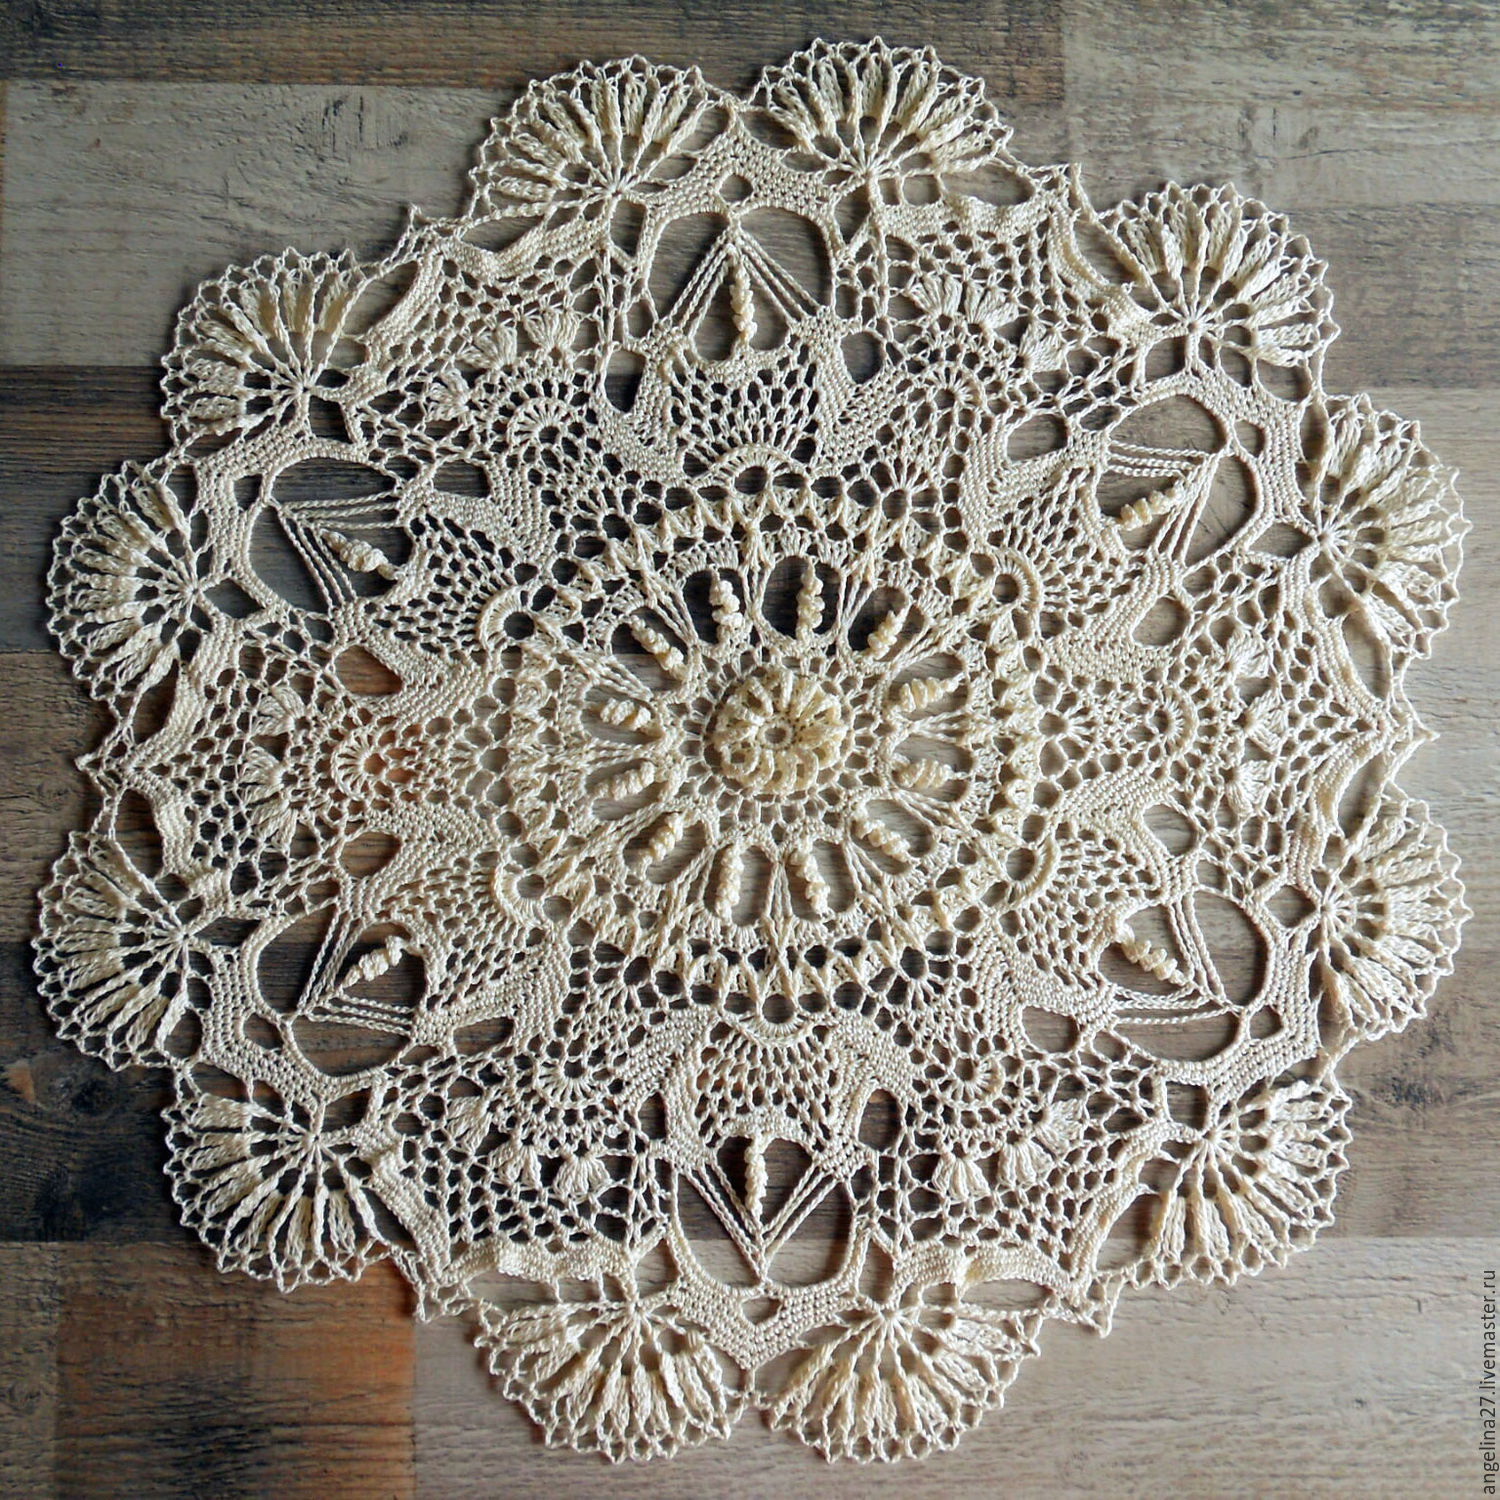
Napkin "Tenderness"
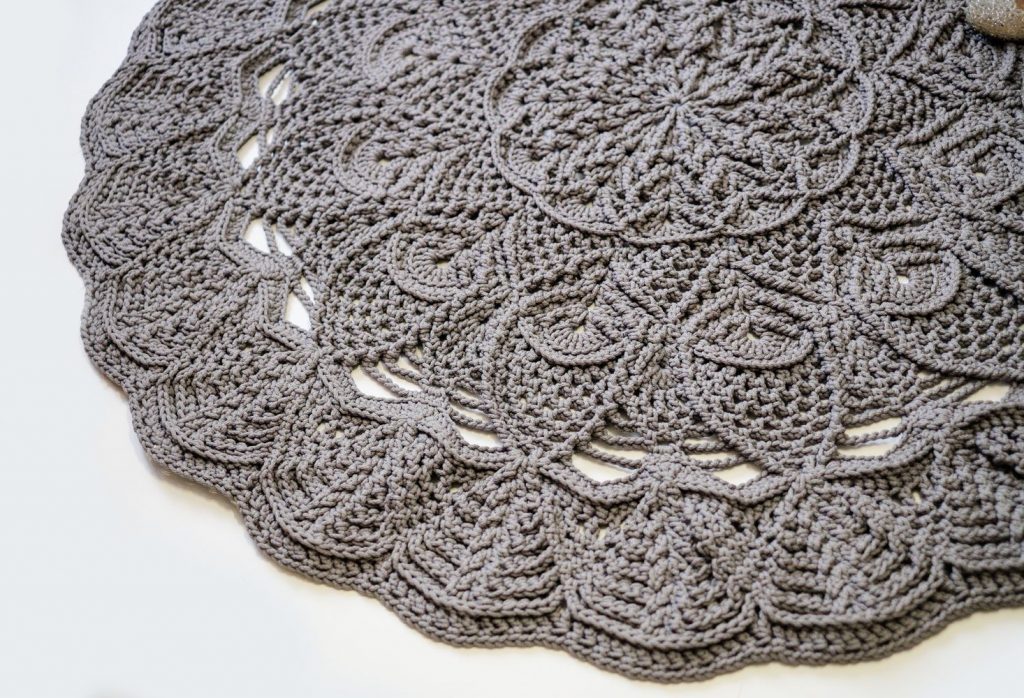
The most difficult type of convex napkin, but the final result will certainly be very interesting. The trimmed decoration in diameter will be 36 cm, while you will need a blue-tone yarn of 50 g 220 m and a hook No2.
Tenderness
- Each, the next row starting with 3 VP, which we replace 1 StbSN. We end with any of them with a column. 1 2 StbSN, 2 VP-repeat 8 times
- In any StbSN of the last building VP, we fly 2 StbSN, 2 VP — 8 times 3 2StbSN in 1 pet, 1StbSN we go to the next 2 loops, 2StbSN in 1 pet, 2 VP, repeat the VP lot until the end of the build 4 2StbSNv 1 pet, 2 VP, until the end of the system.
- 2StbSN in 1 pet, 1StbSN we brace to the next 6 canopies, 2StbSN in 1 pet, 2 VP, we do until the end of the system 6 2StbSN in 1 pet, 1StbSN in the next 8 canopies, 2StbSN in 1 pet, 2 VP, we repeat to o. Art.
- 2StbSNv 1 pet, 1StbSN in the next 10 canopies, 2StbSNv 1 pet, 2 VP to about. Art.
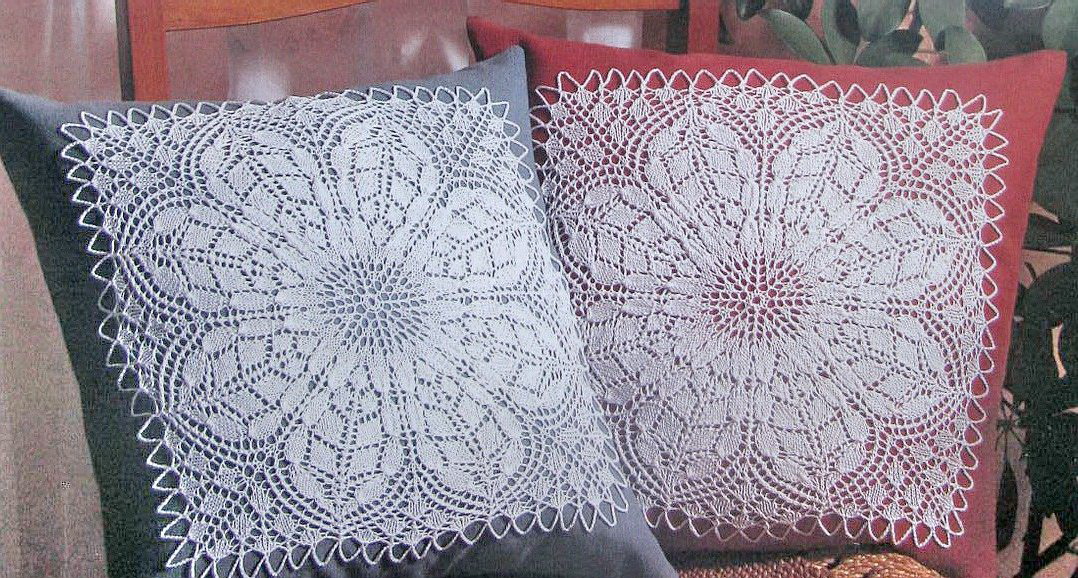
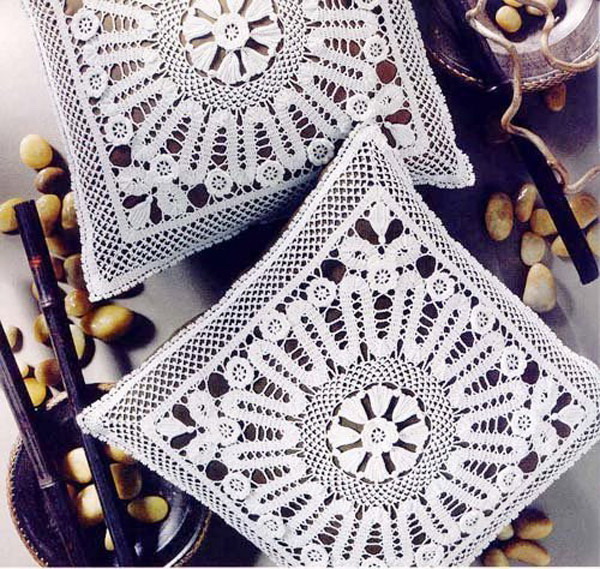
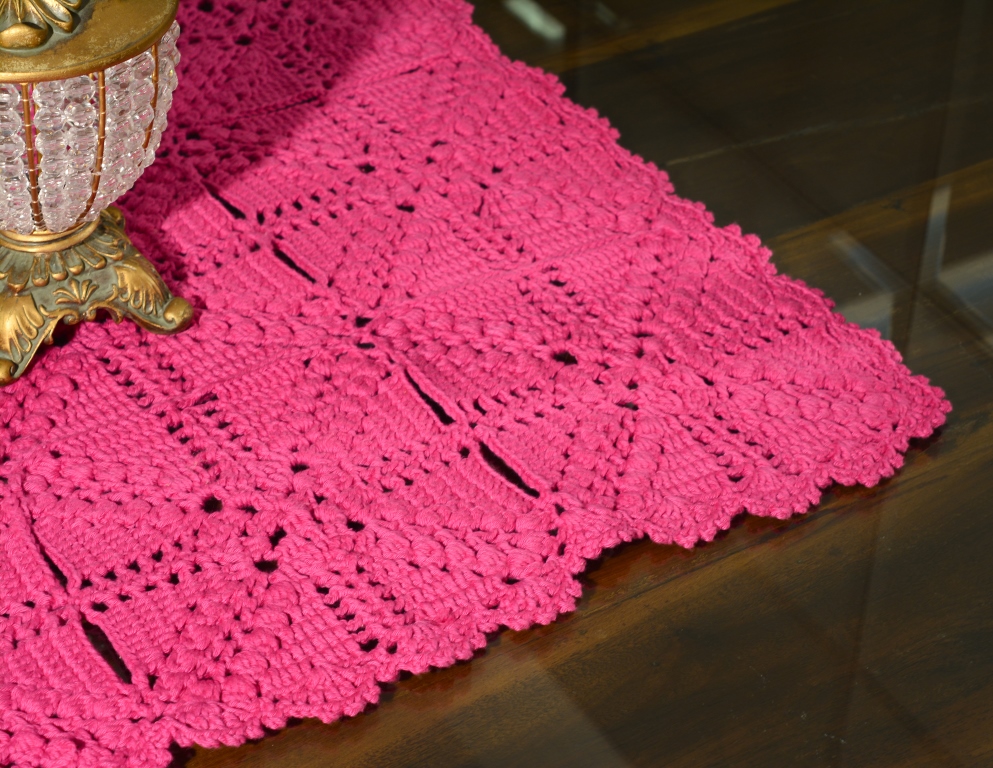
Square
A not very well-known model of crochet napkins, however, is also fascinating. Attracts attention with its beauty, thus and the difficult process of creation. You can test a number of knitting alternatives according to the following schemes. In preparation, you will need a yarn of snow-white tone from fabric and other material in 50 g 160 m, cr-k No2.
Square model
Note: SSN is a double cap, SBN is a column in the absence of a nakida, VP is a weightless ear, SZN is a column with 3 n-s, SP is a mounting ear. Do not forget that in the subsequent knitting portal 3 VP are replaced in 1 SSN. Do the work according to the display in the pictures, but do not forget to look at the diagram so that all factors are clear.
Each scheme requires attention and concentration.
Easy, square option
- 4 VP of the same 1 SSN +1 VP, 1 SSN are connected in one loop + 4 VP. Over each SSN of the 3rd system we attach 1 SSN and 1 VP with columns, 4 VP according to the scheme 1 SSN, 1 VP, 1 SSN are merged into the CH column of the 3rd order, 4 VP. Over any SSN of the 3rd order we connect 1 SSN and 1 VP columns, 4 VP. Repeat everything before oh. Art. We conclude with several unions in the third VP.
- In the subsequent order we attach 4 VP, as 1 SSN + 1 VP. 1 SSN connect about VP 4th order. 1 VP and 1 SSN form in a column with nm. 4 VP, 1 SBN is left near the main VP of the 4th system is 4 VP, 1 SBN to VP and so on 3 more times, 4 VP. We finish the build and connect to the 3rd VP.
- 4 VP do as 1 SSN + 1 VP. 1 SSN is left near the main VP, 1 VP. 1 SSN in the CH column, 1 VP, 1 SSN near the VP, 1 VP, 1 SSN in the CH column, 4 VP, 1 SBN for the main aroch, consisting of 4 VP, 1 SBN and so 2 more times, 4 VP. Repeat the completion of the system.
- 3 VP we add as 1 SSN, 1 VP, 1 SSN 7 more times. 4 VP, 1 SBN will do it in the arch. 4 VP, 1 SBN we will leave about an arch 2 times in a row, 4 VP. Finish build.
- 3 VP weave like 1 SSN. 2 VP, 1 SSN 7 more times. 4 VP, 1 SBN to the main arch, 4 VP, 1 SBN near the arch, 4 VP. Repeat the build and merge into 3rd VP 9 3 VP. We form as 1 SSN, and 3 VP, 1 SSN 7 more times. 4 VP, 1 SBN in 1 — nd arochka and 4 VP. We finish weaving.
- 5 VP weave like 1 SZN. 1 VP, 1 SSN connect in column SN. 1 VP, 2 SSN around the arch and 1 VP 7 more times. 1 SSN, 1 VP, 2 C3H with a single tip. Repeat until the end of the system. We complete 1 С3Н and connect in 5 VP 11. We make it into any column and attach it to the SN of the tenth order. 4 VP we join as 1 SSN + 1 VP, 1 SSN, a grid of 3 VP and 1 VP. Repeat until the end and complete the merger in the 3rd VP. The thread is cut and fixed.
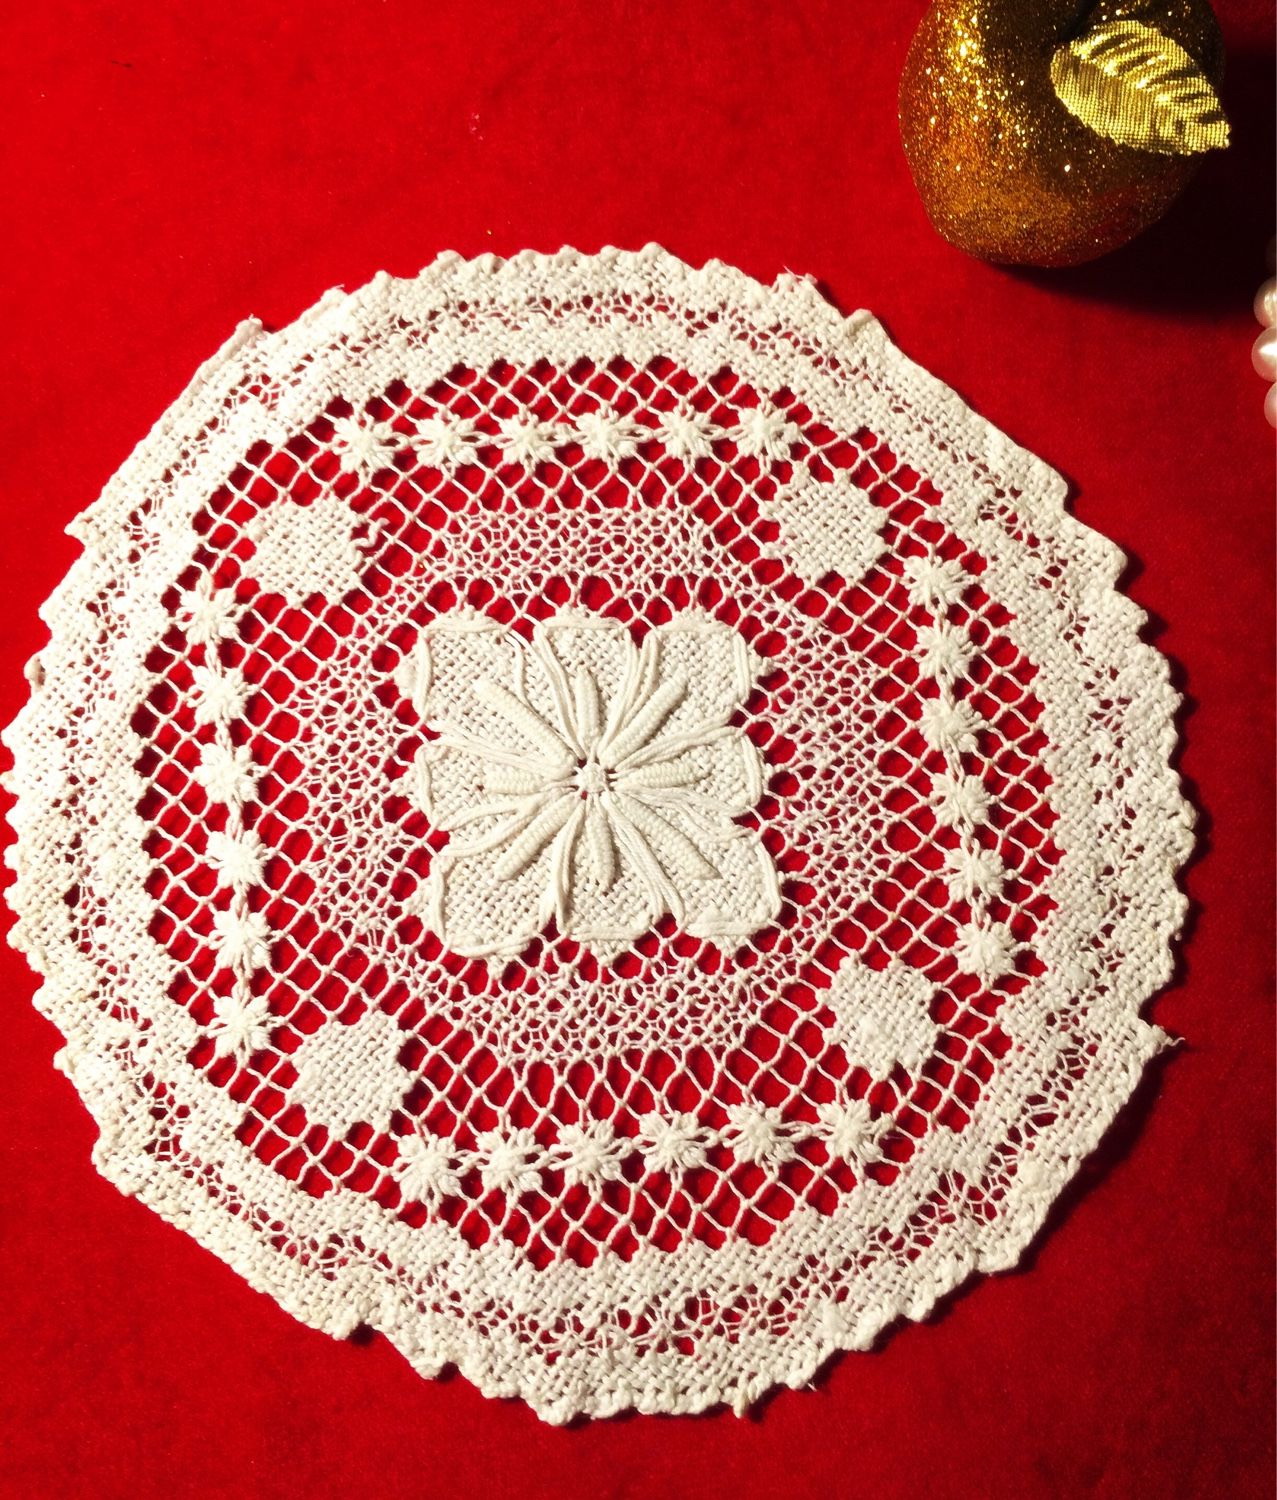
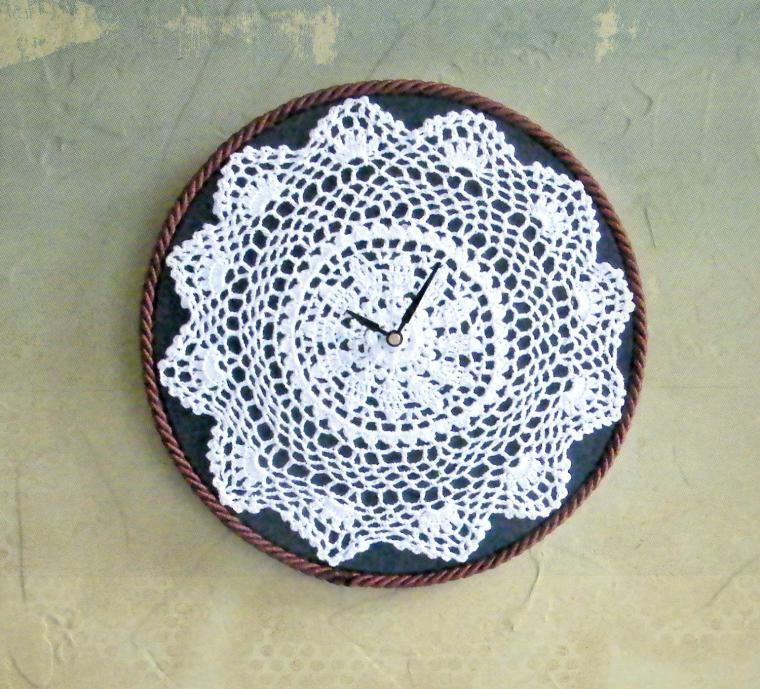
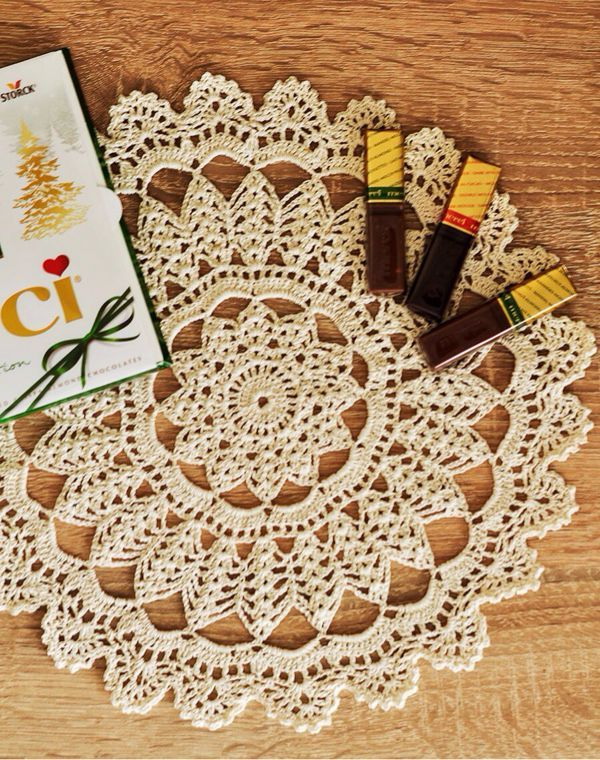
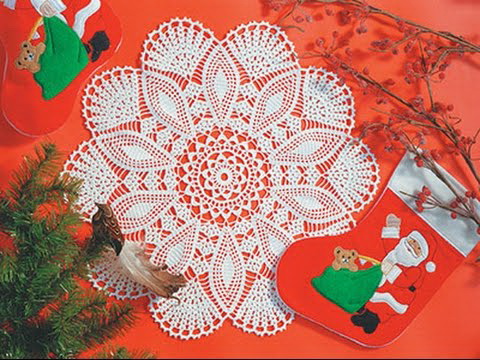
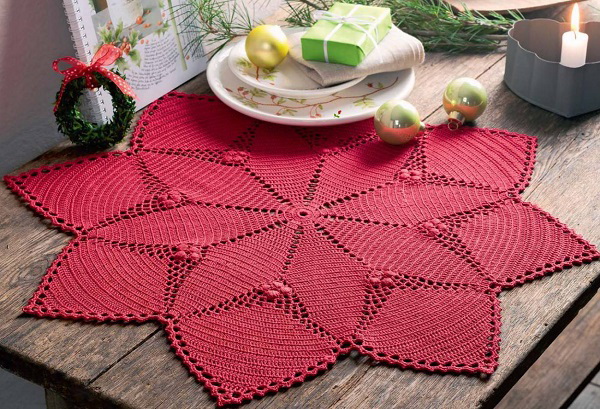
Festive
Lace will be 23 to 20 cm in diameter, and with a strapping a little more. Such a mating is called fillet weaving. Prepare a yellowish yarn 36 g 150m of material and fabric, hook No2, blunt needle.

Festive beauty
Detailed description:

Original pattern
We start with 4VP chains, so the 1st element turns out to be full. If one of the elements is useless, then you will need to add another 2 VP and attach them to the 8th VP. We connect SSN in any loop of the chain close to the end of the system. The result is 70 SSN, taking into account the three growth canopies, replacing the 1st SSN.
We start with 3 VP, then 2 SSN and another 1 SSN, 2 VP, we miss 2 at the base and into 1 SSN, and again 2 VP, into the third SSN. Thus we weave to the final mesh according to the scheme, i.e. In the end of the system should be 4 SSN. We complete the SSN with 3 loops and increase it. In total, there will be 23 cells in the system, of which 2 along the outskirts are complete.

Snowflake
All loops are considered, if necessary, you can mark yourself separately.
This is an unpaired build. We start weaving from the right side to the left according to the scheme. 1 item is full, then 8 free cells, 5 full ones and it turns out 16 SSN, 8 free ones, 1 full one. Full cells are connected in one arch of light canopies. 4 1 item is full of 4 SSN8, 6 free, 2 filled 7 SSN, 5 free, two full 7 SSN, 6 free, 1 filled 4 SSN.
Lace starts on the left side to the right. If the gaps in the mesh are very large, it means that the loops are friable and it is necessary to change the hook to a small one, then the weaving will be the most dense.

The scheme of openwork
Next, proceed to the following pattern of weaving:
1 filled SSN element 4, 1 simple, 1 full 4 SSN, 2 with lumens, 4 filled with 13 SSN, 2 empty, 2 full 7 SSN, 1 empty, 4 filled with 13 SSN, 2 with lumen, 1 full 4 SSN, 1 empty , 1 filled 4 SSN. The diagram is read on the left side to the right.
In order not to miss the SSN unit in the line, you need to control the weaving, counting the number of filled cells one by one, then multiply them by 3 and add 1. For example, you have ten full cells one by one and this means that you need to calculate empty: 10 cells 3 SSN + 1SSN = 34 SSN. In line with this, 10 full cells are the same and equal to the 34th SSN.
Will decorate your table
We begin to knit according to the following 28 pattern.
The product only windy mesh, in addition to the 1st and final, which are considered the frame of the knitted image. We carry out an attractive strapping according to the scheme, in this way the base will be reincarnated into an attractive napkin with a finished finish. We turn the lace to our face and we tie instantly 1 SSN to the 4th loop of the base, without increasing excess weight.
Having tied the 1st SSN, we weave a grid of 3 light canopies, fix it with a post into the main light loop. Then again we pass 1 SSN into the nth base of the grid. In a similar way, you must manage to make 6 SSNs in one of the first and 5 pins around. Now we strengthen the 4th loop with the mounting st and again, in 4 loop we knit 6 SSN with a pin.

For newbies
The final stage
After the napkin is ready, it must be thoroughly steamed and starched. Users still do not know how to starch a knitted cloth napkin and the following guide will help. After studying the instructions, we can conclude that all methods are outdated and have become irrelevant. First you have to make glue from starch, but it turns out to be quite problematic due to the lack of pure starch.
Place a weak compound, diluting it with water and dip a napkin into it, then let it dry. After that, you yourself will notice that before you is an excellent specimen, uniform, in the absence of stains and twists, which can be presented.
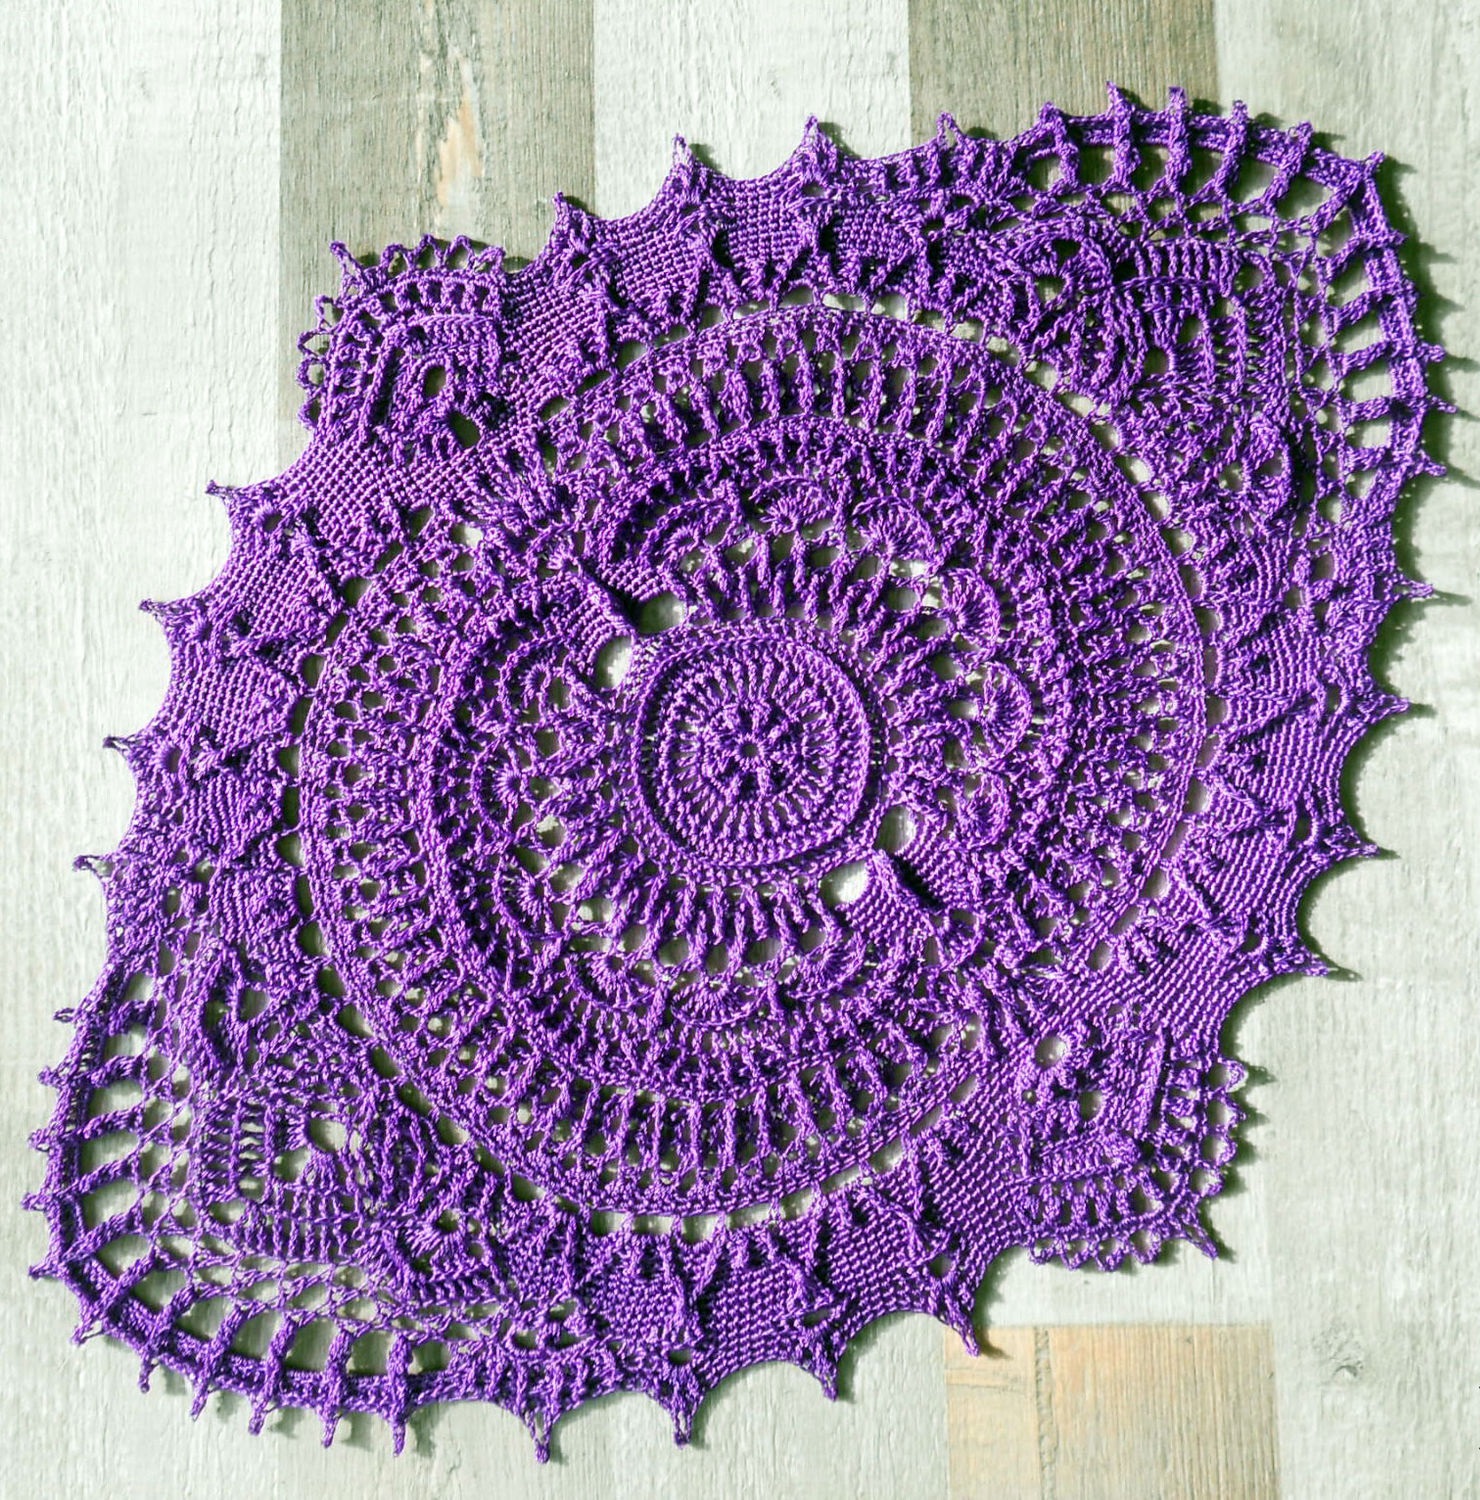
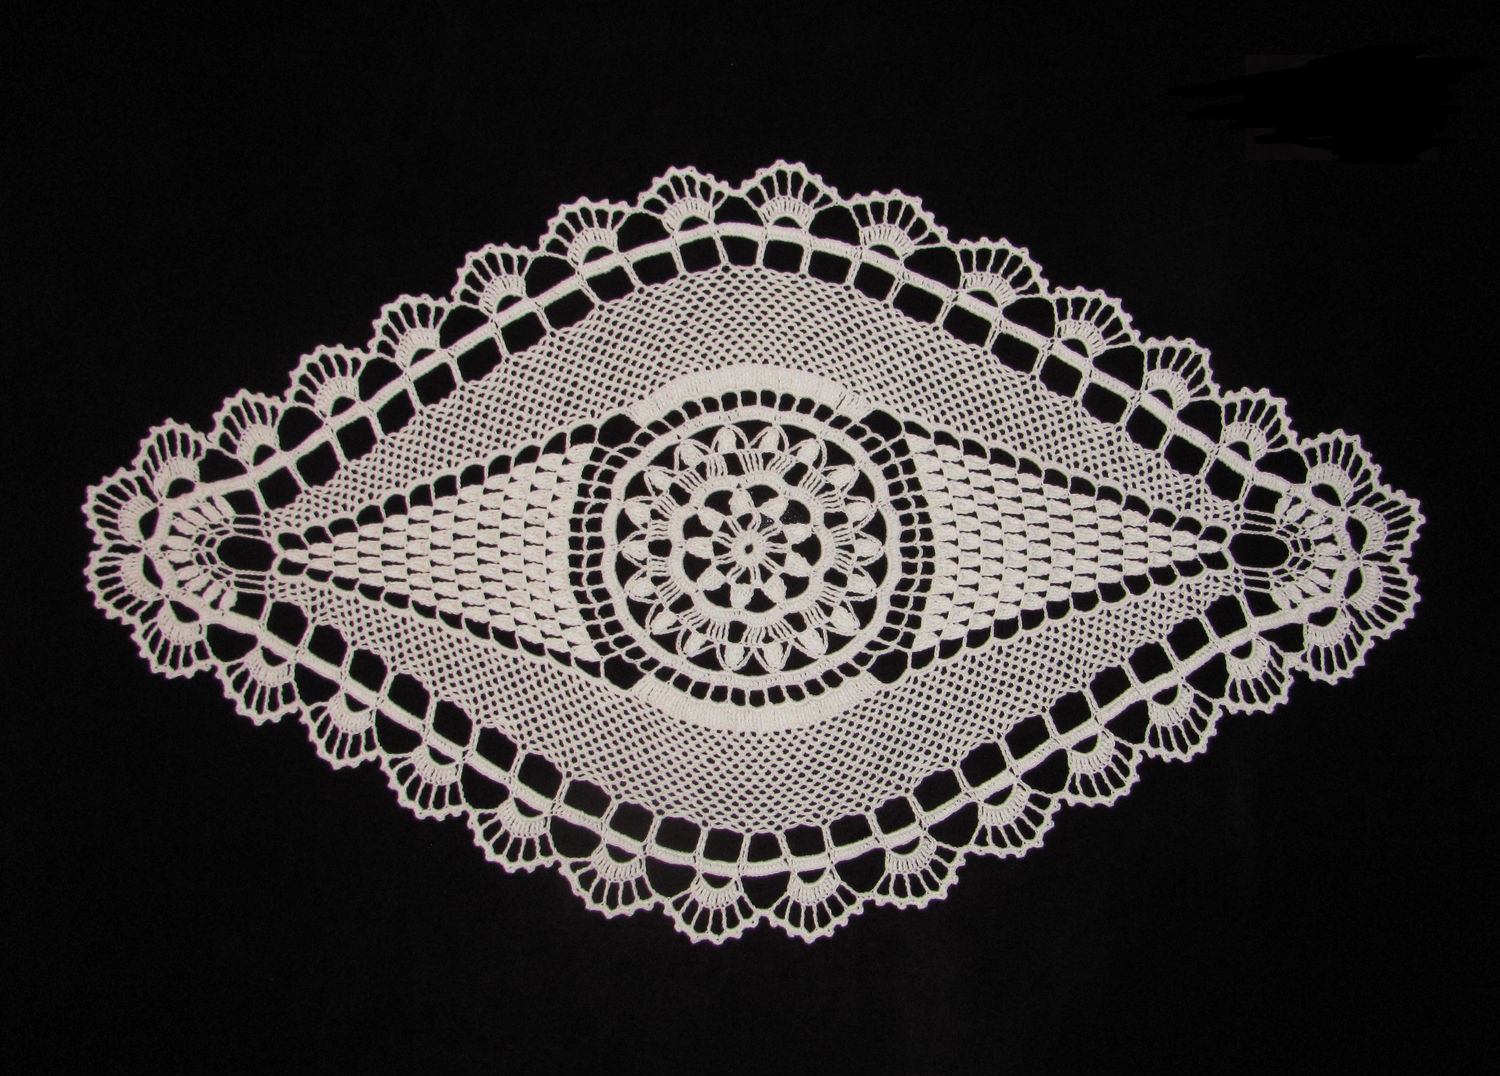
Bright, oval model
In conclusion, I would like to say that knitted napkins are probably very fashionable.In recent years, the demand for such openwork decoration is only increasing, and weaving the napkins for yourself is even more interesting. This is due to the great possibilities of their use in everyday life.
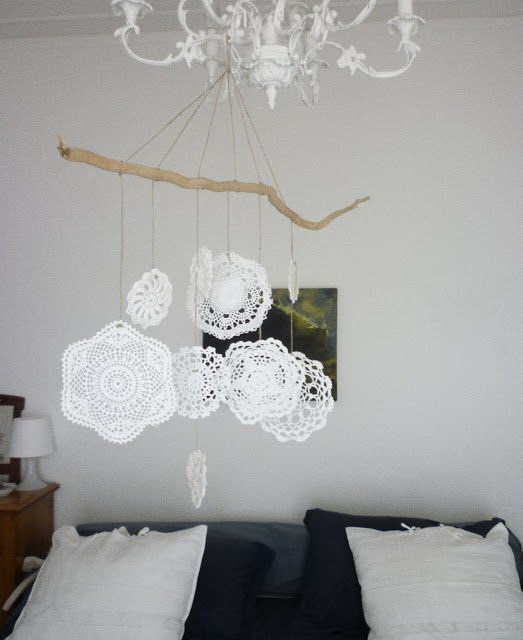
Probably, everyone knows how elegantly napkins look on small tables, bedside tables or conveniently located under flower pots and vases, and this product will be able to provide everyone with actual benefits.
Here are just some of the benefits that this product can provide:
- First, knitted items have their own uniqueness. With them, you will always stand out in a crowd if it is possible to meet people in such clothes.
- Secondly, high quality, which provides an opportunity for long-lasting items not to wear out. When handmade knitting specialist works on any eyelet.
- Thirdly, while you will look stylish, it is possible to significantly save your own state budget.
- Fourth, knitted products warm in cold years, and when it is warm, a simple thread will make it possible to feel easy.
VIDEO: Knit with us openwork napkin
Crochet
Openwork napkin