Beautiful Butterflies on the wall do it yourself: 140+ (Photo) decorations in the interior (paper, volumetric, stickers)
 decorations in the interior (paper, volumetric, stickers)")
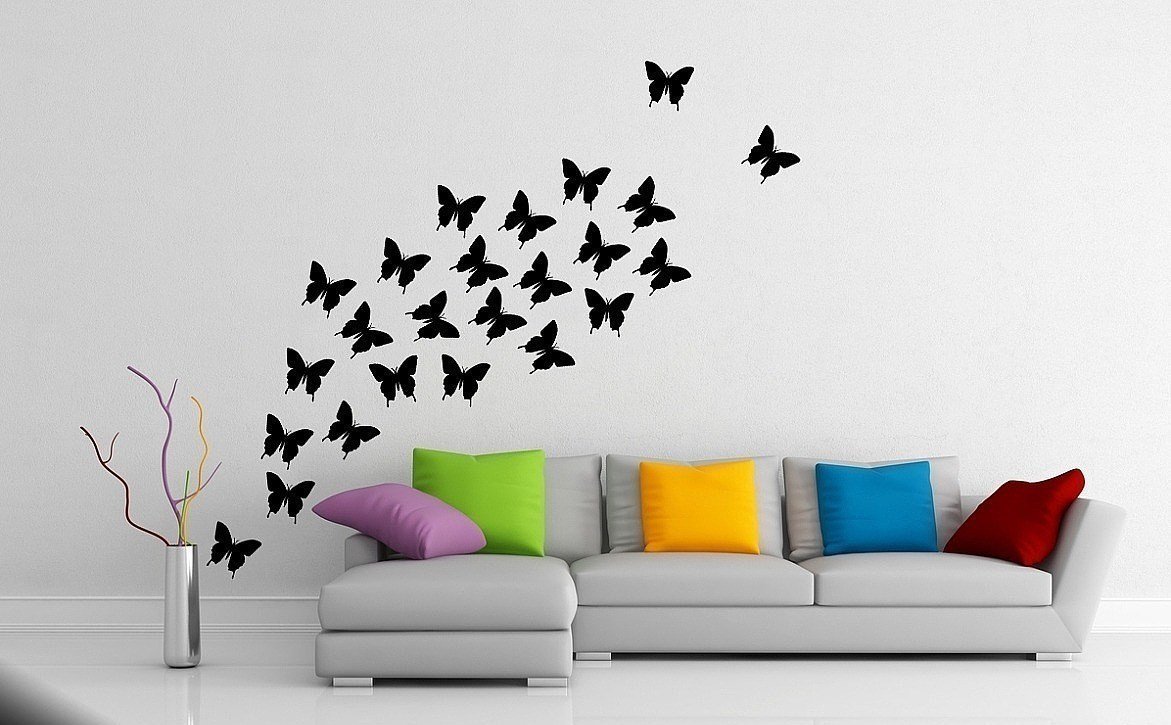
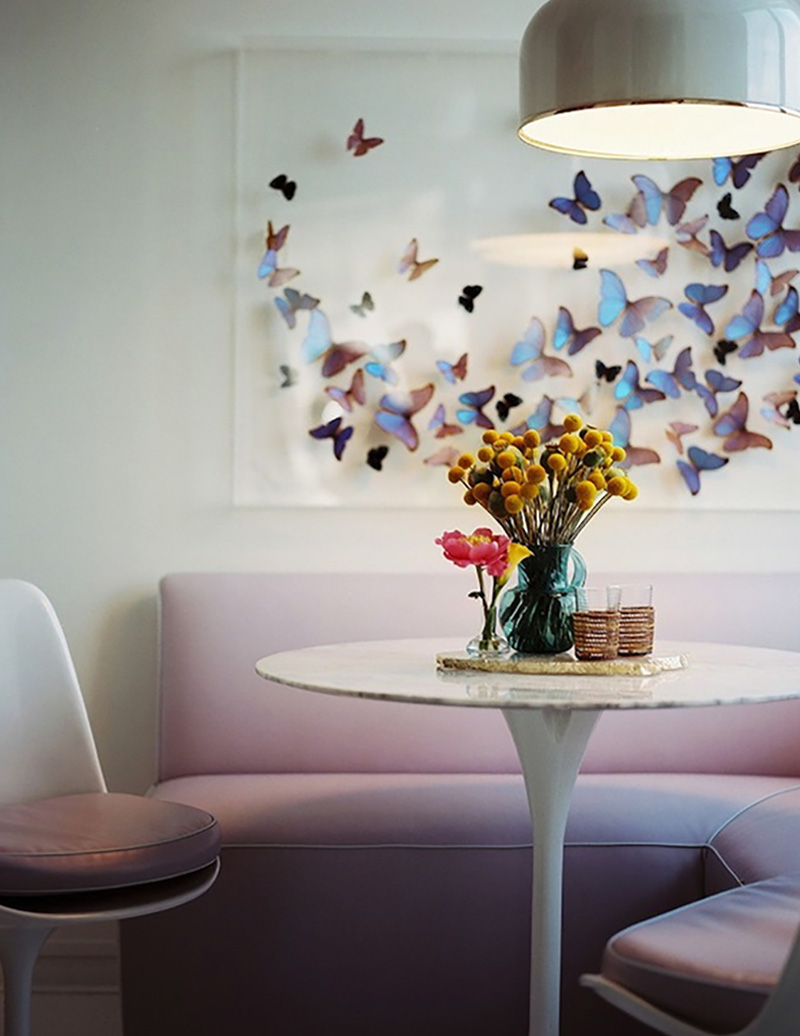
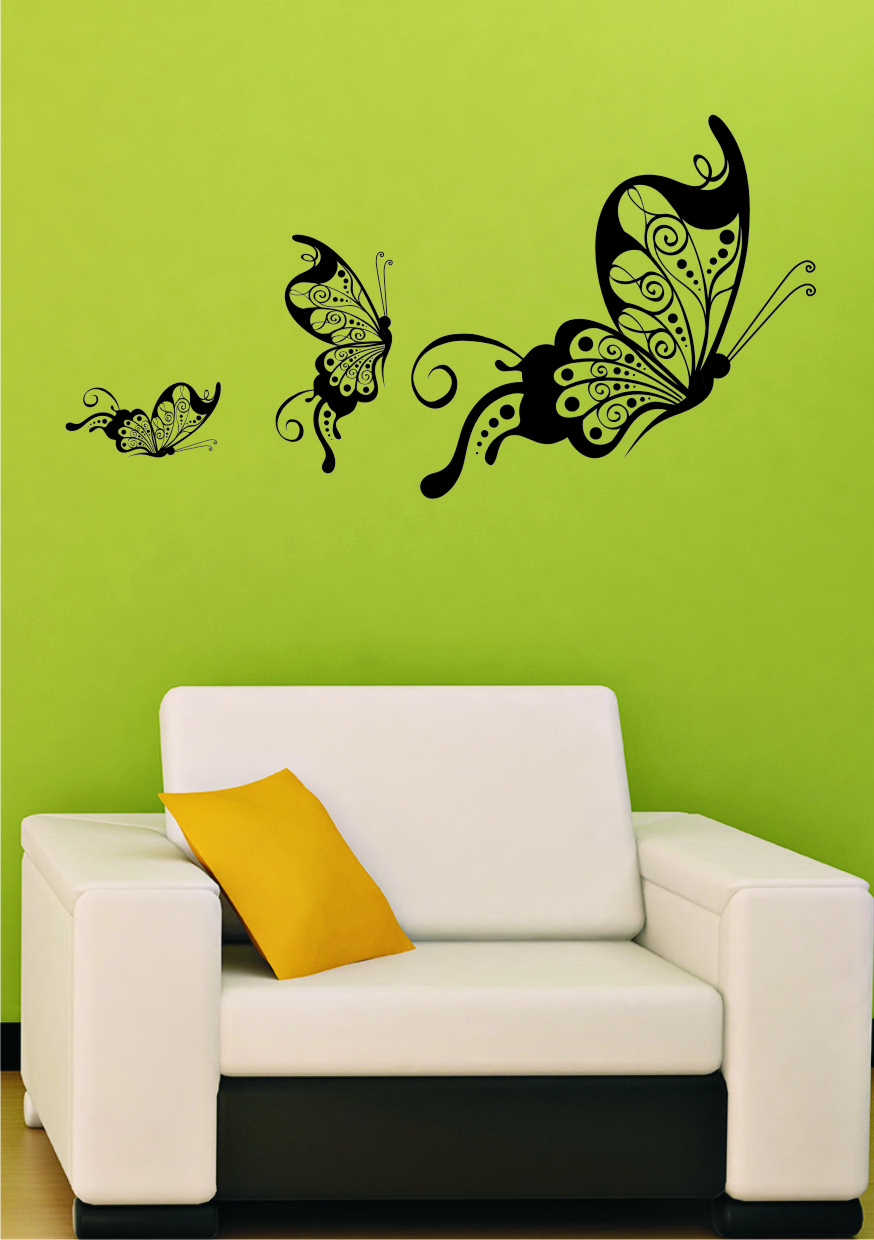
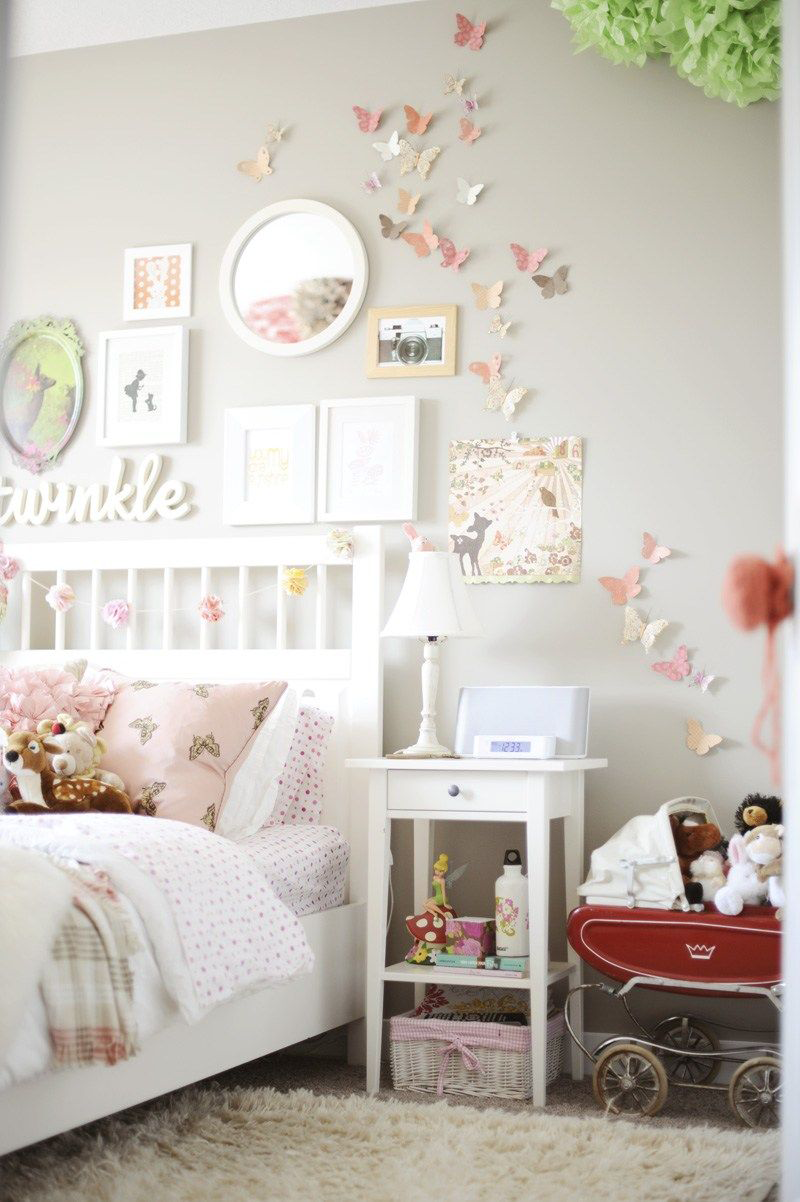
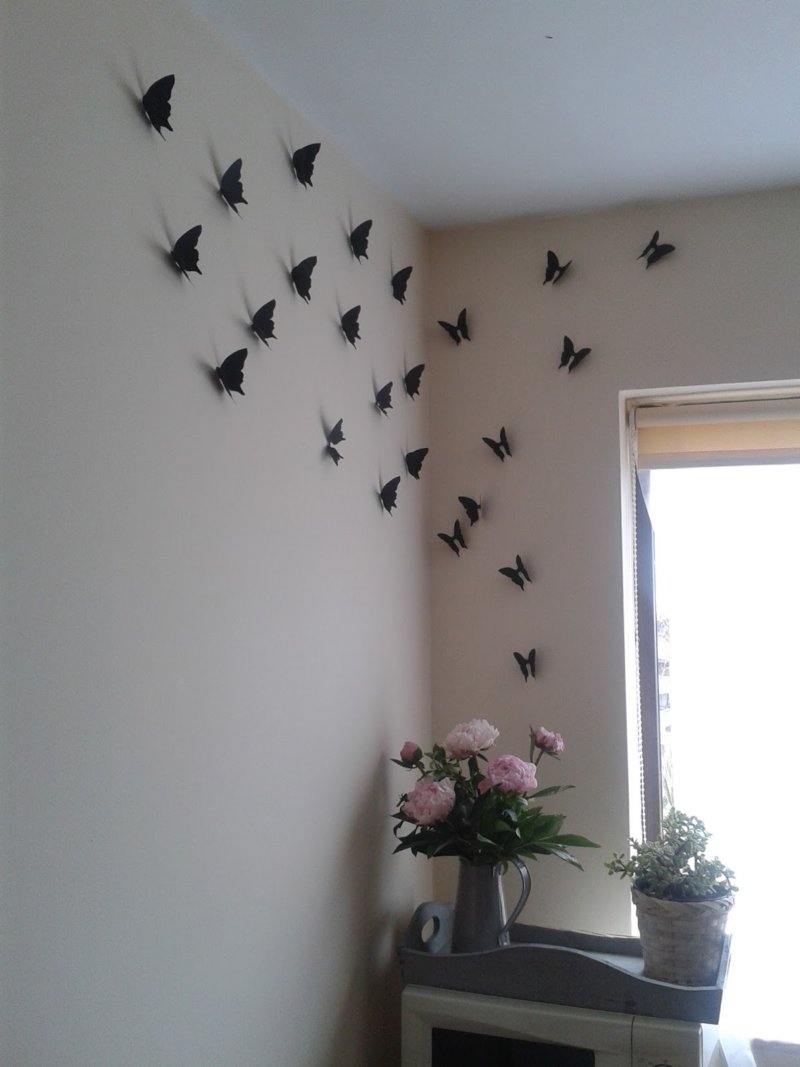
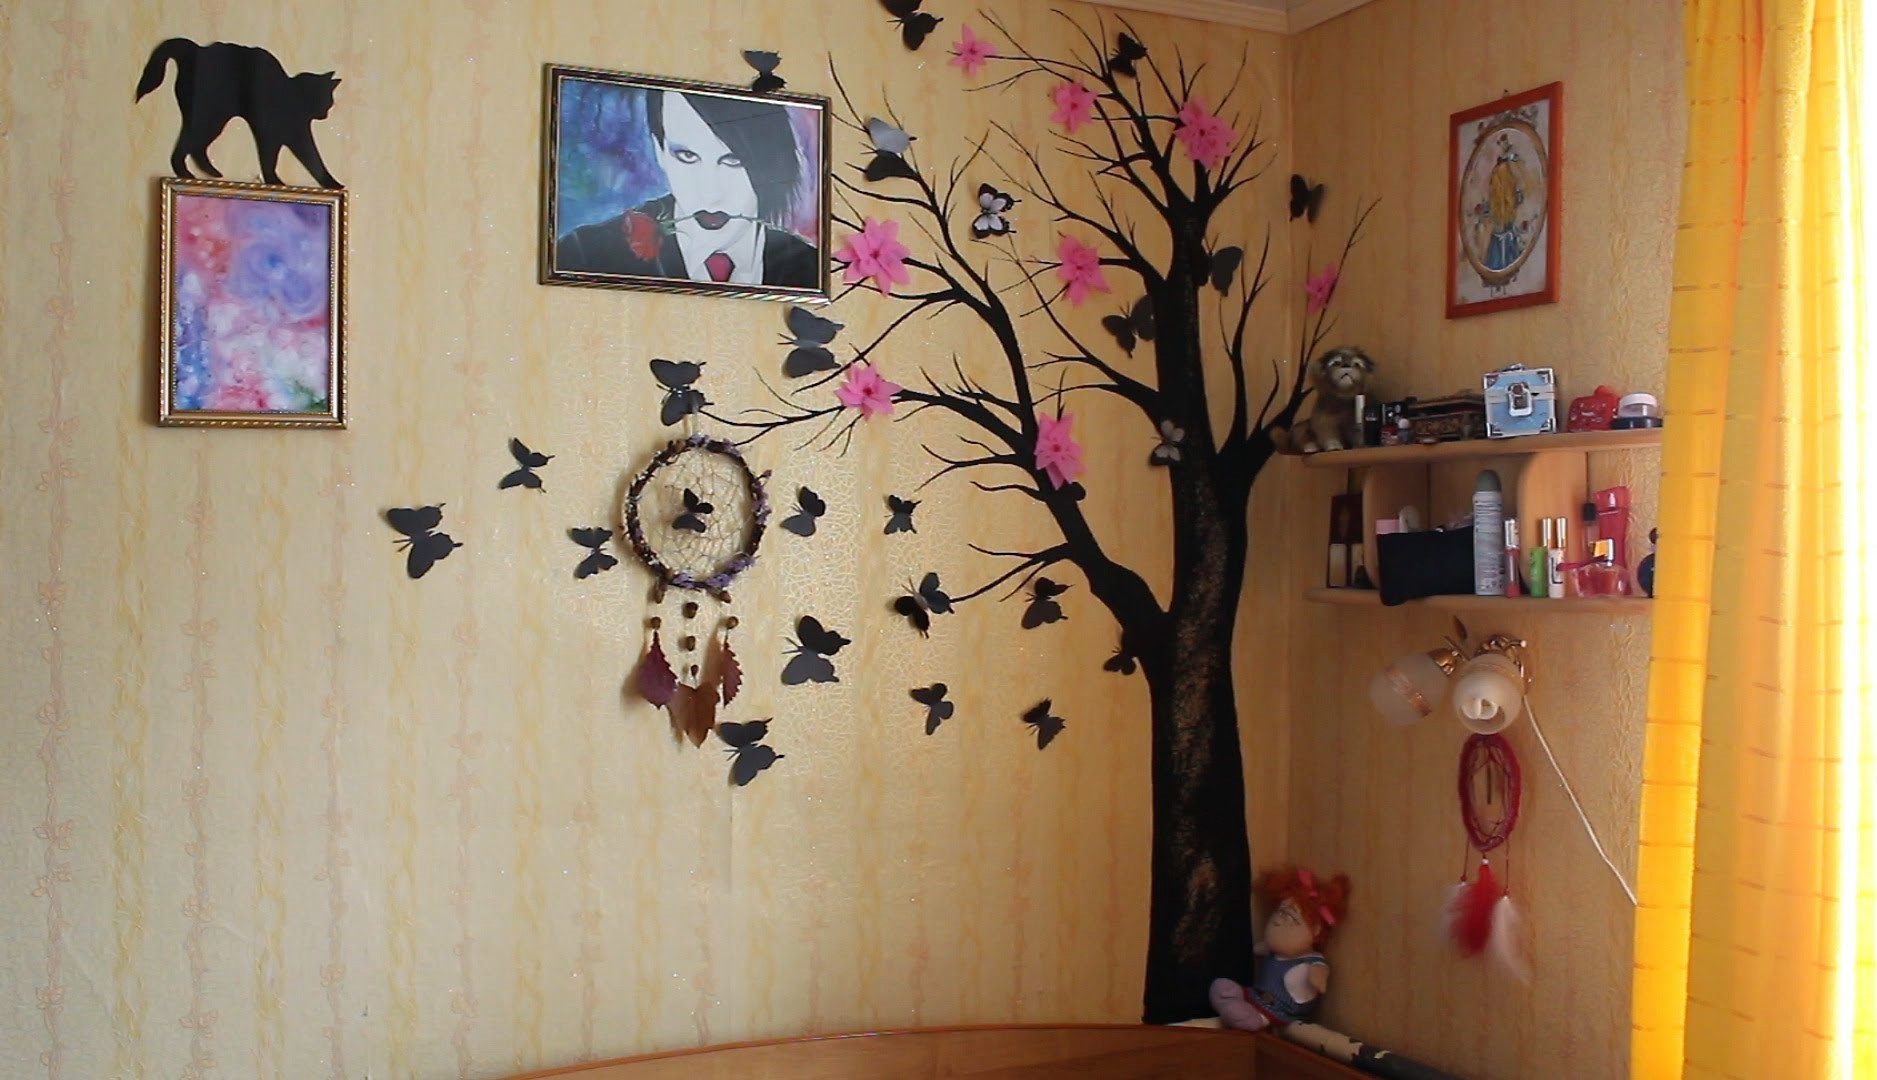
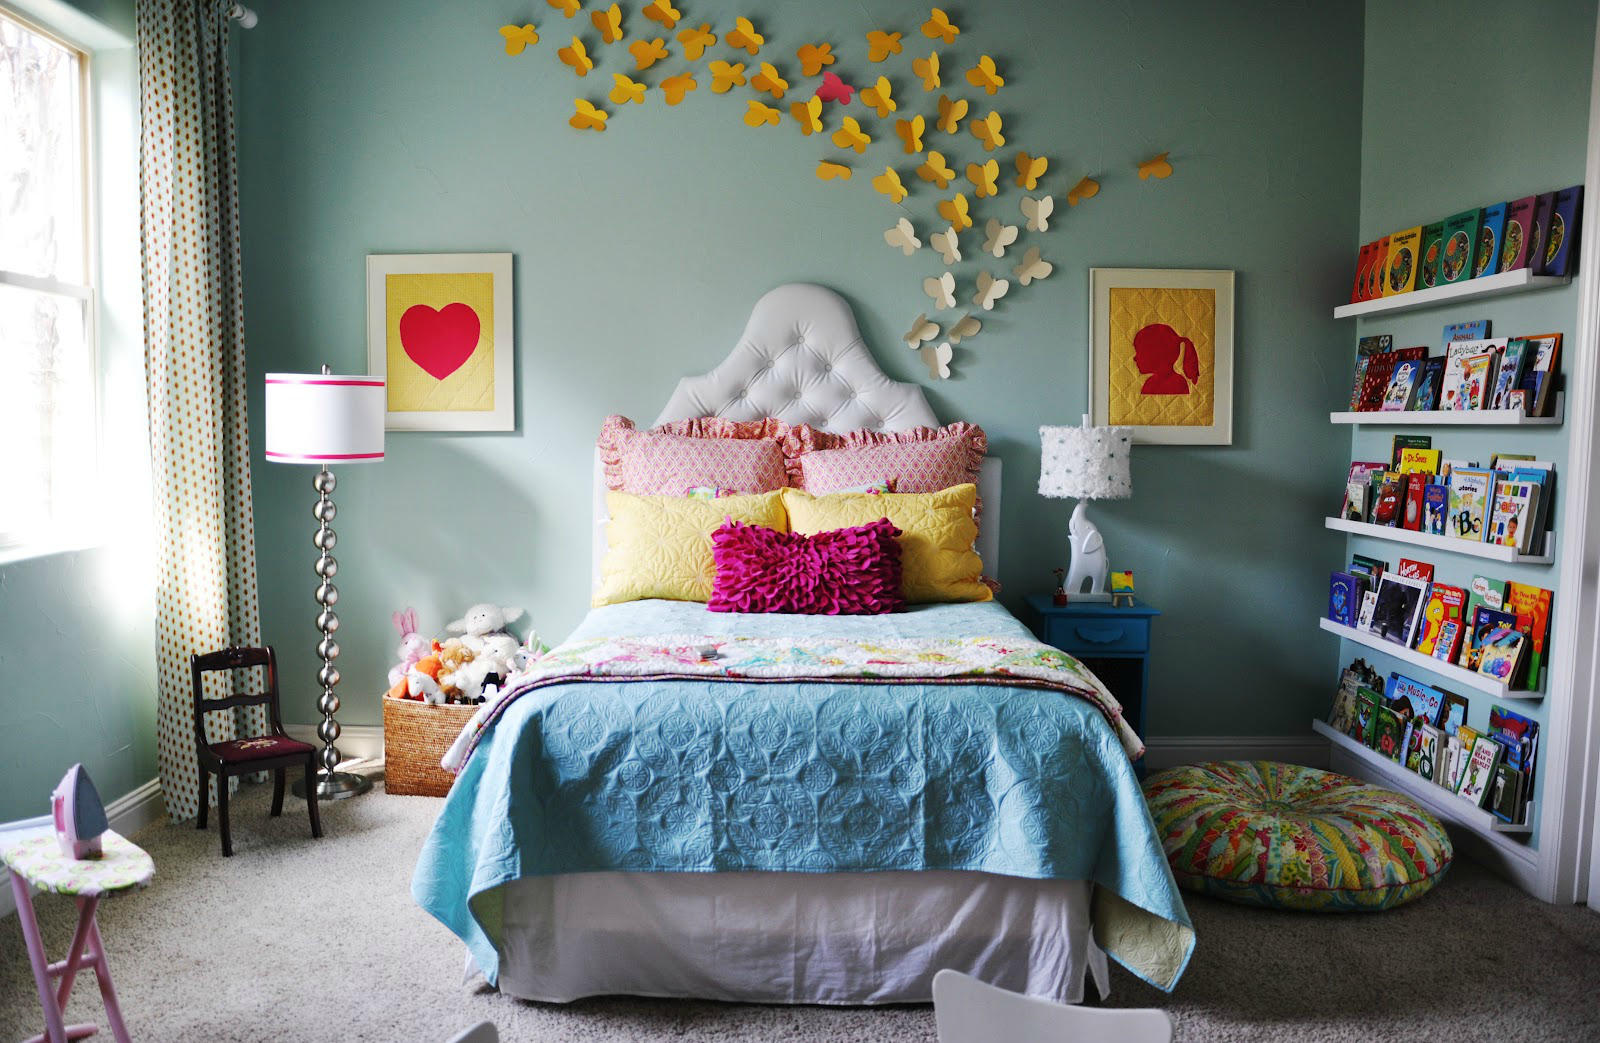
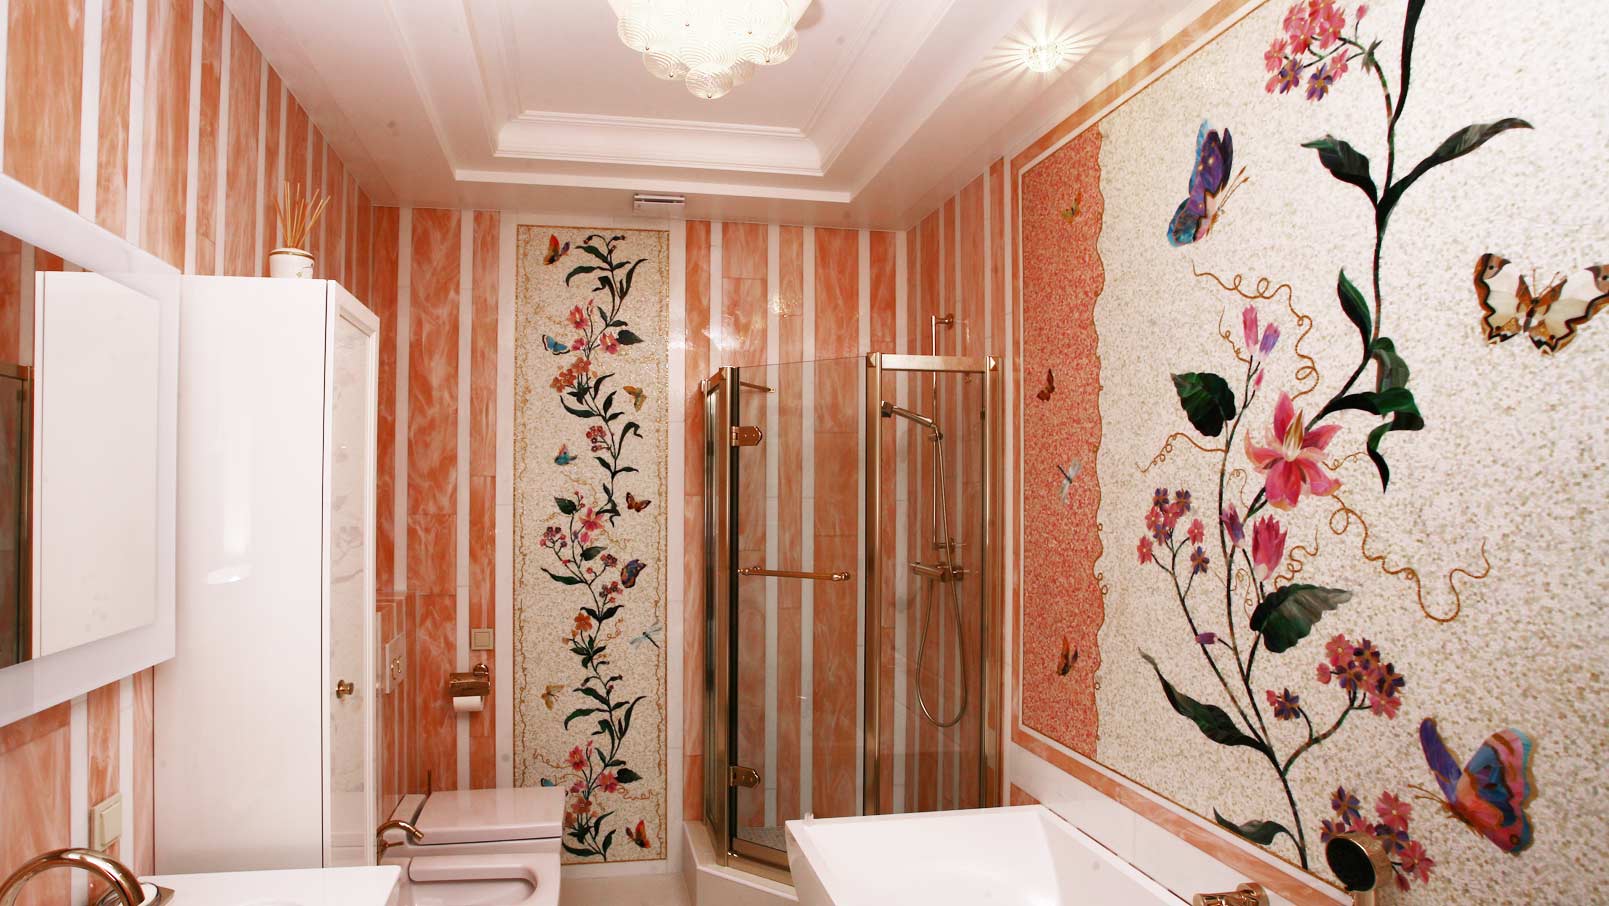
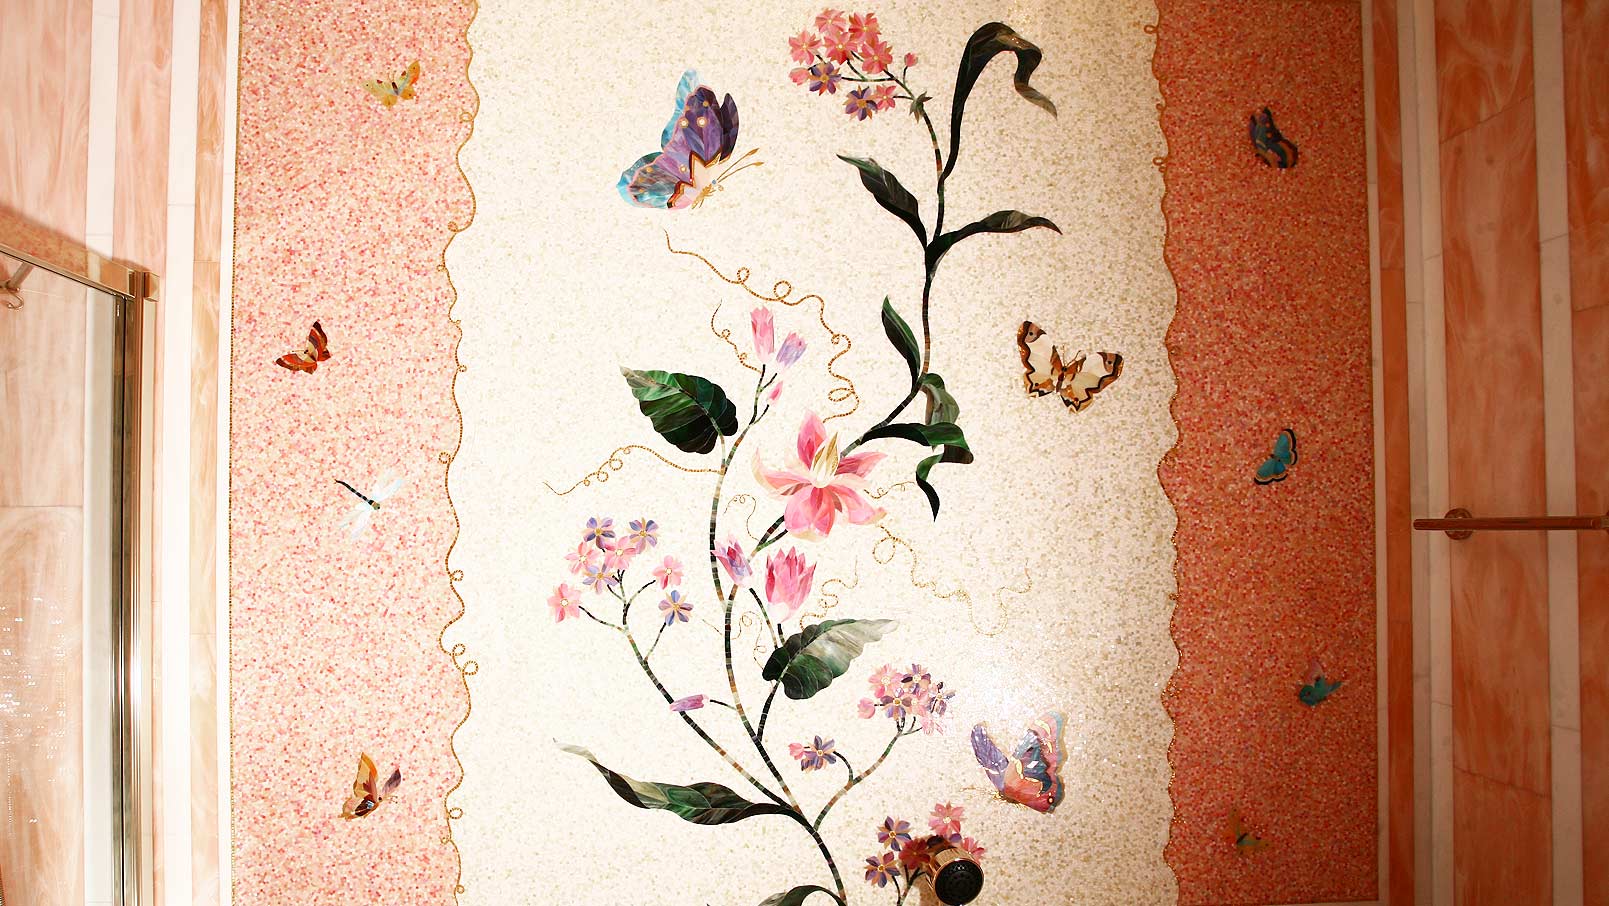
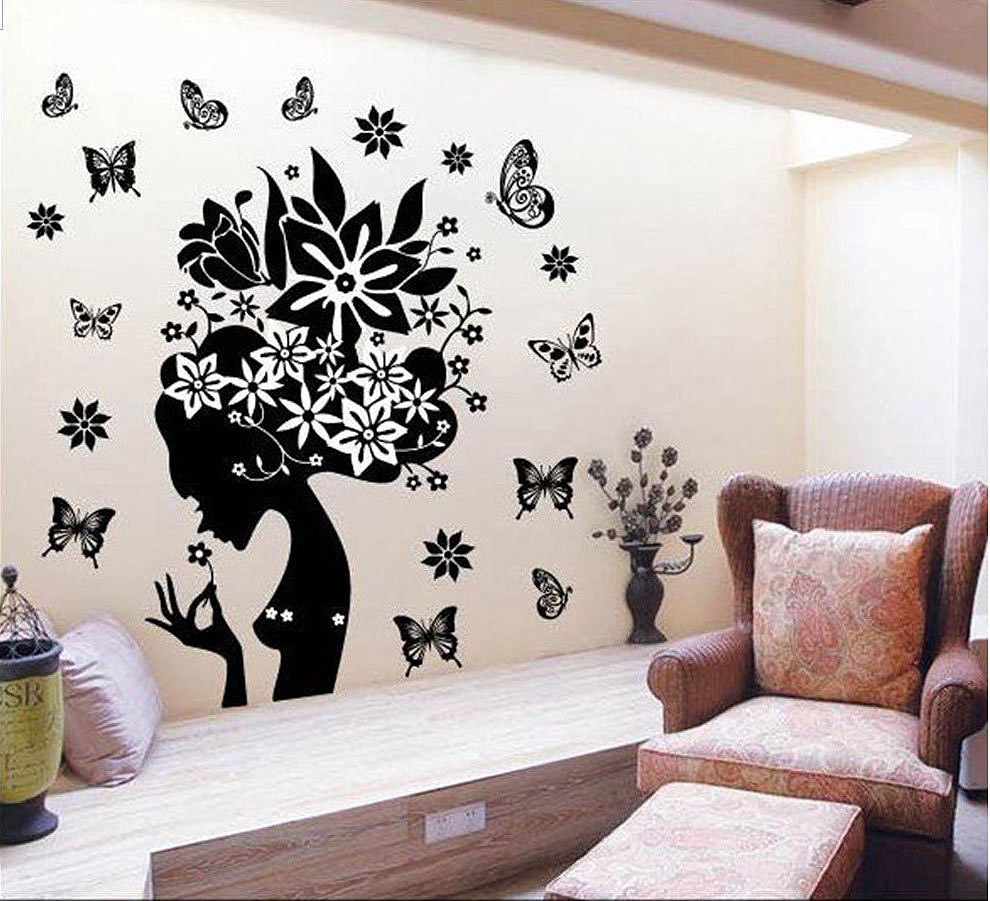
Crafts on the wall in the form of butterflies will help to refresh the boring and monotonous wall. They are used as a symbol of summer, lightness and freedom. Butterflies can be made from almost any material. Butterflies on the wall - a great way to decorate the room. They bring elegance and lightness to the room.
Content of this article:
What style will fit butterflies on the wall?
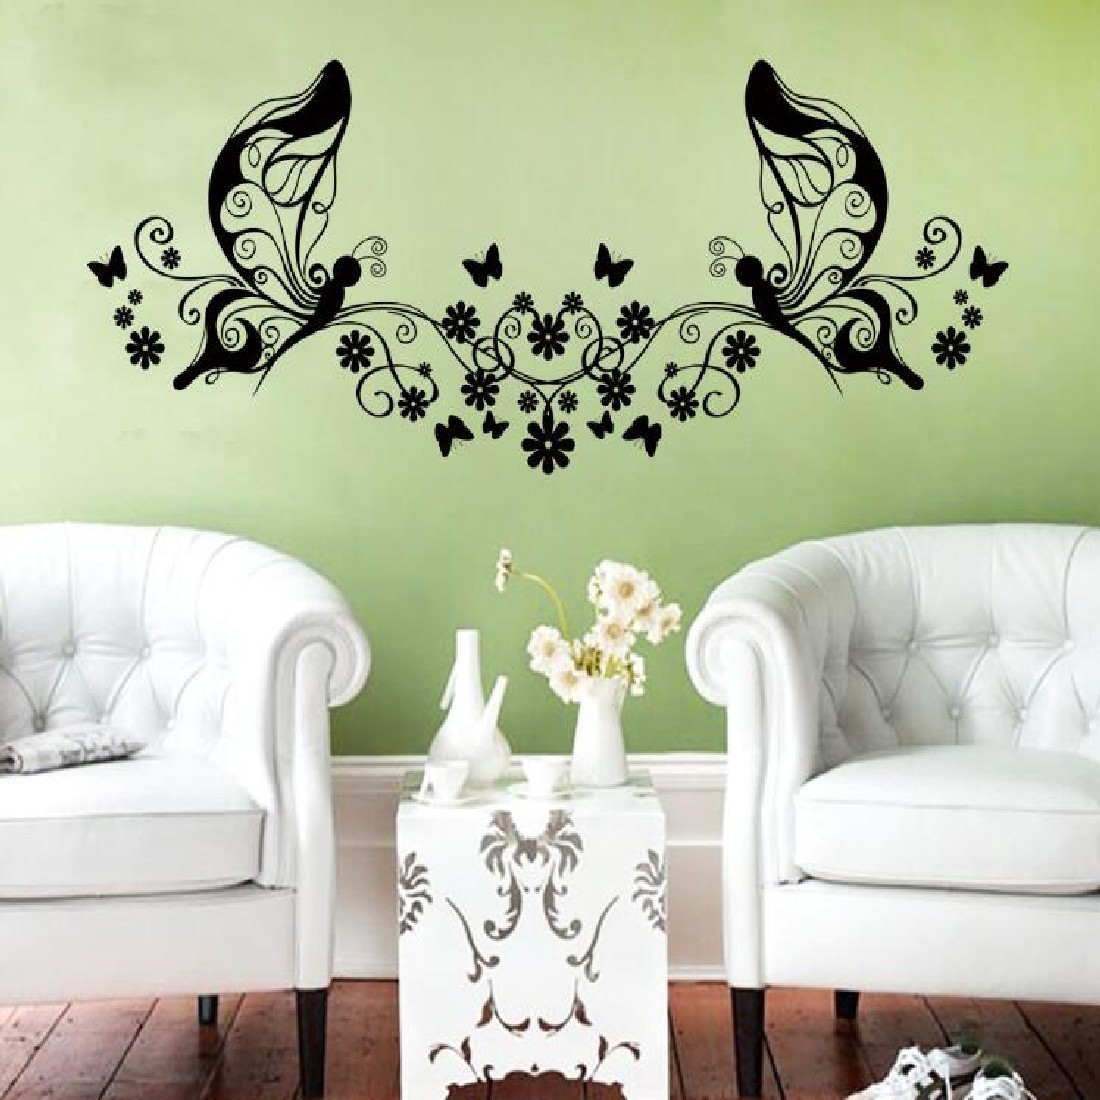
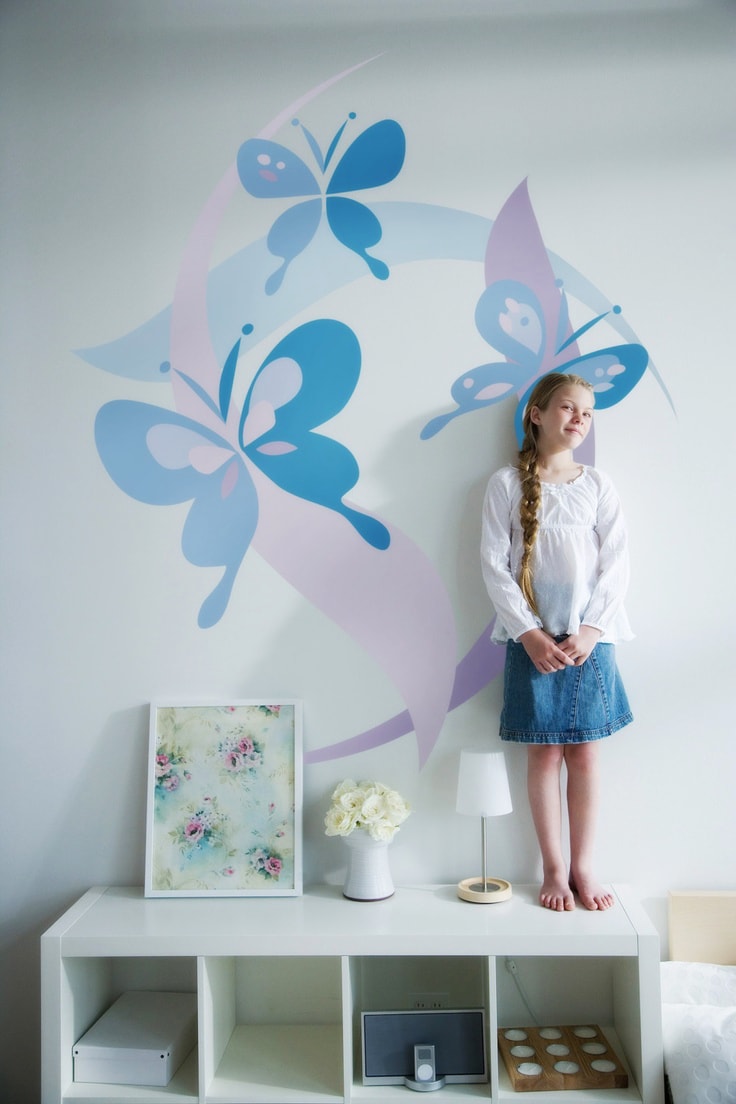
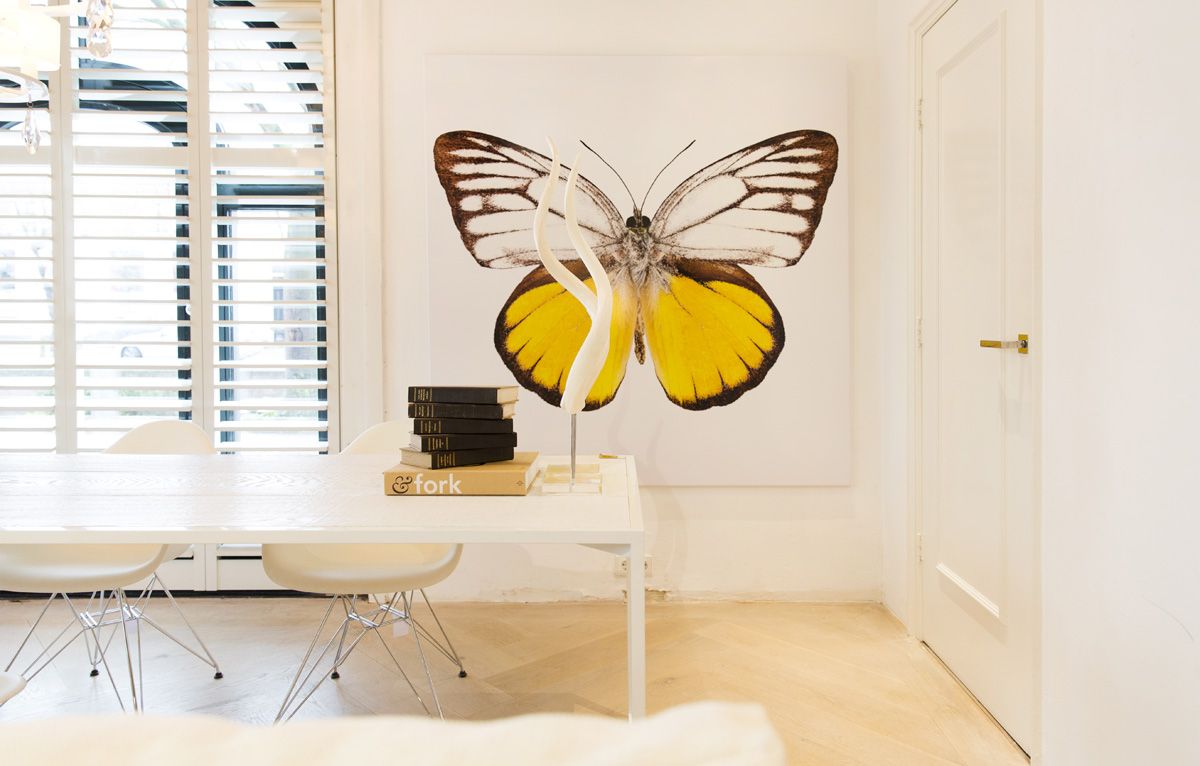
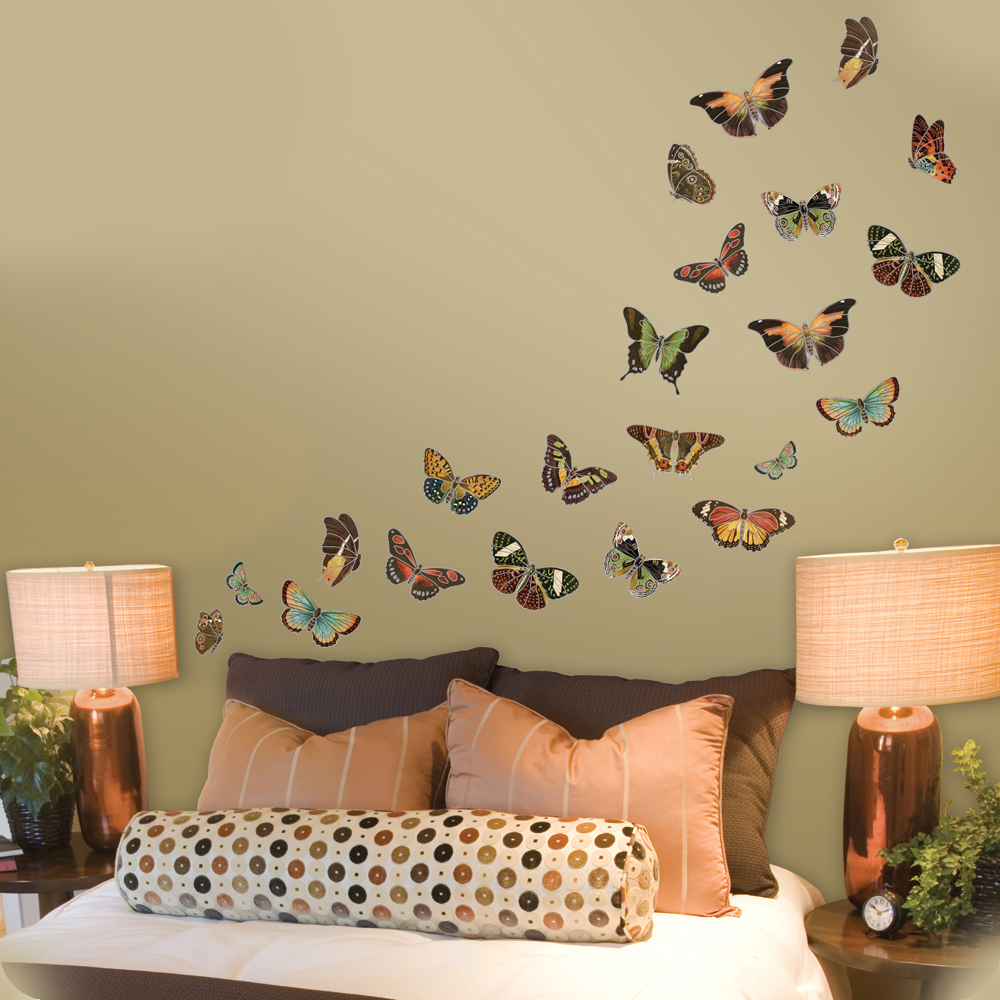
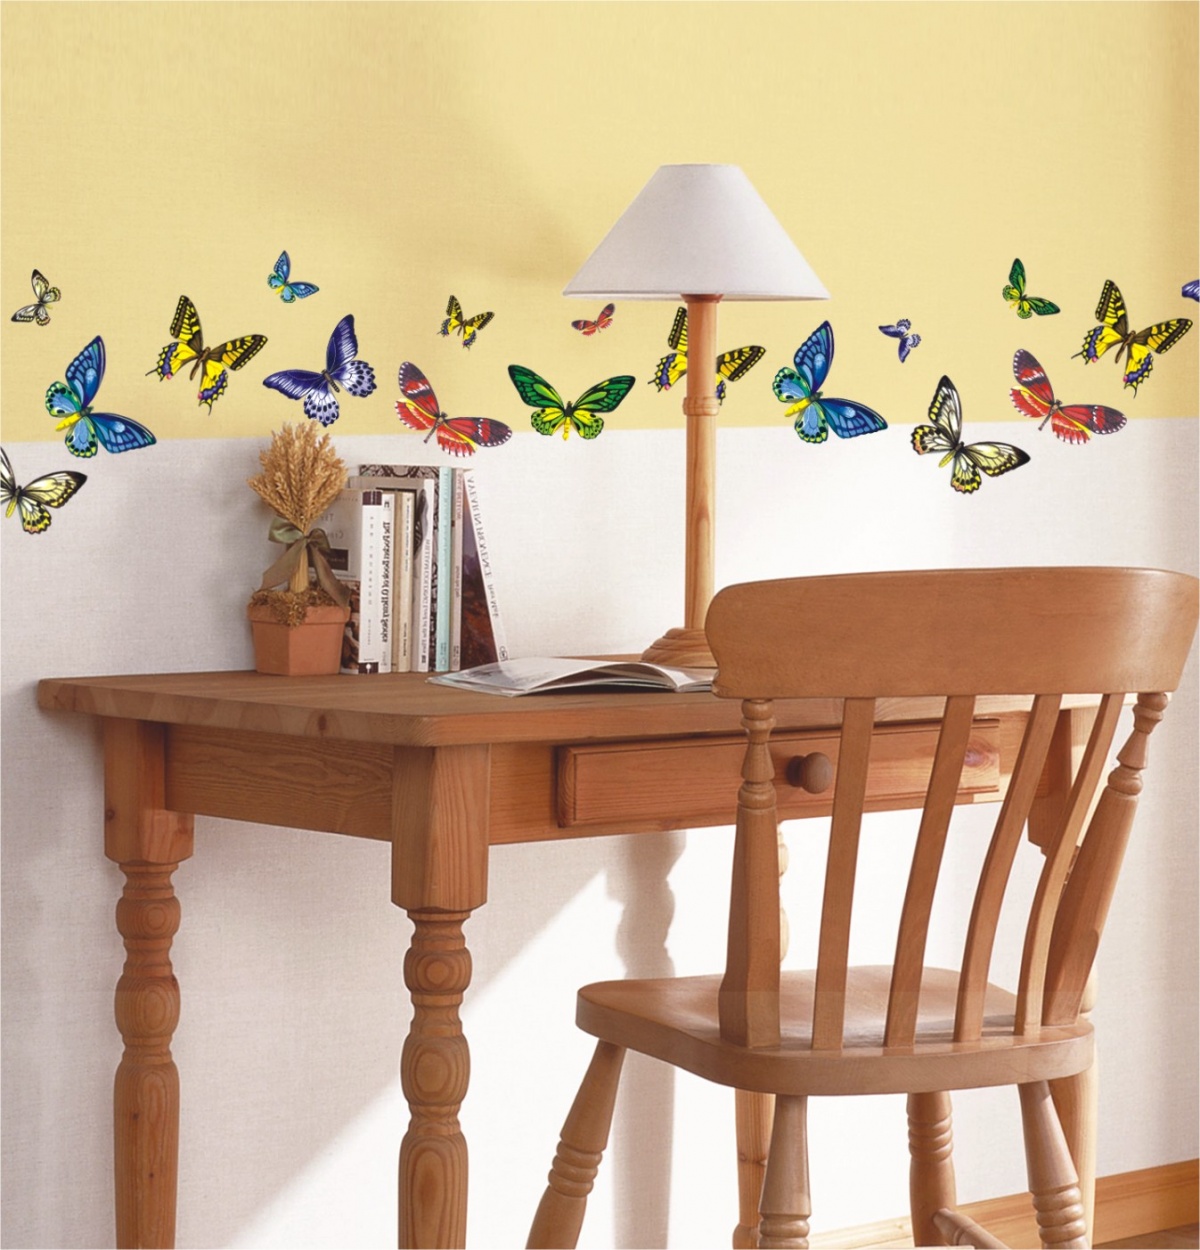
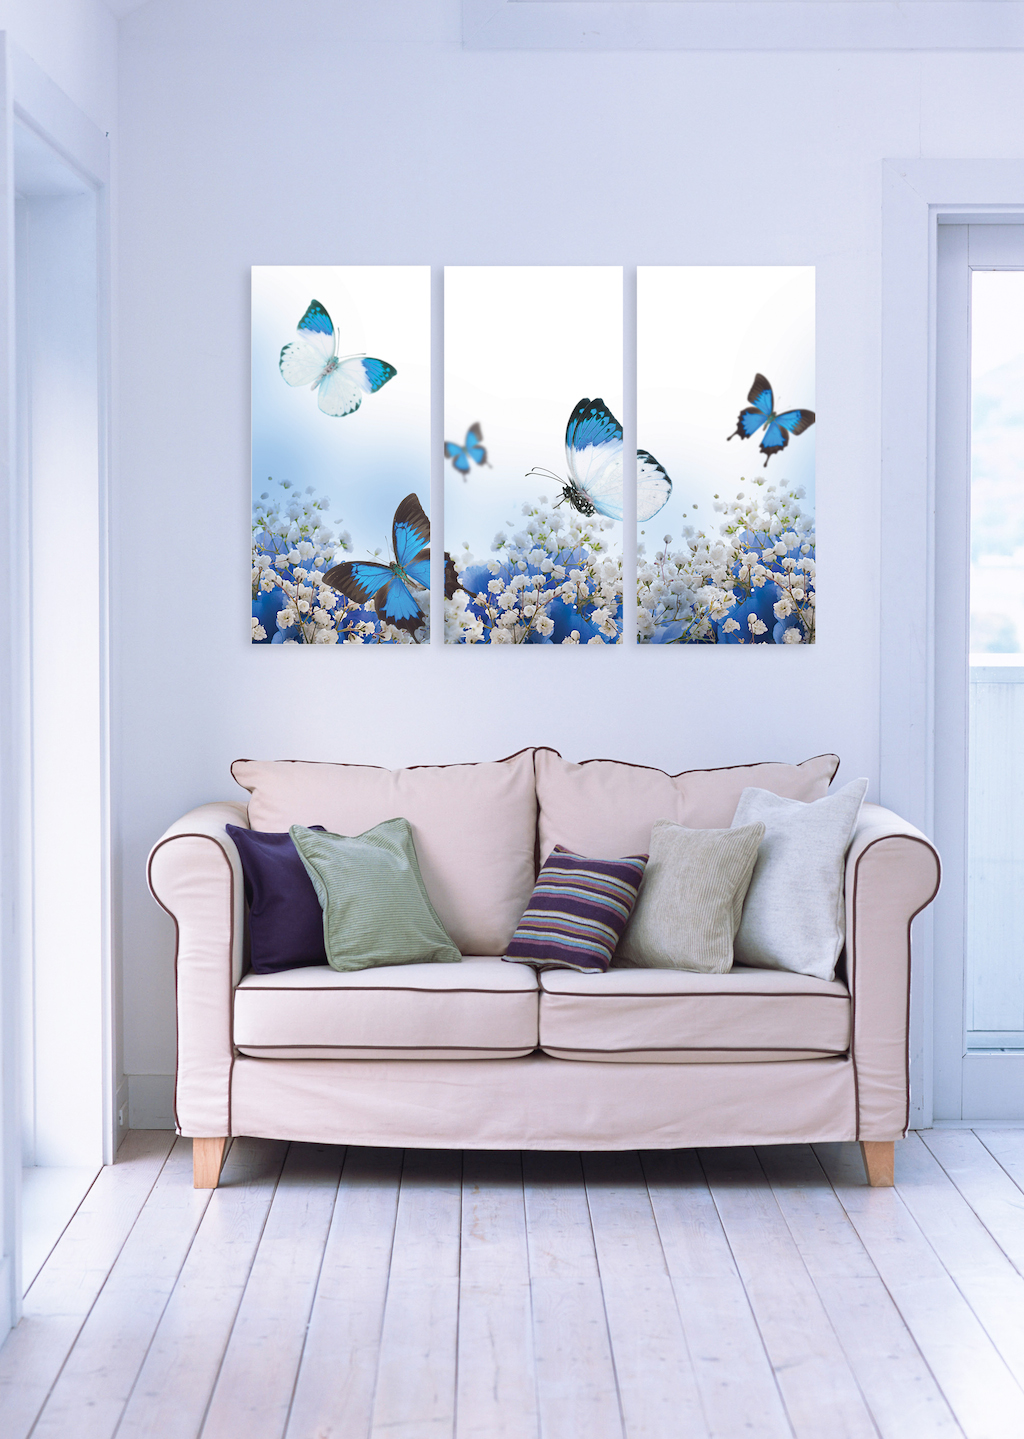
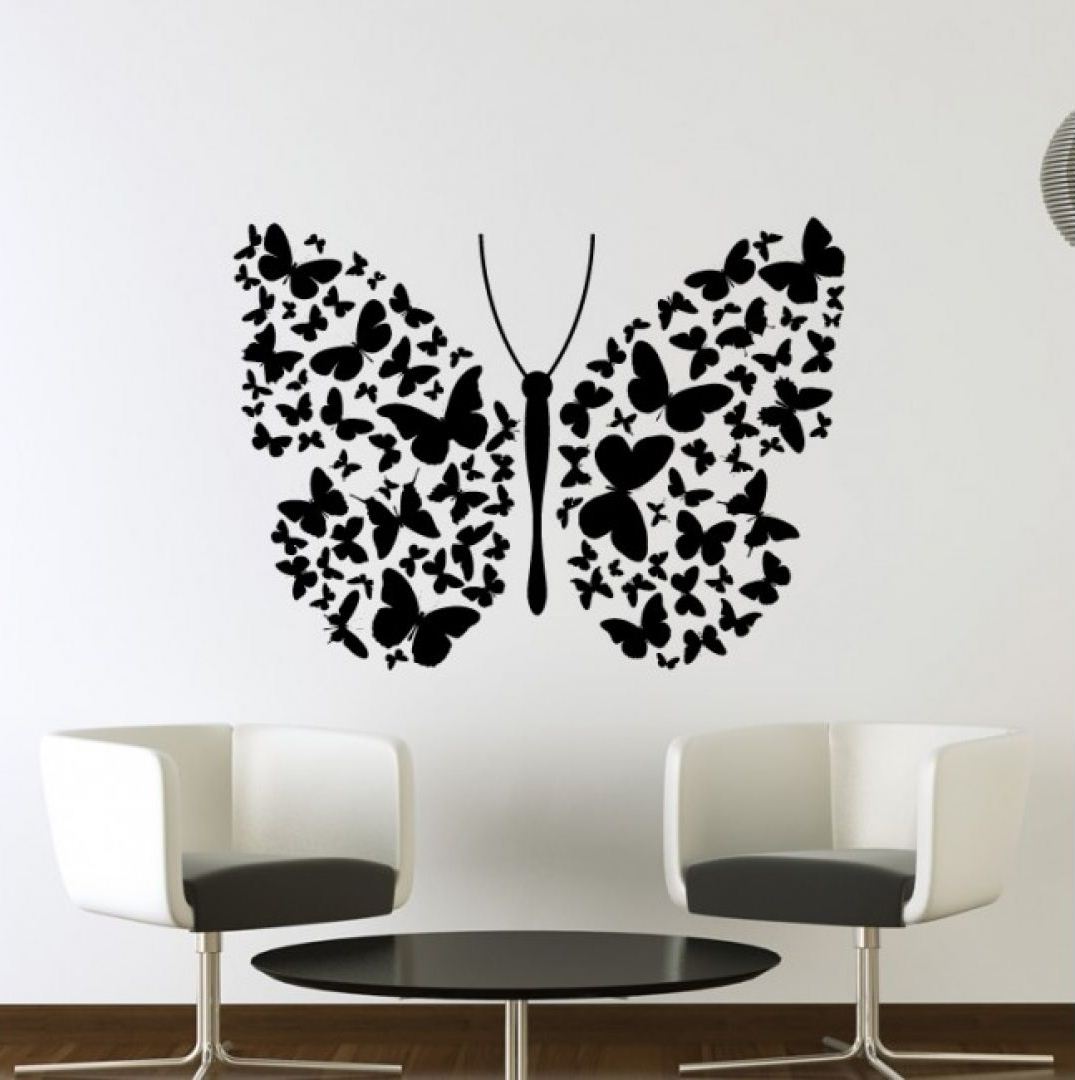
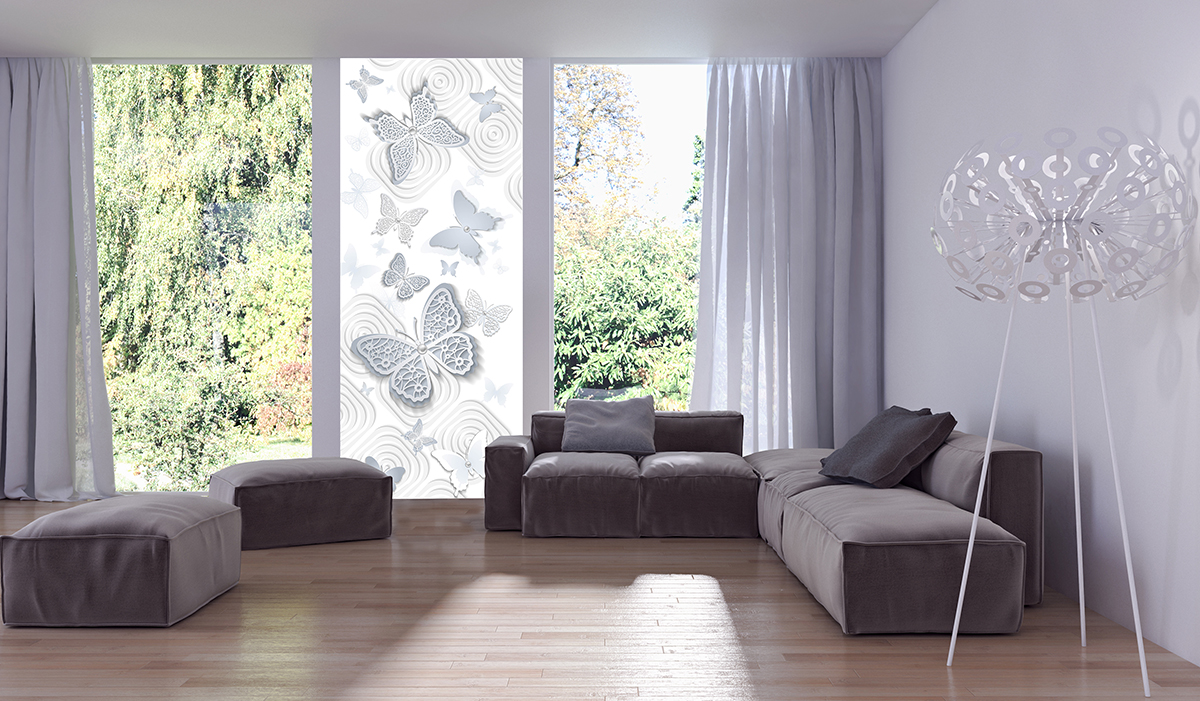
Butterflies on the wall are made as muralfixed on one or several walls of the room. They can paper making, fabrics and many other materials. Depending on the room design style the correct way of production and registration of a panel is selected.
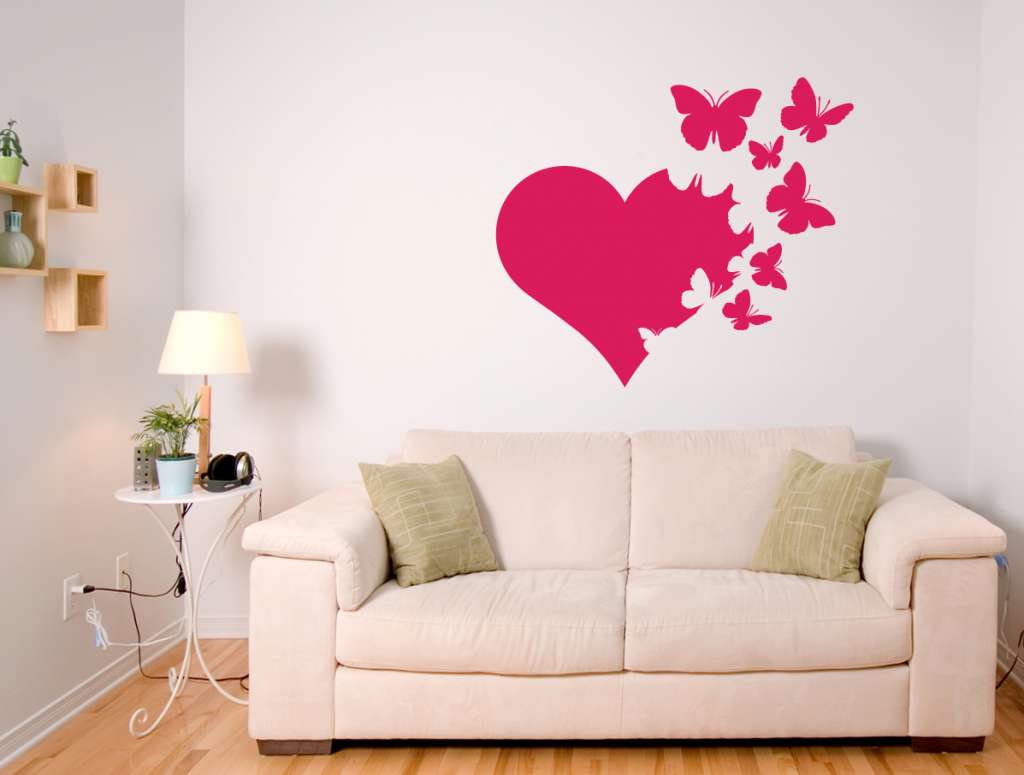
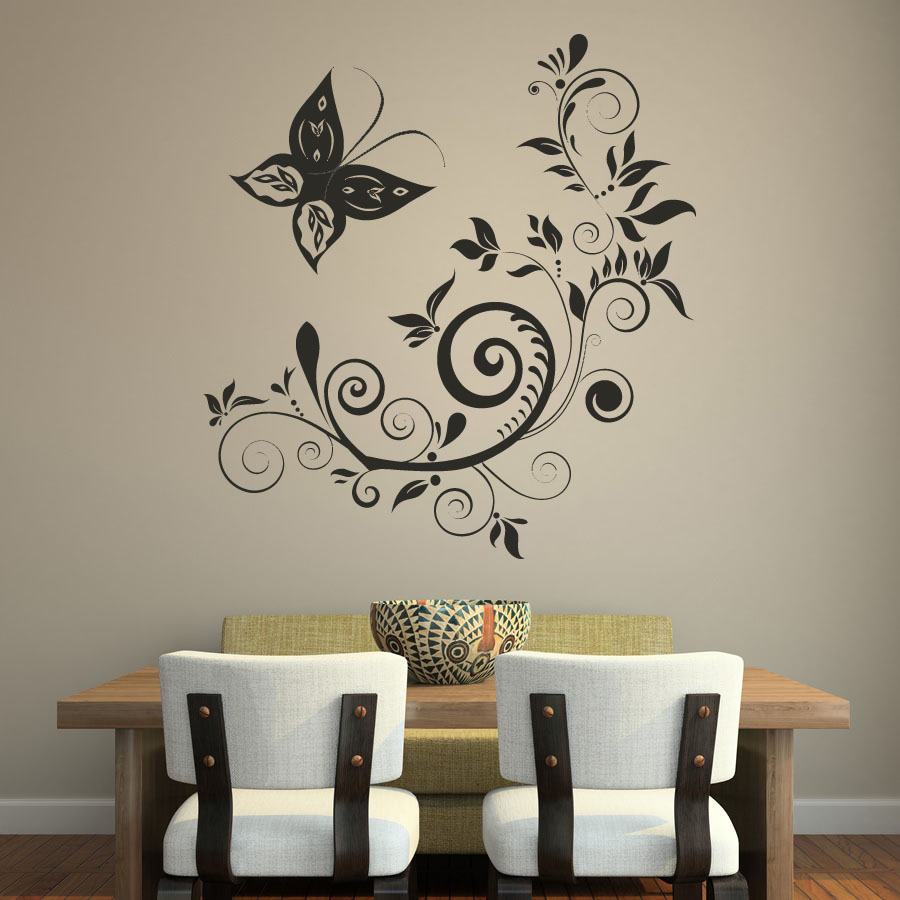
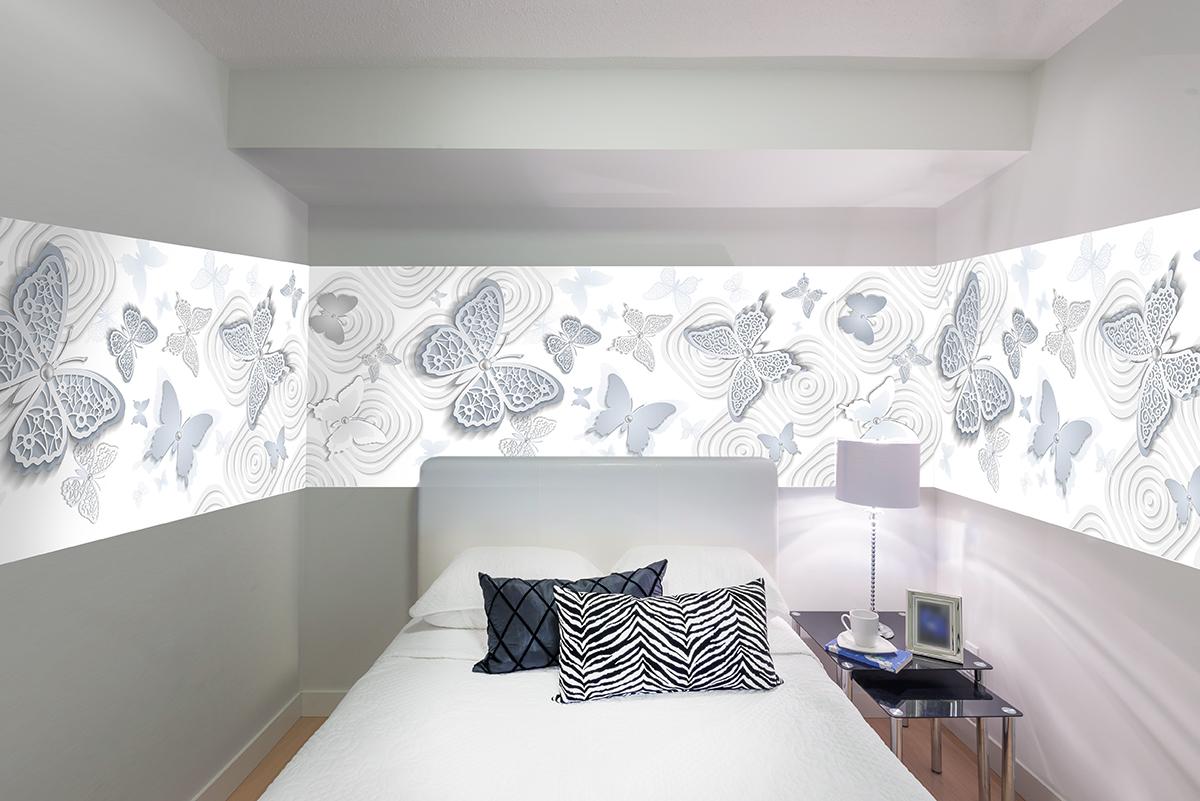
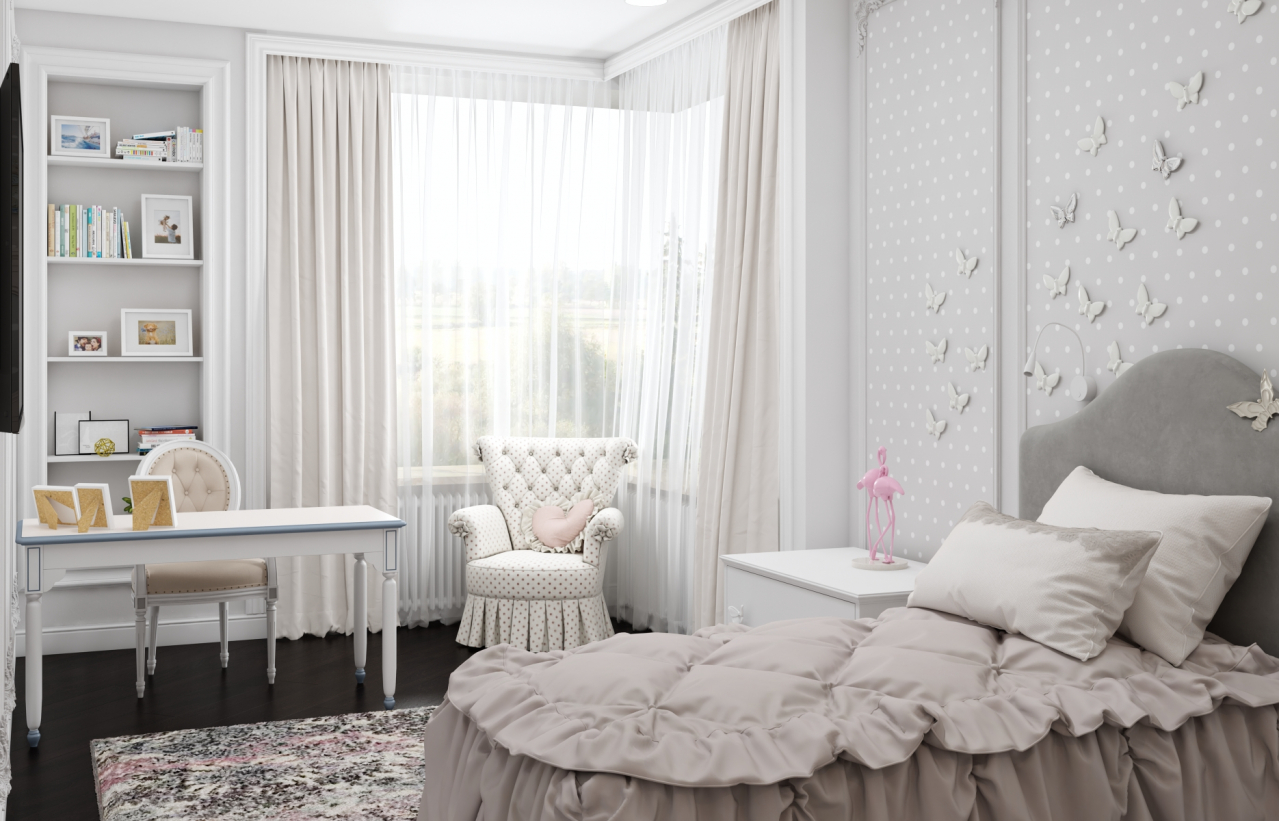
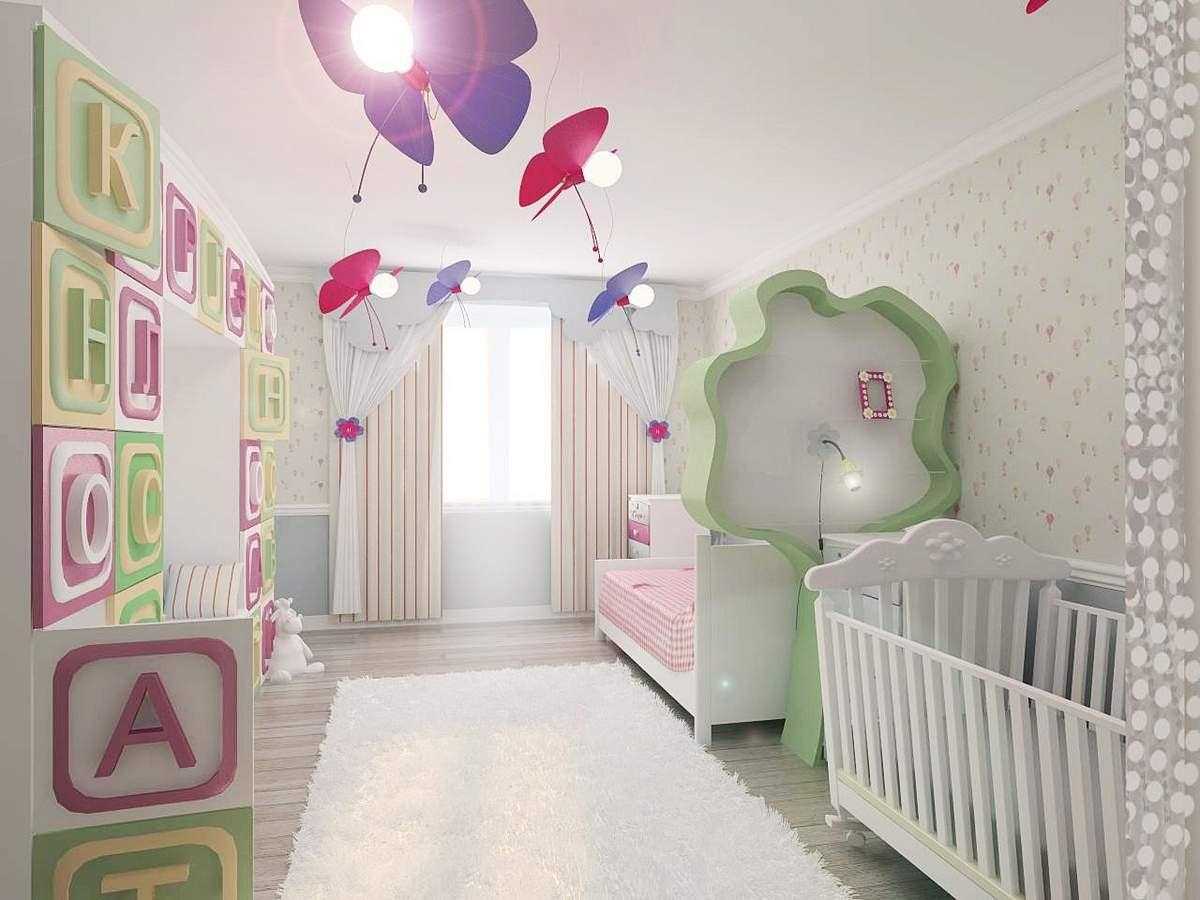
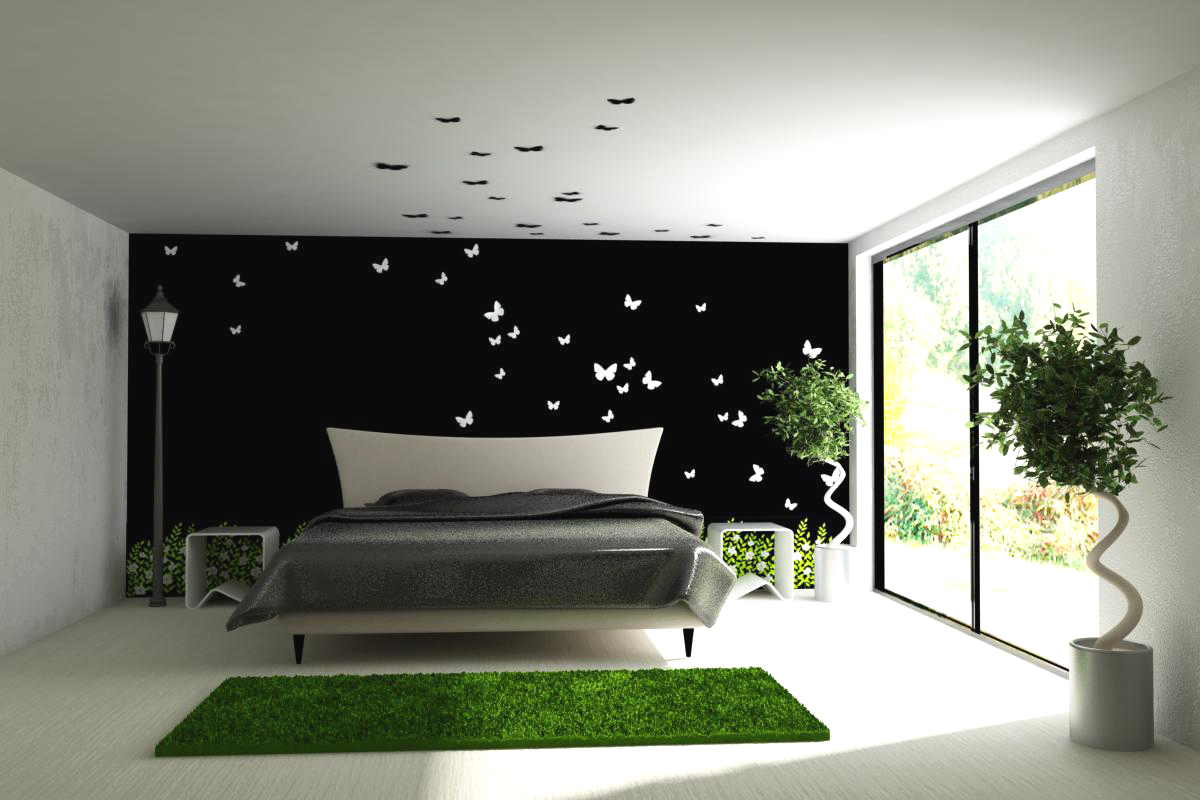
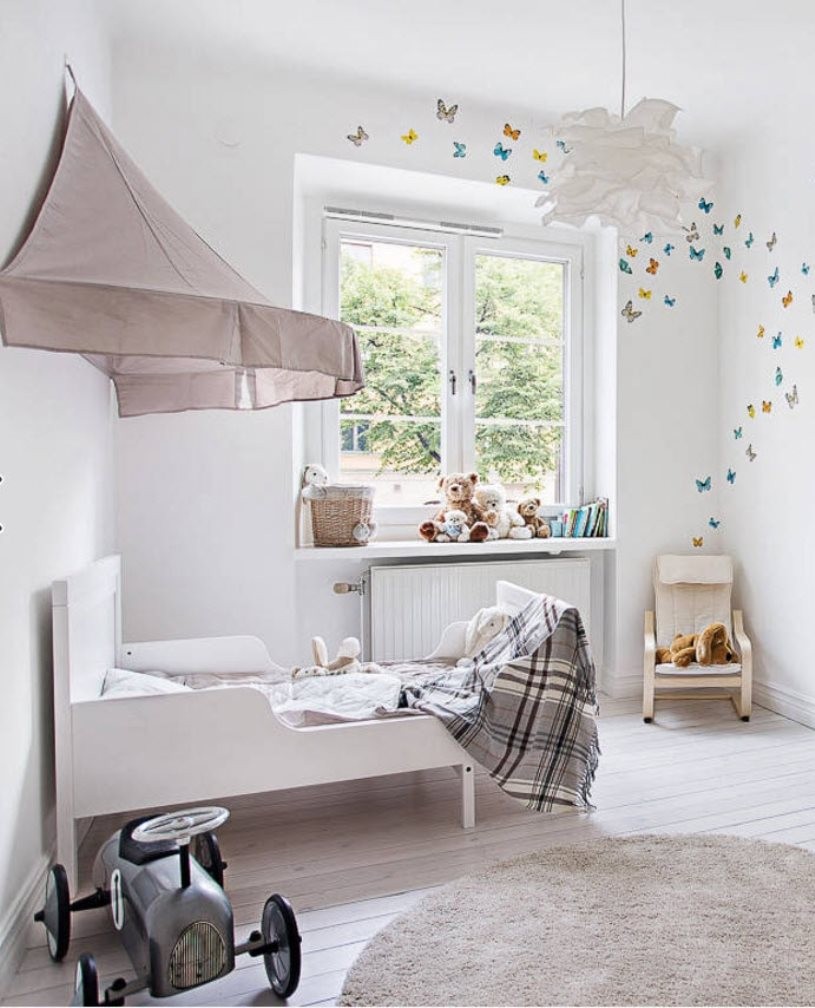
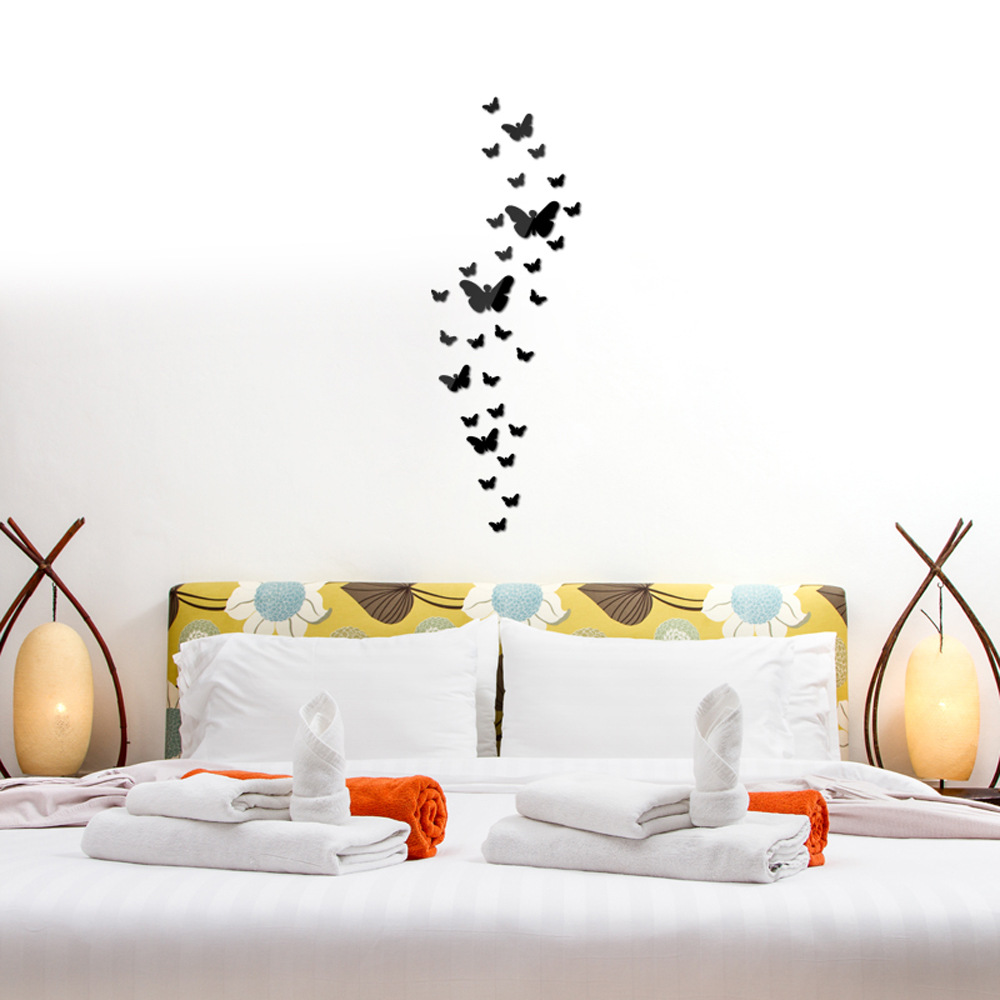
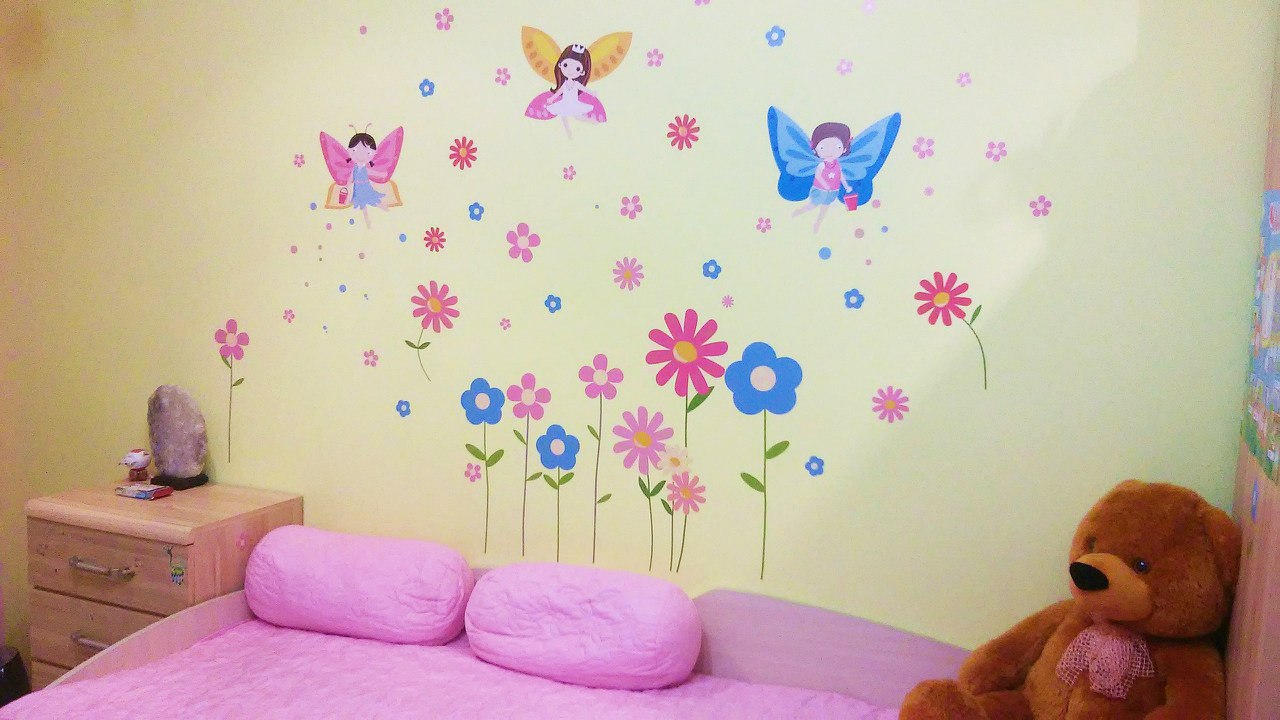
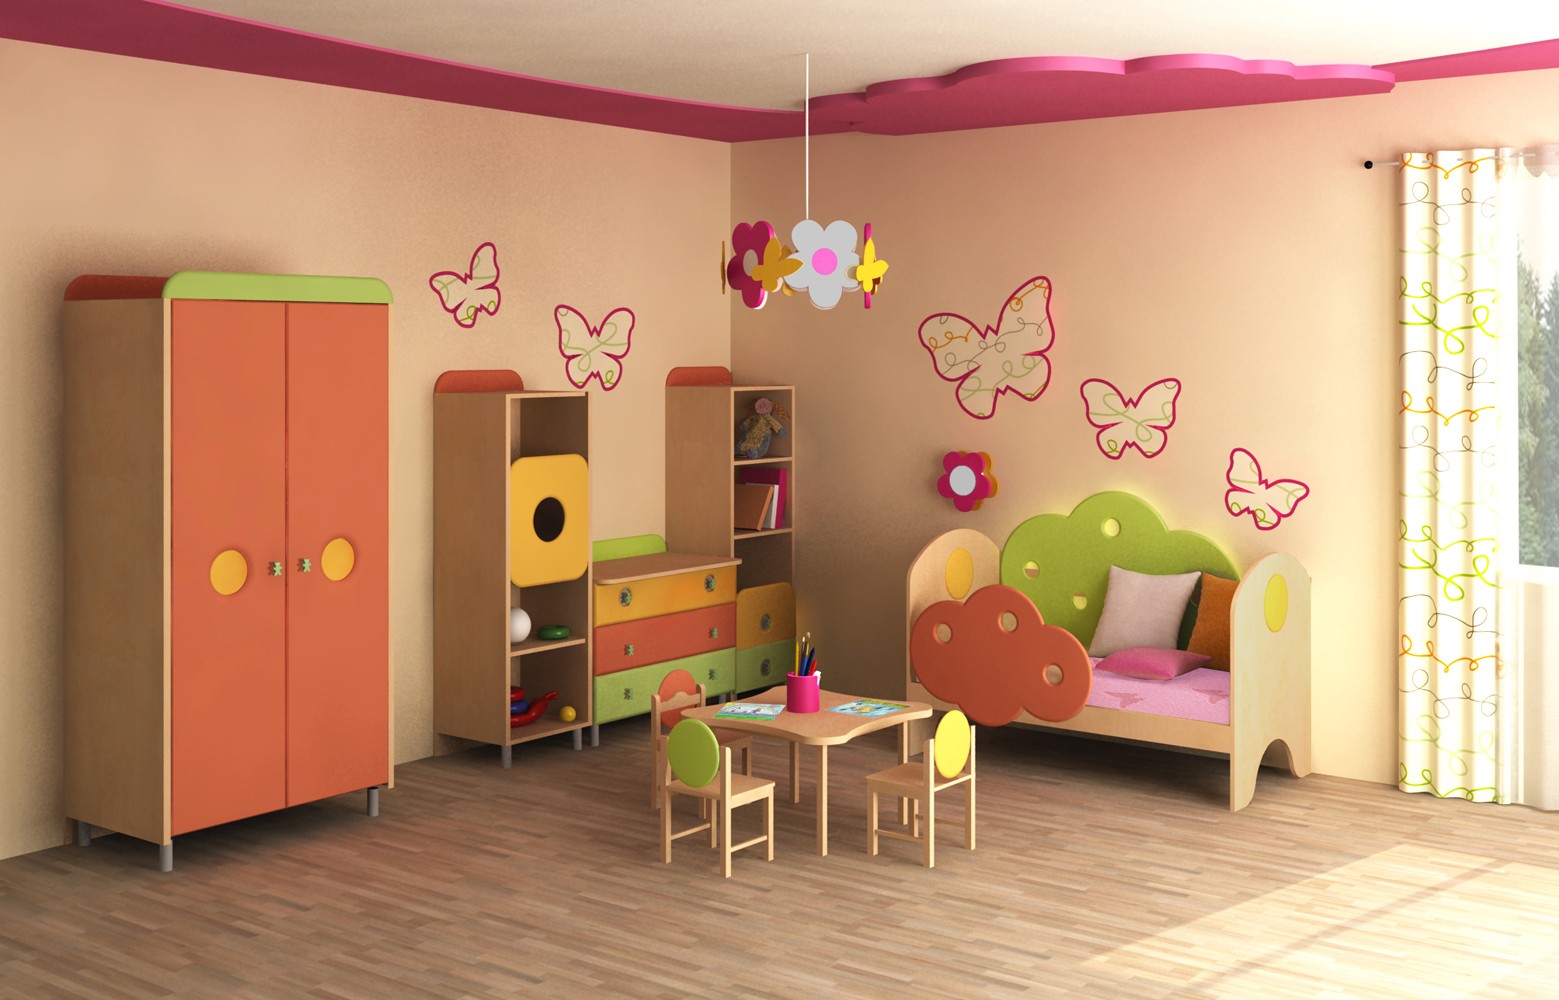
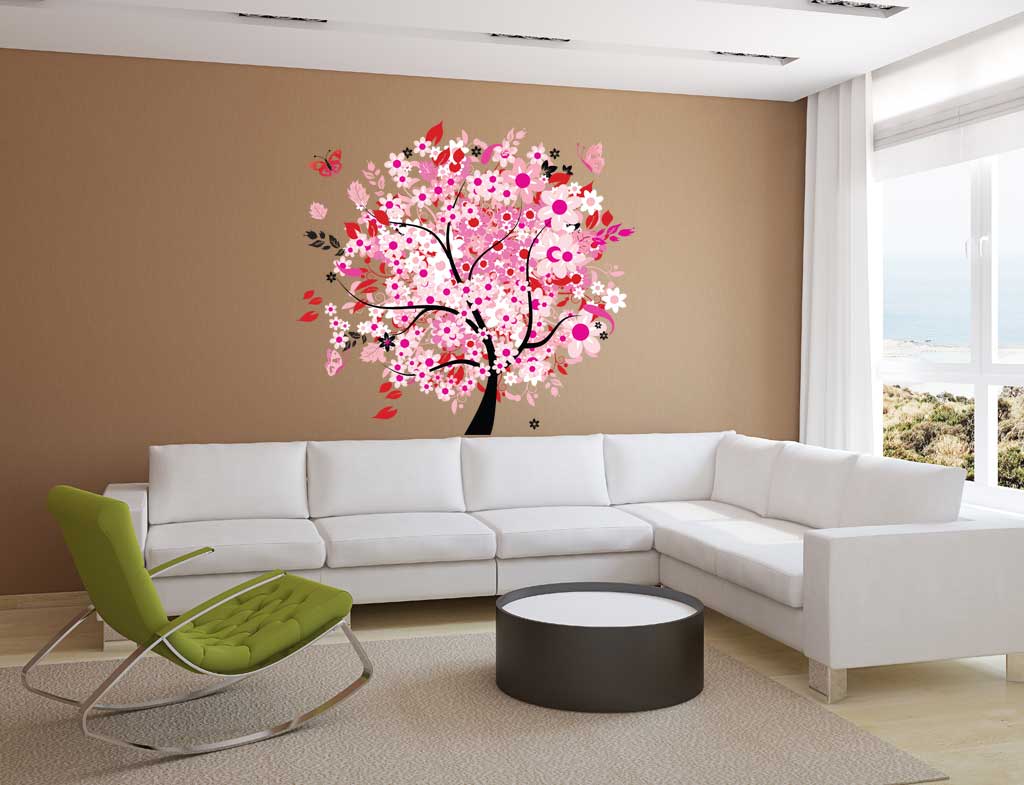
Butterflies are chosen according to the style of the room.
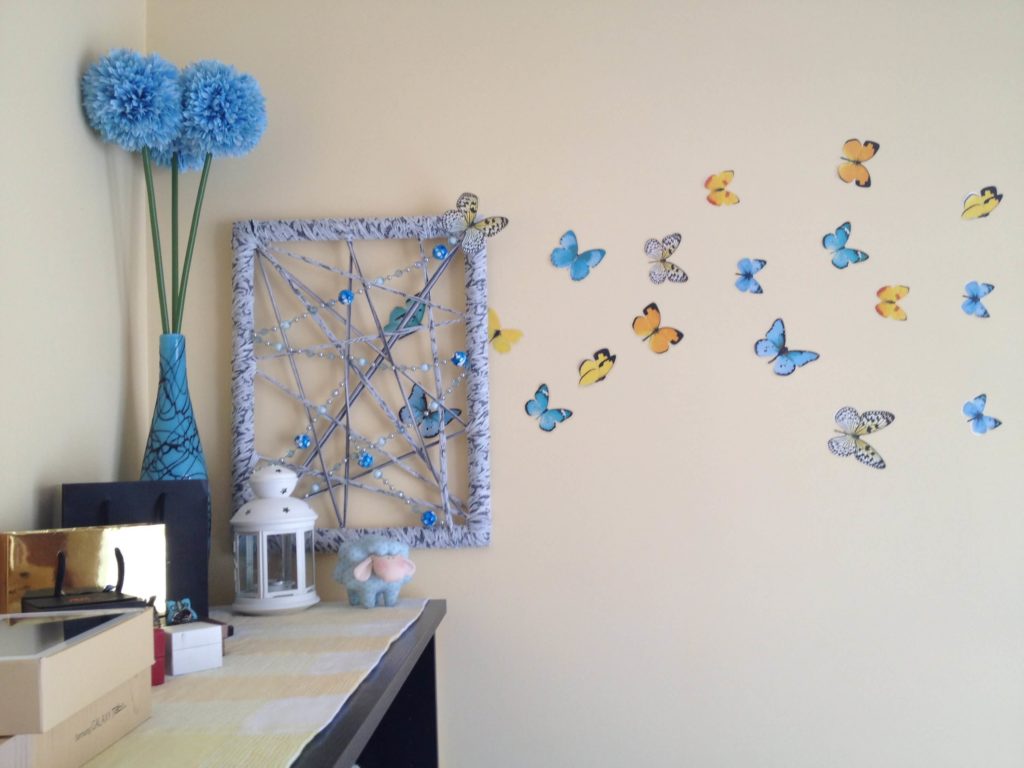
They can be attached to the wall arbitrarily or make a panel. You can also create pictures.
The lighter the material, the more realistic
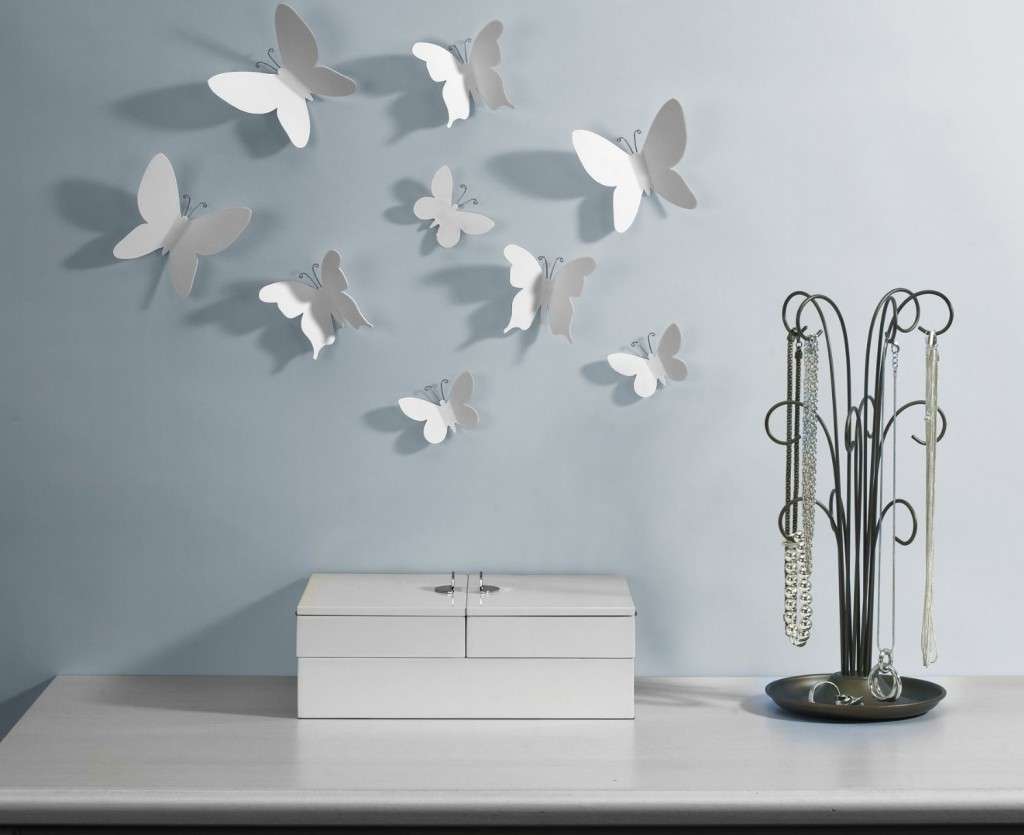
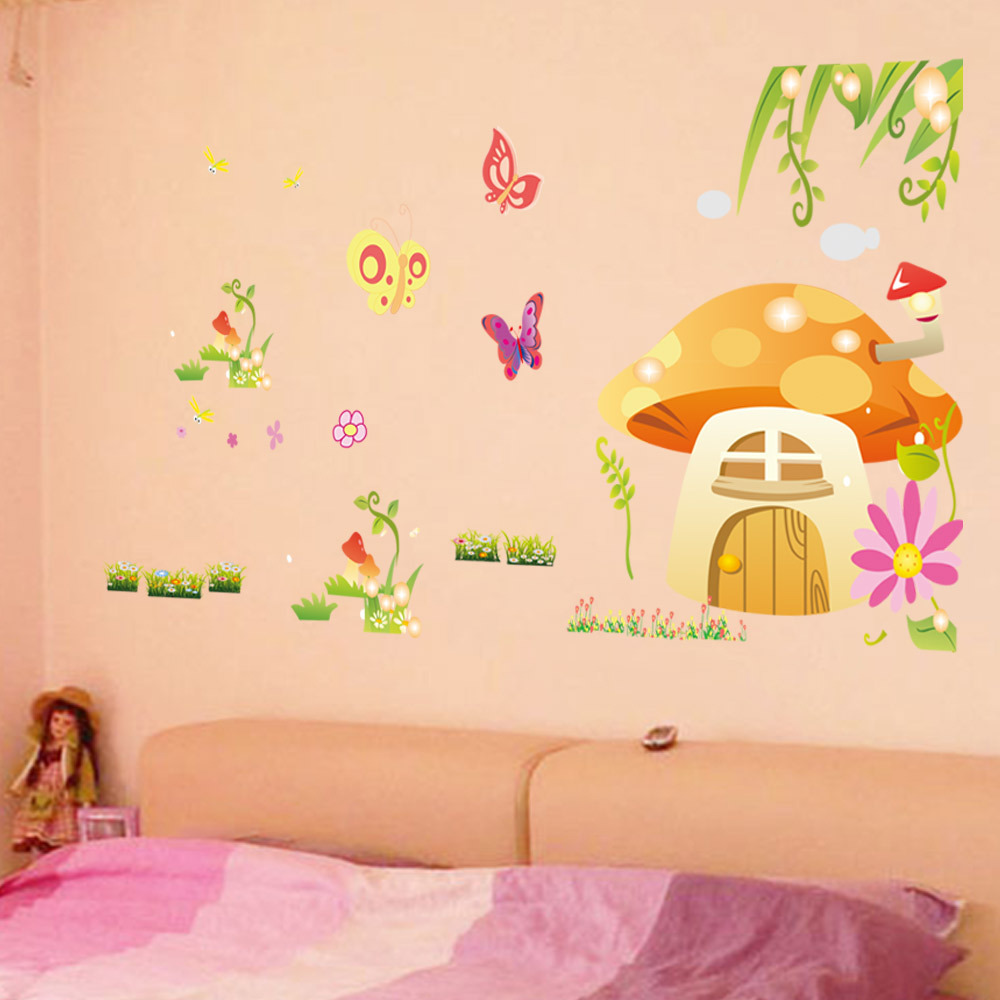
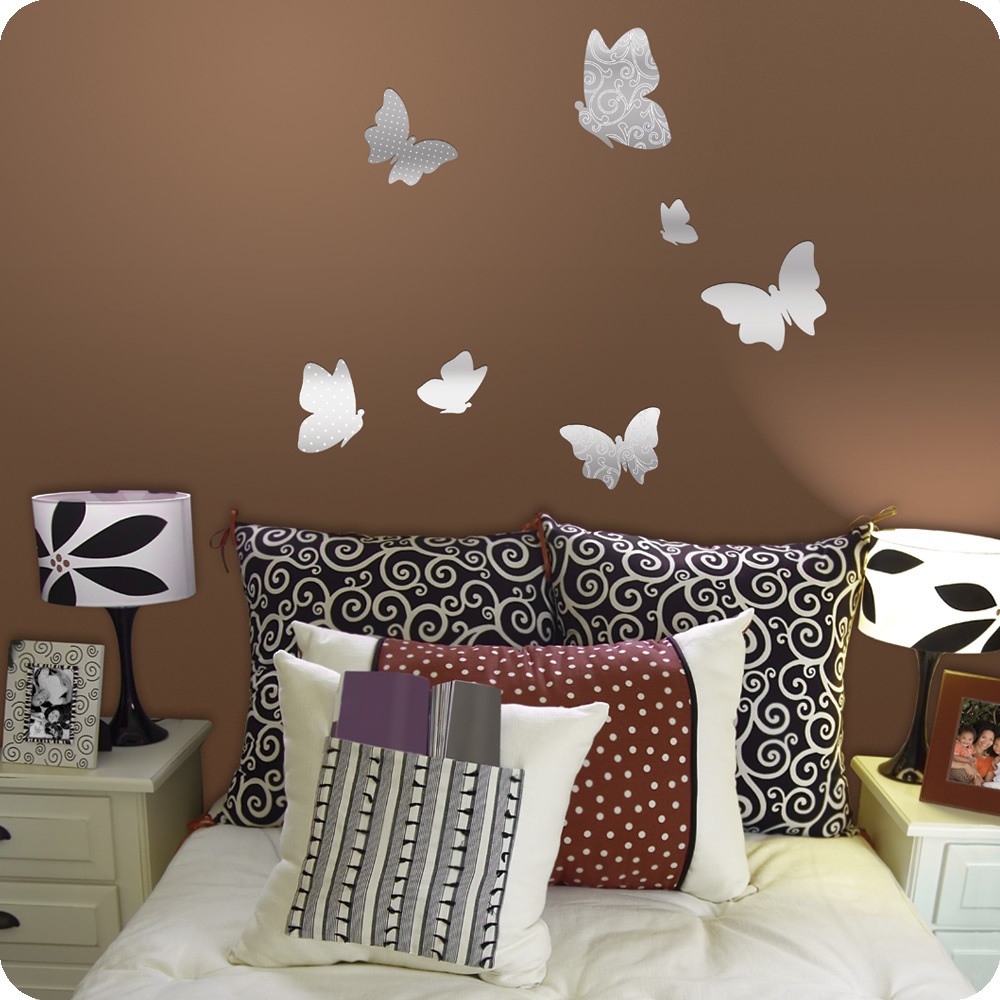
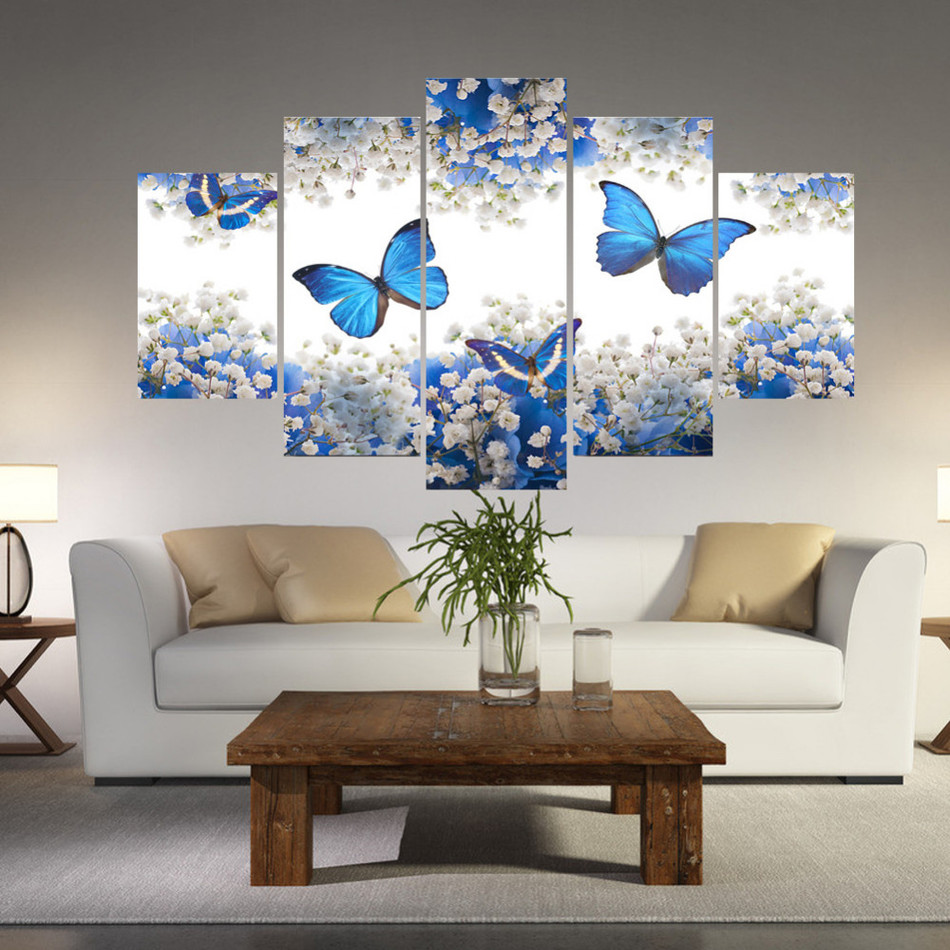
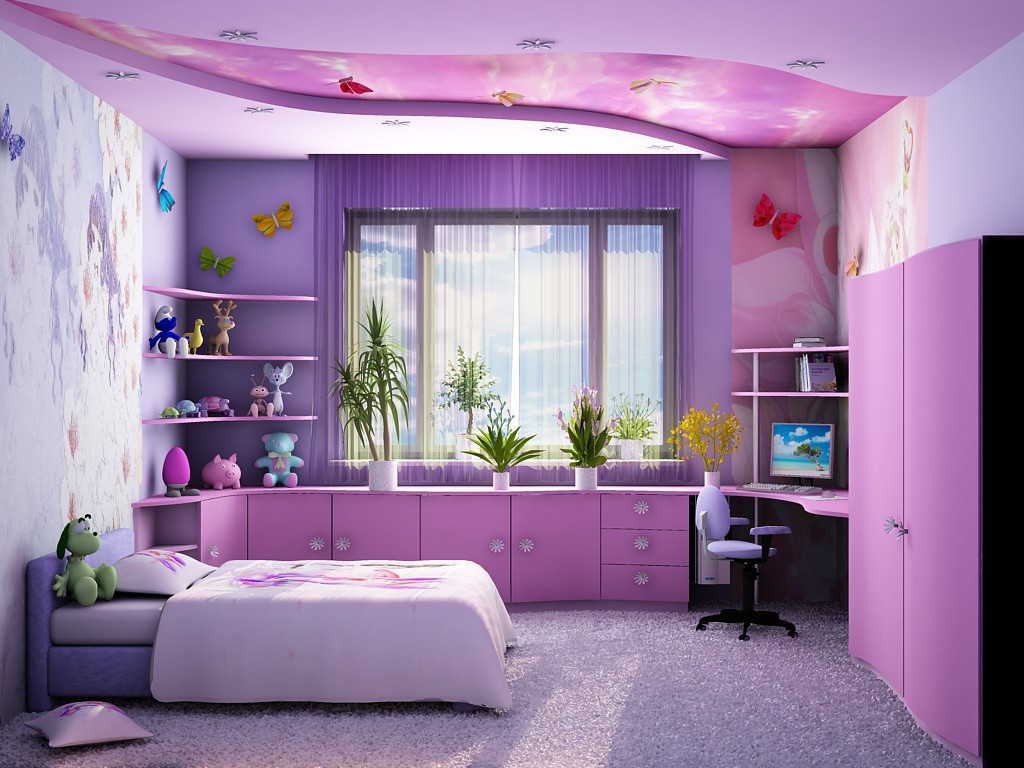
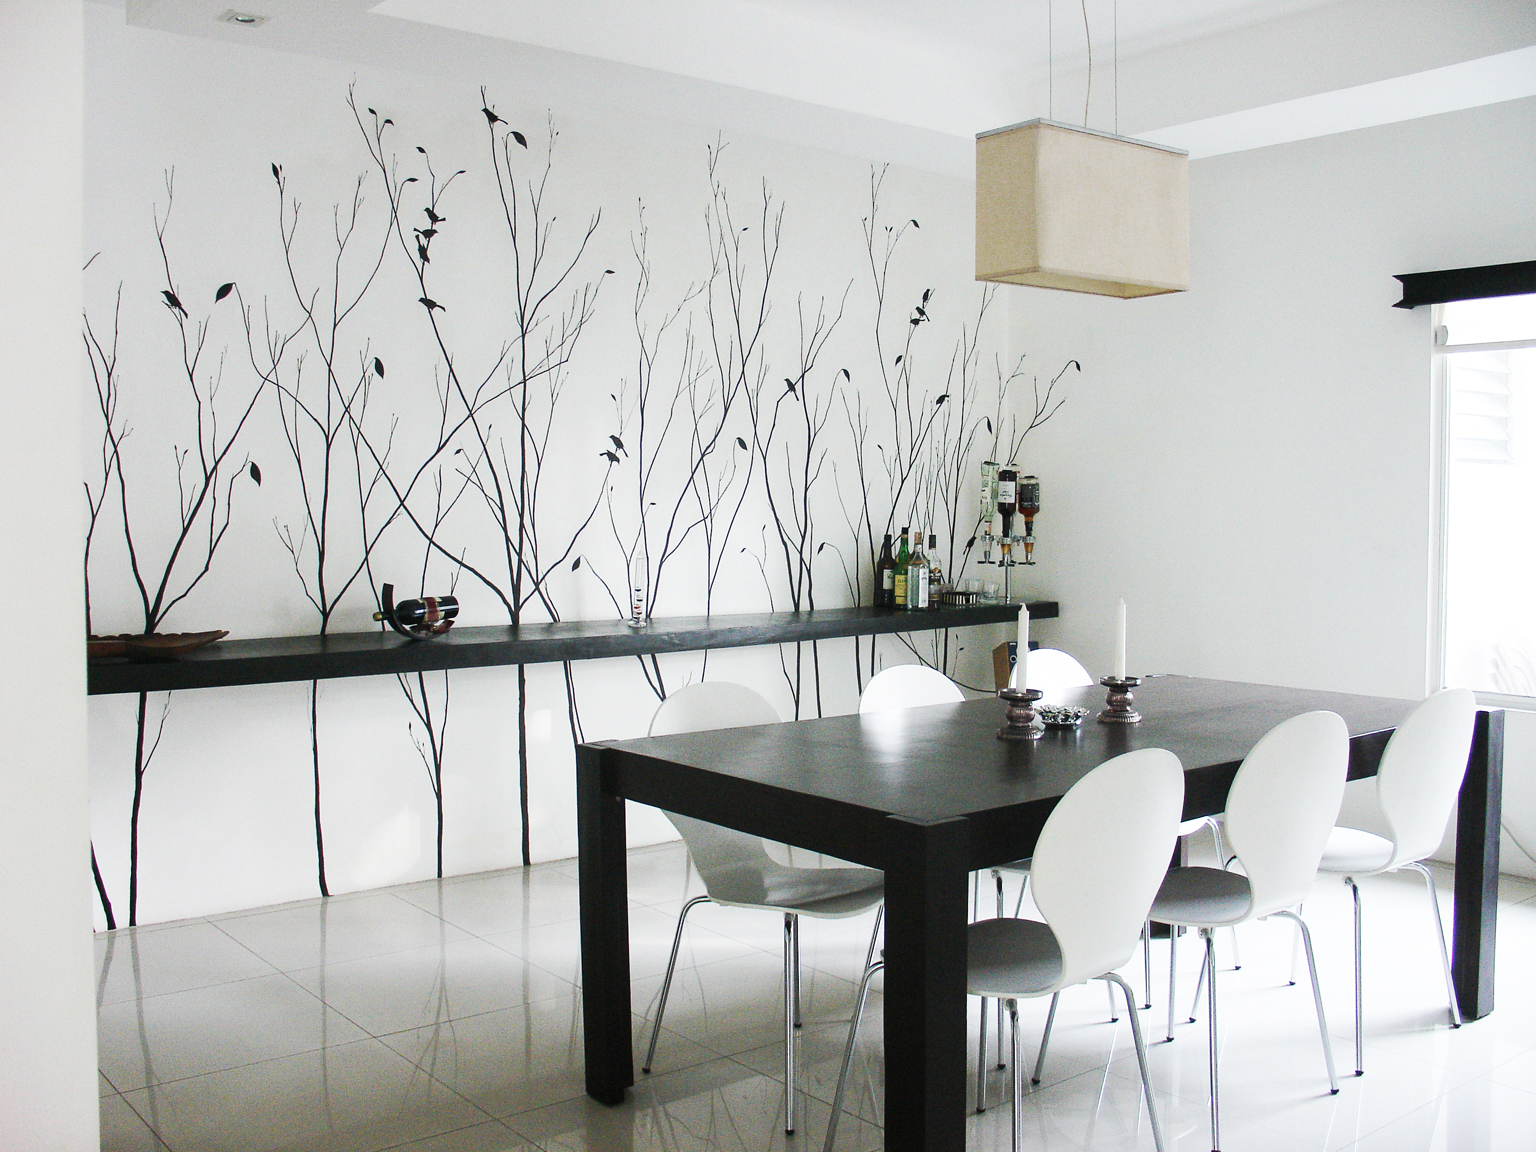
Moths are suitable for decorating a room of almost any style, but best of all winged insects will look in styles:
.
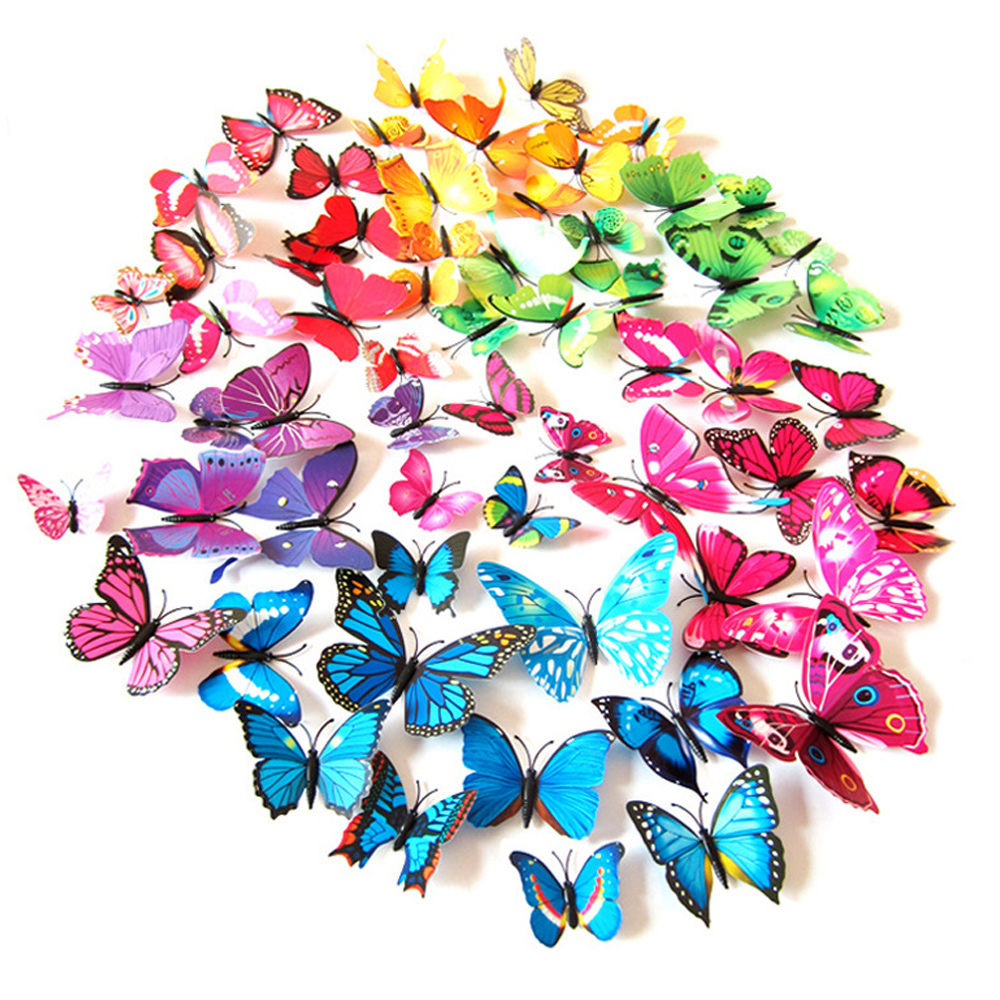
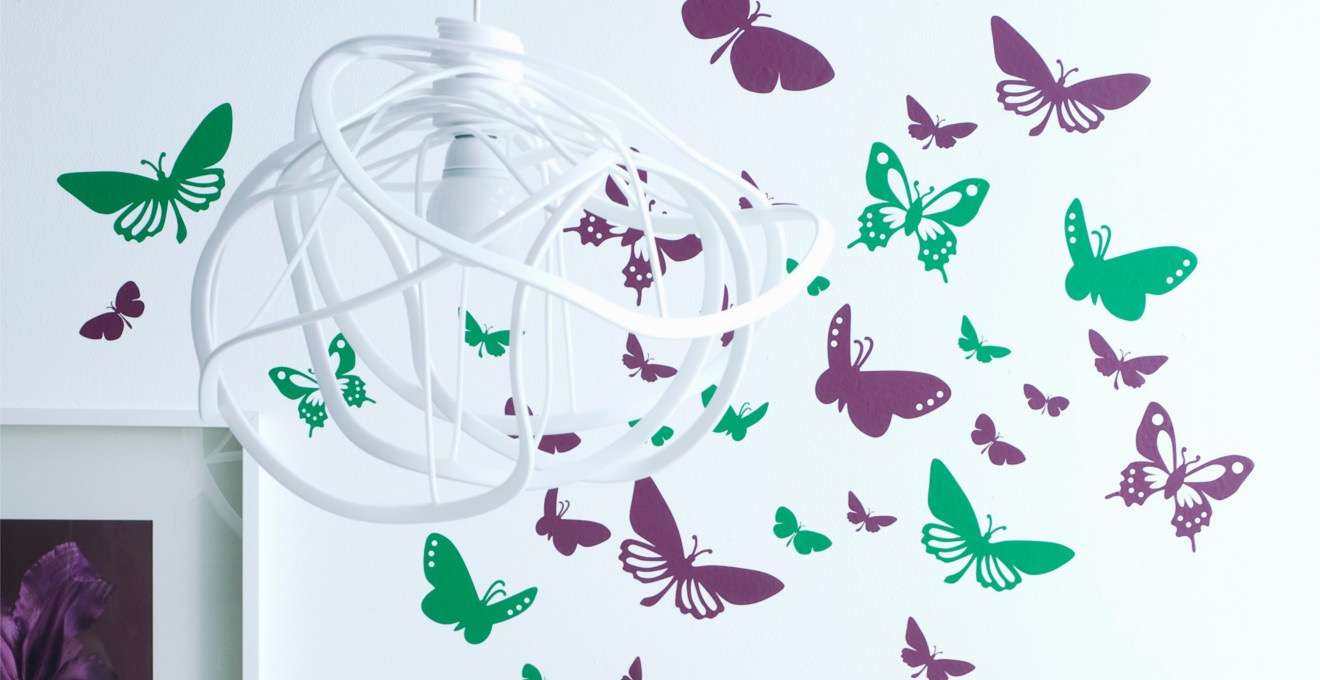
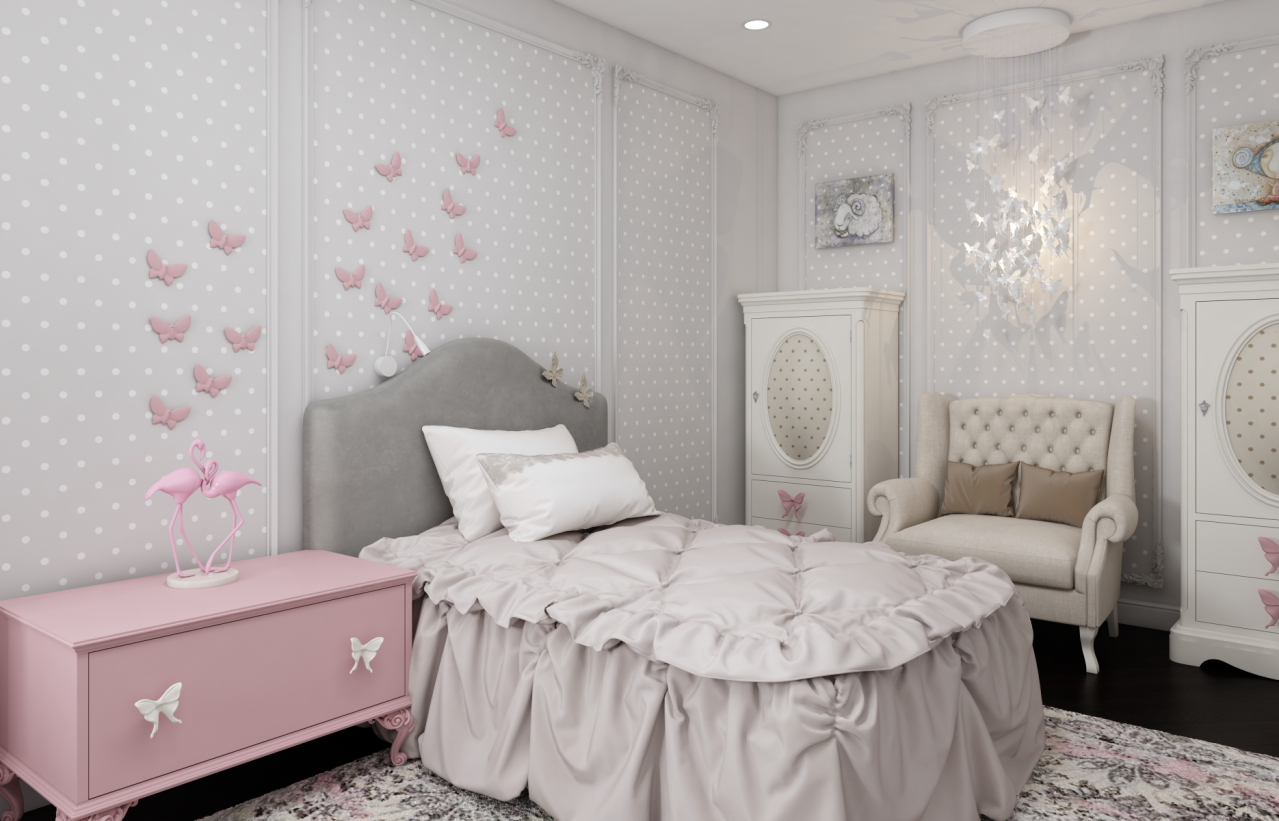
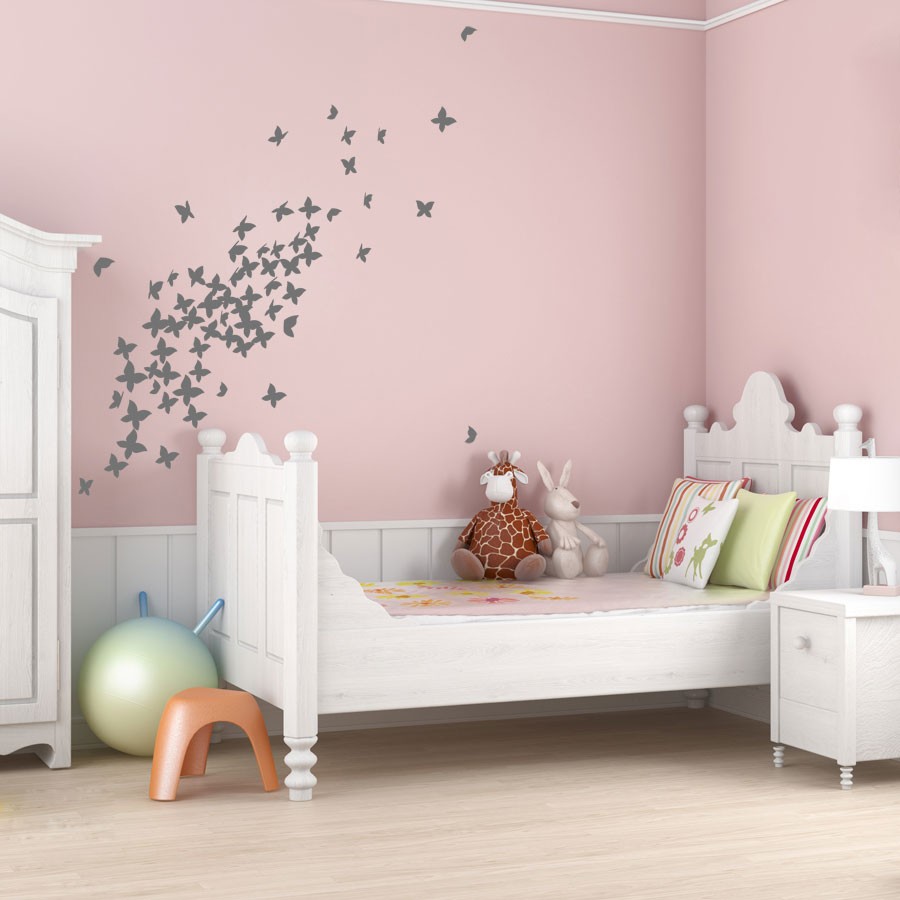
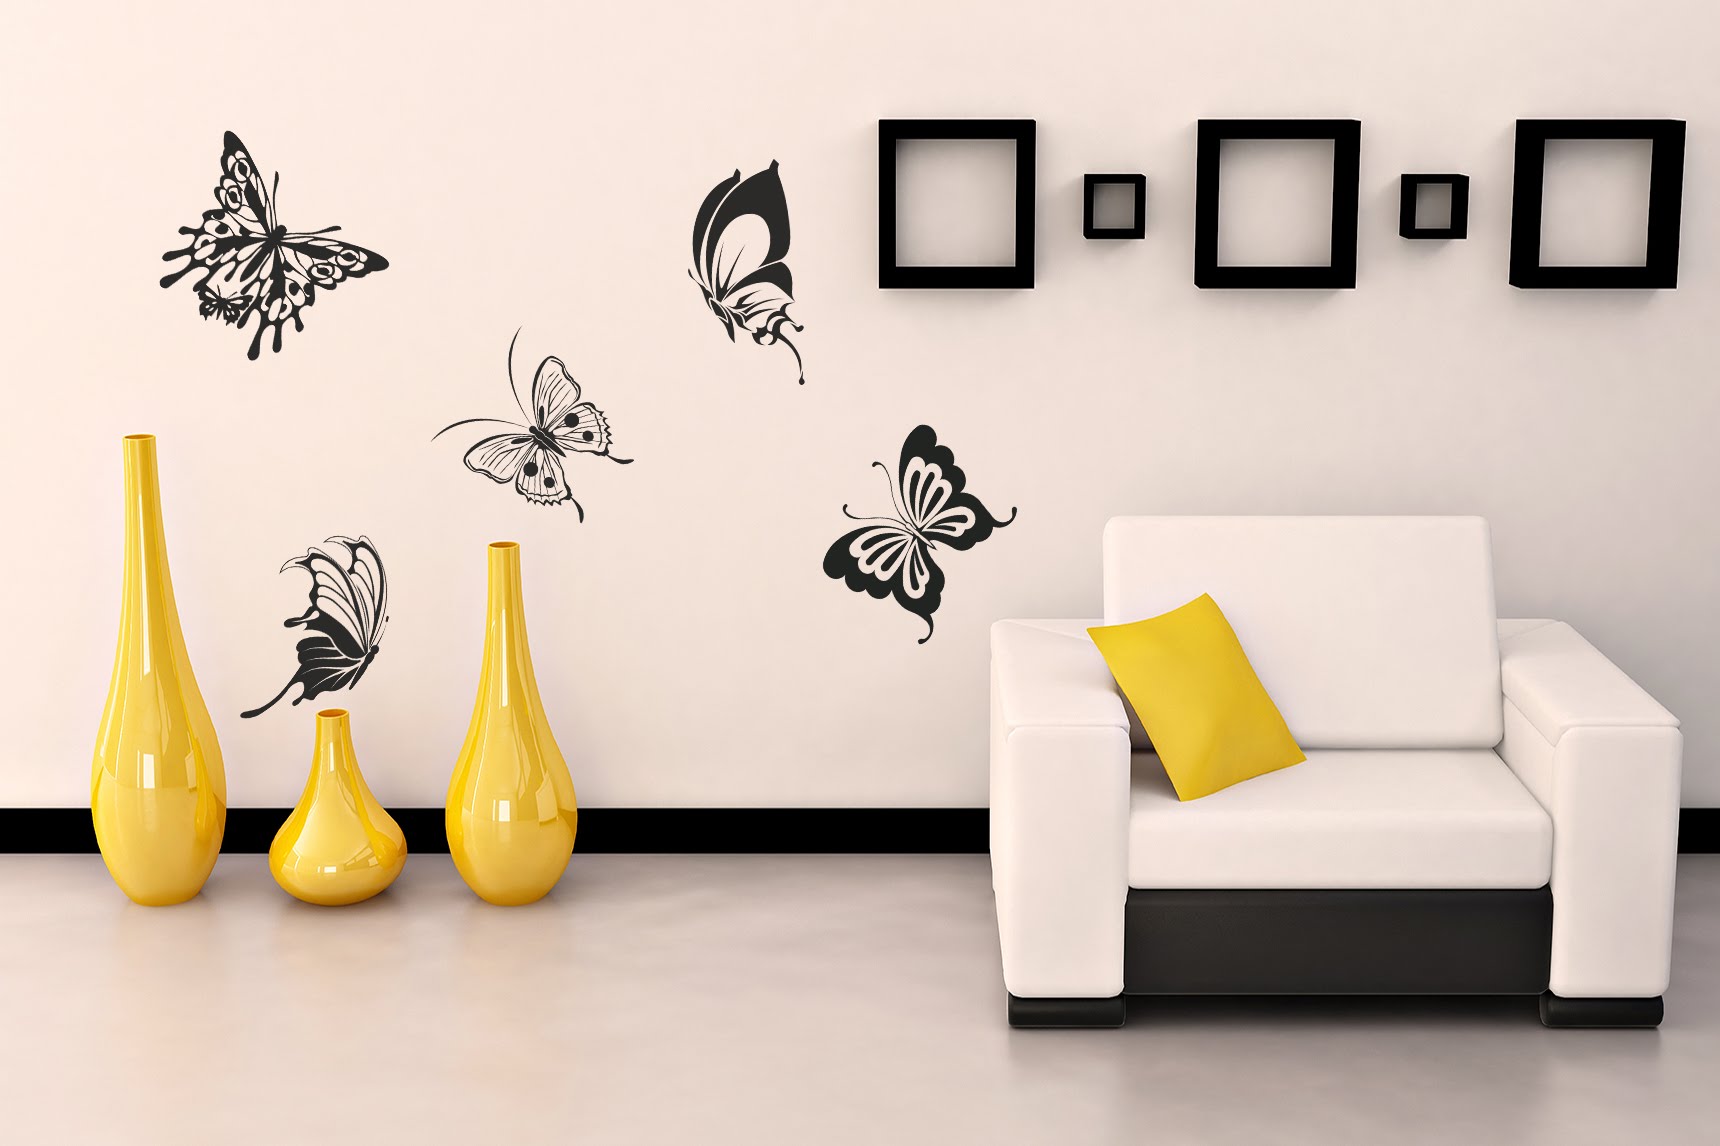
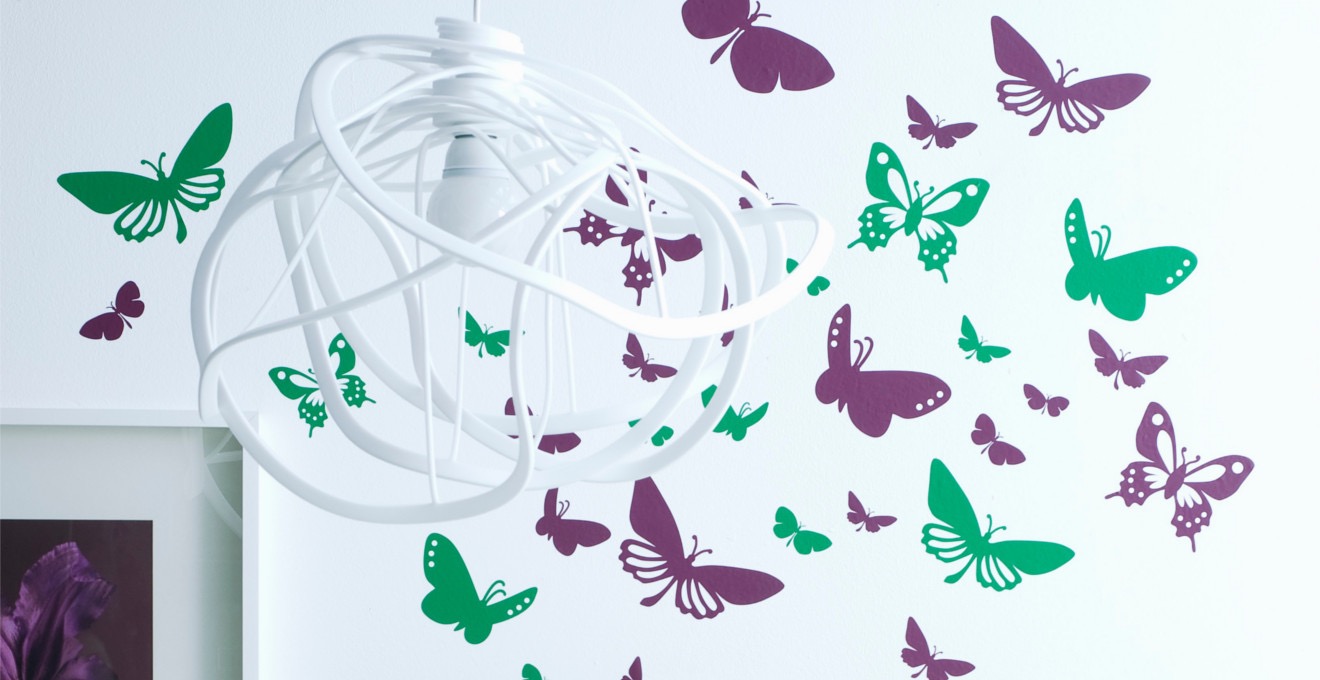
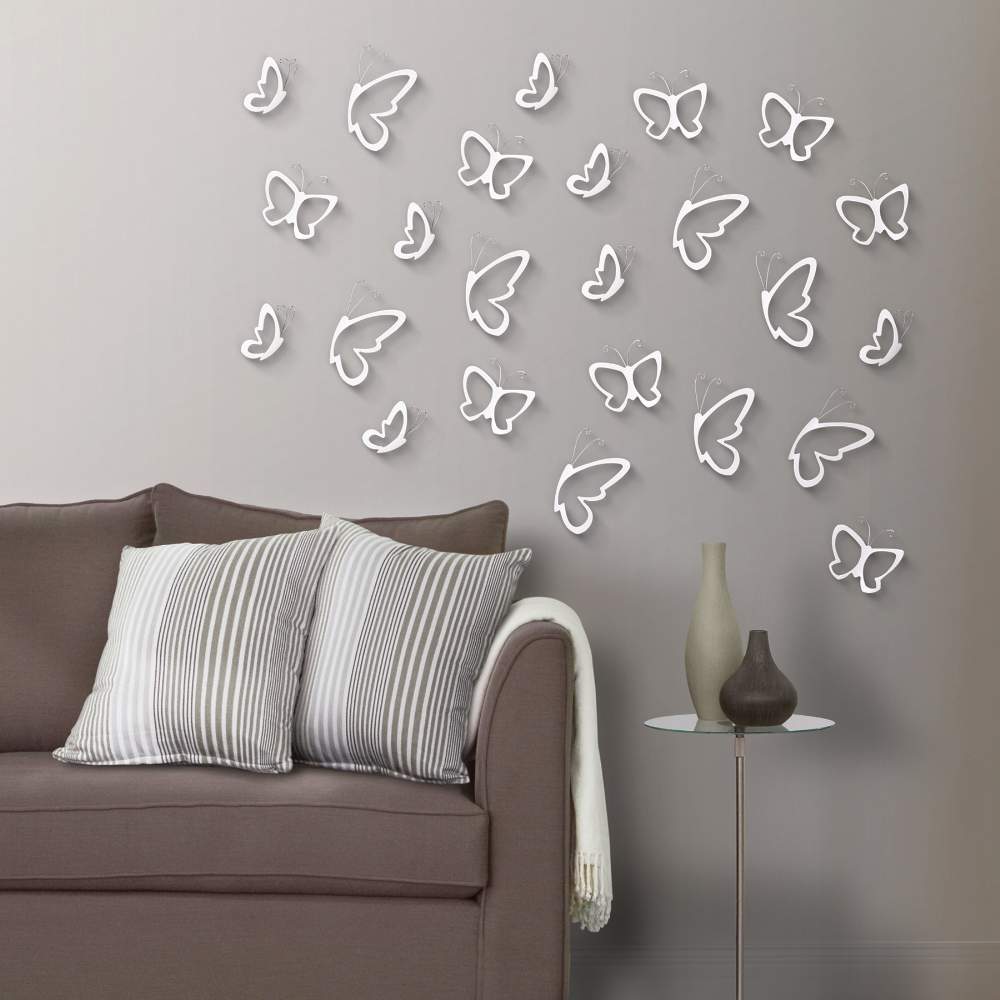
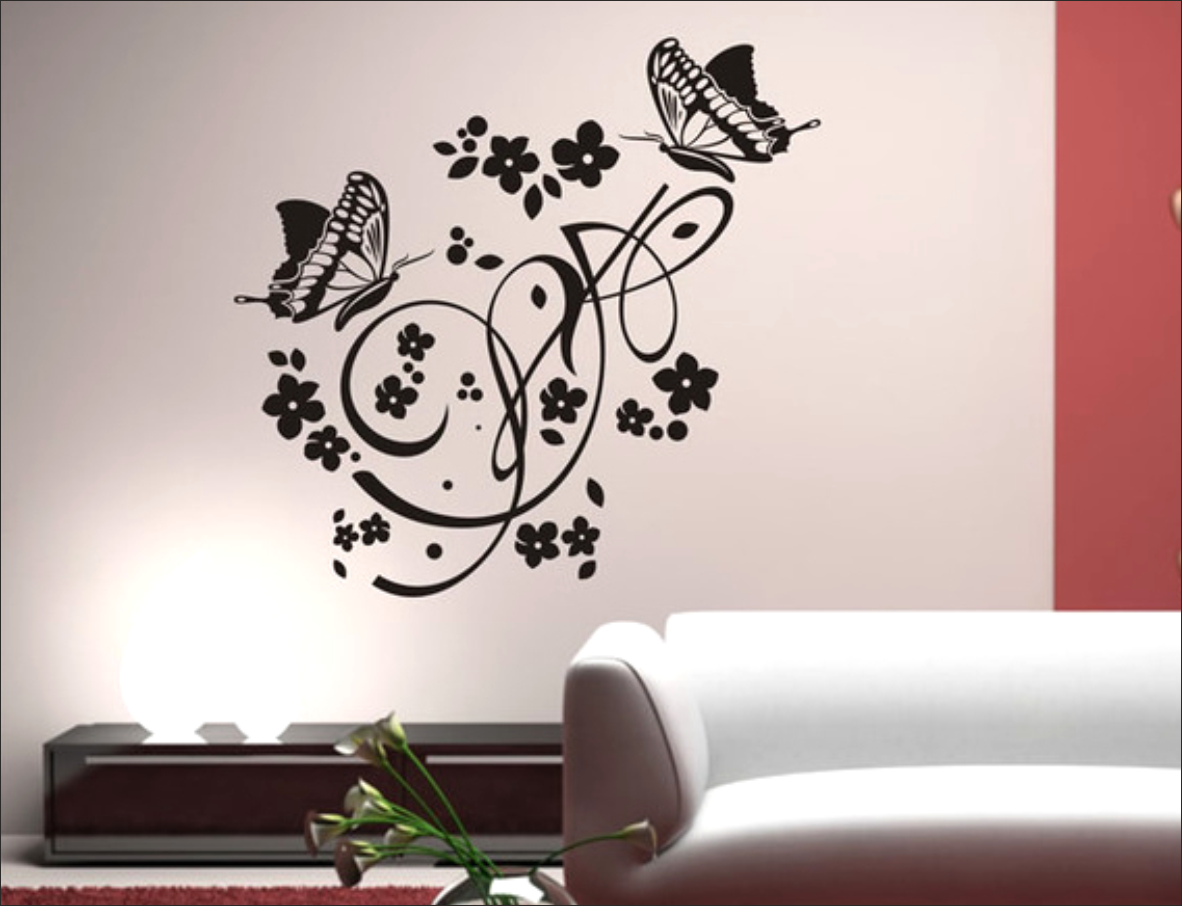
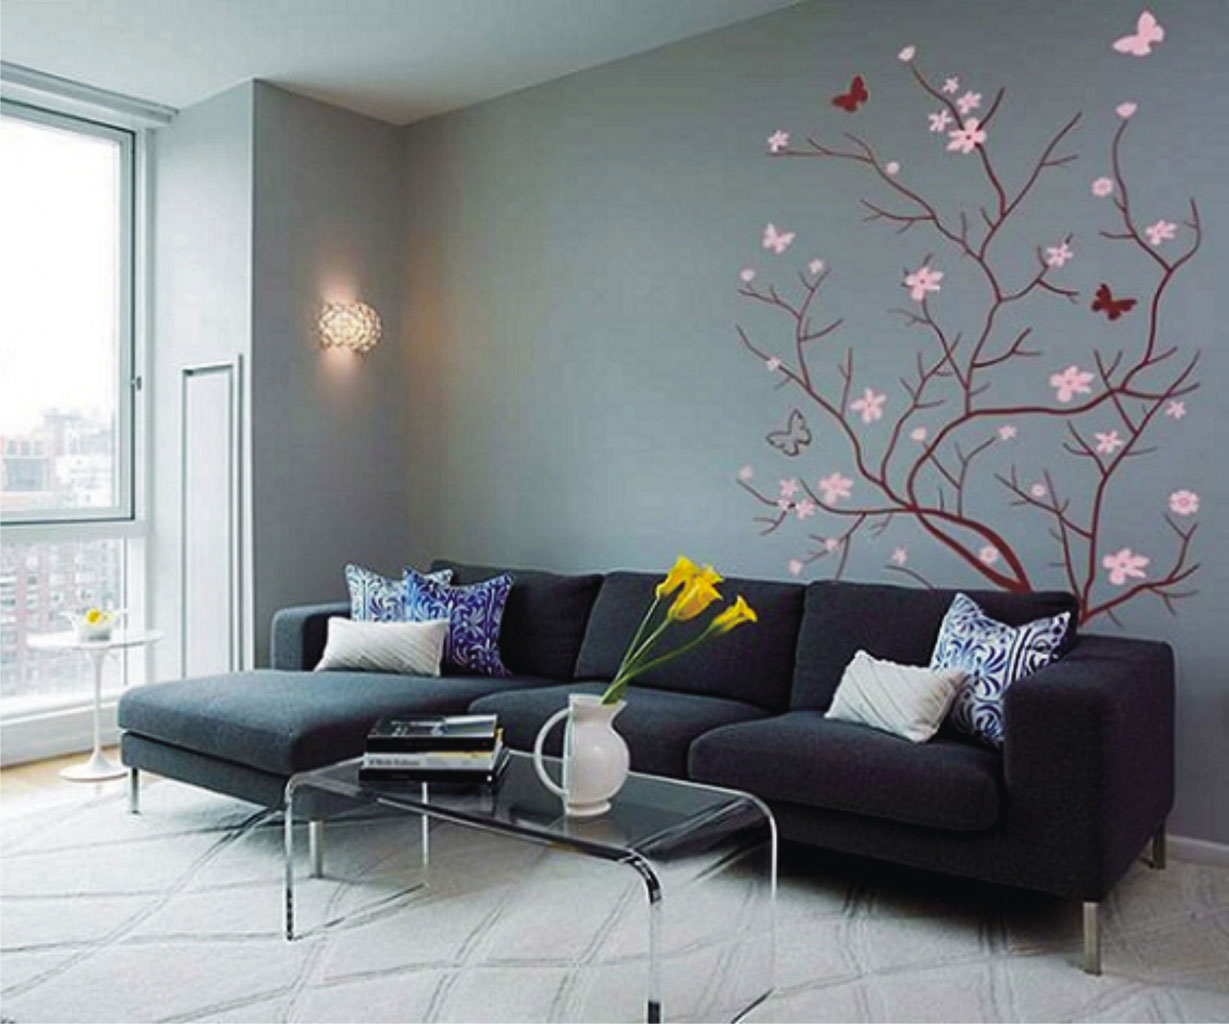
Pick up the color of the wallpaper
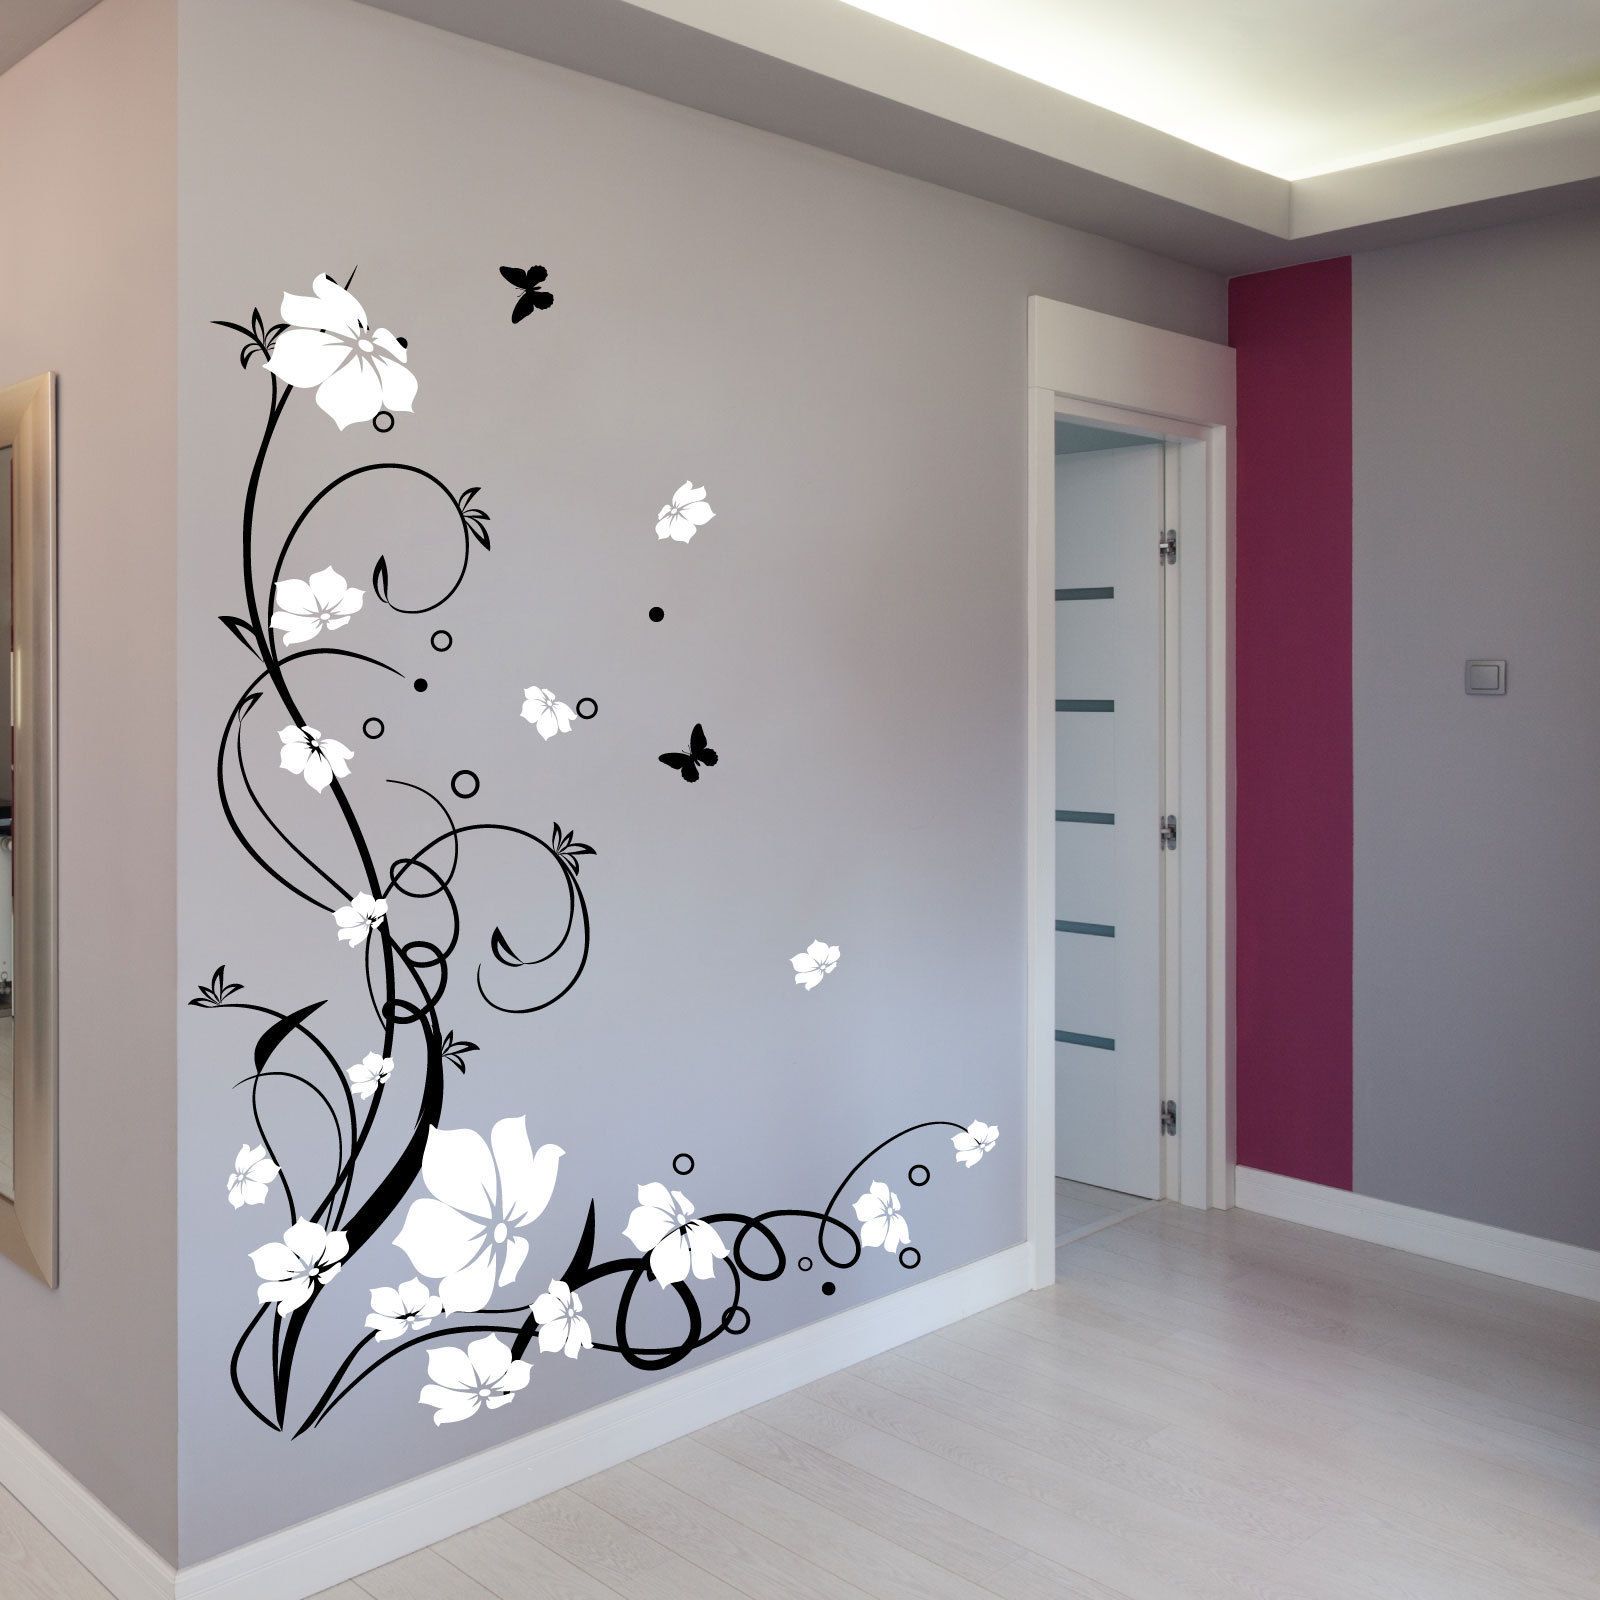
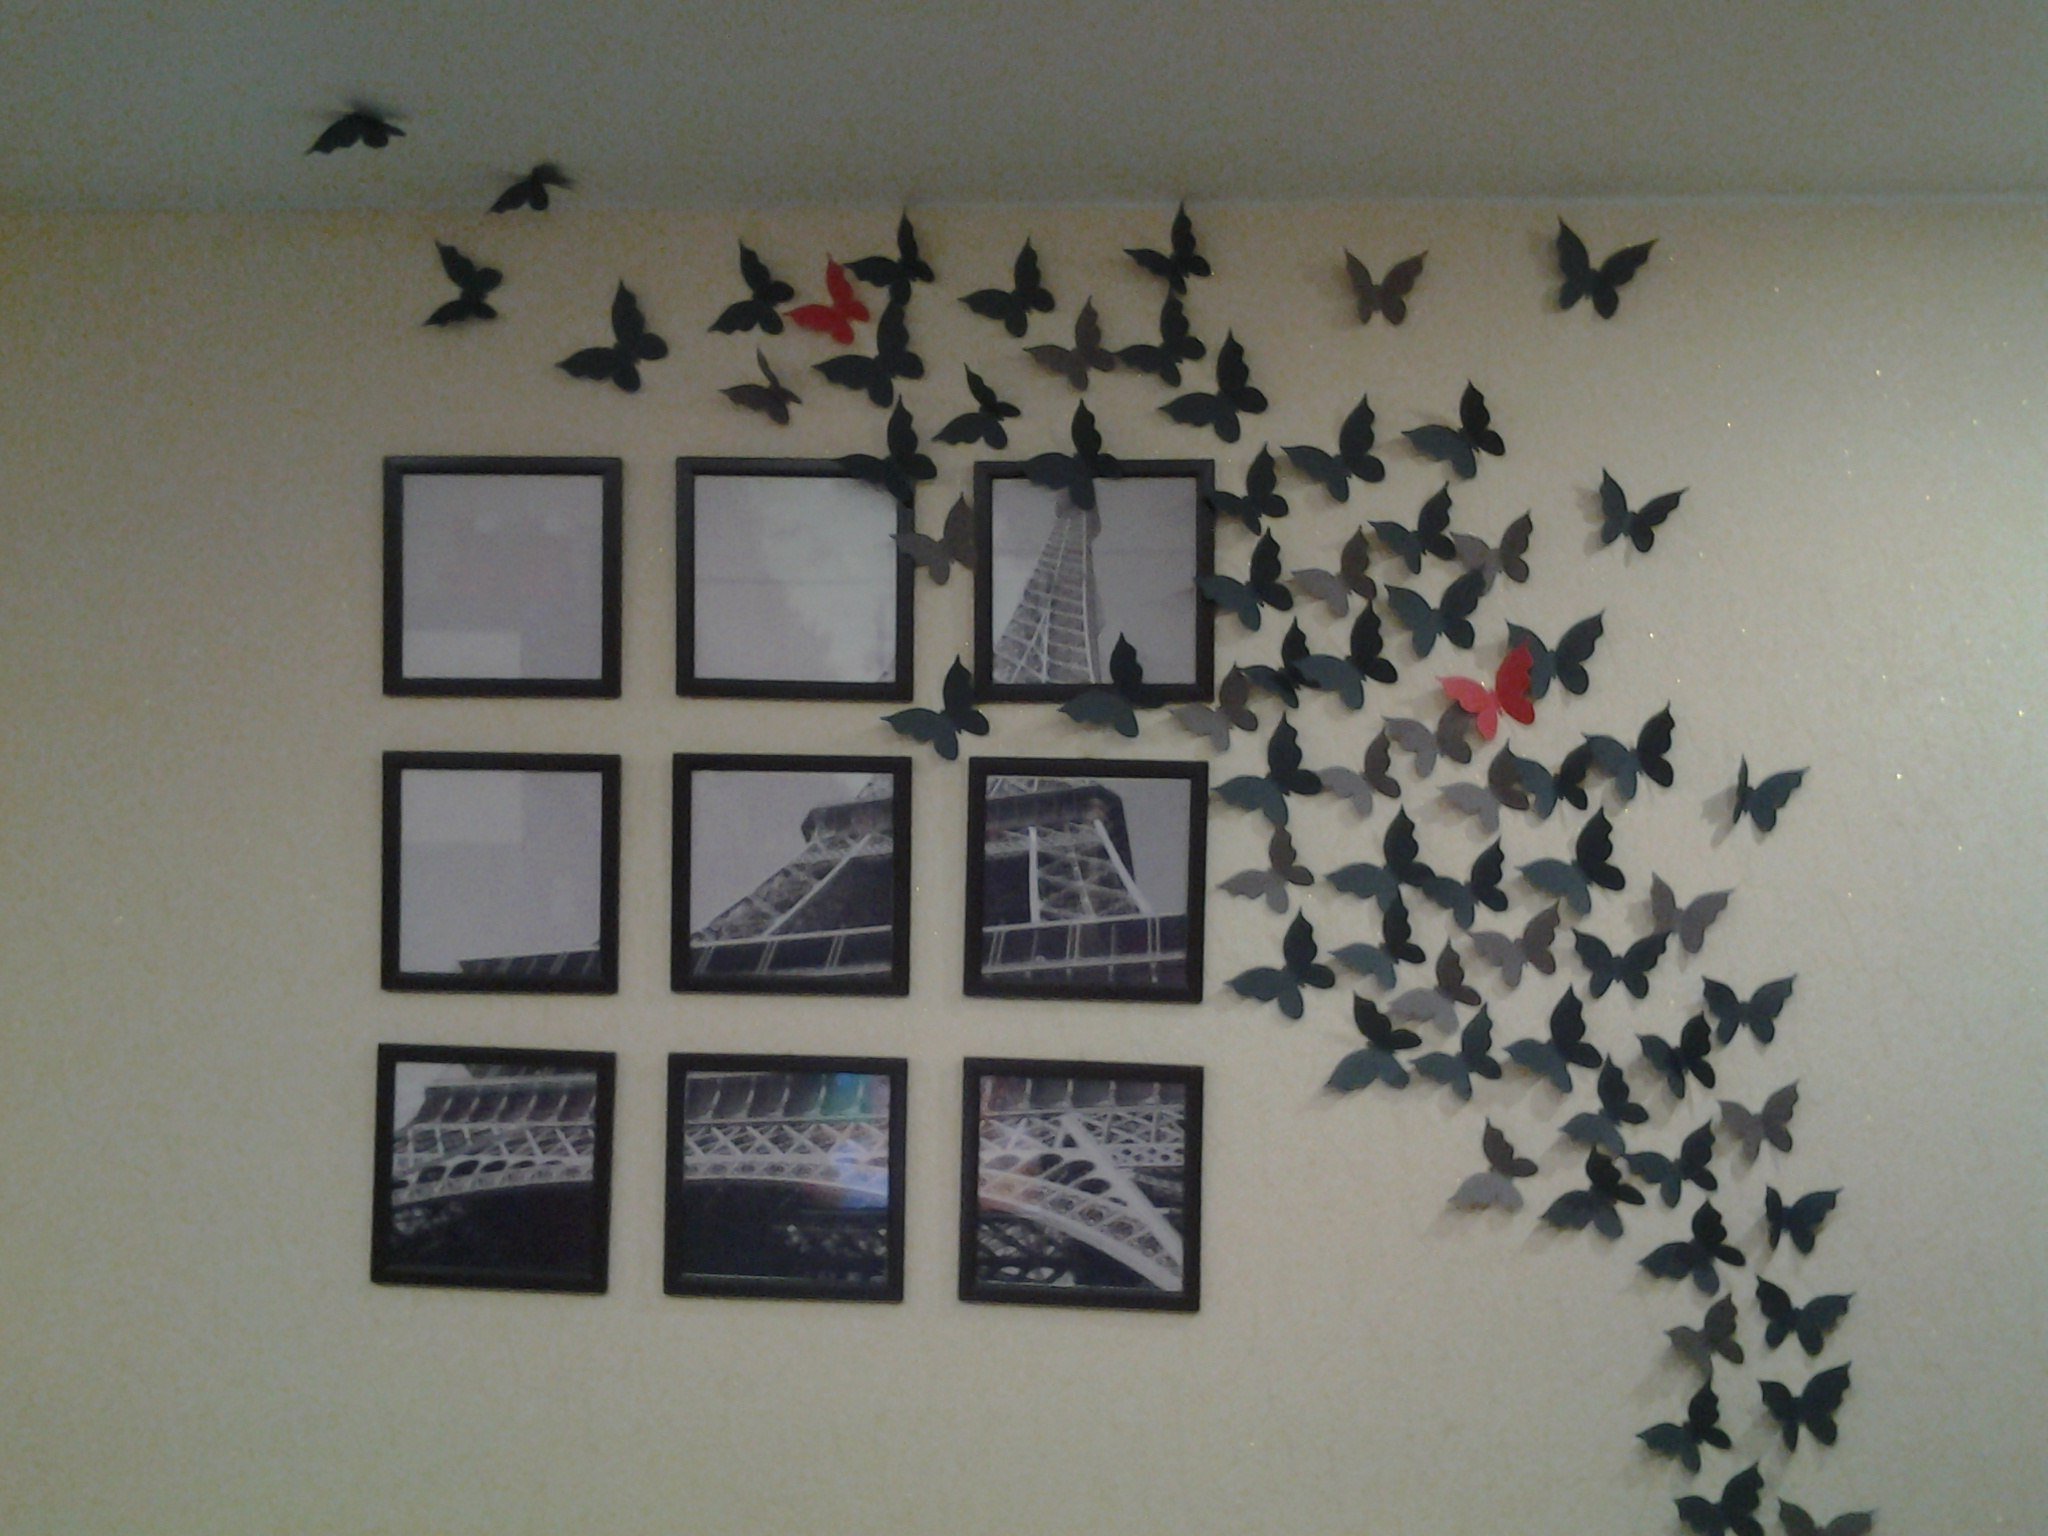
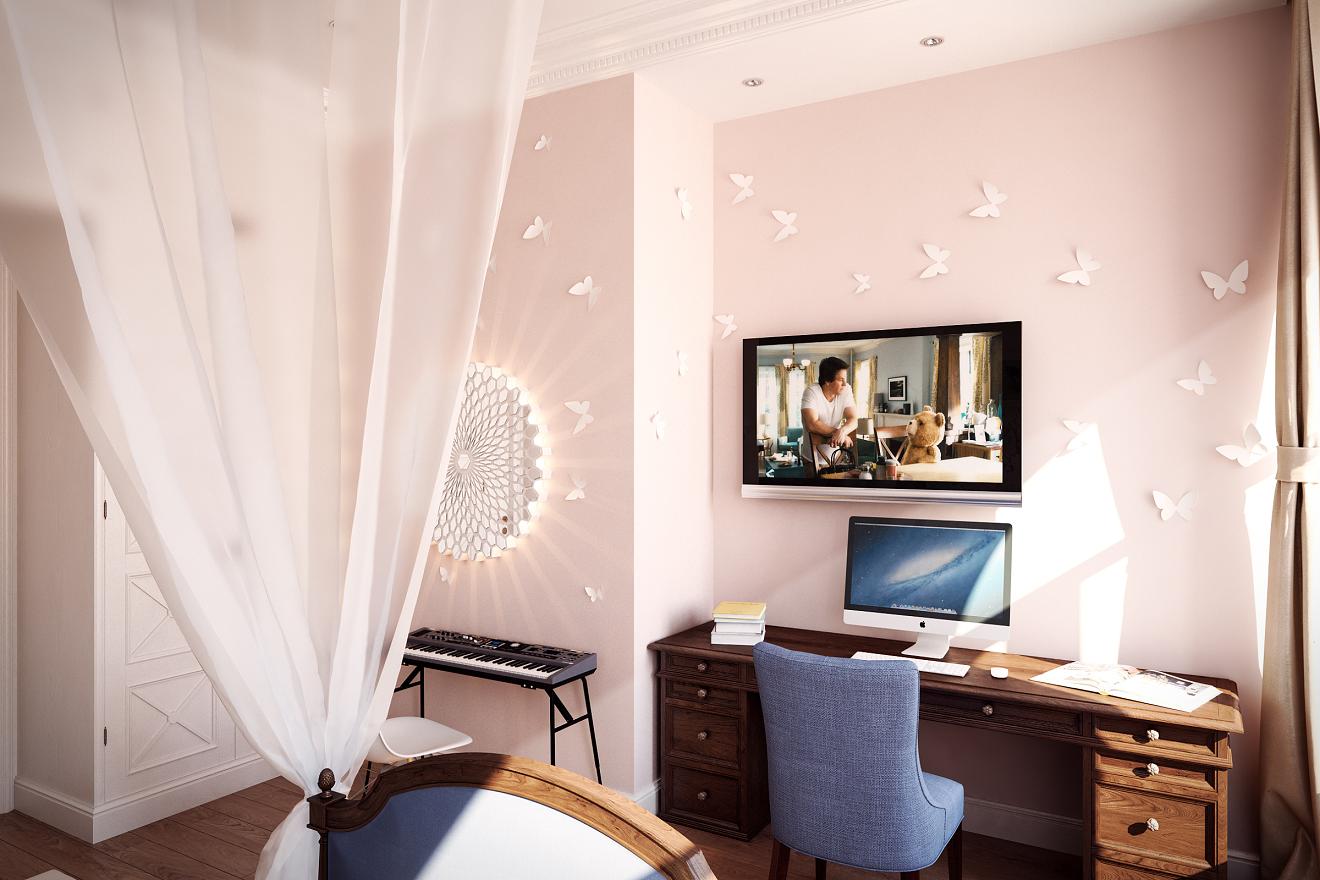
They should also be different in color from the wall, so as not to merge with it. For example, white moths would be out of place on white or lightgray the wall. Successful combinations can be called:
Shade in other colors so as not to merge
The main rule - moths on the wall should stand out and at the same time be combined, and not seem to be a superfluous decoration.
It will be interesting to you:OVERVIEW: DIY handicrafts from a sheet of paper (7 step-by-step instructions) 130+ Photo: we start from the simplest. Collection of the best master classes!
return to menu ↑Preparing to create applications
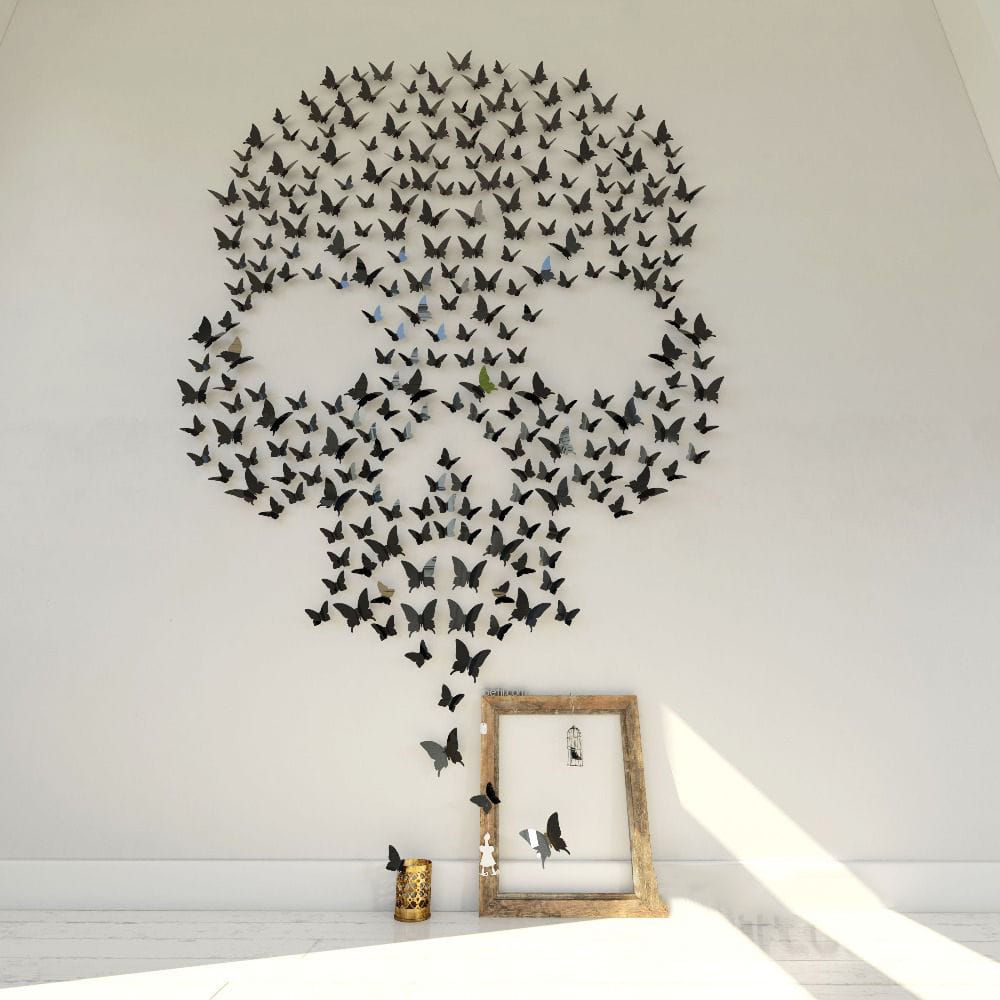
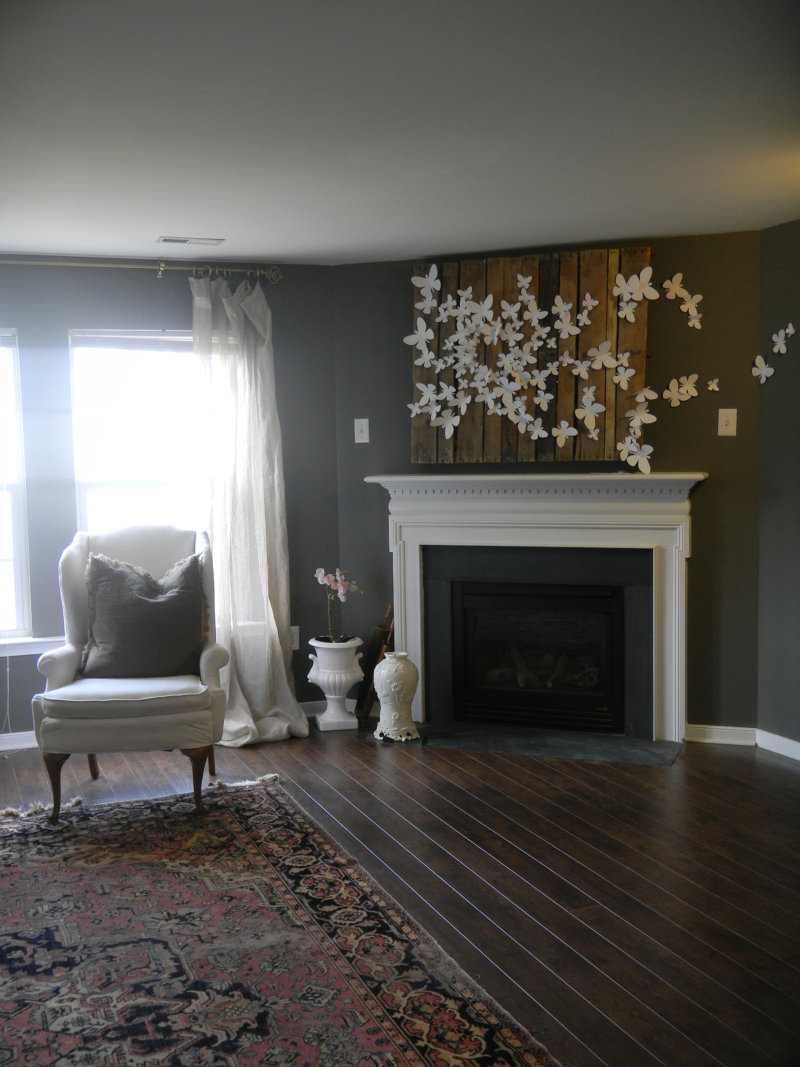
Before creating a picture with moths, you need to think about how they will be located, what size they will be and what material they will be made of. You can find on the Internet ready panels and pick up the idea from there, after which you should start making a stencil.
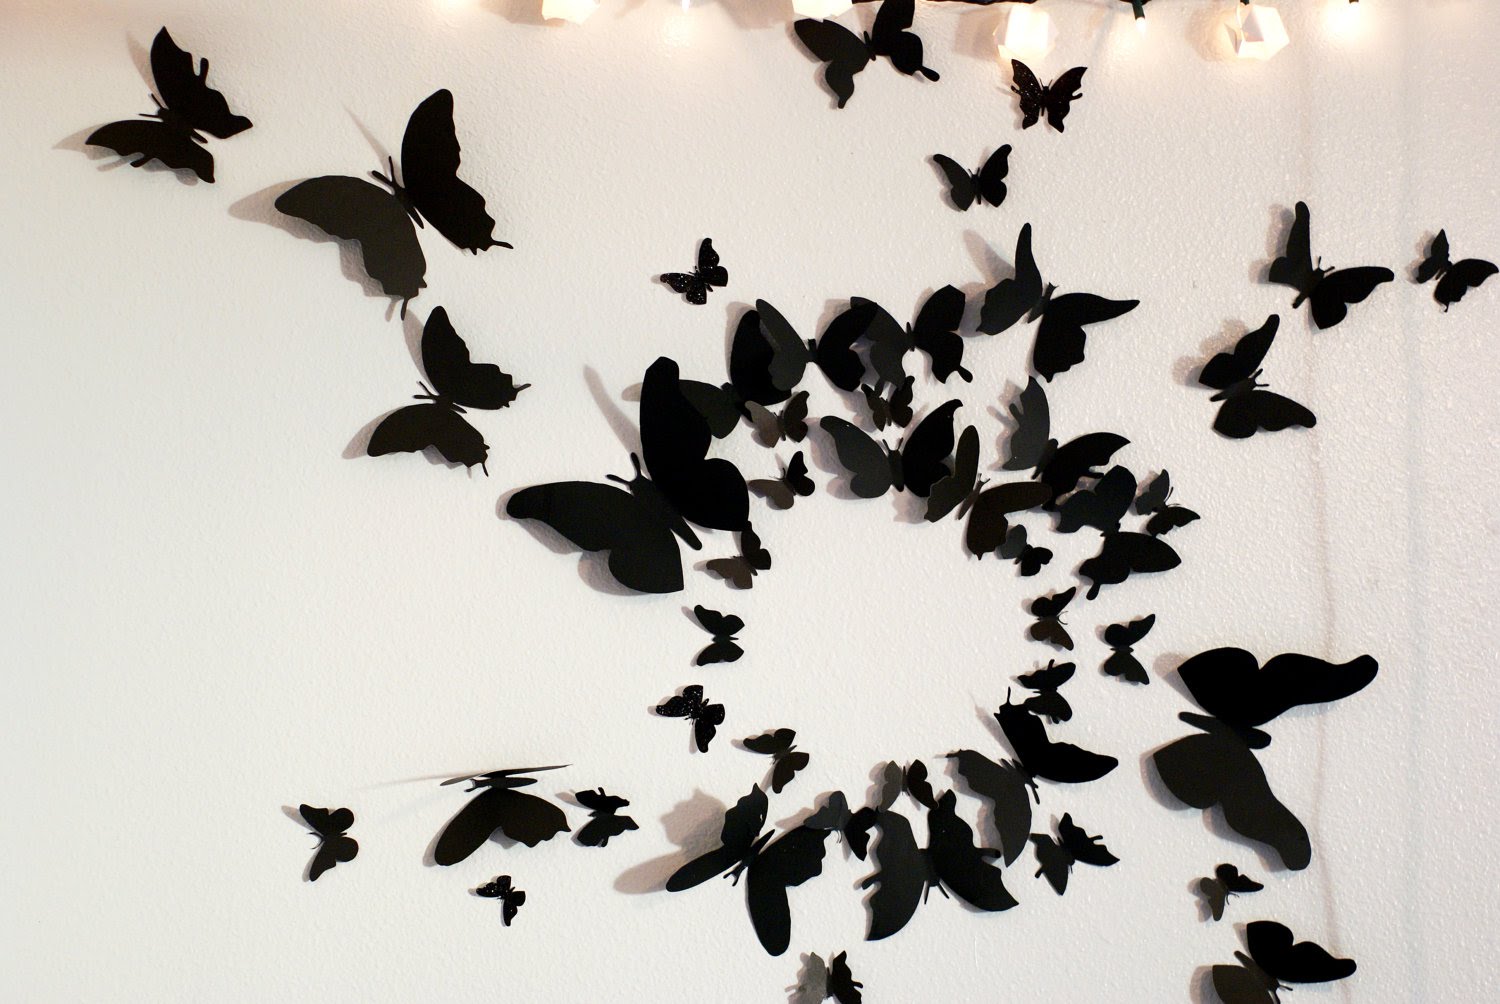
Composition in the form vyhrya
After you need to pick up the material for the manufacture and purchase stencils. It is desirable to have several stencils of different sizes in order to make the composition more interesting. Stencil cut can be on paper, vinyl film or any other suitable material.
Light moths can be cut from:
- Cardboard.
- Vinyl film.
- Paper.
- Fabrics
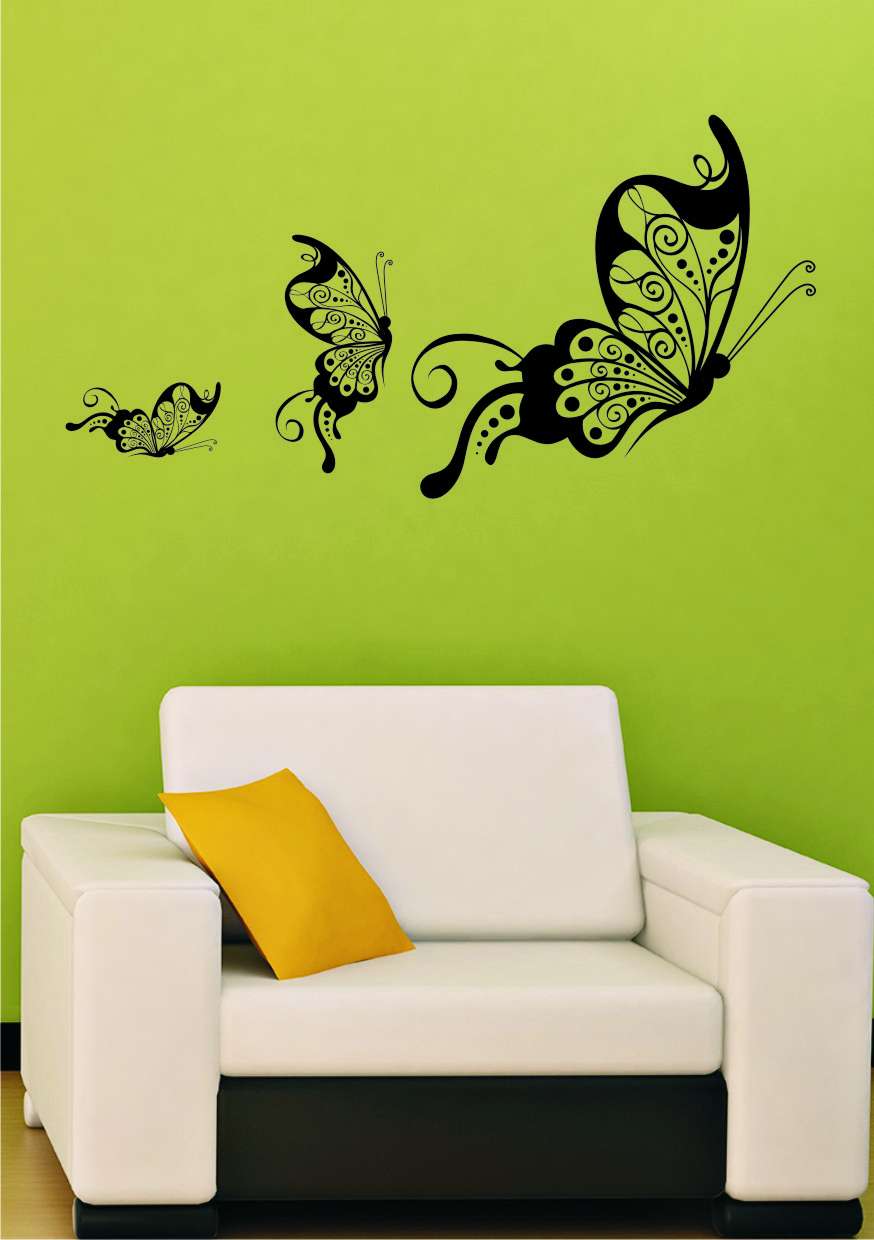
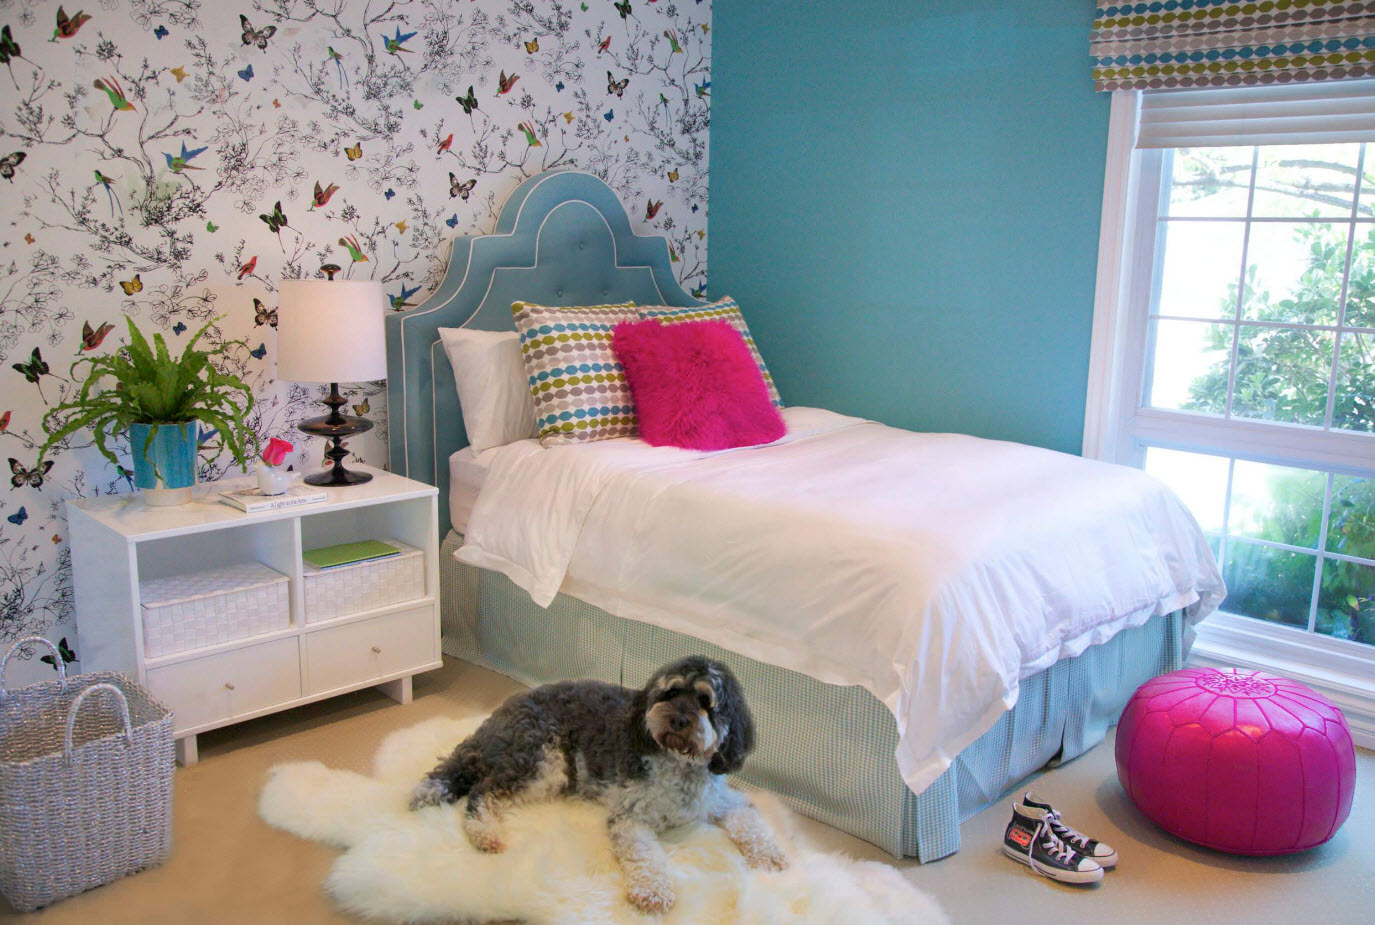
Light green wall with butterflies
It is easy to make paper butterflies, but you have to tinker with the fabric.
return to menu ↑Paper
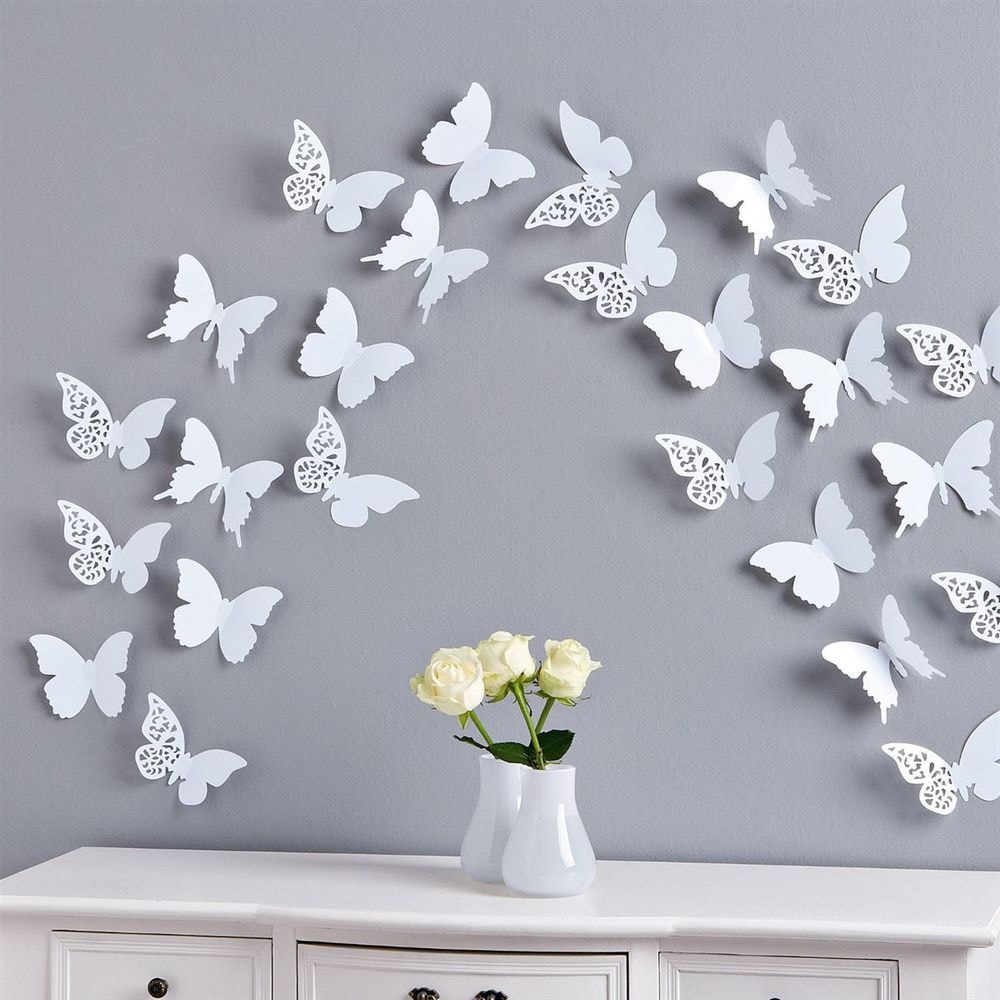
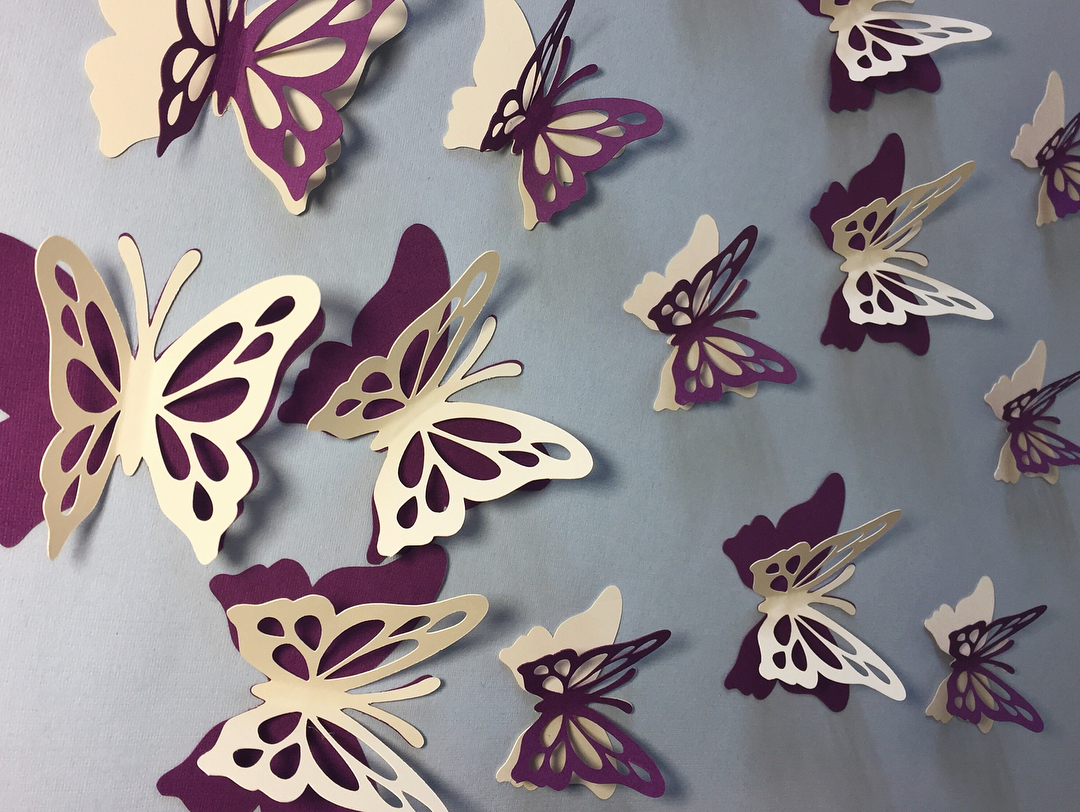
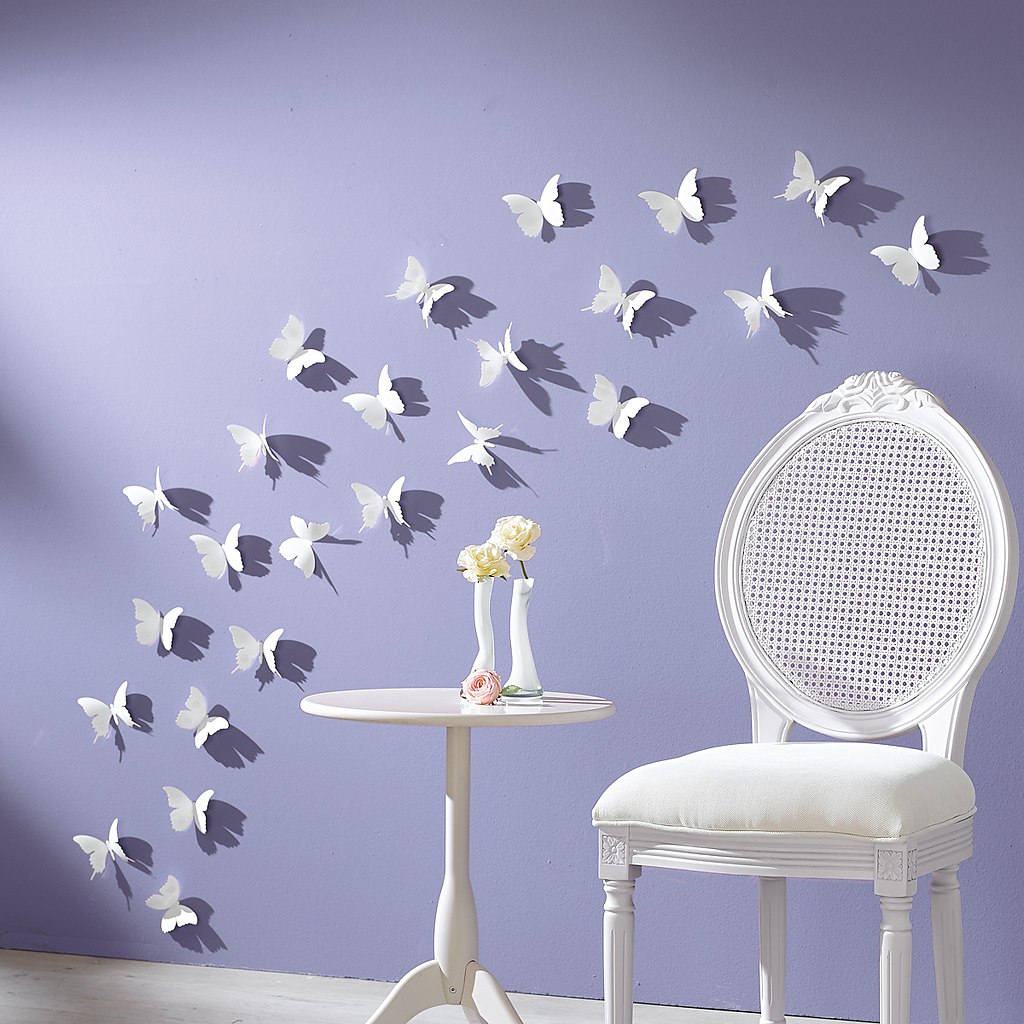
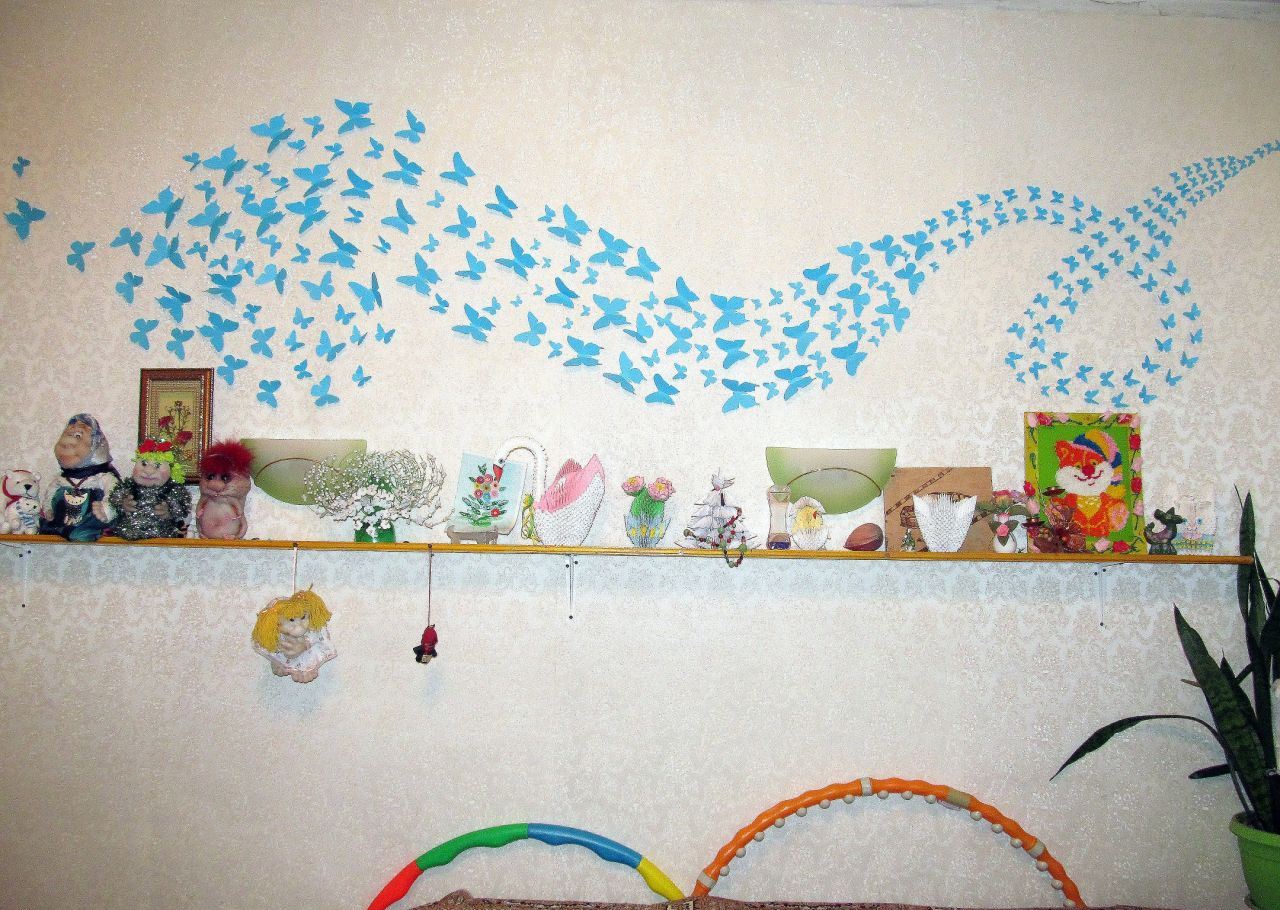
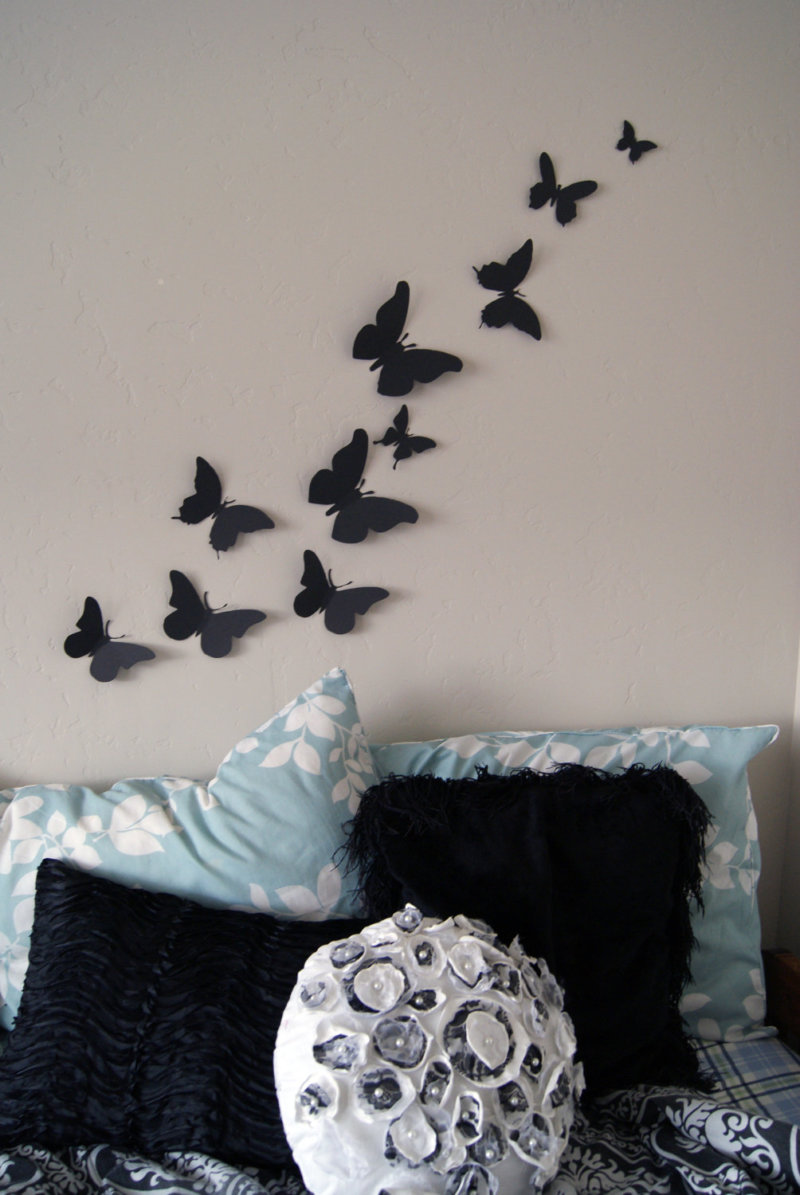
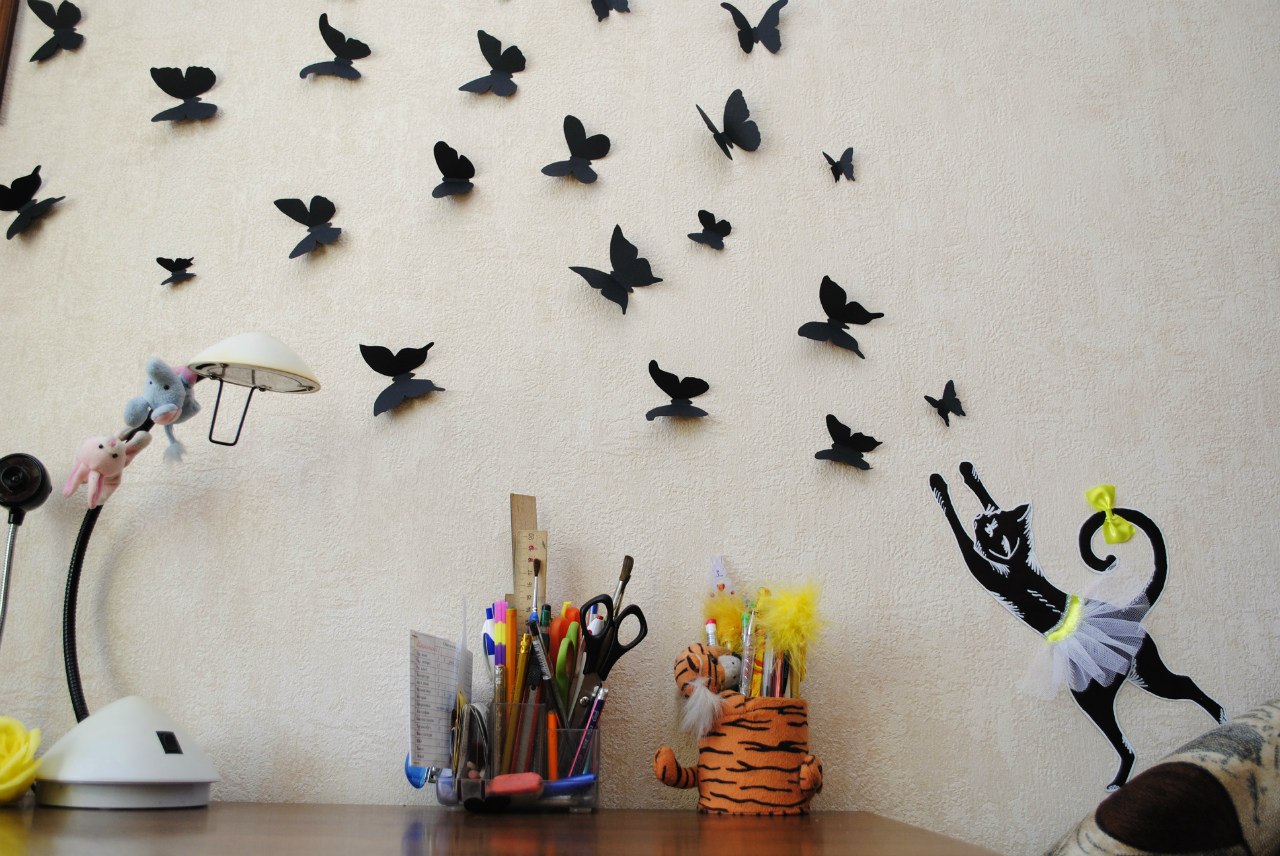
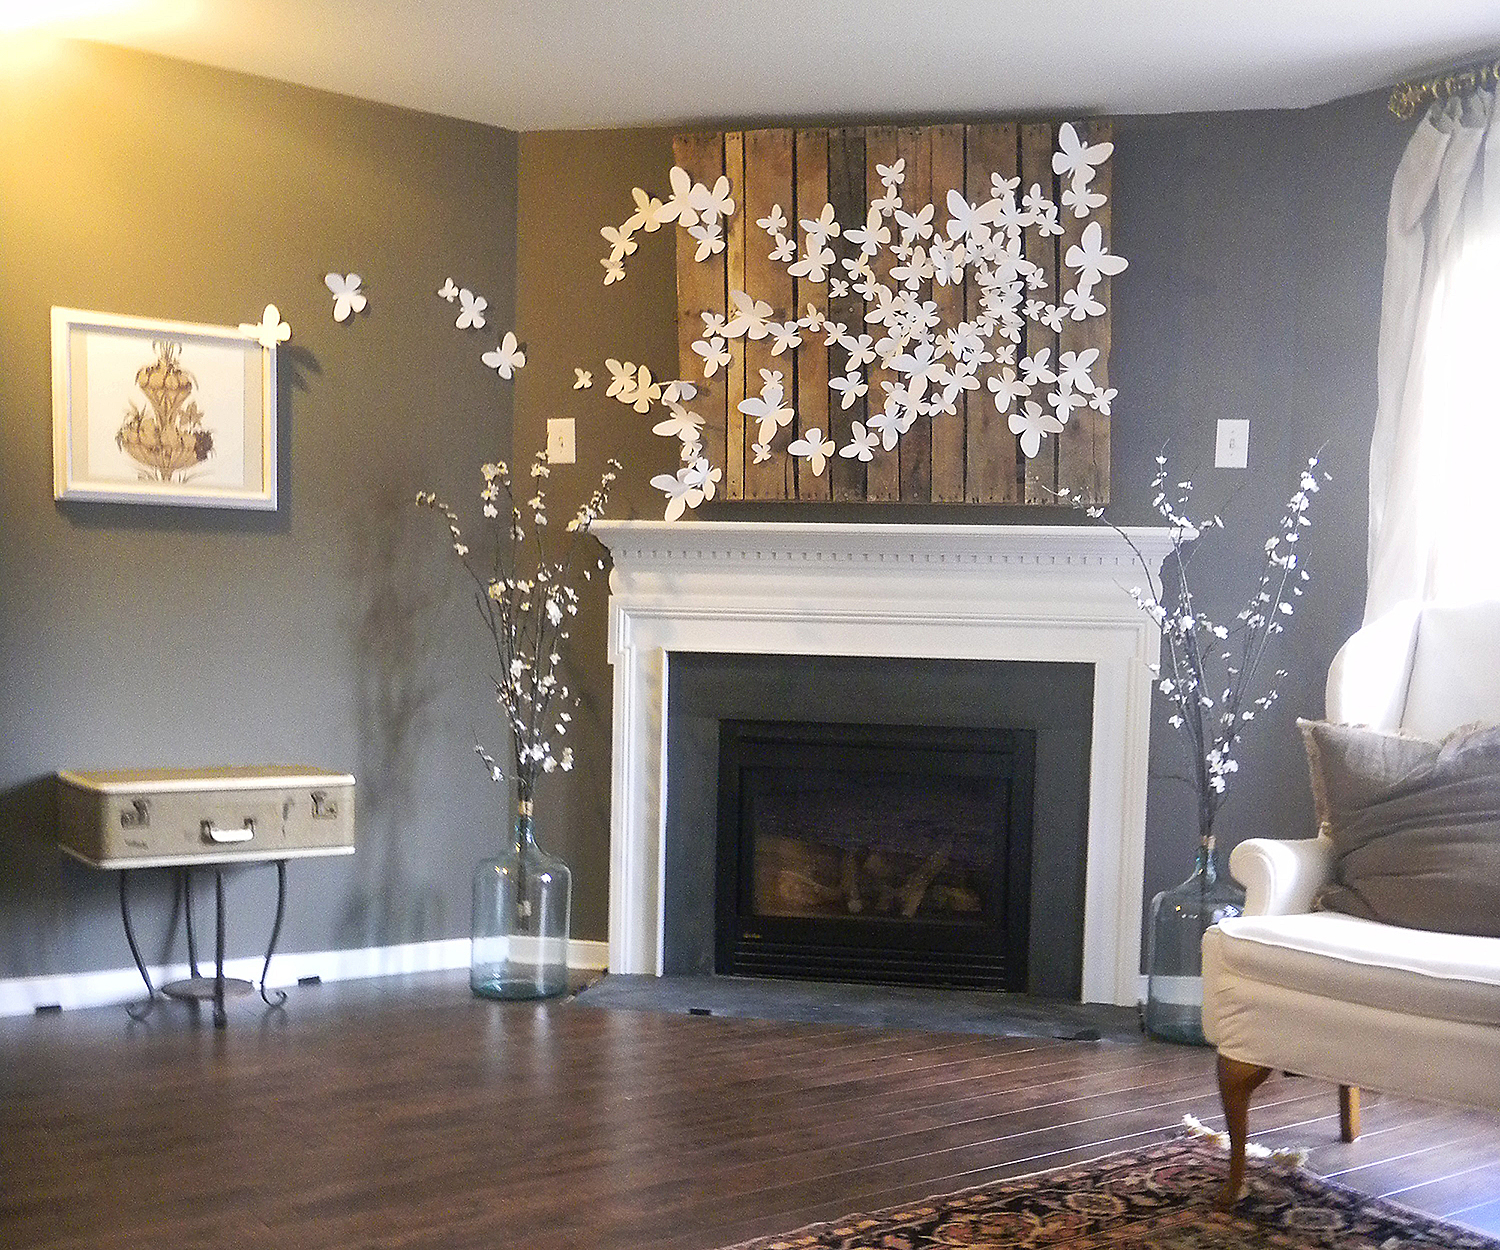
The paper is suitable for those people who do not want to spend money on expensive material and time for production. It is very simple to make such moths on a stencil, but they have a drawback - applications are easy to damage.
Easy to cut and attach
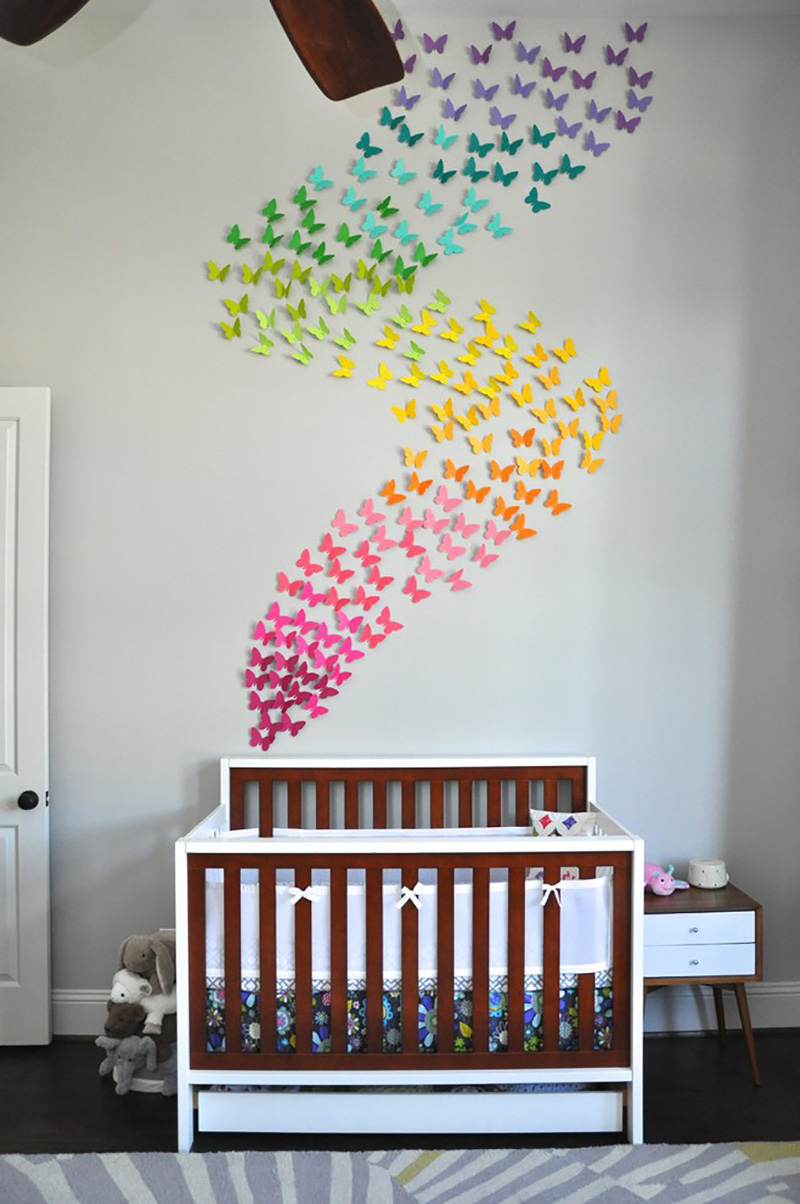
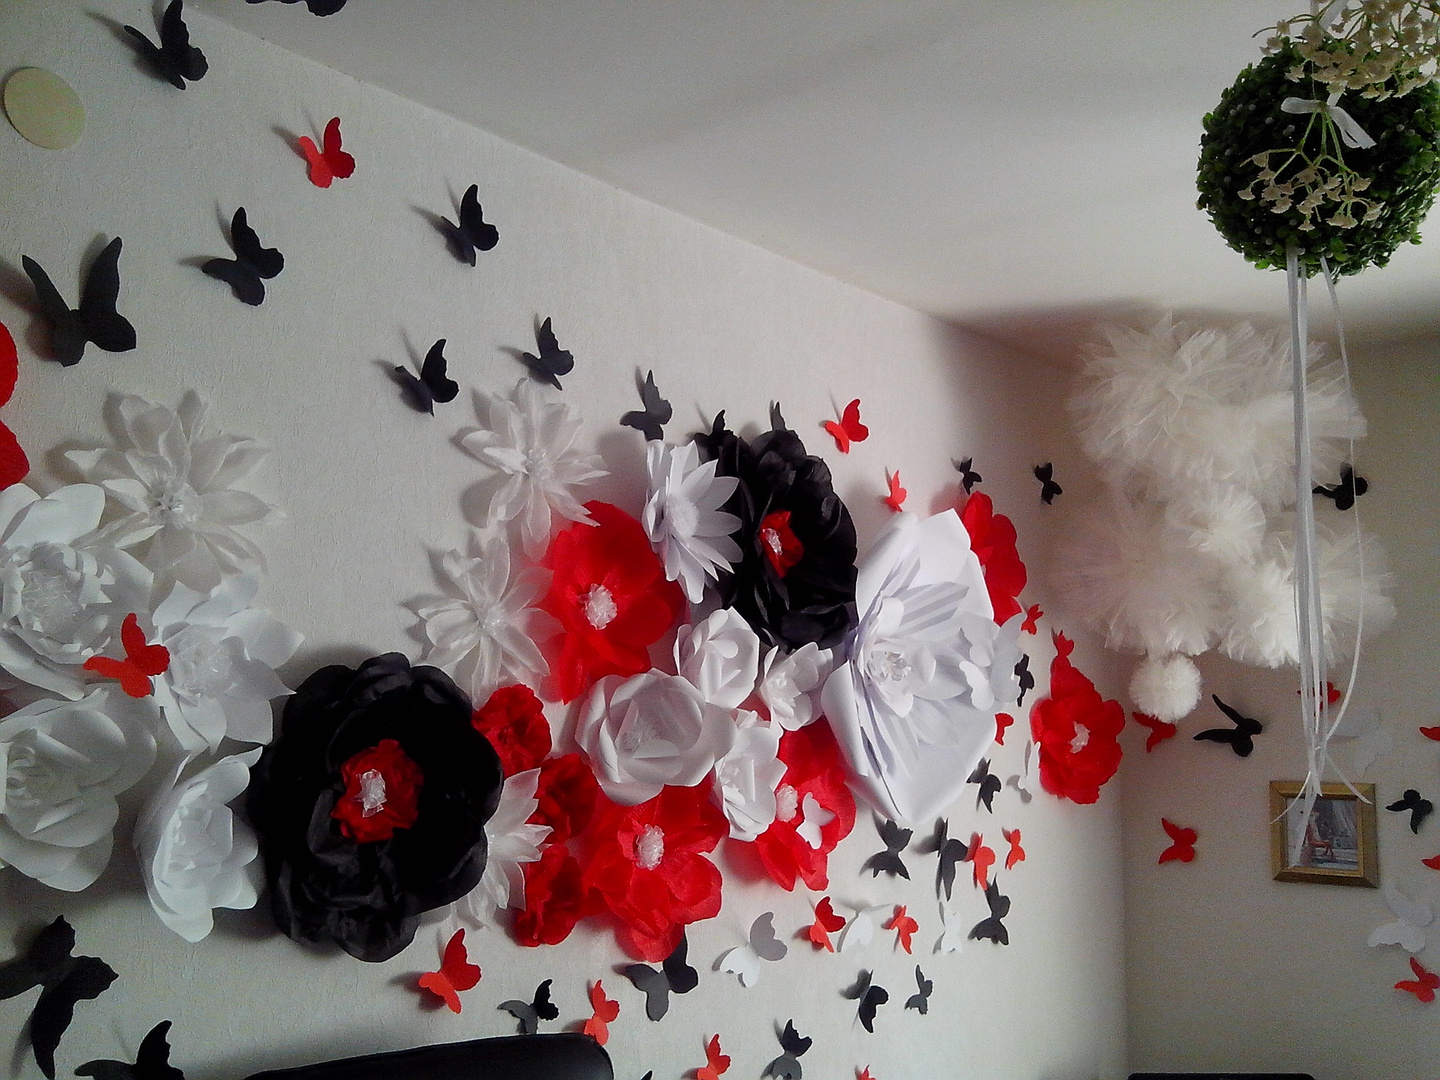
Paper butterflies can be cut from old magazines, as well as print coloring and cut along the contour. It is not necessary to make panels in the same color scheme - the more different colors, the more interesting.
Paper butterflies can be glued to the middle, and then when the wind blows, they will sway. Such insects can be put on glue, scotch tape or attached with a pushpin.
Bulk paper butterflies on a wall running along the structure
It will be interesting to you:OVERVIEW: How to make flowers from corrugated paper with candy with your own hands? Master class +75 Photos of luxurious bouquets
return to menu ↑Cardboard
Cardboard crafts will be a little stronger than paper, but will not be so light as to sway in the wind. They can stick rhinestones, sequins and attach decorations, and unlike paper ones, cardboard moths will withstand it.
Moths can be decorated with different rhinestones and sparkles
You need to fix the cardboard more firmly, as it is heavier than paper. Do not attach it to the tape or pin - a butterfly can fall. It is better to use glue or double-sided tape.
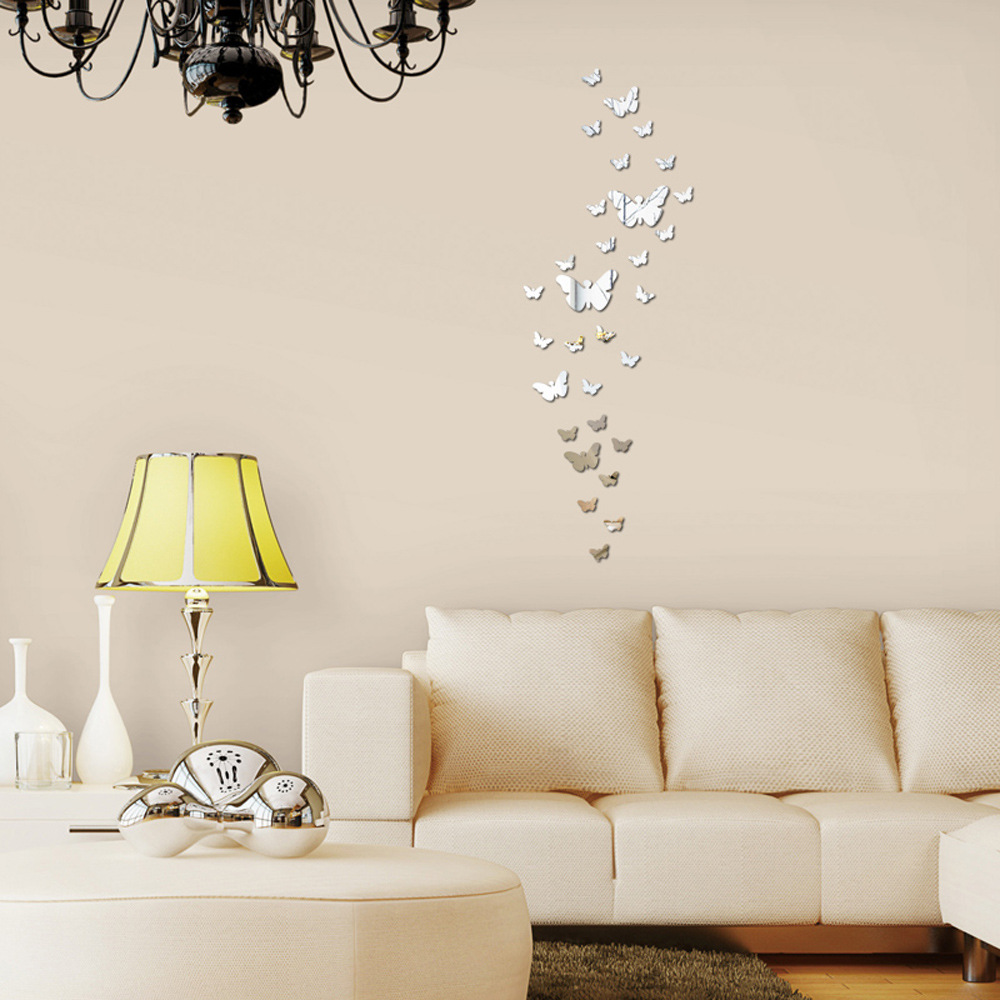
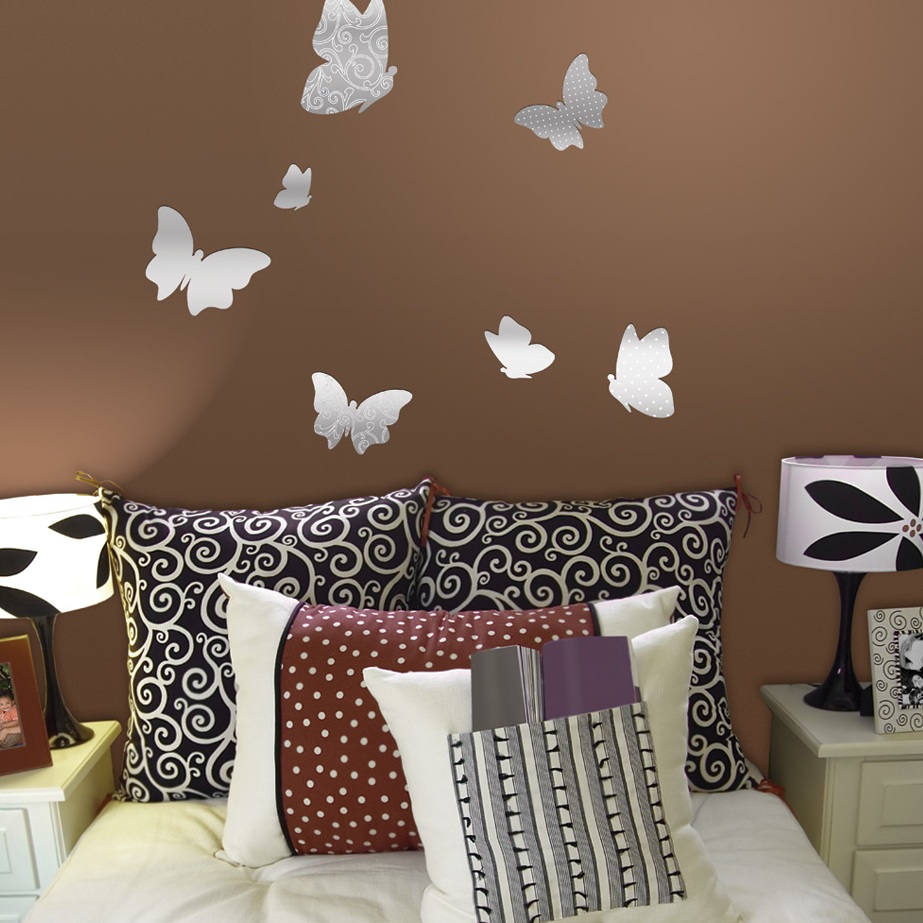
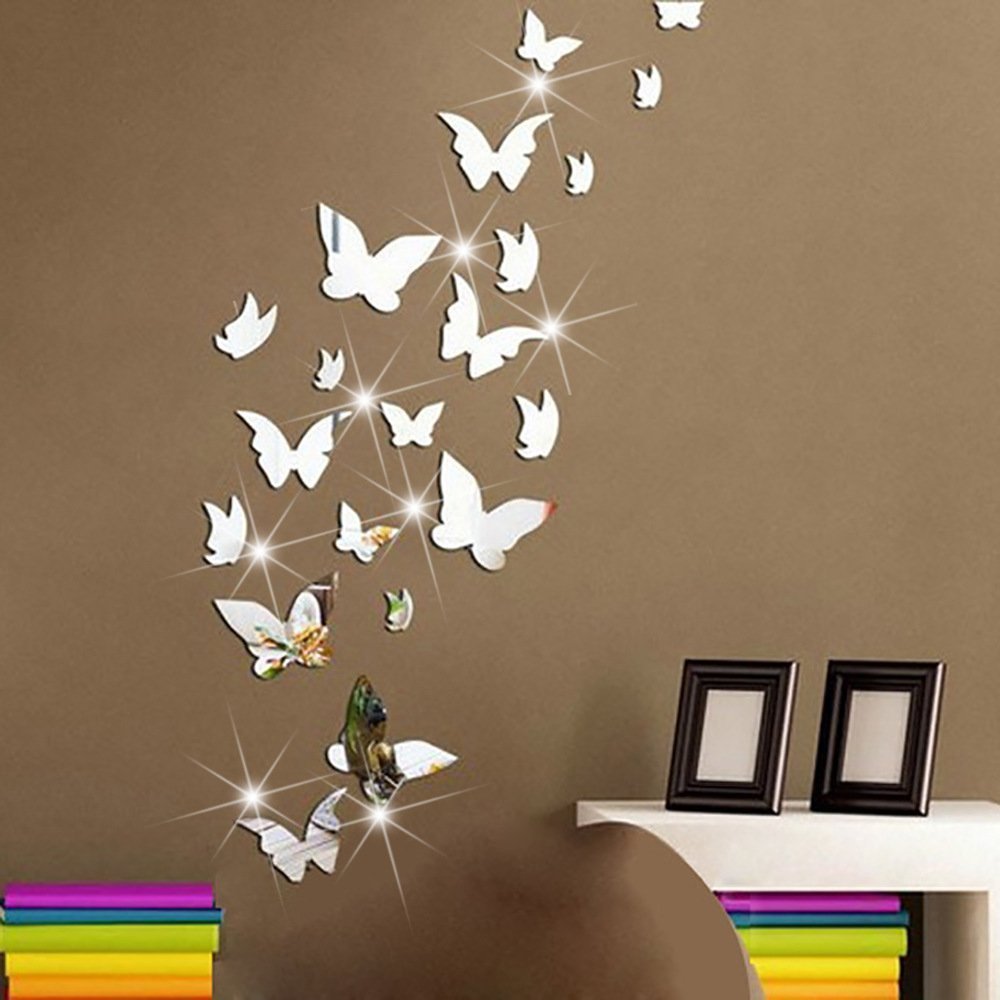
return to menu ↑Vinyl film
Vinyl film is a self-adhesive material, so it is ideal for applications that are glued to the wall. The film has a smooth glossy coating, shimmers in the light. Bright moths from vinyl film will help refresh the room.
Refresh the room with a floating appliqué.
Cutting is not difficult, moreover - you should not worry about the method of attaching stickers to the wall. You just need to remove the protective layer from the film and stick it in the right place.

Pay attention to attach well to the wall.
It will be interesting to you:OVERVIEW: How do decorative floor vases with flowers change the interior? 130+ (Photos) tall, stylish, beautiful
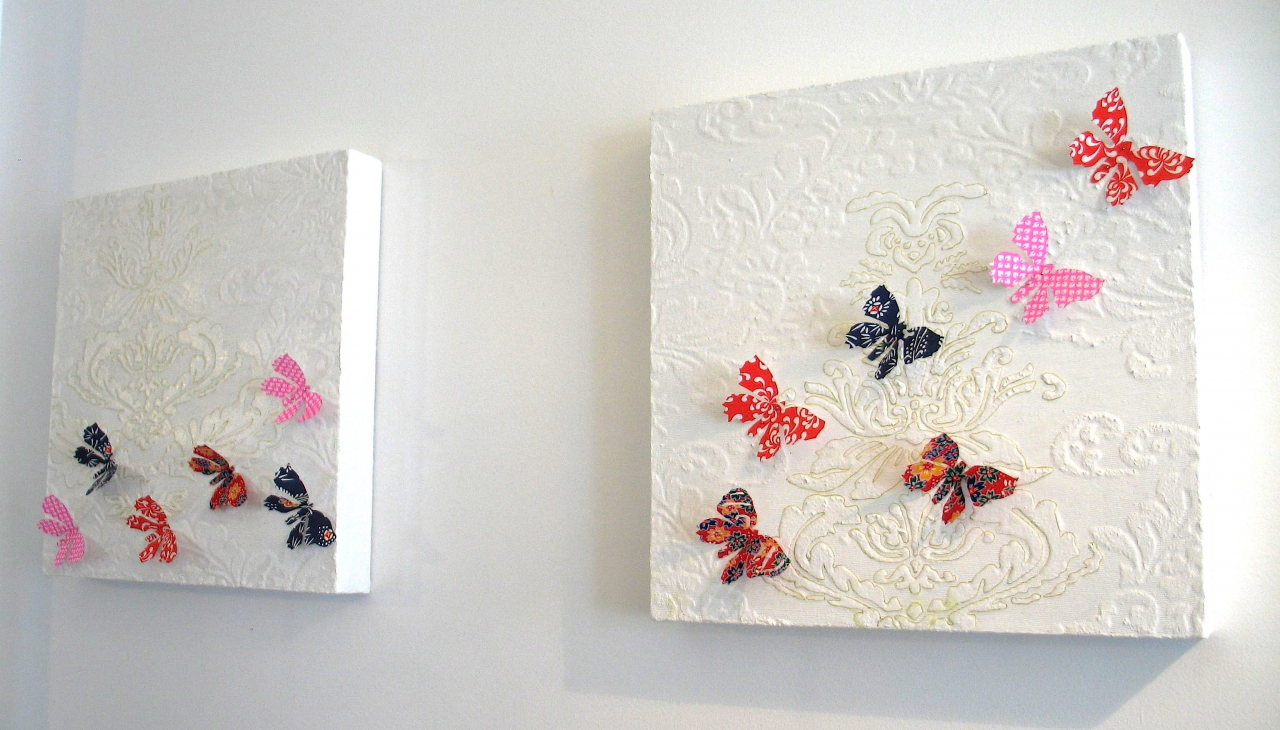
return to menu ↑the cloth
Fabric moths are perfect for liquid monochromatic wallpaper, drapery or other soft finishing fabric. Moths will make the room more comfortable, improving the atmosphere in it.
The fabric should not be crumpled, you need to iron it before cutting. Mount recommended for glue.
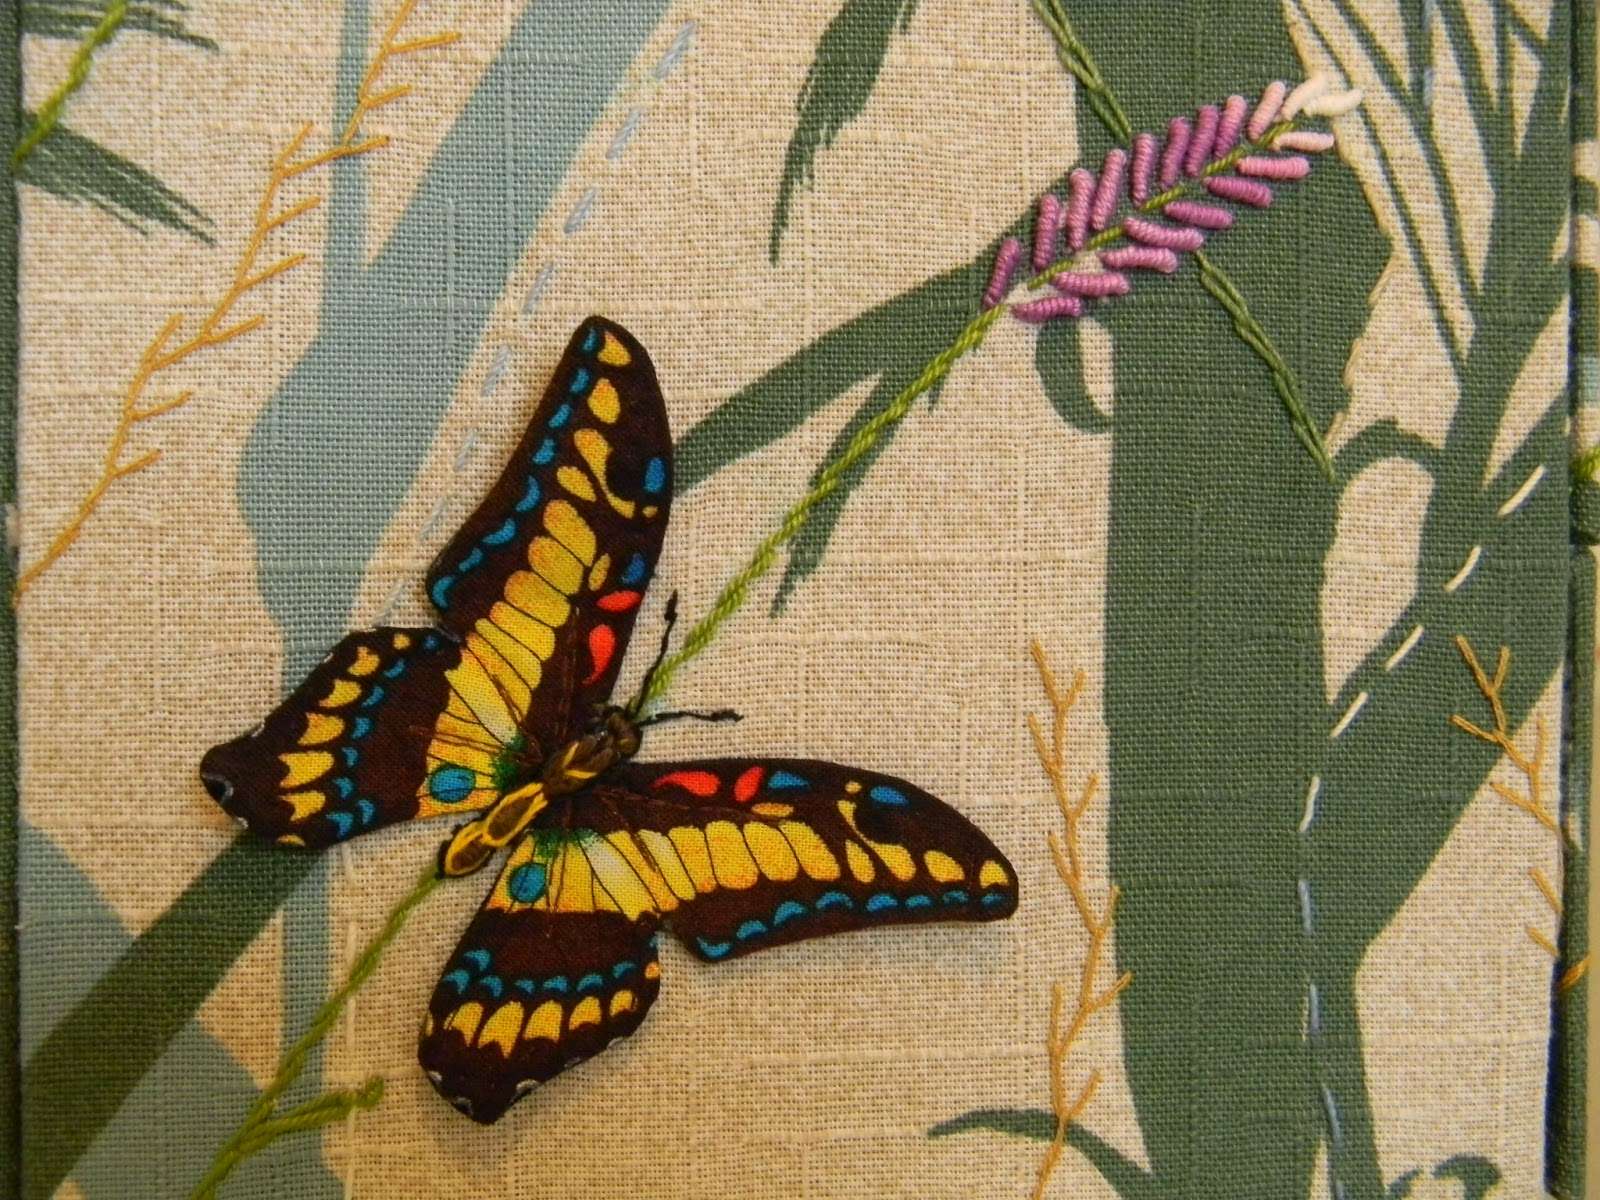
Fasten moths from fabric to glue
Wall mount
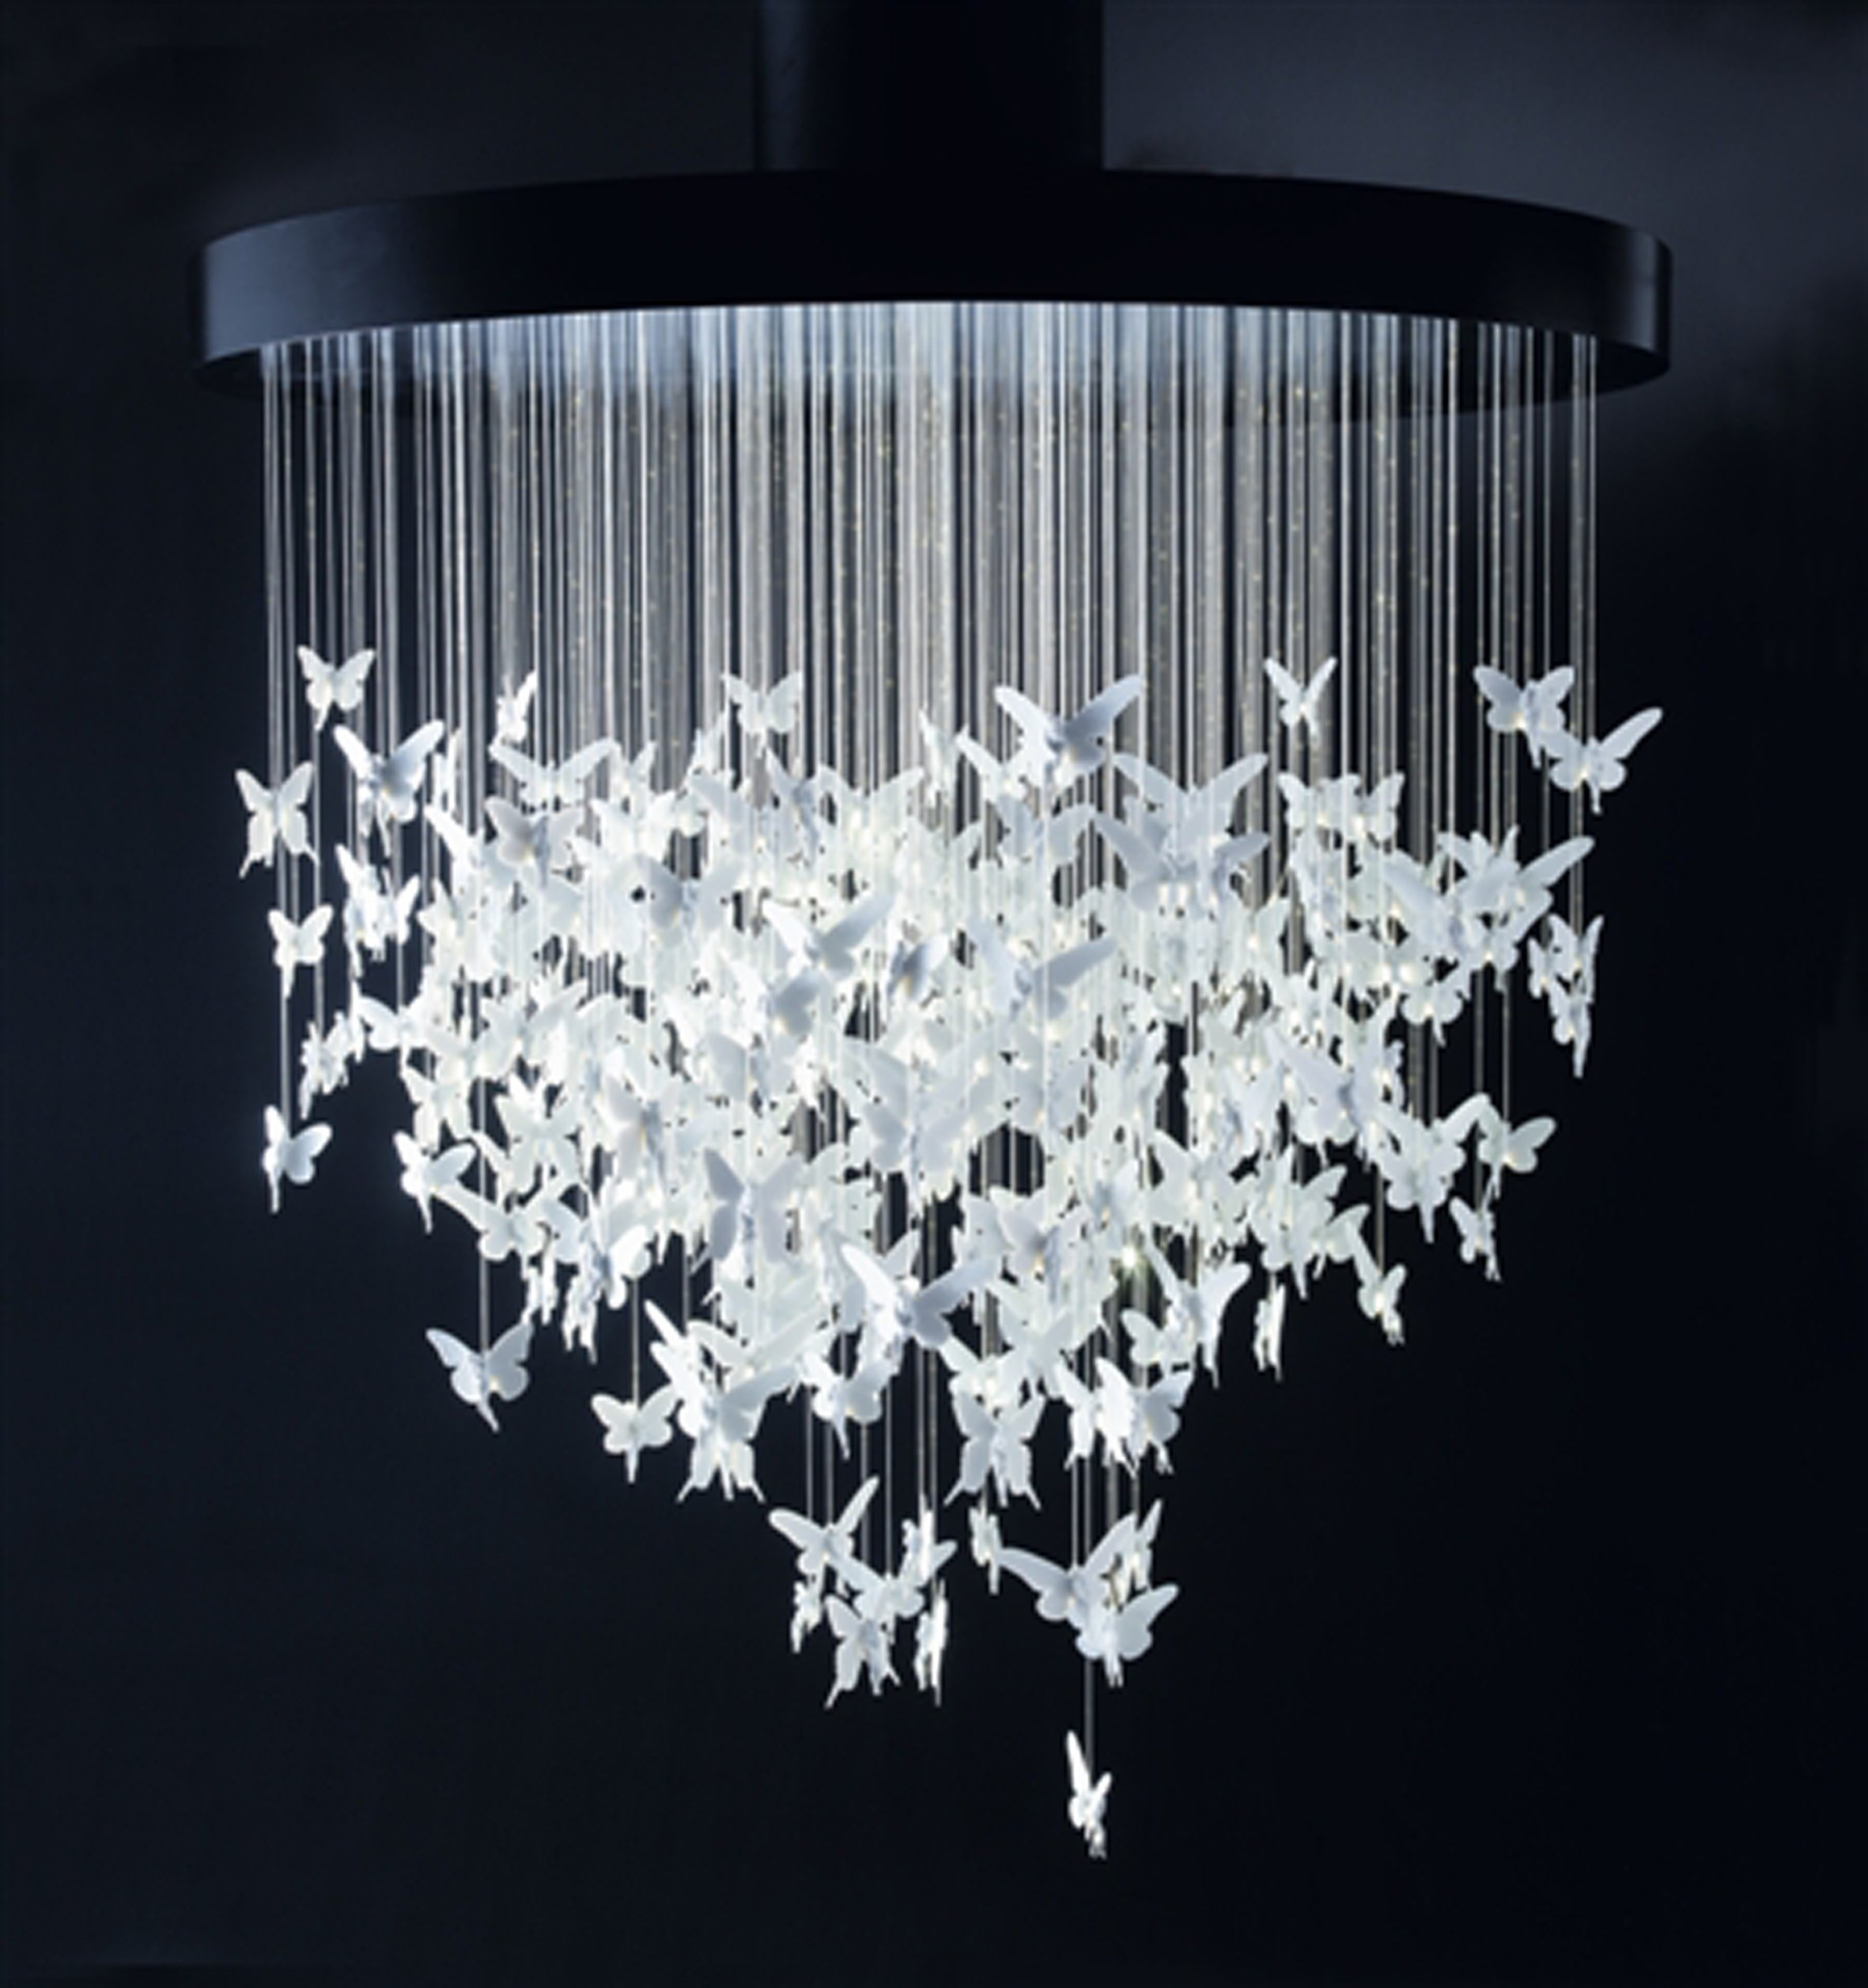
The attachment material depends on the material from which the moths are made. For example, glue is suitable for paper, and foam is for lightweight materials. Also, butterflies can be mounted on threads, hanging from the ceiling.
return to menu ↑Glue
You can use glue or gun. Pencil use is not recommended, as it does not hold the material, especially heavy. Glue should be used on such walls that are not scary to stain.
For each material its own method of attachment
If you apply glue to all wings, make sure that it does not protrude beyond the edges.. It is important to use high-quality glue, as it can badly hold butterflies or leave ugly marks on the wallpaper.
It will be interesting to you:OVERVIEW: Kitchen clock - Wall models for creating comfort (135+ Photos). Large and Original do-it-yourself options
return to menu ↑Pins
Unlike glue, pins leave little damage to the wall. You can also attach insects to a cork board. The pins are suitable for walls of plastic panels, plain or cork, as well as drywall.

Stickers of different colors
Before you put a pin with a butterfly stuck on it into the wall, you need to glue the application to the pin with Moment glue.. If you attach the butterflies to the wallpaper, the end of the pin half-fold at a right angle. So the construction will be fixed in the wall in a natural way.
Pins matched by color
Styrofoam
To glue the moth on the foam, you need to smear a piece on both sides and attach it moth on the wall. Applications of heavy materials are not recommended to put on such a mount, as the foam can not withstand. Suitable except paper and cardboard crafts.
It will be interesting to you:REVIEW: Do-it-yourself realization of original wall decor ideas - 200+ (Photo) for the kitchen, living room, bedroom
return to menu ↑Threads
In order not to spoil the wall, you can hang butterflies by threads on the ceiling. It is recommended to hang butterflies on threads of different lengths. You can use both colored yarn and transparent fishing line. The main thing - the thread must withstand jewelry.
Paper Wall Decor
Glowing butterflies
To create the effect of glowing butterflies, you need to mount the butterflies to the white wall, and next to it should be a table with a tabletop a lamp. To make such a composition, you will need:
- Stencil.
- Phosphor paint in multiple colors.
- The pencils.
- Sponge.
- Paint brushes, preferably a palette.
- Glue (better spray).
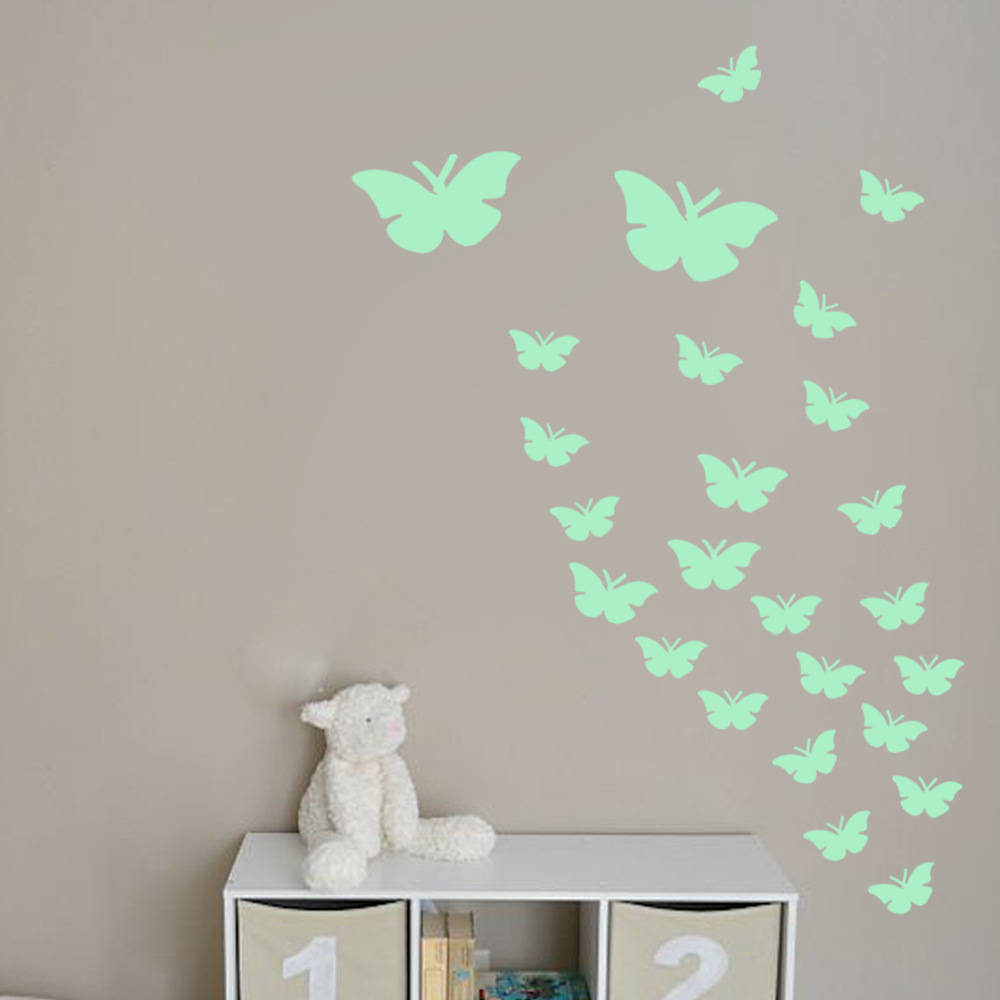
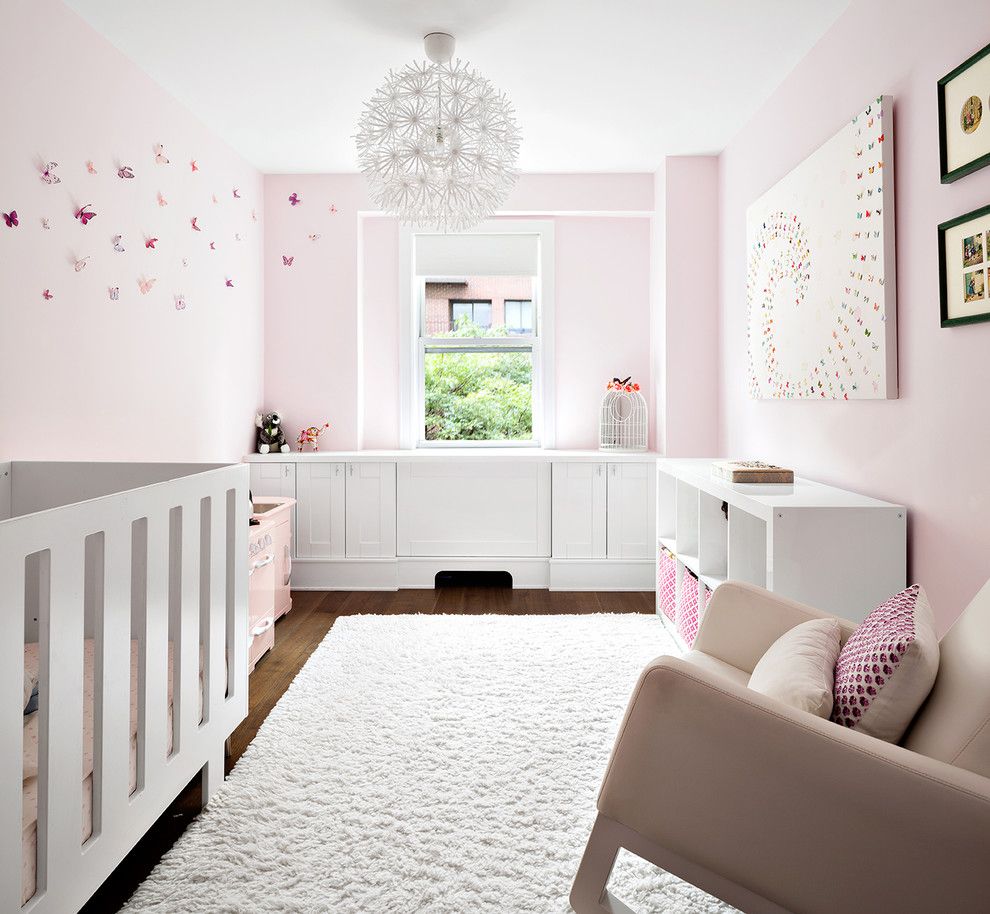
Glowing stickers in the nursery
Materials can be purchased at a specialized stationery store. For the manufacture of the composition is necessary:
- Fix the stencils on the wall using glue. You can also pin them with pins.
- Cut the sponge into small pieces and attach to the handle of the brushes (you can apply the paint and the usual sponge).
- Apply paint inside stencils. If you want to make a moth multi-colored, it is recommended to mix colors in the palette.
- When the paint is dry, you need to carefully remove the stencils, turn on the lamp and enjoy the beautiful composition on the wall.
Very easy to do with your own hands.
It will be interesting to you:REVIEW: Do-it-yourself kitchen decor: How to approach the issue professionally? Original ideas for wall decoration, apron, ceiling (200+ Photos)
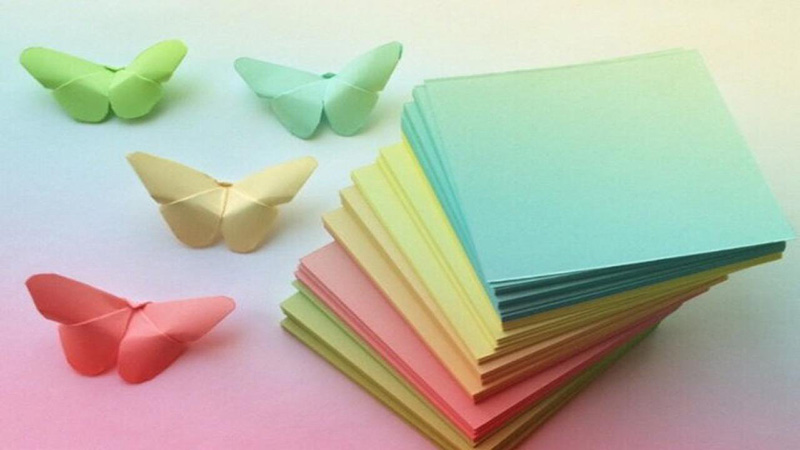
return to menu ↑Handicrafts made from colored paper
To make beautiful butterflies from colored paper, you need:
- Printer.
- Thick paper of the right colors.
- White paper.
- Pencil.
- Cardboard (density should allow to bend it).
- Glue.
- Scissors.
See the master classes for ease.
After preparing all the materials you need to start creating crafts:
- Image templates print on white paper and cut. Prepare more templates in case some do not work out the first time. It is better if the templates are different in size.
- Attach the templates to the cardboard, circle with a simple pencil, then cut. If you can, print the pictures immediately on the cardboard.
- Cut the cardboard patterns on the back of the colored paper and cut them out. Bend the paper in half so that the butterflies are voluminous.
- Apply glue on the bend, straighten the moth and press it with your finger against the wall. After some time, spread the wings of crafts.
VIDEO: Do-it-yourself colored butterflies - easy and simple
Colored butterflies in bills
Tips to share
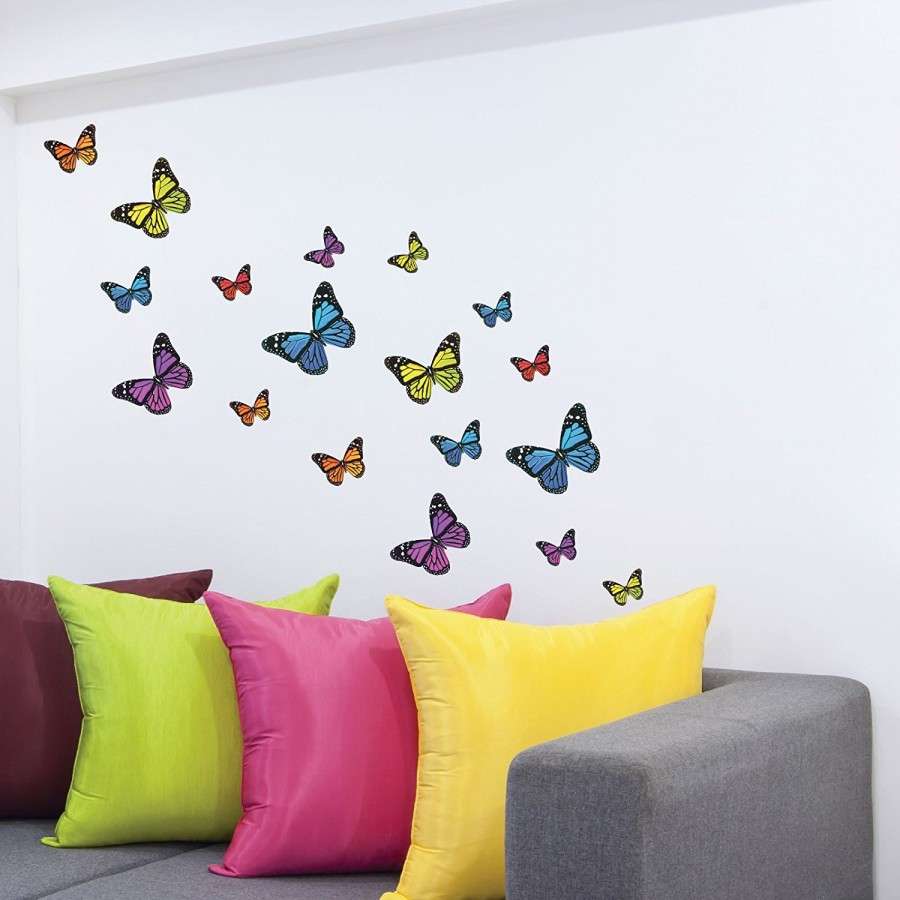
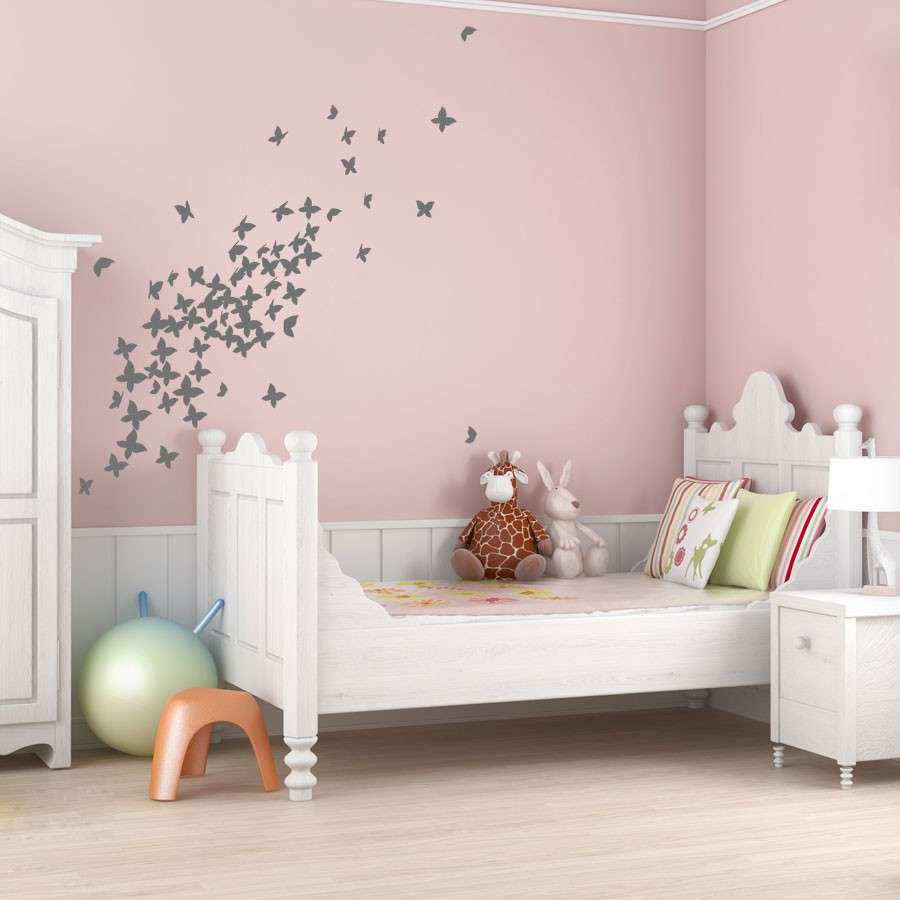
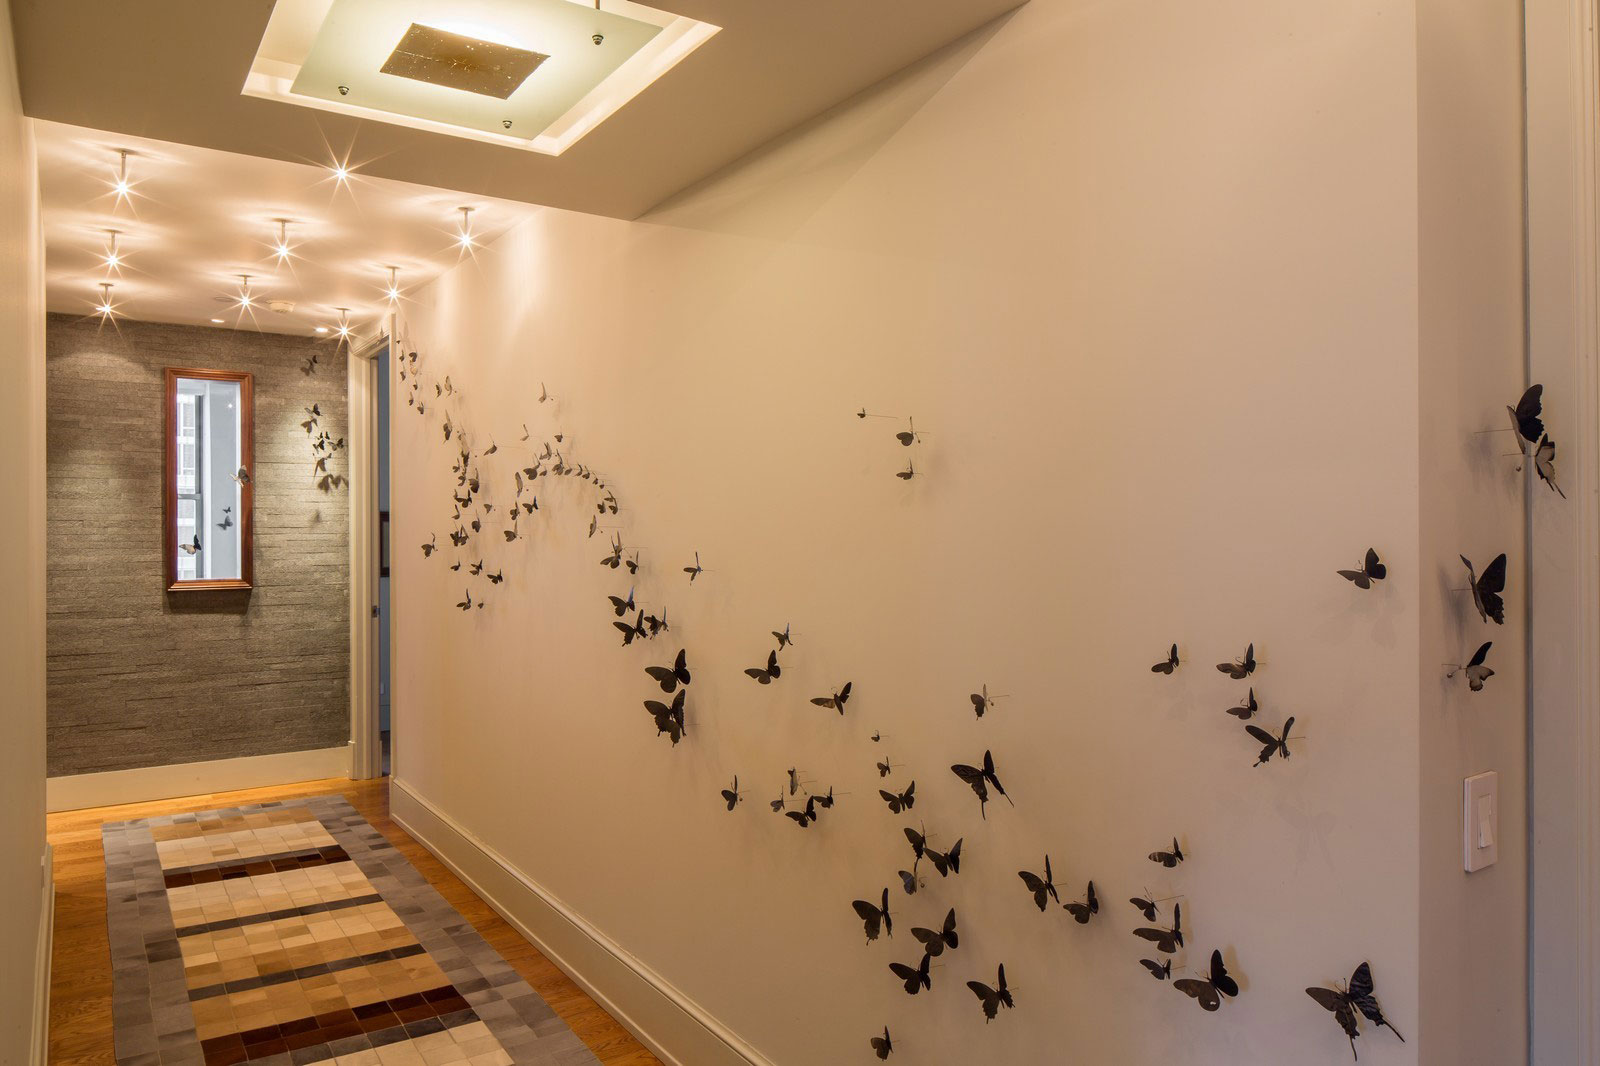
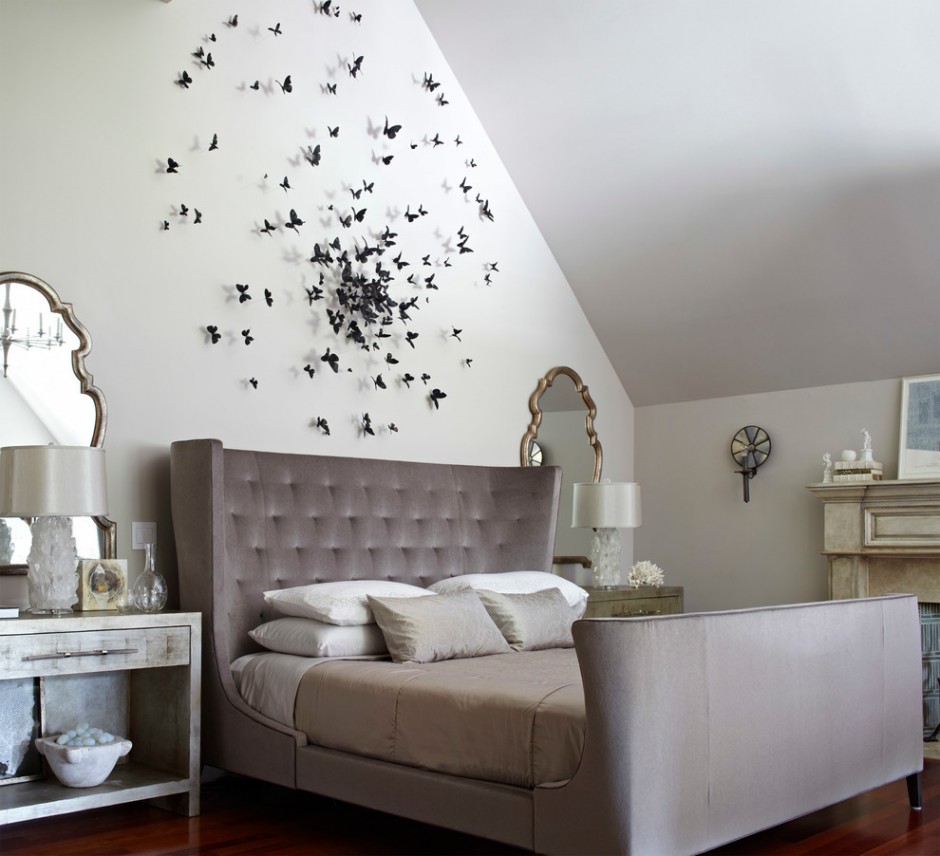
You can stick butterflies on the wall in disarray, or in one direction (in this case, all insects should be of different sizes).

Beautiful and many - looks great
It will be interesting to you:REVIEW: Kitchen wall decoration: 205+ Photo Options (panels, laminate, plaster). How to combine practicality with aesthetics?
return to menu ↑Origami butterflies
Origami - a great solution for family crafts. Such moths will look original and unusual due to the volumetric wings.
For such a butterfly are needed:
- Newspaper or old magazine.
- Any paint (for example, gouache).
- The wire is thin.
- Pliers.
- Pencil.
- Scissors.
- Ruler.
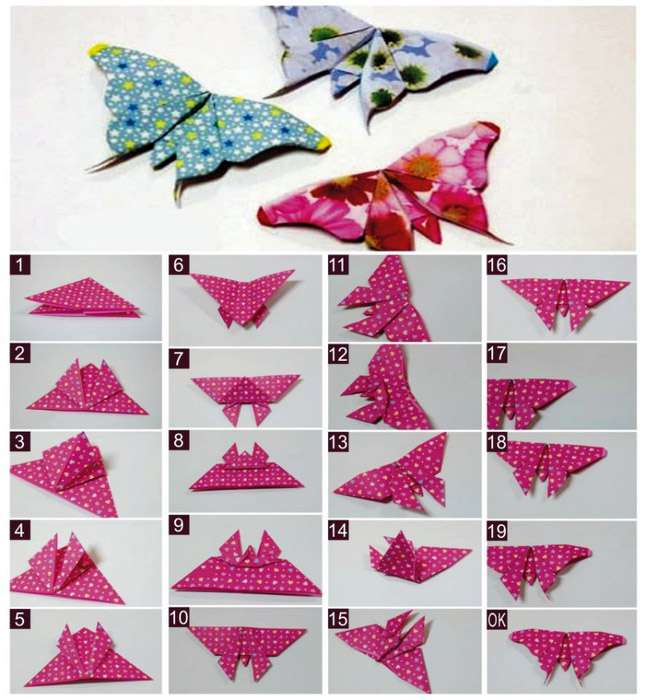
You can make a three-dimensional composition.
Having prepared the necessary materials for crafts, you can start work:
- Cut from sheets of squares measuring 4 by 4 cm or 5 by 5 cm.
- Double fold the paper in half.
- Fold the resulting square diagonally in two different directions.
- Lay the paper inward with folds to form a triangle.
- Bend the two ends of the upper layer to the top.
- Turn the triangle to the other side and bend the corner up so that it goes beyond the torso of the crafts.
- Bend the triangle on the other side and stick it to the base.
- Paint the ends of the wings with different paint.
- Make a butterfly body and wire antennae from the wire.
- Expand the butterfly with a scarlet triangle upwards, bend its wings and give them any shape.
- Dip the wire frame in the glue and attach to the craft.
- Insect mounted on the wall in any reliable way.
VIDEO: Origami Butterflies - no, no
Paper butterflies
Volume crafts for beginners
It will be interesting to you:REVIEW: Bathroom tile options: 185+ (Photo) Wall options
return to menu ↑Vinyl crafts
Creating butterflies is an easy task, if you do everything clearly and according to the instructions. To do this, you must purchase the necessary material:
- Old vinyl records.
- Crayons of two colors - black and white (you can use colored pencils instead).
- Butterfly patterns.
- Scissors.
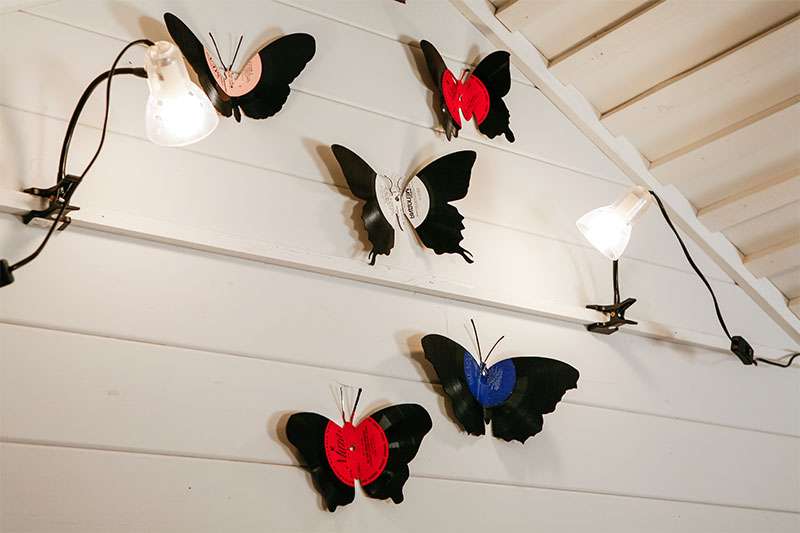
From vinyl records - looks original
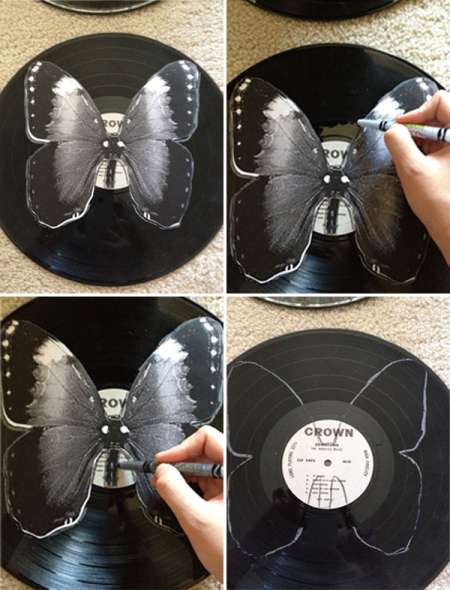
Templates should preferably be cardboard. After preparing everything you need, you can start creating the applications themselves:
- Mark on the plate the middle of the template. Circle the outline of the plate with white chalk or pencil, and black stickers around the middle of the plate.
- Take a baking sheet, cover it with foil, put a plate on the foil. Preheat oven to 400 degrees, put a baking sheet in there. Immediately remove the pan with the plate, as it quickly begins to deform, after about 45 seconds.
- Sharp scissors to cut a butterfly from the plate. If it hardens again during the cut, it must be put back into the oven. Vinyl cools very quickly, so you need to cut out not only carefully, but also quickly. You may have to heat the template several times.
- When the insect is cut, it must be bent in half;
- When the butterfly has cooled completely, you can glue it to the wall.
The result will definitely surprise you.
It will be interesting to you:REVIEW: How to hang pictures on the wall beautifully and original (170+ Photos)? Creative ideas for bright accents
return to menu ↑Clay moths
You can also make butterflies from polymer clay. It is as convenient to sculpt from it as from plasticine, but there is one difference - polymer clay hardens after a while.
For crafts will need:
- Butterfly Shape.
- Polymer clay of any colors (about 25 g per 1 butterfly).
- White thread, which hangs itself hack.
 decorations in the interior (paper, volumetric, stickers)")
 decorations in the interior (paper, volumetric, stickers)")
 decorations in the interior (paper, volumetric, stickers)")
 decorations in the interior (paper, volumetric, stickers)")
 decorations in the interior (paper, volumetric, stickers)")
After purchasing all the components, you can start creating butterflies:
- Roll out the polymer clay and cut the blanks out of it with a mold. In the center of the blank, make 4 holes with a needle (for hanging the butterfly).
- Bend the wings at different angles, place them in a glass baking dish.
- Bake the clay for 15 minutes in the oven at a temperature that is specified in the instructions for the clay.
- If the holes after baking narrow, you can enlarge them with a sharp knife. If the edges are not even, they are recommended to sand with sandpaper.
- Thread the thread through the holes in the form of a cross and tie a knot. Through this knot, thread the button and attach to the wall.
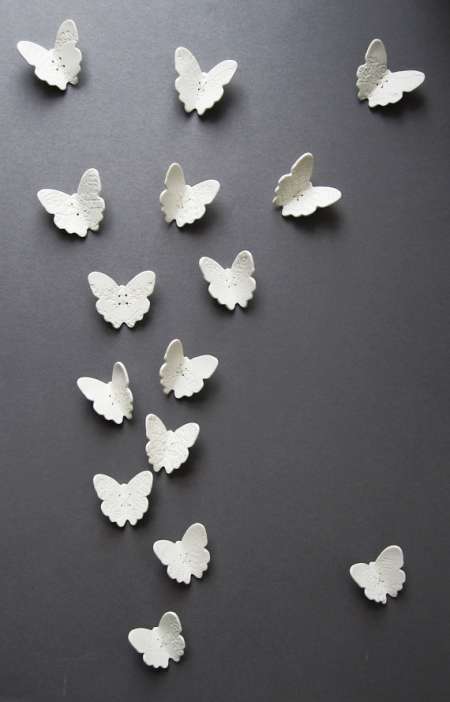
Polymer clay is easy to work with.
VIDEO: Butterflies in the interior
We update the design with the help of butterflies on the wall
Various design solutions


And I cut it out of paper and attached it with a pin. The wall is not damaged, costs zero.